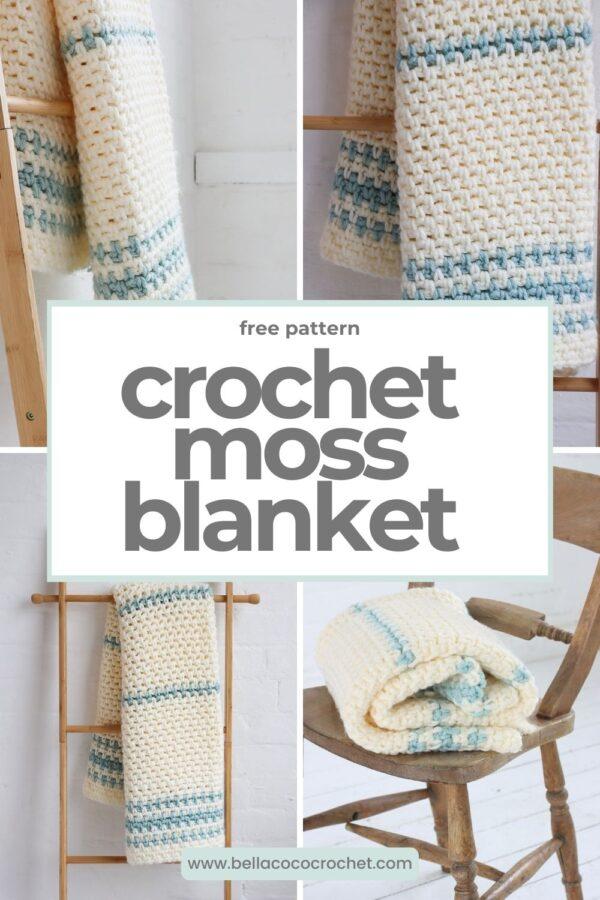
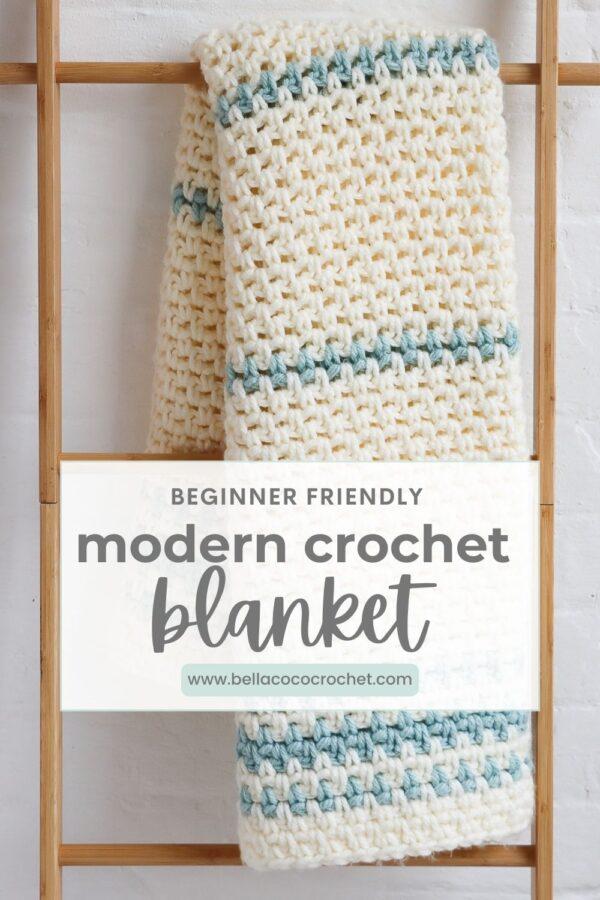


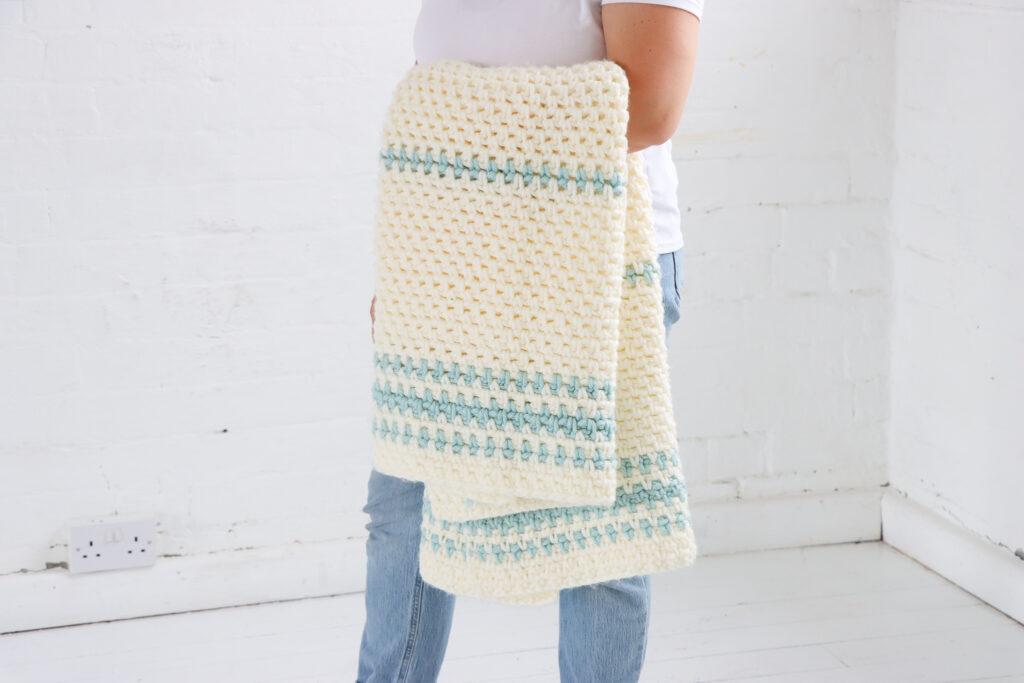
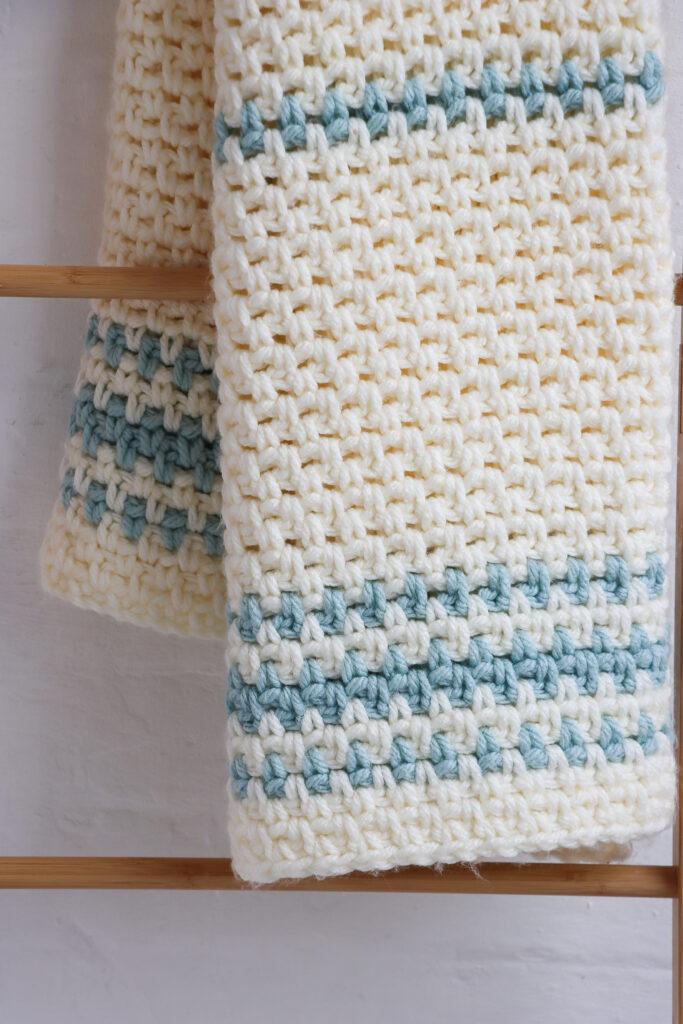
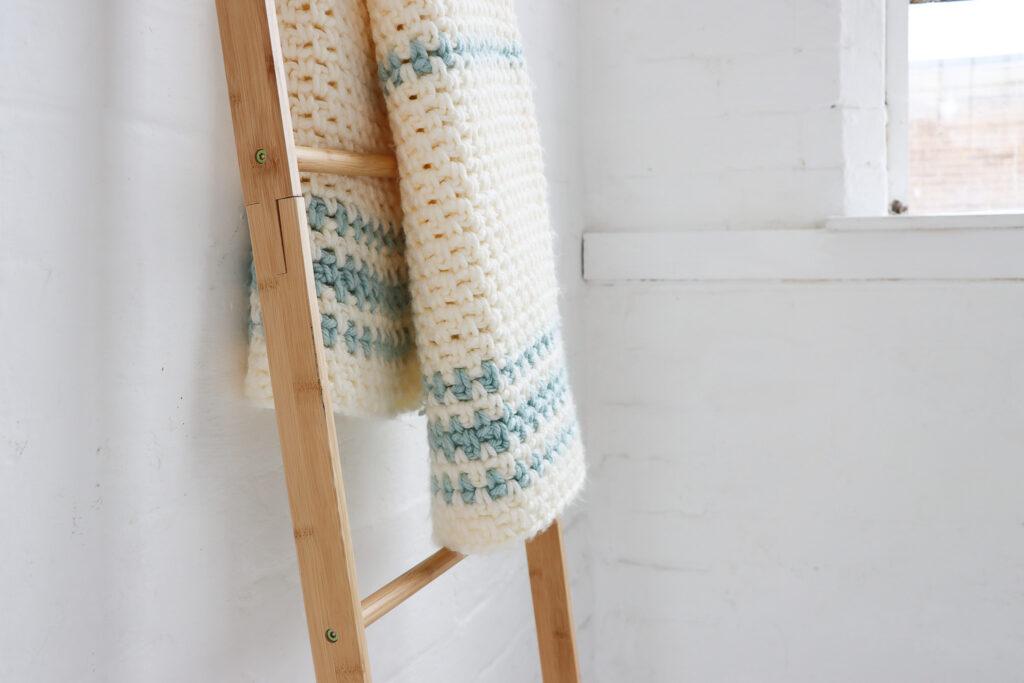
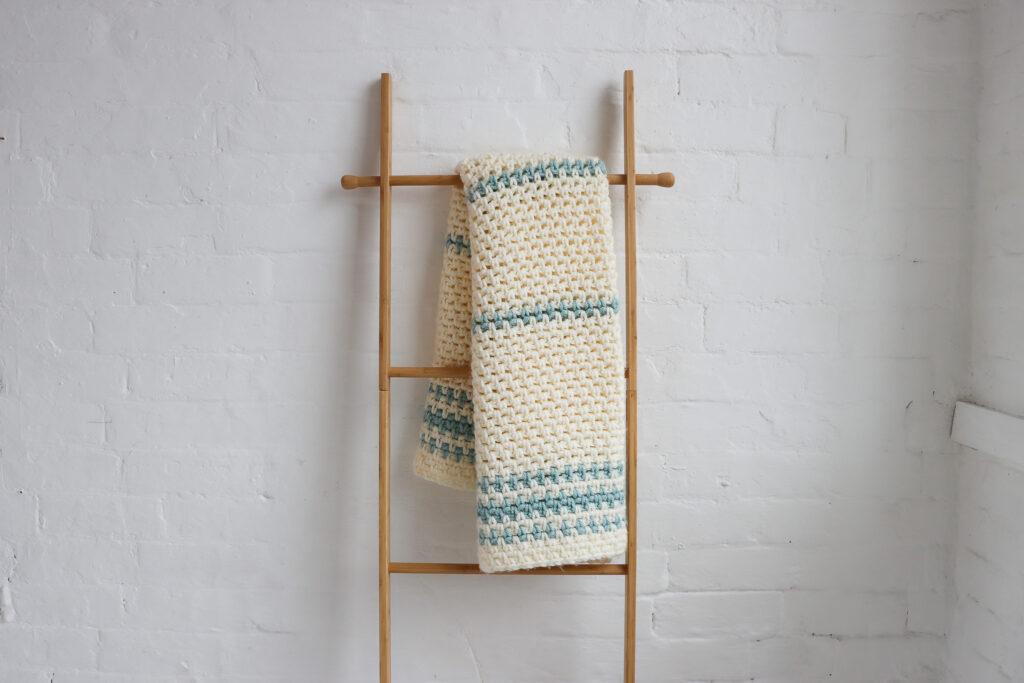
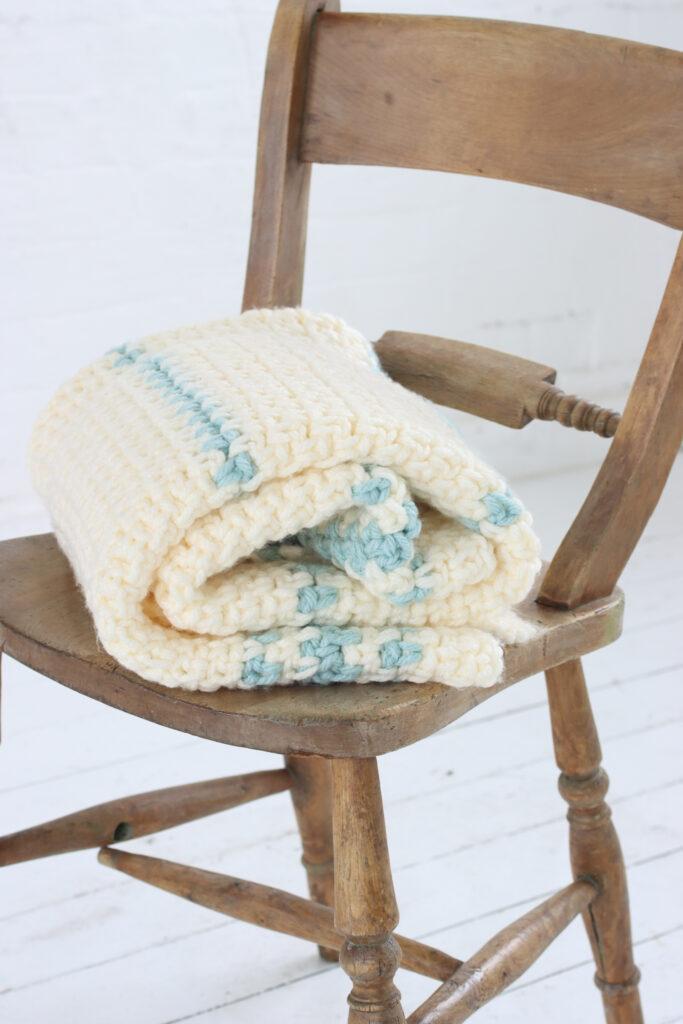
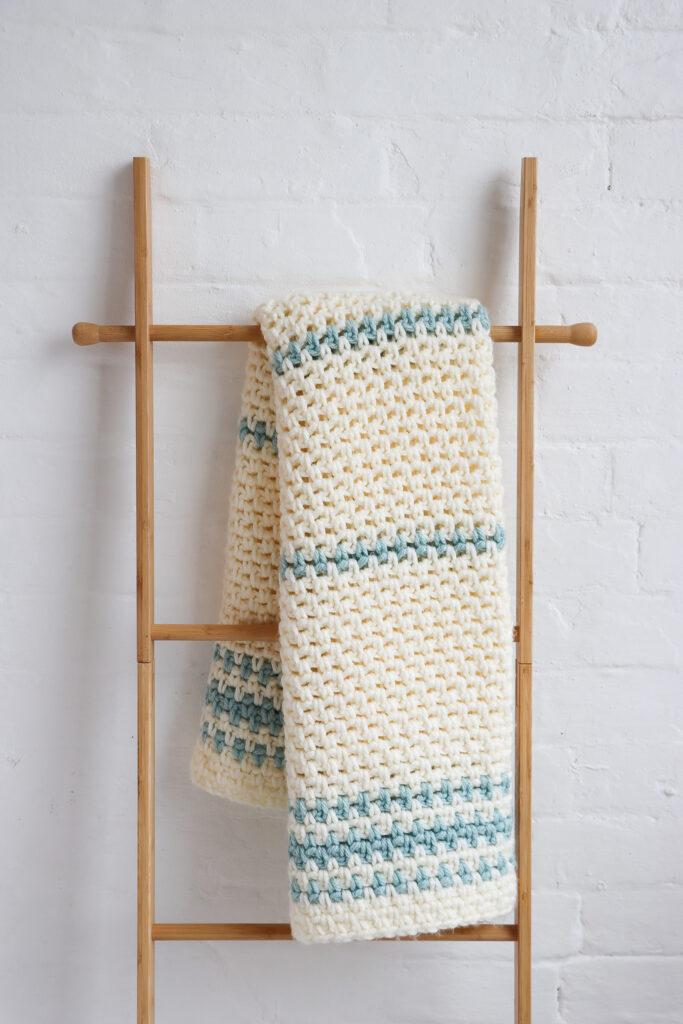
Learn how to crochet this beginner-friendly moss blanket with my free step-by-step pattern and assisting video tutorial. I started this blanket when we began thinking about starting a family and I was convinced that when we became parents it would be to a little boy, which initially inspired the colour of the blanket. However, you can choose any contrasting colour. The dense stitch and weight of it feels cosy and warm resting over your lap. The size I created is perfect for a lap blanket or a cot blanket.
Materials & Tools
- Yarn: I have used Stylecraft Special XL in Duck Egg and Cream. You will also see the blanket made in an alternative brand yarn, King Cole Big Value Super Chunky in Cream and Pink
- Hook: 8mm
- Darning Needle
- Scissors

Pattern Notes
- Written in UK terms but switchable to US terms below.
- Suitable for beginners
- Assisting video tutorial available
Size and Gauge
Completed Size
Final size of blanket measures approximately 39 inches by 45 inches.
Gauge
4.5 sts x 4 rows per 10cm x 10cm (4inch X 4inch) measured over (dc, ch-1) pattern.
Pattern Support
The fastest way to get pattern support is to ask in our dedicated facebook group for Bella Coco Crochet patterns. This is the best place for you to connect with other crocheters.
Please note, if you wish to change and adapt this pattern in any way, this must be done at your own exploration and we cannot offer assistance with this.
Convert Pattern Terms
Here you can quickly switch between UK and US crochet terms. This will make following the pattern easier as all terms will be converted to your preferred version.
Terms & Abbreviations
Skip Stitch(s): sk st(s): Skip indicated stitch or chain.
Chain(s): ch(s): Yarn over, pull through.
Double Crochet(s): dc(s): Insert hook into stitch, yarn over, pull up a loop, you will have two loops on the hook. Yarn over, pull through remaining two loops.

Unsure of the differences between UK and US terms? Need a refresher on how to do your crochet stitches? In my ‘How to crochet: A handy reference guide’ EBook I help you with all of these terms and you can always have them to hand! You will also get exclusive access to free video instructions. You can find my EBook HERE.
Pin For Later
Quick & Easy Crochet Blankets

Fast & Easy/Switch It Up Blanket
The Fasy & Easy/Switch it Up Blanket is the perfect beginner blanket or alternatively, if you’re looking for a meditative make.
By The Sea Blanket
The By the Sea Blanket is another fun beginner-friendly make made up using one stitch repeat and can be customised by using your favourite colour combinations.

Free Pattern: Moss Blanket
With Colour A.
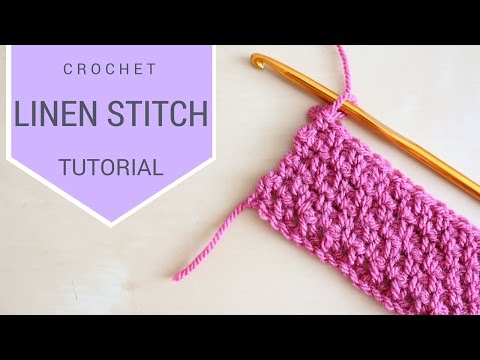
Assisting Tutorial
Note: This is an assisting video tutorial which therefore may not match the written pattern exactly.
If you’re looking for a project to work on gradually whilst learning new crochet stitches then the Patchwork Blanket might be the project you’re looking for. Crochet 30 stitches and construct this beautiful Patchwork Blanket following my 65 page Ebook. Click here to find out more or alternatively click the image below.
I always love to see your makes so if you try any of my patterns or follow my stitch tutorials please tag me @bellacococrochet or use the #bellacococrochet
sarah-jayne
This blanket is gorgeous, how many balls of wool did you use for it? Using g the stylecraft special xl. Thank you for sharing itxx
It will probably tell you in the pattern. I clicked the love crochet link and it says 4 balls of cream and 1 ball of the chosen colour. The blanket measures 39 x 45 inches https://www.lovecrochet.com/moss-blanket-crochet-pattern-by-sarah-jayne-fragola-bella-coco?utm_medium=affiliate&a_aid=54743a27
This is gorgeous how many balls of wool did you use? Using the stylecraft special xl. Thank you for sharing xx
Can’t wait to make this. It looks so very cozy. Love your videos, so easy to follow the direction is very clear. Thanls for helping me up my crochet game.
It will probably tell you in the pattern. I clicked the love crochet link and it says 4 balls of cream and 1 ball of the chosen colour. The blanket measures 39 x 45 inches
How do I find the free pattern for Moss blanket?
Thank you!
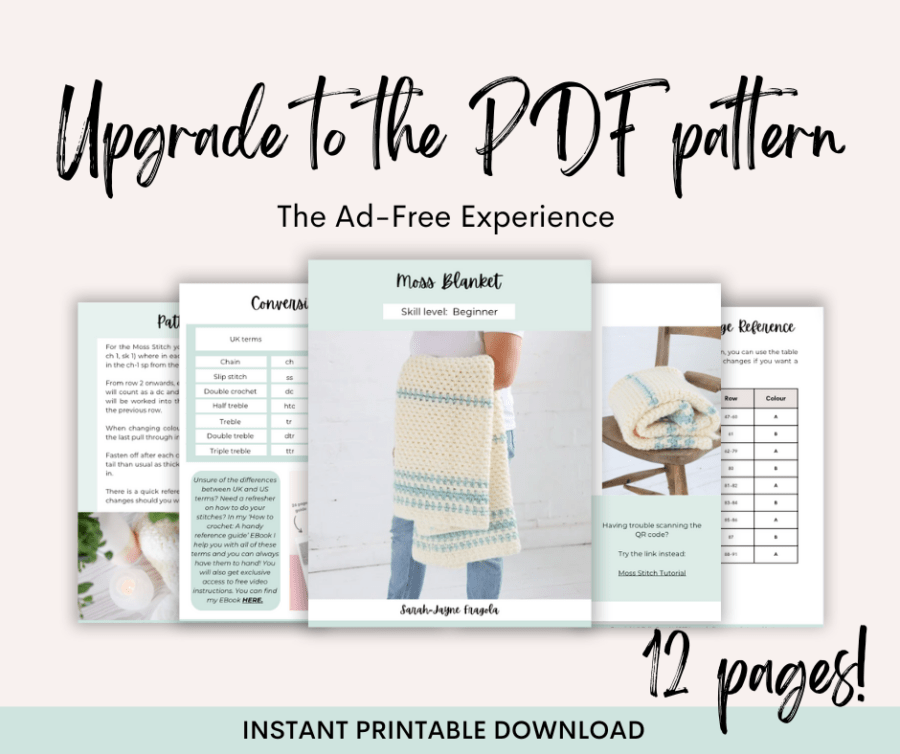
Hi Carol here is the link for the PDF :- https://bellacococrochet.com/products/moss-blanket-pattern 🙂
Is it possible to increase the size of this blanket? I purchased the pattern but unsure how to make it bigger.
You will need to increase your foundation chain to the width you require then continue until you reach the length that you wan 🙂