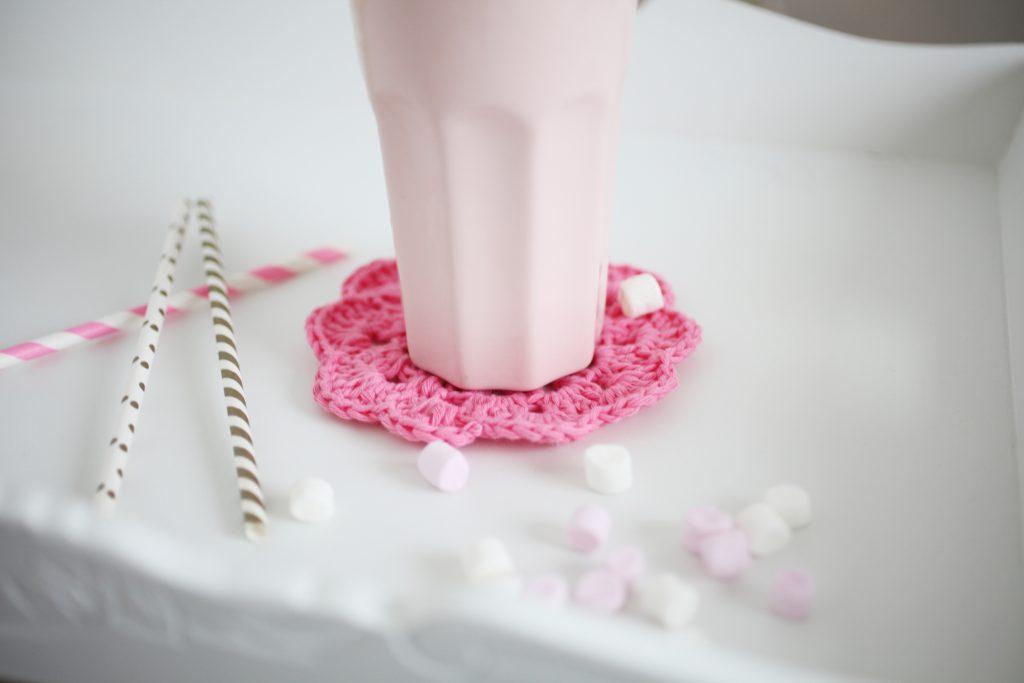
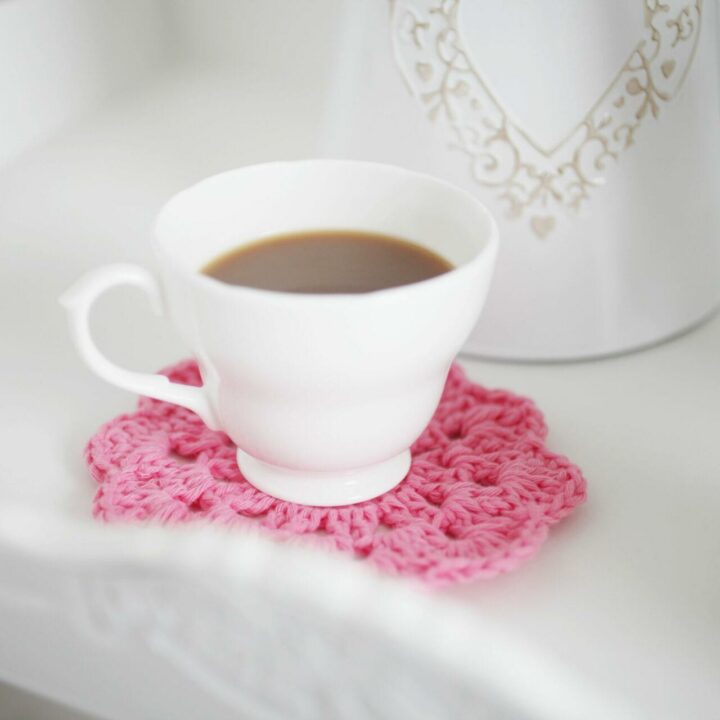
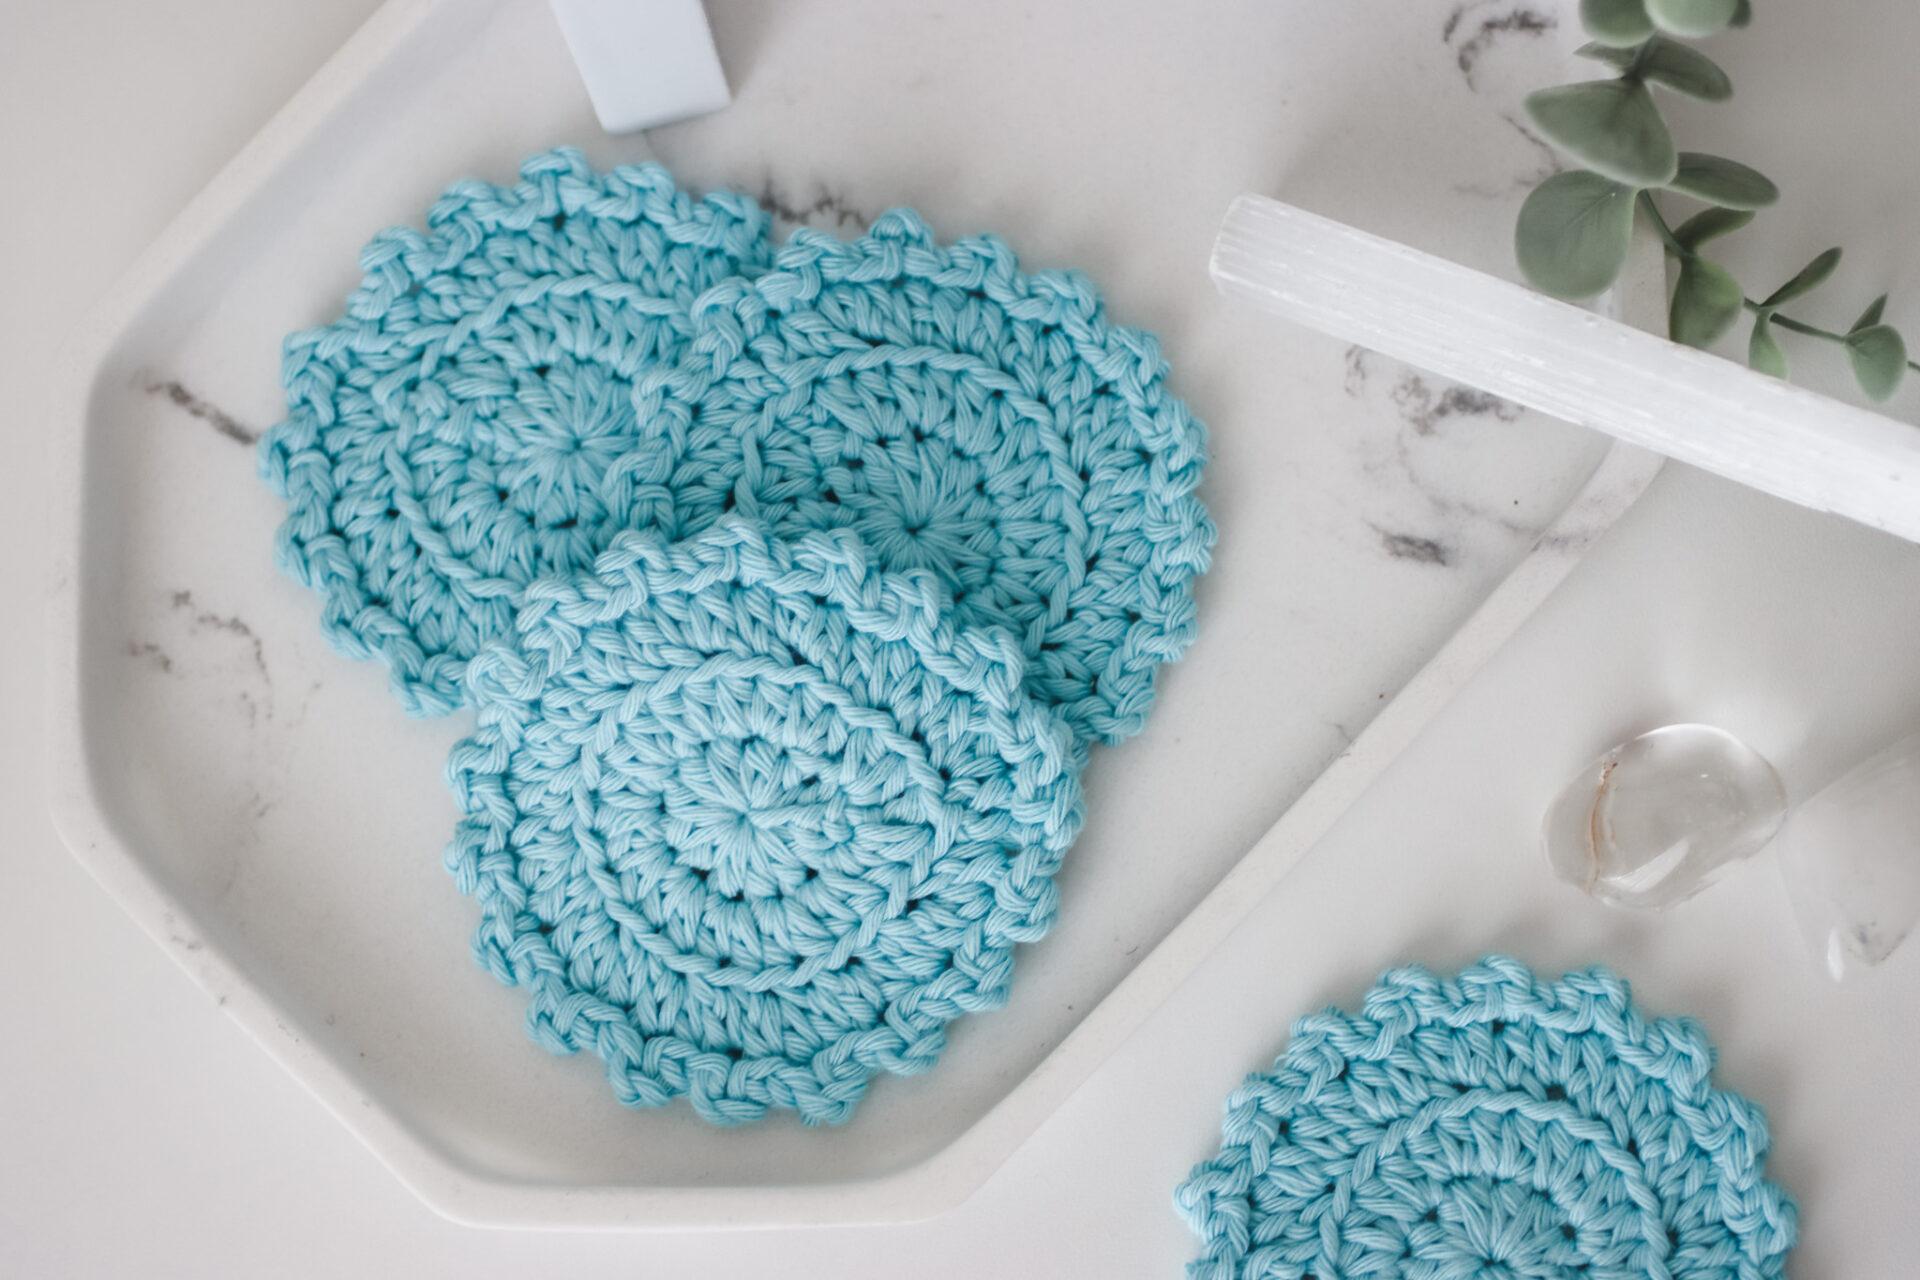
Learn how to crochet these beautiful coasters with my step-by-step pattern and video tutorial. These coasters are the perfect handmade accessory for your home or workspace and are sure to bring a smile to your face every time you use them. Not only is this pattern quick and easy they make great stash busters or equally beautiful crochet presents to gift for all occasions.


materials and tools
- Yarn: DK weight yarn – Samples feature Paintbox Simply DK, 100% Cotton Tea Rose (643) Pale Lilac (646) Bubblegum Pink (651)
- Hook: 4mm
- Darning Needle
- Scissors
Pattern Notes
- Written in UK terms but switchable to US terms below.
- A video tutorial can be found at the base of the post.
- Completed size: 13cm approx in diameter
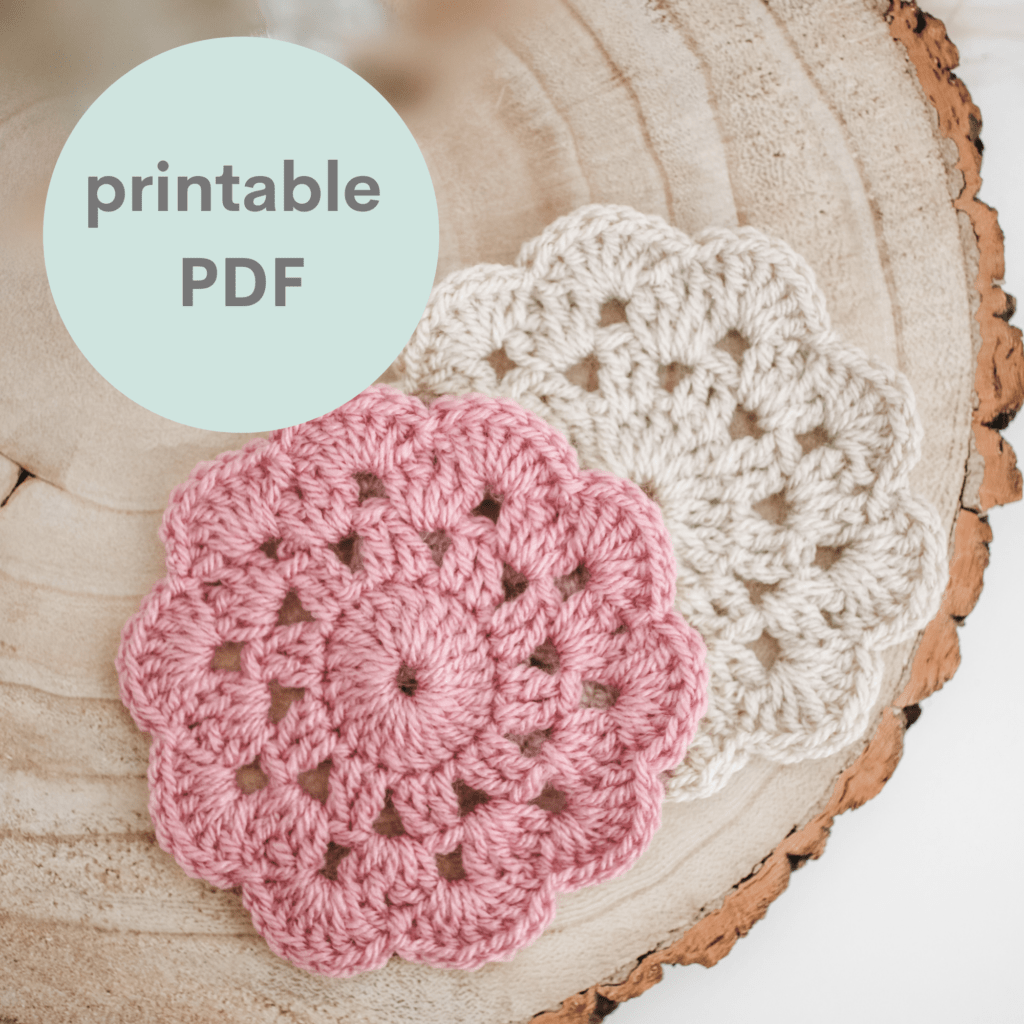
PDF Pattern: Crochet Coaster
You can purchase a low-cost ad-free, printable copy of this pattern HERE. Not only does it mean you get your own copy of the pattern to print, but you also support a small business and help me to keep making free patterns!
Pin for Later
Convert Pattern Terms
Here you can quickly switch between UK and US crochet terms. This will make following the pattern easier as all terms will be converted to your preferred version.
Crochet Terms and Abbreviations
Chain Space(ch-sp)
Slip Stitch (ss): Insert hook into space, yarn over and pull through stitch and loop on hook.
Chain(s): ch(s): Yarn over, pull through loop on the hook.
Treble crochet (tr): Yarn over, insert into chain space, yarn over, pull through, you will have three loops on the hook. Yarn over, pull through two loops, yarn over, pull through remaining two loops.
Unsure of the differences between UK and US terms? Need a refresher on how to do your stitches? In my ‘How to crochet: A handy reference guide’ EBook I help you with all of these terms and you can always have them to hand! You will also get exclusive access to free video instructions. You can find my EBook HERE.
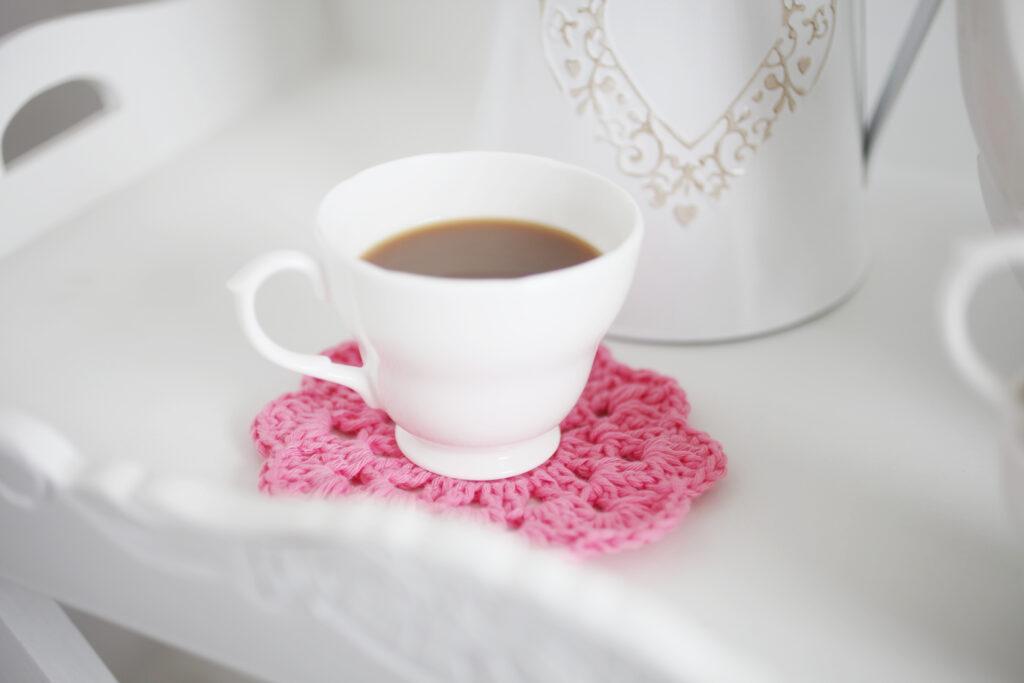
Crochet Coaster Pattern
You are viewing this pattern in UK terms.
- Foundation Chain: Ch 6, ss in 6th ch from hook to form a ring.
- Round One: Ch 3 (counts as a tr here and throughout), 19 tr in ring, join with ss in top of ch-3. <20 tr>
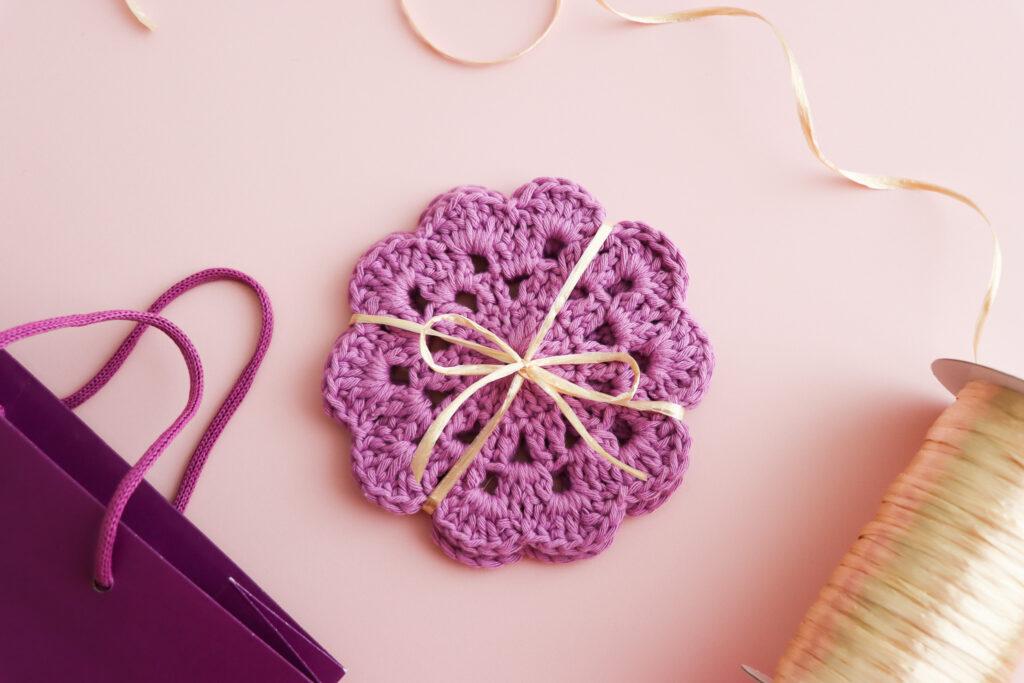
These crochet coasters make a great gift for all occasions in packs of 2,4,6 or more. Simply make them in the recipient’s favourite colours and secure them together with ribbon, twine or yarn ready to gift!
Video Tutorial
Video errata: at 12:07 You should be slip stitching into the chain 2 space and making your 6 trebles into the next space.
[adthrive-in-post-video-player video-id=”S4B3IloU” upload-date=”2025-04-15T13:28:53+00:00″ name=”CROCHET_ how to crochet a coaster | Bella Coco.mp4″ description=”null” player-type=”default” override-embed=”default”]Or you can watch on YouTube
More Crochet Inspiration
Do you love to crochet for gifts or simply love making lovely useable things for you and your home? Check out these beginner-friendly, stash-busting makes; hair scrunchies, heart crochet coaster, daisy bookmarks and face scrubbies.
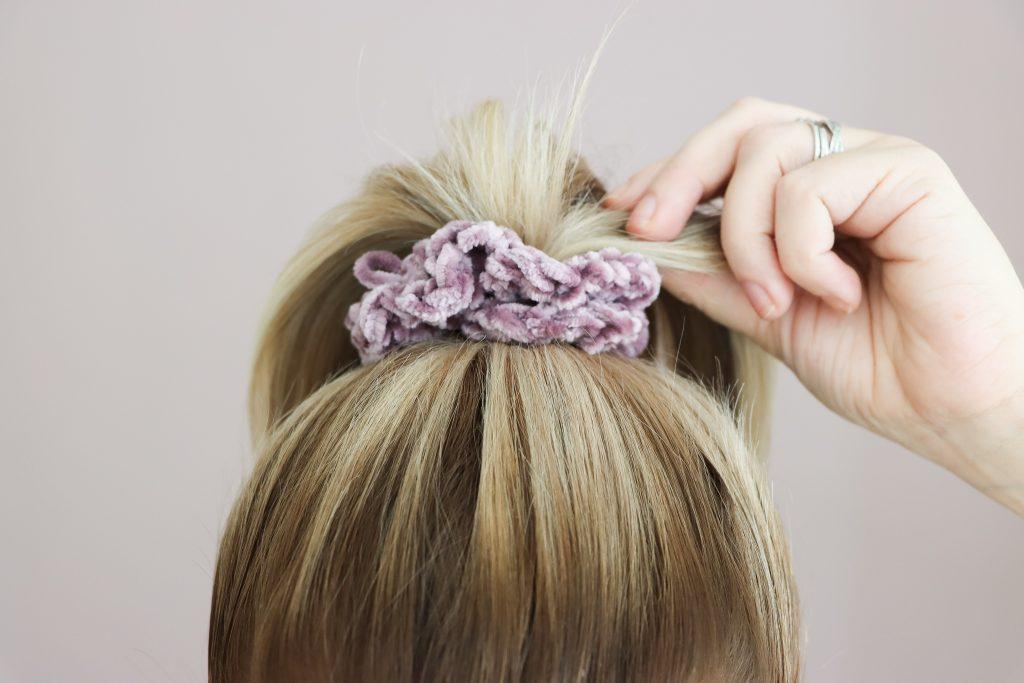
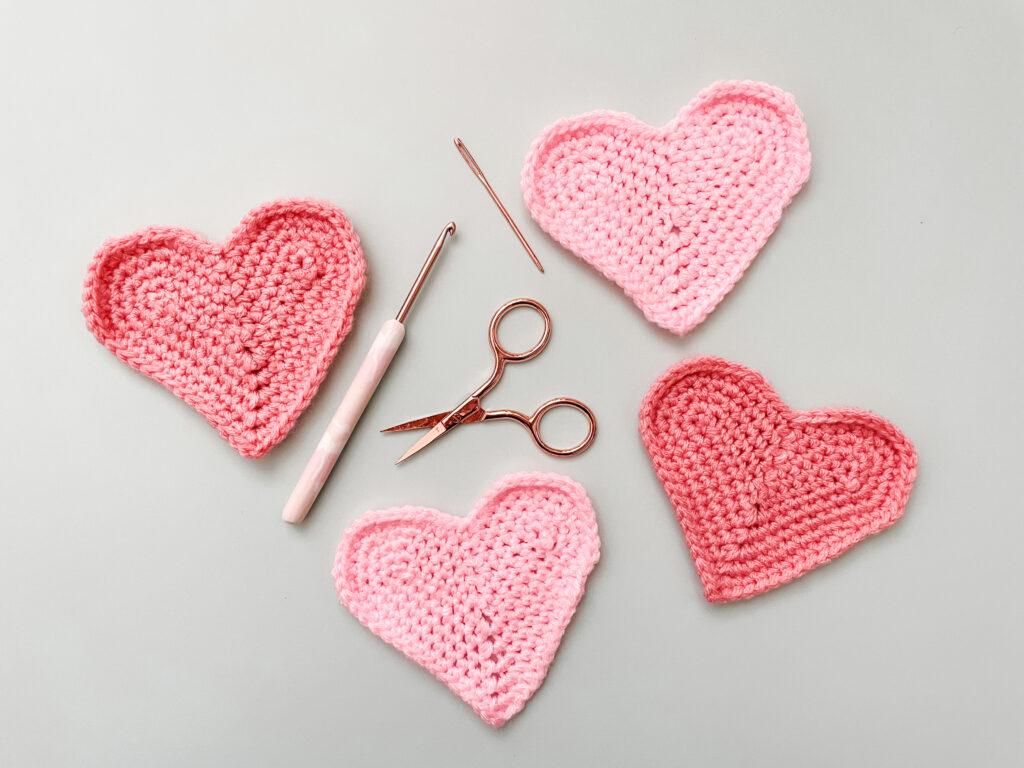
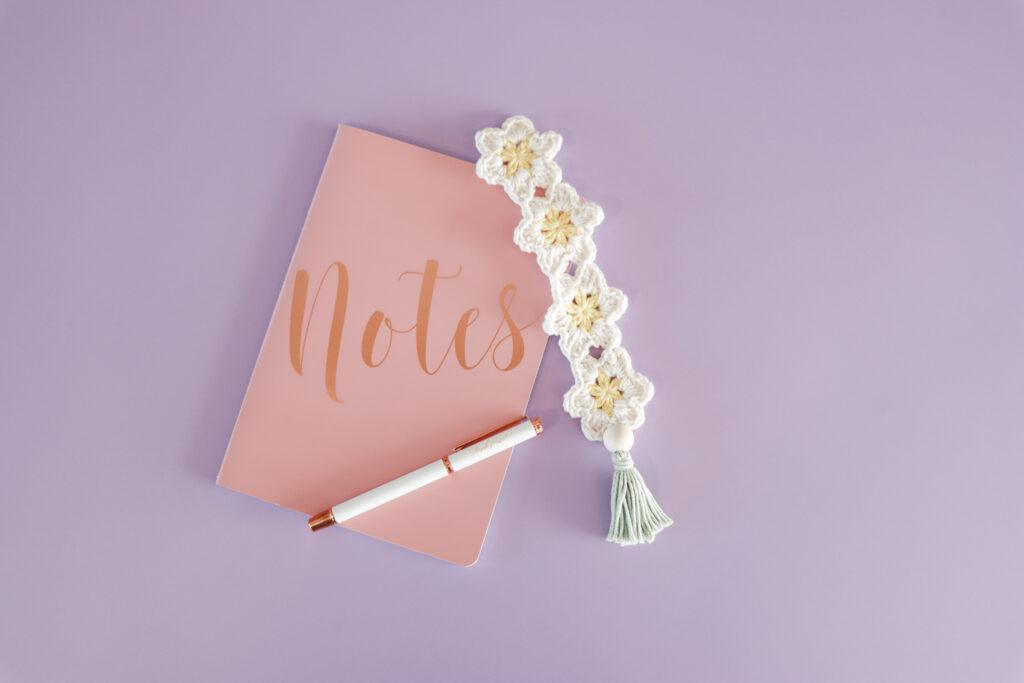
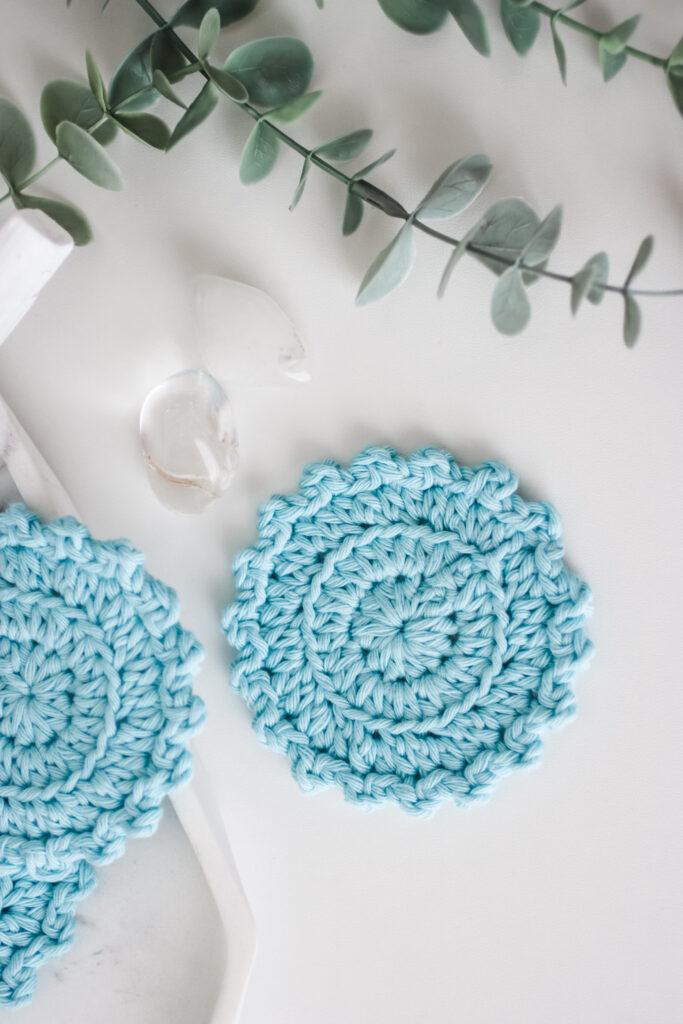
I always love to see your makes so if you try any of my patterns or follow my stitch tutorials please tag me @bellacococrochet or use the #bellacococrochet
sarah-jayne
Learn How to Crochet a Coaster
Learn how to crochet these beautiful coasters with my step-by-step pattern and video tutorial.
Materials
- Yarn: DK weight yarn – Samples feature Paintbox Simply Aran, 100% Cotton Tea Rose (643) Pale Lilac (646) Bubblegum Pink (651)
Tools
- Hook: 4mm
- Darning Needle
- Scissors
Instructions
- Foundation Chain: Ch 6, ss in 6th ch from hook to form a ring.
- Round One: Ch 3 (counts as a tr here and throughout), 19 tr in ring, join with ss in top of ch-3. <20 tr>
- Round Two: Ch 3, tr in next stitch, ch 2, *tr in next 2 sts, ch 2; repeat from * around, join with ss to ch-3. <20 tr, 10 ch 2 sps>
- Round Three: Ch 3, skip 2 trs, *work (2 tr, ch 2, 2 tr) in next ch-2 sp, skip 2 trs; repeat from * to last ch-2 sp. (2 tr, ch 2, tr) in last ch-2 sp, join with ss to ch-3. <40 tr, 10 ch-2 sps>
- Round Four: Ch 3, *skip 2 sts and ss in ch-2 sp, skip 2 sts, work 6 tr in sp between two tr; repeat from * eight more times. Skip 2 sts, ss in ch-2 sp, skip 2 sts, 5tr in last ch-2 sp (where beginning ch-3 is).
- Join with ss in first ch of beg ch-3. <10 sets of 6 tr>
- Fasten off and sew in ends.
Notes
Written in UK terms.
A video tutorial can be found at the base of the post.
Completed size: 13cm approx in diameter

Recommended Products
As an Amazon Associate and member of other affiliate programs, I earn from qualifying purchases.

Love your you tube videos.
These are lovely coasters. I had actually made up some mini cotton coasters for cups and they were inspired by your coaster video tutorial 🙂
Just love your utube you have thought me so much x
Thank you 🙂
Thank you for this easy coaster pattern. Needed a quick Christmas present and this is it.
You’re very welcome 🙂
Love these coasters so easy and quick to make!
I love this simple pattern however each time I’ve tried it my coaster come out ruffled. How can I get them to lie flat?
Hi Kim You could try going up a hook size to see if that helps, but you may just need to block the coaster once it’s finished. You can do this by pinning it out into shape to help it lay flat
I love your pattern! Question: I’m trying to make an even larger coaster. For each new row, should I continue doing 2 sets of trebles per open space below? This would be prior to the scalloped edge.
Hi Theresa Thank you, I’m glad you like it The easiest way to make a larger coaster would be to use a larger hook and thicker yarn – you could even use two strands held together. I’m not sure how well it would work by just repeating the round you mention as this will more than likely make the coaster curl up.
Hello! Is there a typo at round 4? “6tr in same ch-2 sp”, should it be NEXT space that’s NOT the ch-2? I watches your video tutorial and that seems to be what’s being done. ?
Their is an amendment on my blog **Please note an error at 12:07 You should be slip stitching into the chain 2 space and making your 6 trebles into the next space
(not as it says on the video which is 6 trebles into chain 2 space and slip stitch into next space) **
I hope this helps 🙂
i loved making your bella coco coasters. I would love to join them to make a scarf for my granddaughter. Do you have a pattern for joining or any suggestions
Thanks
Barb
Hi Barbara Thank you, I’m really glad you like them To join them into a scarf you could try squaring off the coasters by working around using stitches of different heights. You can see this technique used in my tutorial for the sunburst granny square here: https://www.youtube.com/watch?v=XCnpLIgSnMo&t=8s. Another option would be to use a series of chain stitches and slip stitches to join each coaster together. You could also take a look at the Willow Granny Square:https://www.youtube.com/watch?v=XzsRXQrVBfE&t=1s which is a different pattern but has a similar look and is squared off so will be simpler to join
How can you join the coasters together to make a queen sized blanket..could you make a video to show everyone?
Rose E. Pierson
Hi Rose I have several tutorials on how to join squares, if you search bella coco how to join granny squares they will come up and you can have a look through to see if any would be suitable for you 🙂
Hi I love these coasters such a pretty pattern. I was just wondering if you have a pattern for a square that is in the above picture with the coasters. Its the pale purple one under the iPad. It is so pretty and I would like to give it ago. Thank you for your beautiful creations I am looking forward to trying out more patterns.
Thank you, and it’s the willow square – I have a 4 part tutuorial, here is the link for the first one:- https://youtu.be/XzsRXQrVBfE you will find the links for the other 3 underneath the tutorial where it says more.
This pattern seems to be the one in this months Crochet Now – I followed this but my clusters came out skewed, I think because it says to do 6tr in the same 2ch-sp as the slip stitch which proceeds it. The video on this page looks like it’s the correct approach but that means the pattern written above and in Crochet Now is incorrect? Could you confirm please? Have just spent the past 15 mins scratching my head trying to work out why my coaster wasn’t looking the same as the picture! Thanks in advance.
Hi Jo, thanks for bringing this to my attention. For the coasters you should be slip stitching into the chain 2 space, and then making your six trebles into the NEXT space (as shown in the video tutorial). I will have the written pattern looked at asap to have this checked and amended. Sorry for any confusion this has caused!
I loved making these coasters. It would be great if there was a companion pattern for place mats
These coasters are so fun! Is there a way to make them waterproof or stiff? Would using starch on the finished product work? Curious what you would suggest. :-
Hi Melissa, I have never tried this so I can’t really recommend anything 🙂
Love this pattern. Wanted a quick stash busting item and these are great. Now need to keep them safe for a Xmas Prezzie! Thank you. X
You are very welcome 🙂