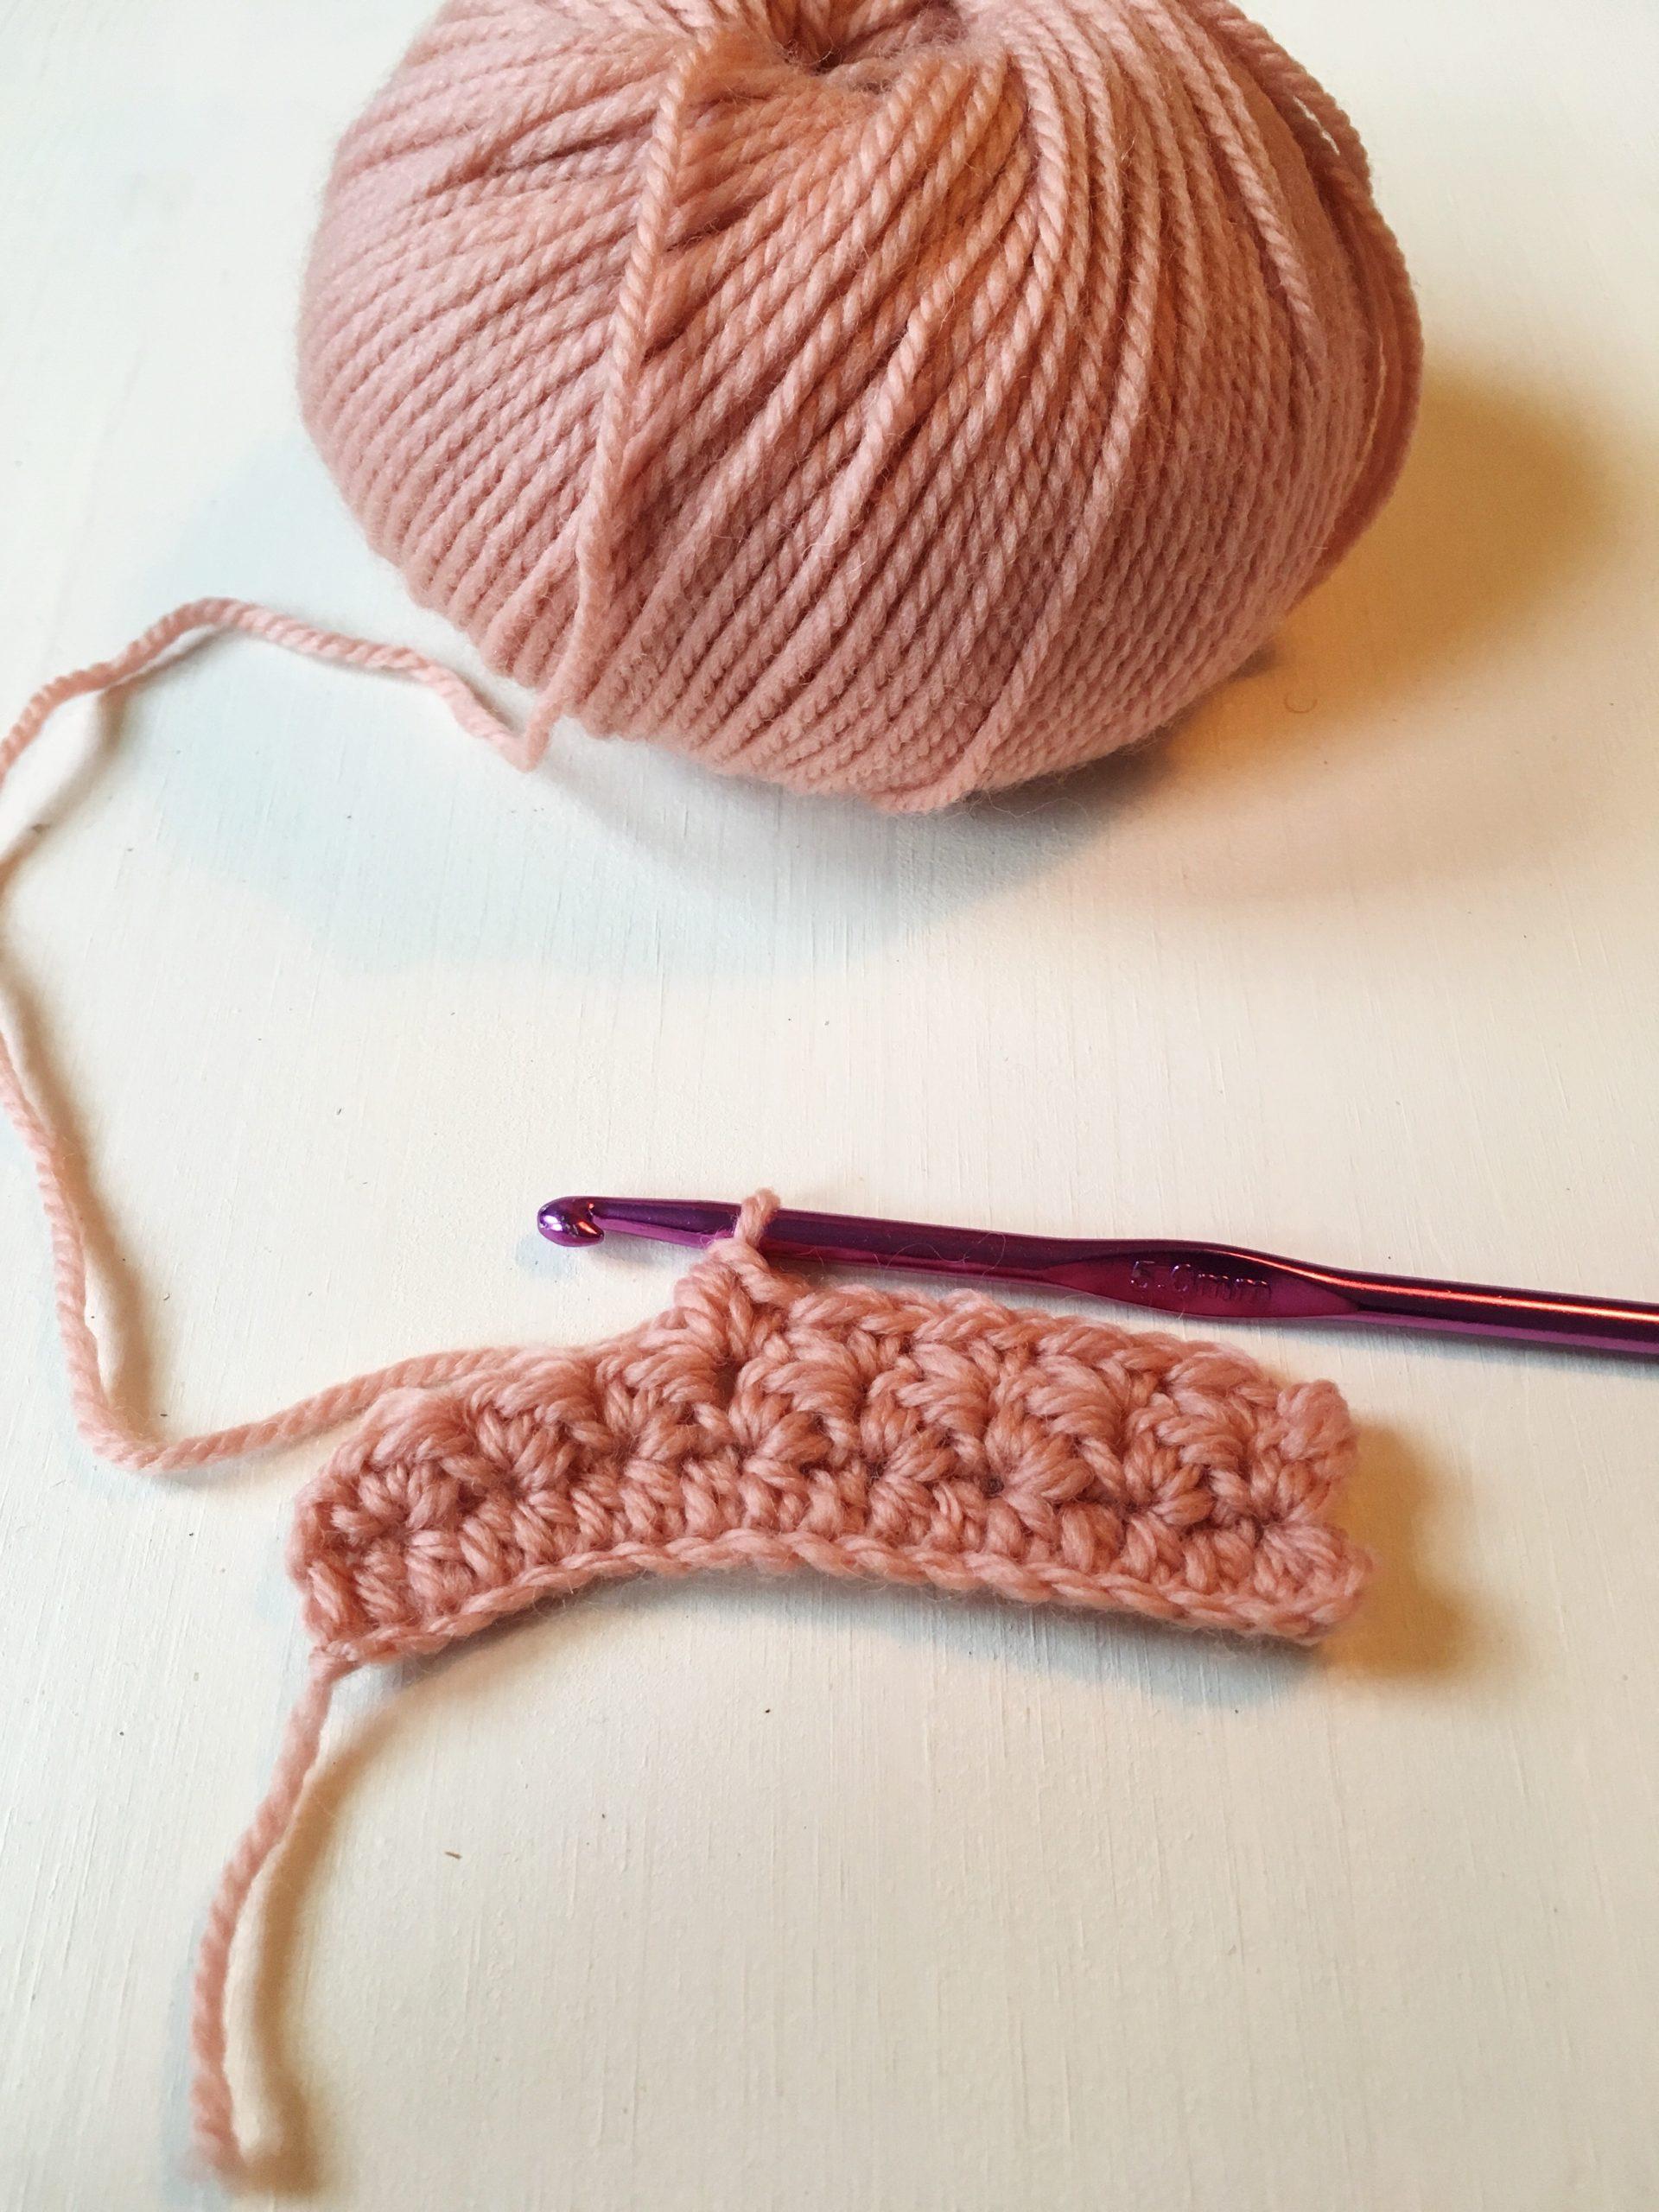
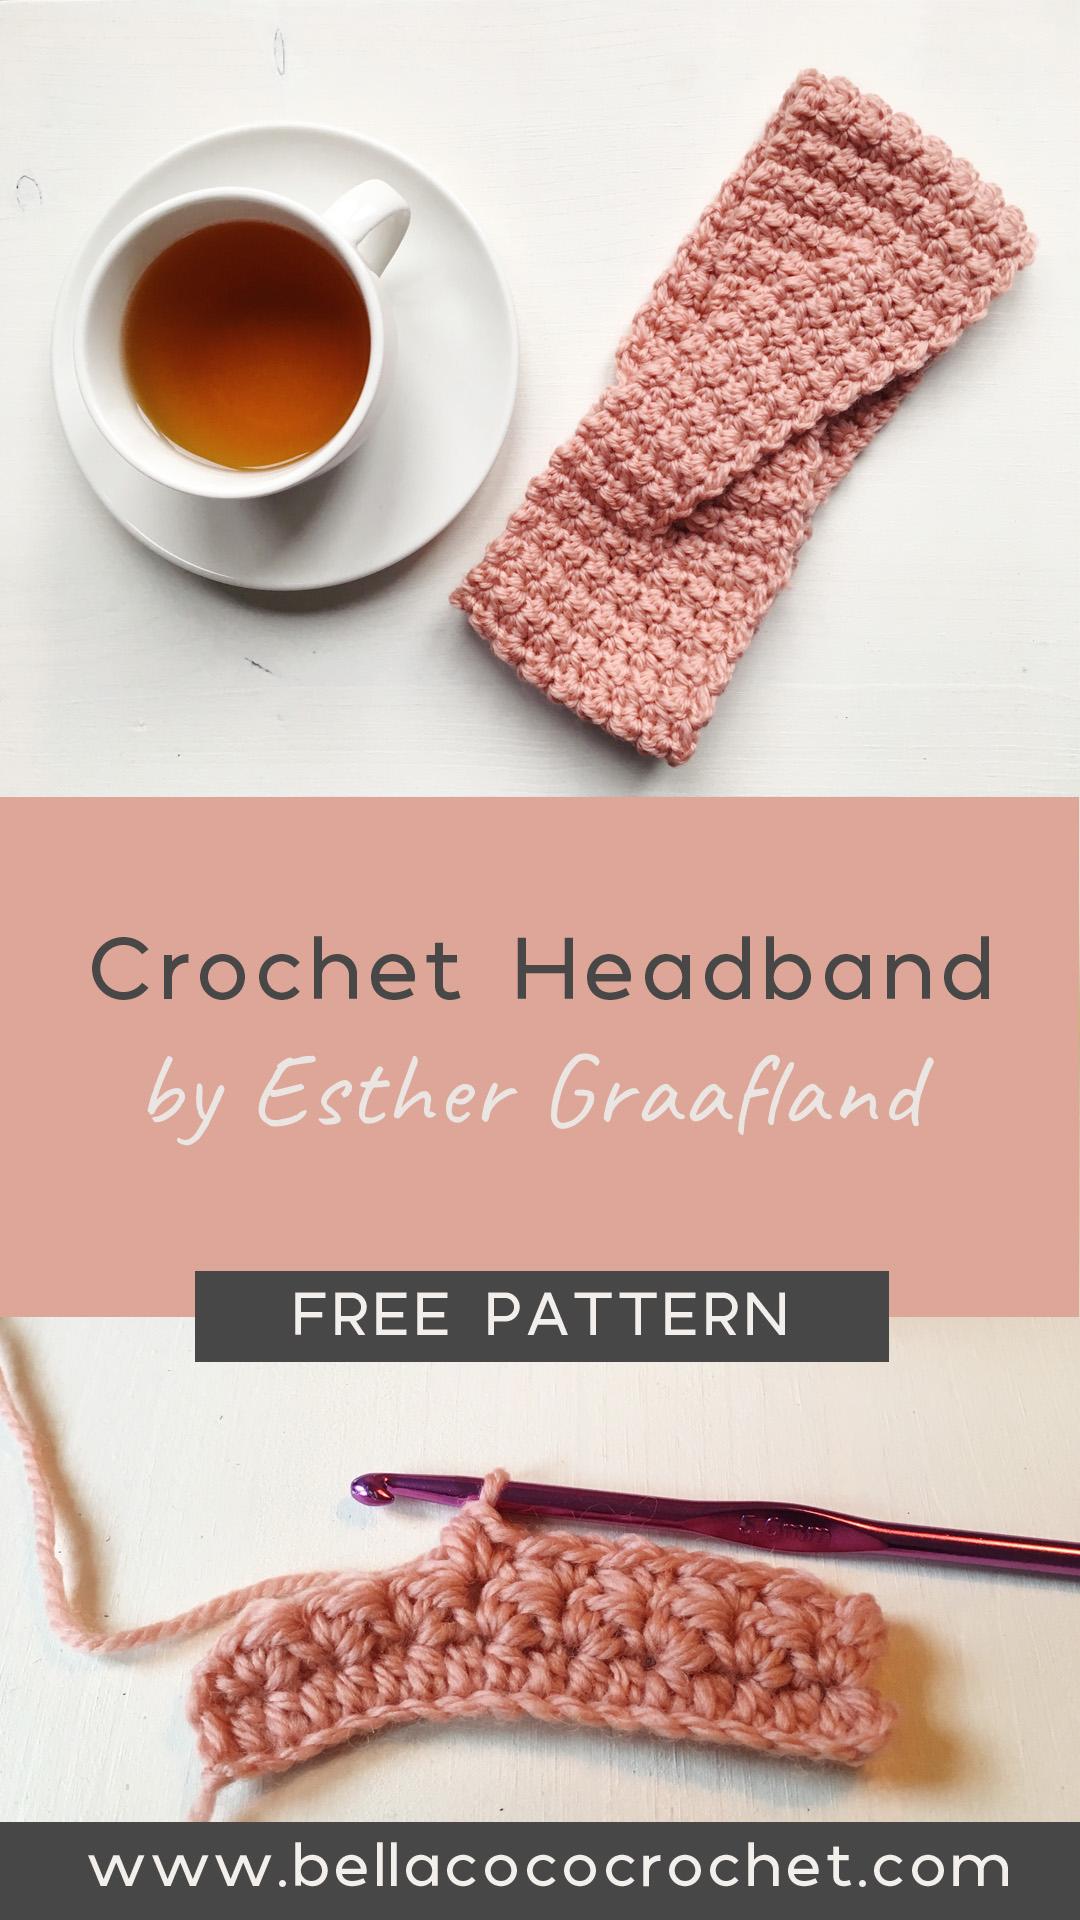
This week I am welcoming Esther Graafland from @studiomadelaine to the blog. Esther has put together this free crochet headband pattern for you to enjoy just in time for the winter, or perhaps even make as a gift in time for Christmas. This is a quick and easy one-skein project for you to try.
The twist in this headband makes it fun and the pattern of the combination of the stitches give it a simple but very soft and warm structure.
“As this is a guest post, Bella Coco Crochet is unable to answer any queries. If you have a question, please contact the designer directly and they will be happy to help you.”
Materials and Tools Needed
- Yarn – 1 x Rico Essentials Soft Merino in colour way 014. This is an Aran weight 100% wool.
- Hook: 5 mm
- Scissors
- Stitch marker
- Needle
Notes and gauge
Following the pattern, if you’ve finished row 13 it should be around 10 cm high and 9 cm wide. The finished headbead is approx 52 cm.
The headband is easily adaptable to fit alternative sizes. When you are in the last part of the pattern, just add a few rows to make it bigger, or skip a few rows to make it smaller.
This pattern is worked in rows, after each row you make a ch and turn. This is indicated in the pattern. At the twist-part you need to tie-off and re-attach your yarn once.
Skill level
Beginner
Stitches and Abbreviations
Pattern written in UK terms but switchable to US terms below.
Slip Stitch(s): sl st: Insert hook, yarn over pull through stitch and loop on hook
Chain: ch(s): Yarn over, pull through.
Double crochet: dc(s): Insert hook into stitch, yarn over, pull up a loop, you will have two loops on the hook. Yarn over, pull through remaining two loops.
Half Treble Crochet: htr(s): Yarn over, insert hook into stitch, yarn over, pull up a loop, you will have three loops on the hook. Yarn over, pull through all three loops.
Unsure of the differences between UK and US terms? Need a refresher on how to do your stitches? In my ‘How to crochet: A handy reference guide’ EBook I help you with all of these terms and you can always have them to hand! You will also get exclusive access to free video instructions. You can find my EBook HERE.

To unlock this FREE crochet pattern all you need to do is enter your email and the grow app will appear, please enter your email and create a password. Now you’ve created a grow account you’ll be able to access all of the free patterns on the blog and bookmark your favourites so you can have them all in one place for easy access.
If you forget your password, click the “forgot password” link and follow the prompts. Please note that the team are unable to assist with resetting Grow passwords or accessing your Grow account, so please make sure you save your login information in a safe place.
Your grow account is separate from your Bella Coco account which you use to access your purchased patterns.
Pattern
You are viewing this pattern in UK terms.
Chain 17
Row 1: make a dc in the second ch from your hook and in each ch till end of the row (16 sts), ch 1 and turn
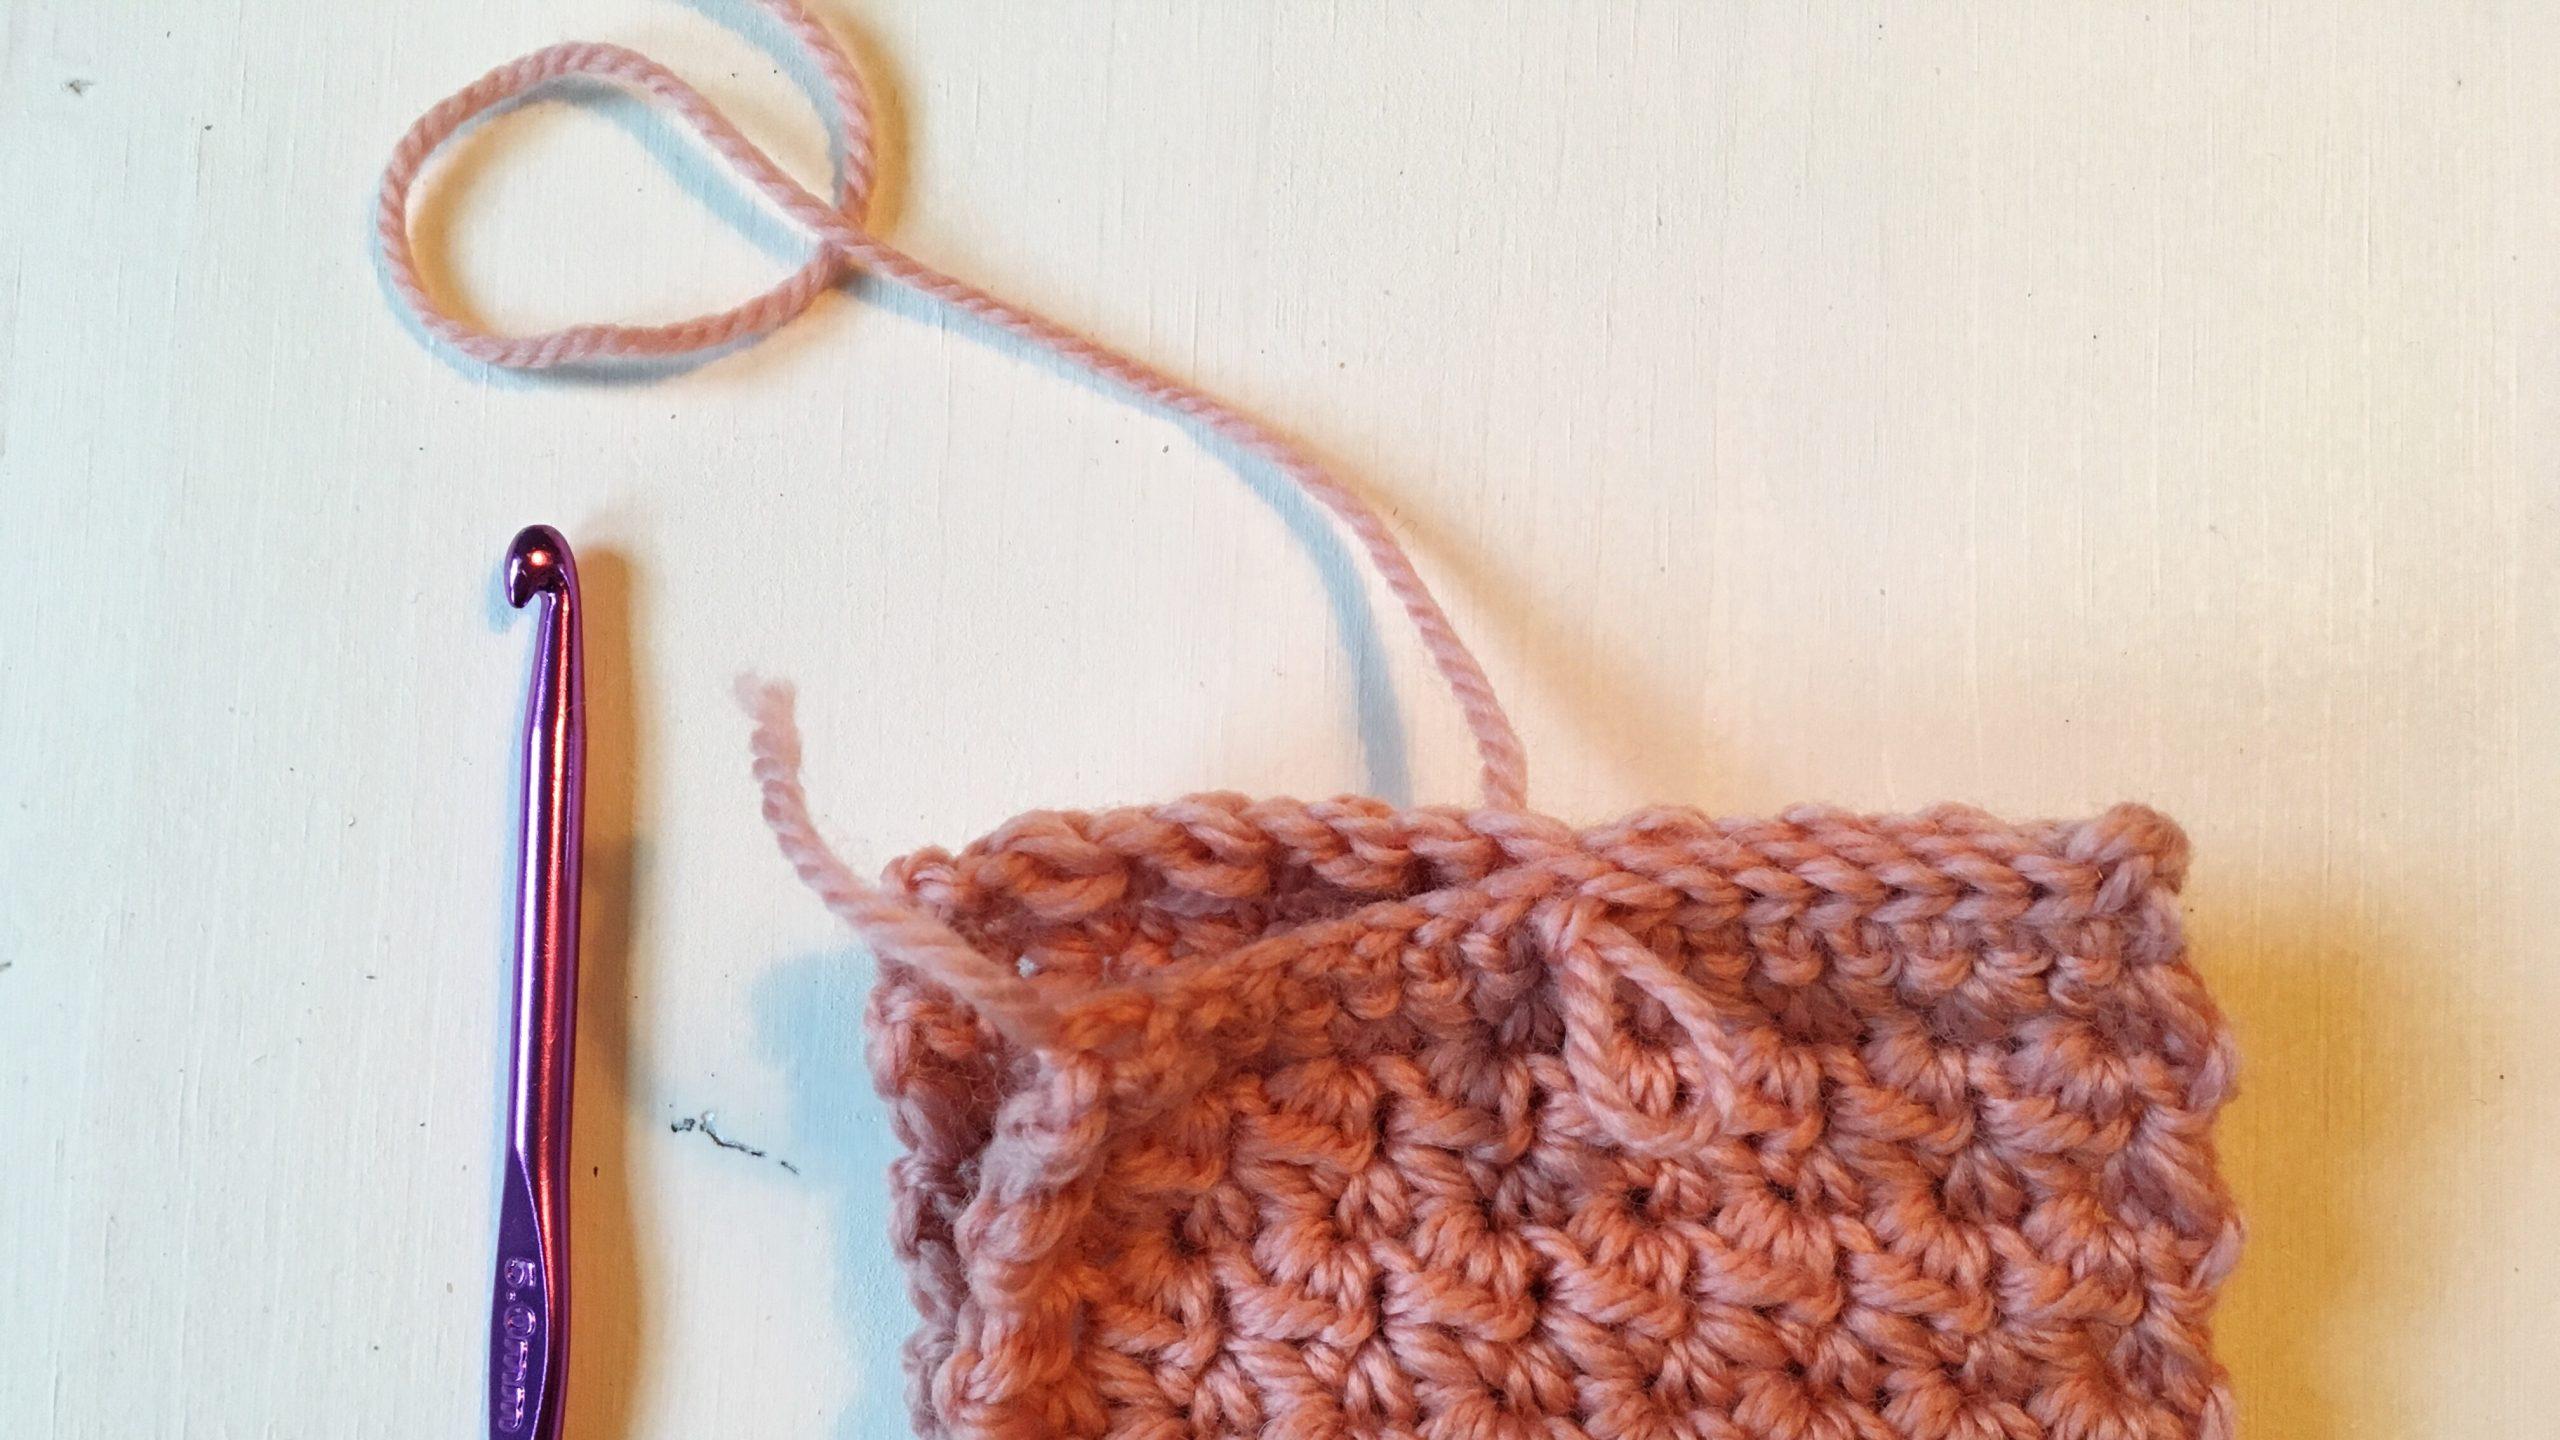
Row 2: * skip first st, dc + htr in next st. Repeat from * till end of the row, ch 1 and turn (photo start)
Row 3-27: repeat row 2
You’ve now finished the first part of the headband, we will continue with the ‘twist-part’, which has a part A and a part B.
Part A:
Row 28: * skip first st, dc + htr in next st. Repeat from * 3 more times, ch 1 and turn.
Row 29-45: repeat row 28
After this, cut your thread and fasten off.
Part B:
Go back to row 28, and attach your yarn with a ss in the middle of the row, in the first stitch left of the first part of the twist you just made.
Row 28: after the ss, make a dc + htr in the next stitch, continue with * skip stitch, dc + htr in next stitch until the end of the row, ch 1 and turn.
Row 29-45: repeat row 28
Do not tie off your yarn.
You now have two separate parts of the same length. Make sure you’ve ended the last row in the middle of your work as indicated on the photo.
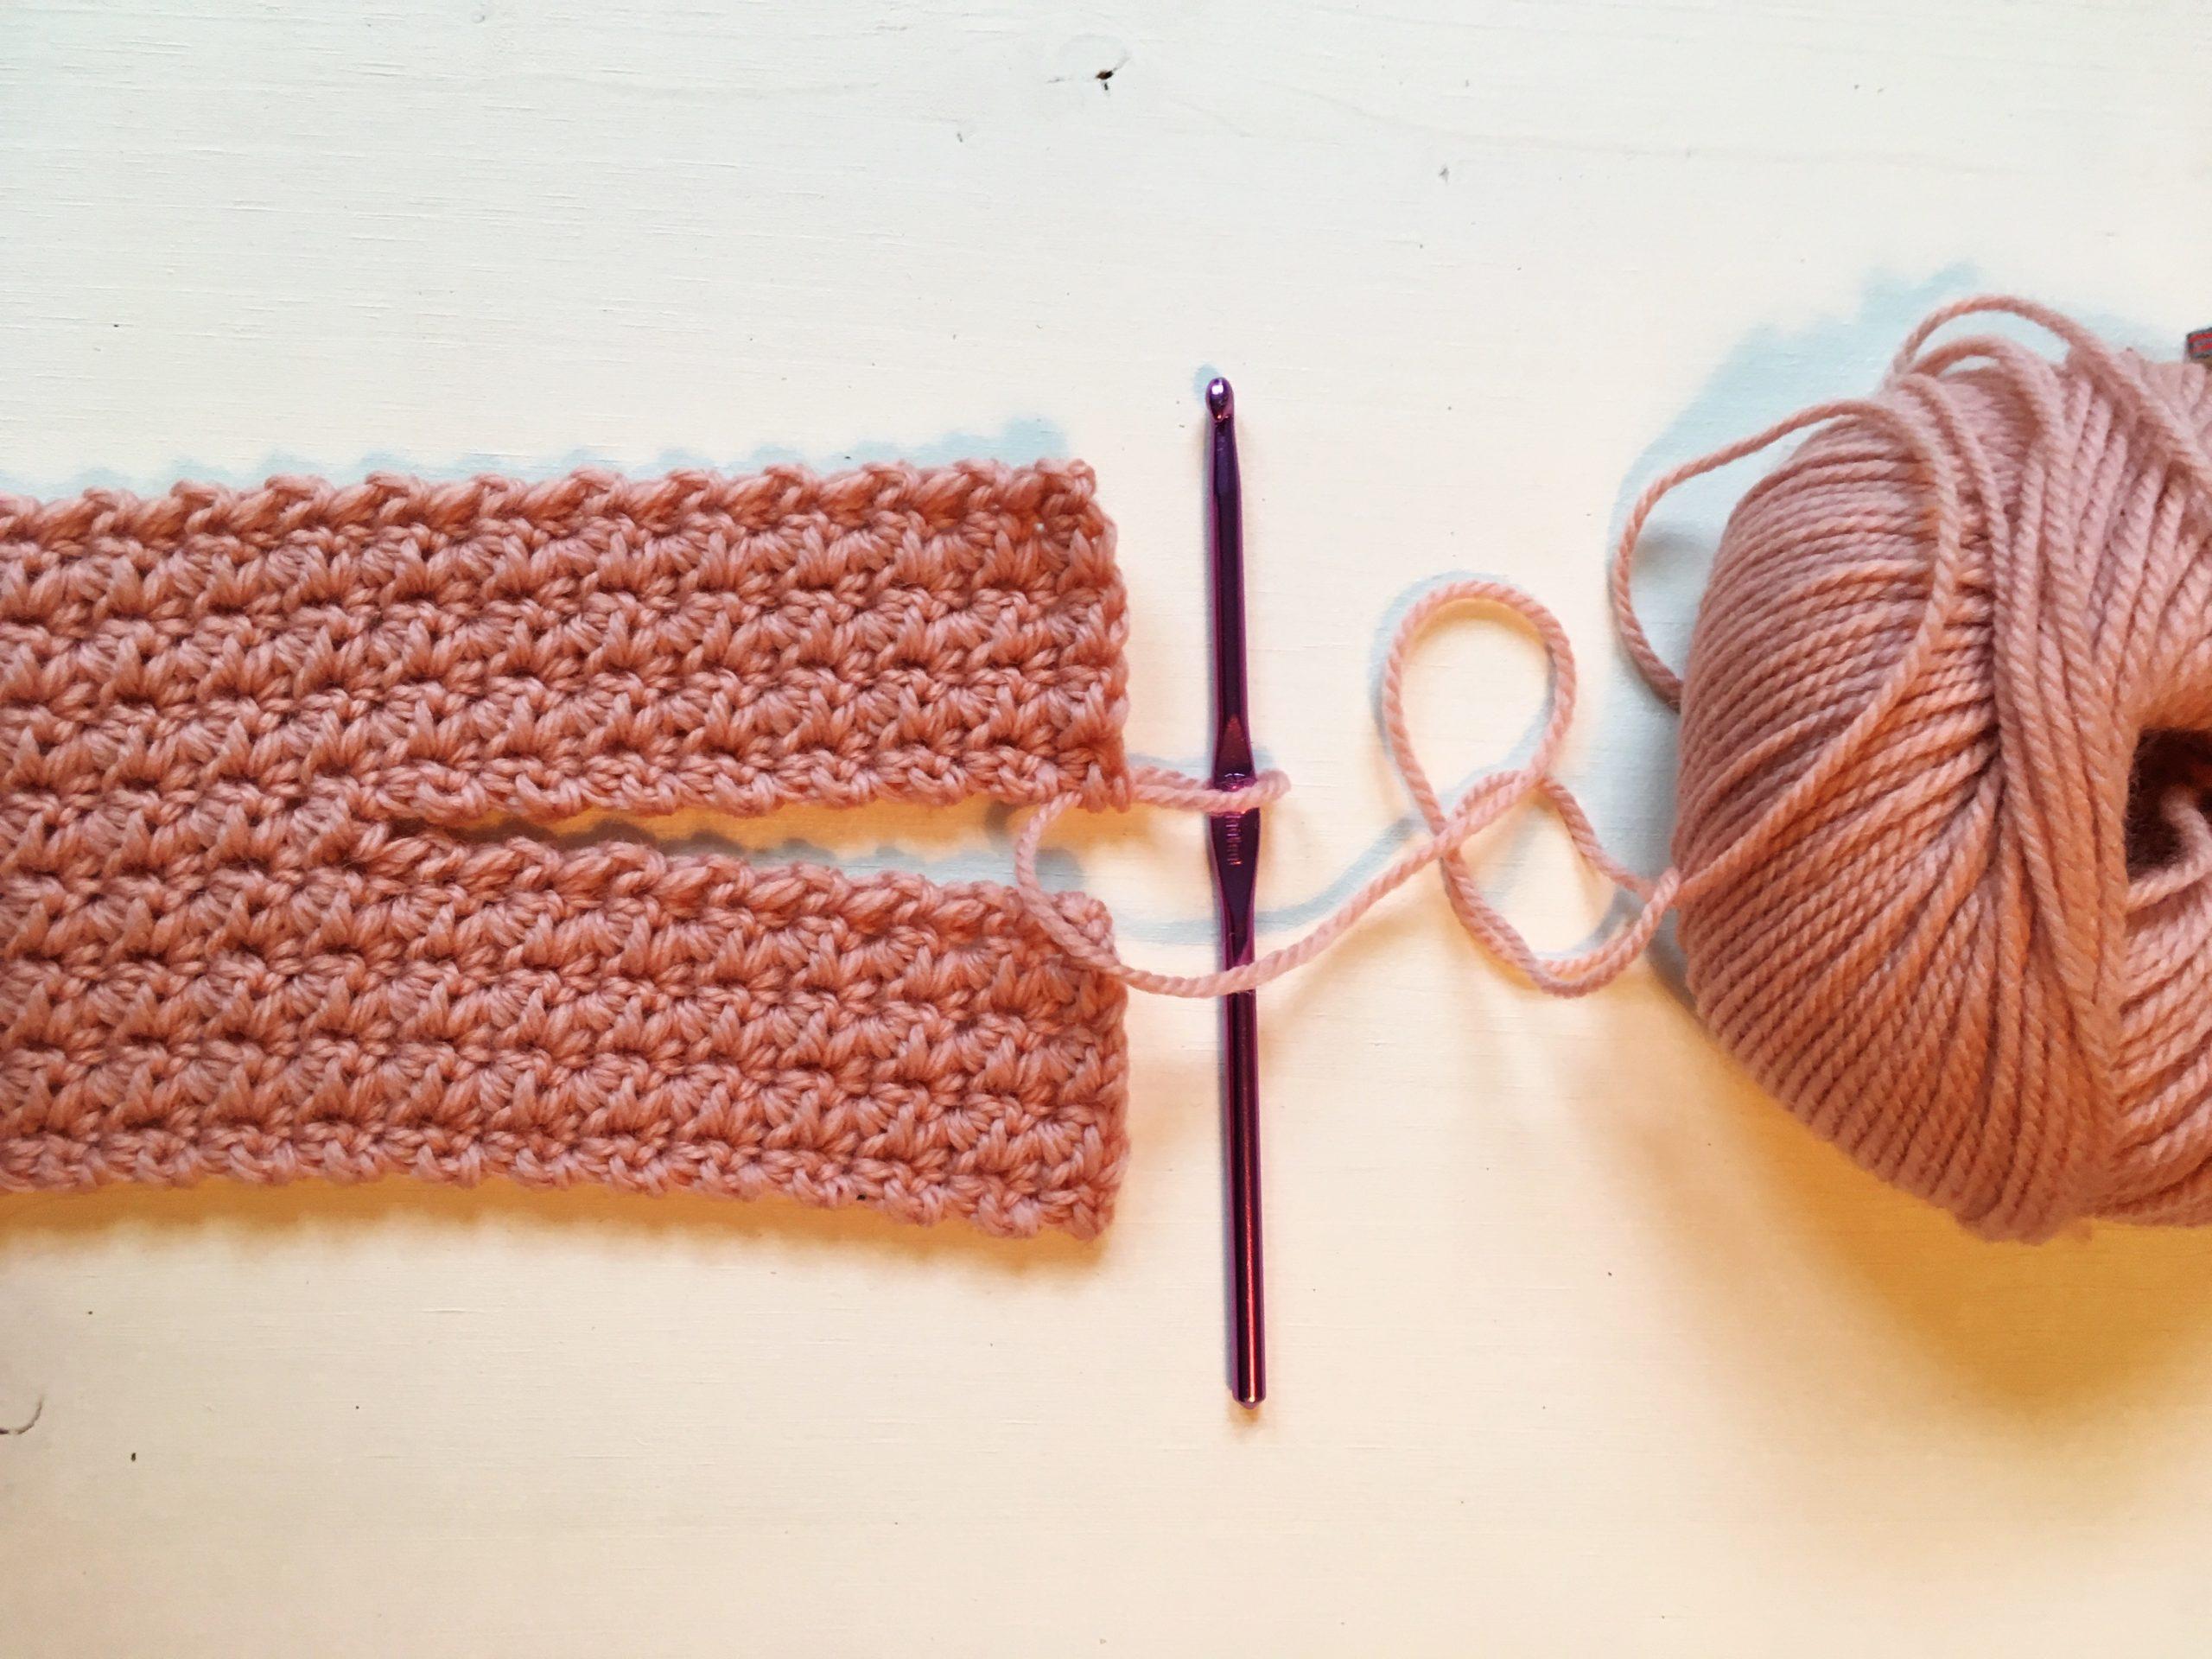
Cross the two parts over each other, creating the twist. You will now continue with the last part of the headband.
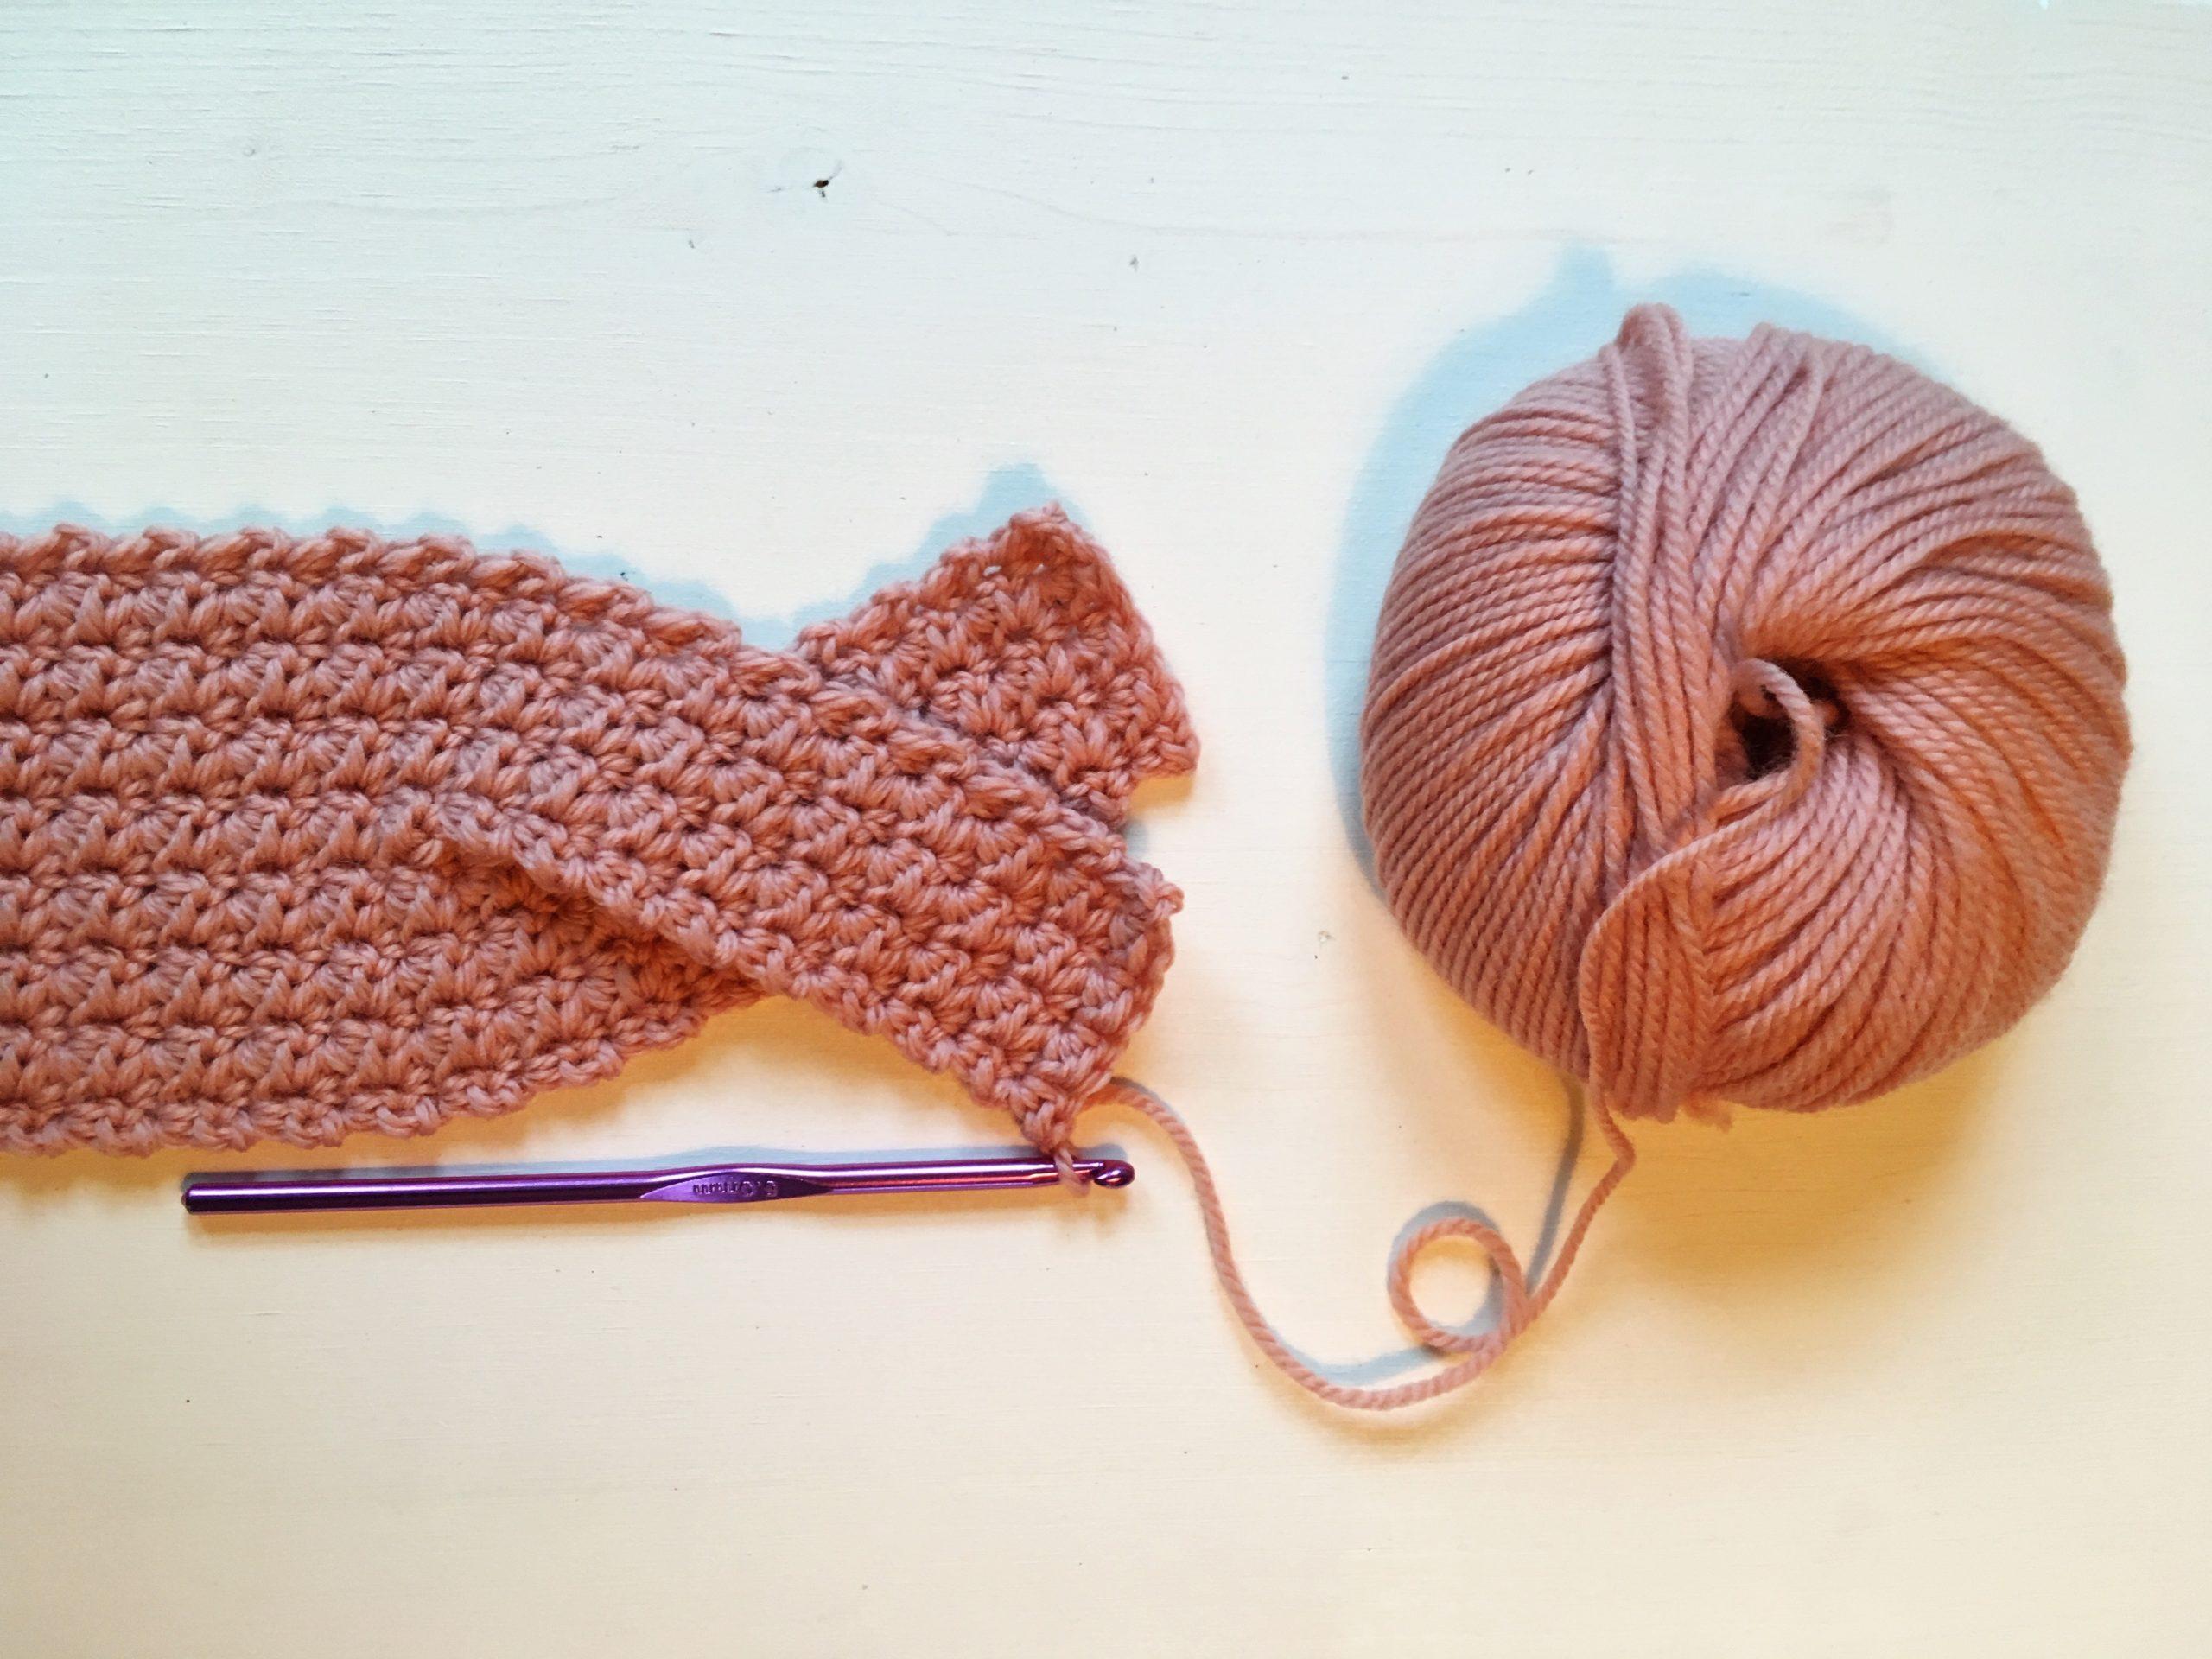
Row 46: * skip first st, dc + htr in next st. Repeat from * till the end of the row of both parts, ch 1 and turn (16 sts). With this row you connect two parts again.
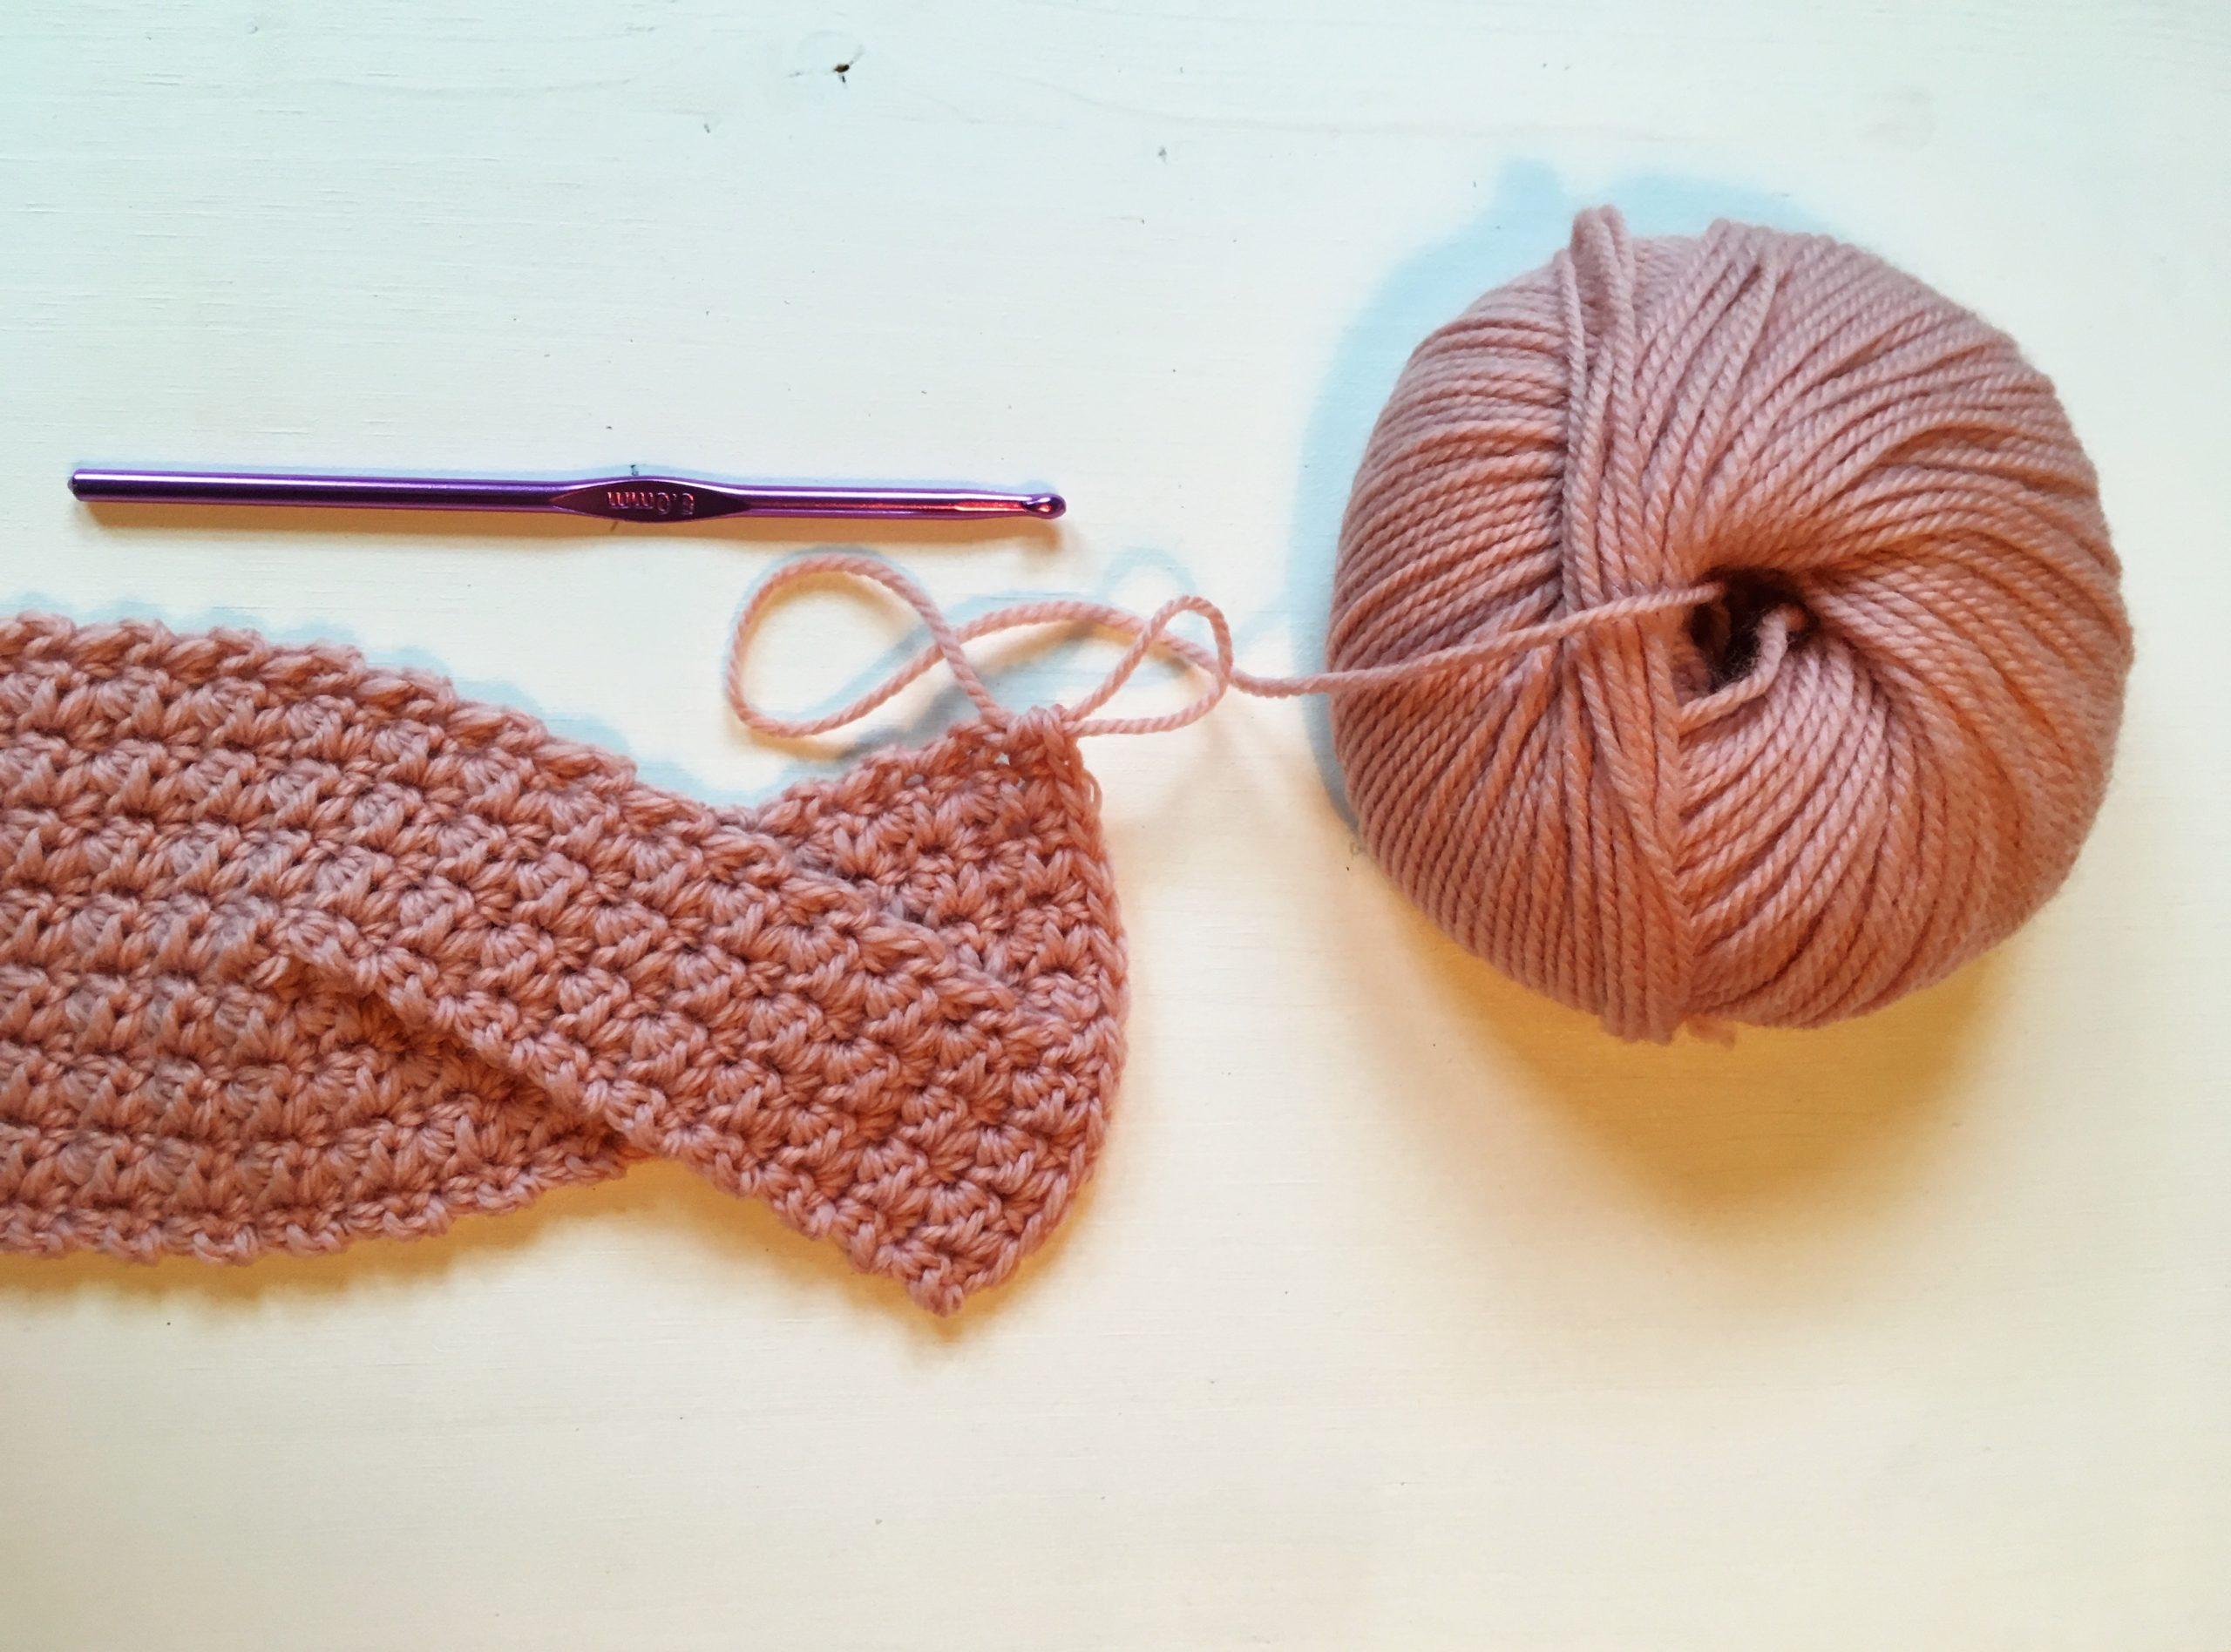
Row 47-70: repeat row 46.
Make sure you measure a few times in this last part. When you want to make the headband slightly bigger, you can add a few rows here, when you want to make it smaller you can skip a few rows.
When your headband is the right length, fold it in half with the right sides facing each other, and ss across both ends to join them.
“I love this pattern! It is a very quick make and it’s the perfect quick present for friends and family! One of the great things about crochet is that it does not have to be hard to give handmade gifts to your loved ones.” Esther
You can read my interview with Esther over on my Instagram stories today.
PIN THIS PROJECT FOR LATER
Would this also work with a chain of 15 for a smaller headband?
Hi Lisa I contacted Esther with regards to your query and this was her reply:-
Dear Lisa,
Yes you could make it smaller, but because you want to twist-part to be equal, I would recommend a chain 13. But that might make the headband to small?
When you go for a chain 13, I would also recommend to have 15 instead of 18 rows in the twist part. These rows you can add in the end if your headband is not log enough.
Good luck!
Esther
Hope this helps 🙂
Cute!!!
thank you for this lovely pattern..
it seems difficult for the beginner that I am, but I am happy to try it…
Can you please advise what I must change If I want to make it for a child 8 yrs old how must I convert the pattern please??
Thank you for sharing…
Marif
Hi Marie as this was a Guest Blog Post you will have to contact Esther directly 🙂
How do you do a DC and the in one study? Every time I do it I end up with double stitches at the end of the row!
Hi Lesley as this is a guest post you will need to contact the designer direct 🙂
Hi there, I was wondering what to do to stop the curling of the piece since I’m working on it and it’s starting to curl. I don’t know if my stitches are too tight or something but please help
Hi Ahira It depends in what way it’s curling If the whole piece is curling up into a spiral then that’s normal and will straighten out as you add more rows. If it’s curving into a rainbow shape then your starting chain is too tight, but you can solve this by using a hook one size larger just for the chain stitches.
It’s a year late, but I was thinking the same thing. Eventually noticed the asterisk (*) in step two INCLUDES the skipped stitch in each repeat.
So in each row you alternate a skipped stitch with two-in-one stitch across the row.
That way you end up with the same number of stitches across the row, and spaces to insert the next row
Hope this helps someone
X
Please can you do a video tutorial as I find it so much easier to follow. Thanks so much!! X
Hi Georgia as this was a Guest Post I am unable to do a tutorial 🙂
Aw no worries! Can we expect a similar tutorial in the future? x
Hi Georgia I am working on one as we speak and it will be on my Youtube channel very soon 🙂