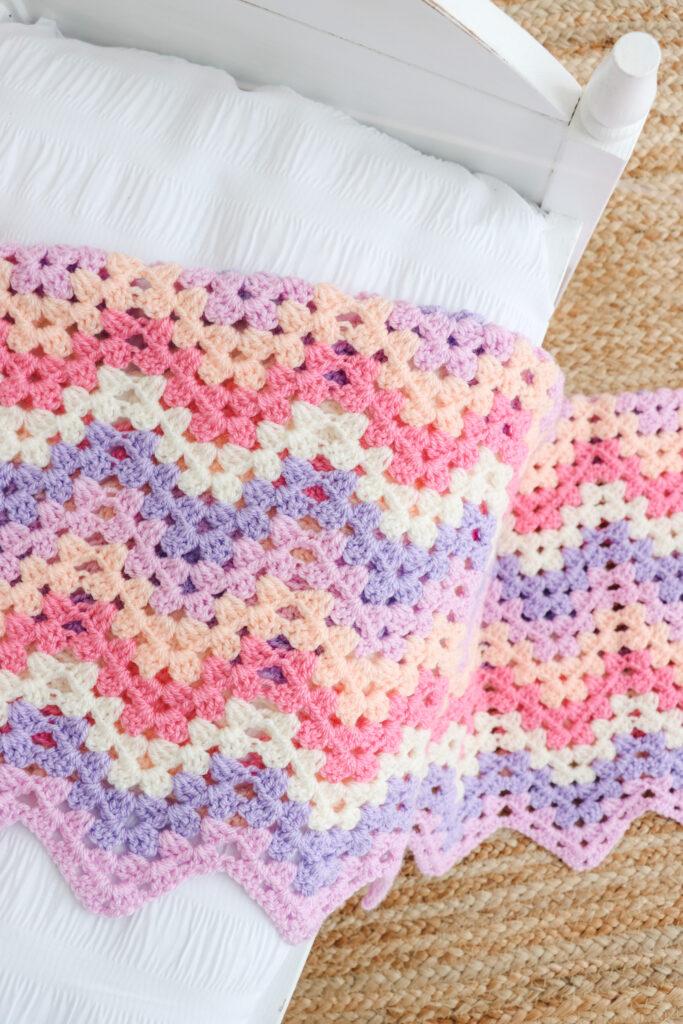
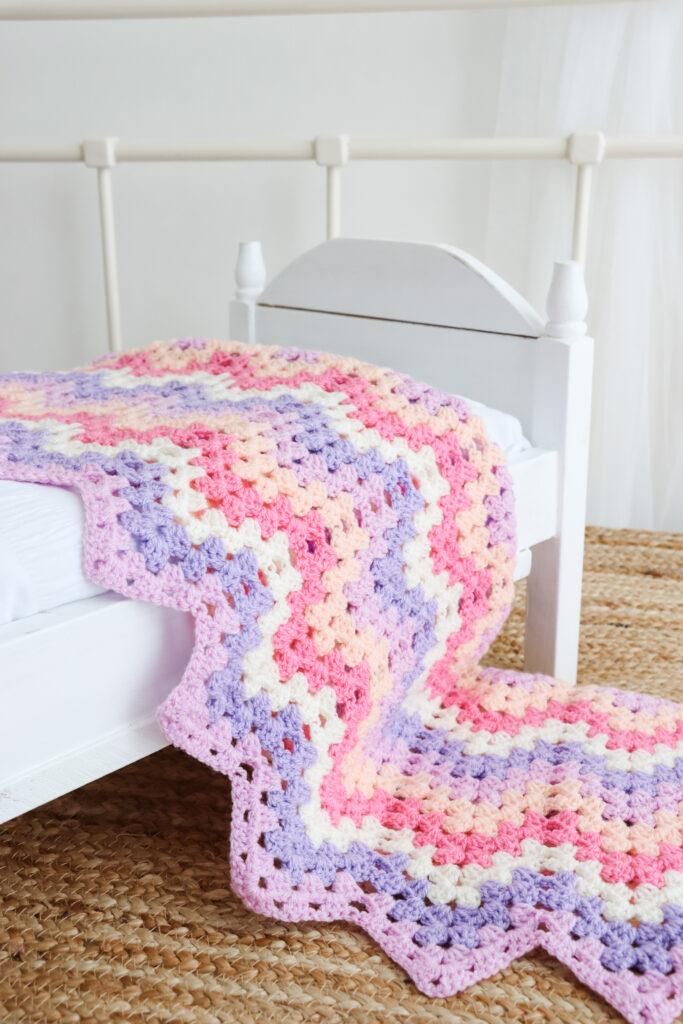
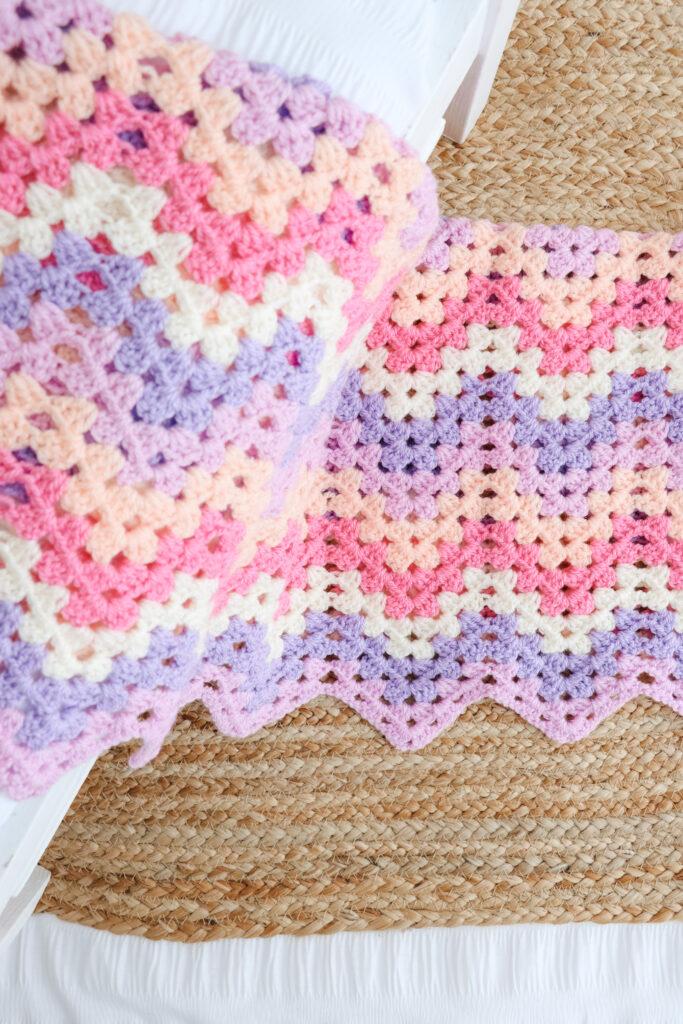
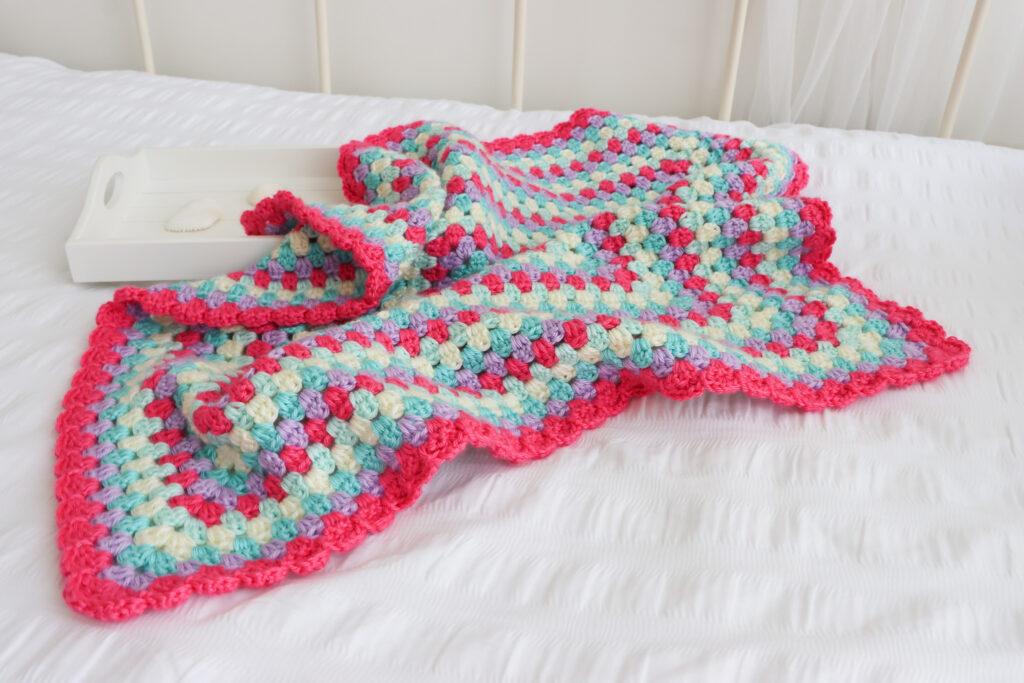
Learn how to crochet a granny chevron blanket with my free step-by-step pattern and video tutorial. Combine the timeless charm of the granny stitch with a chevron stripe to create this stunning modern crochet design.

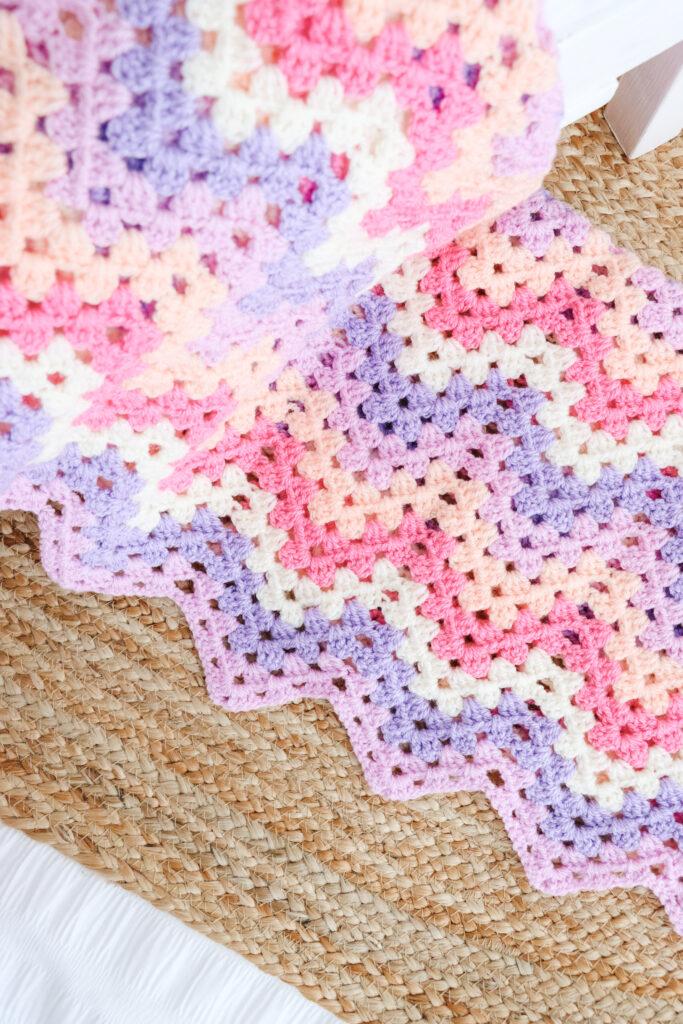
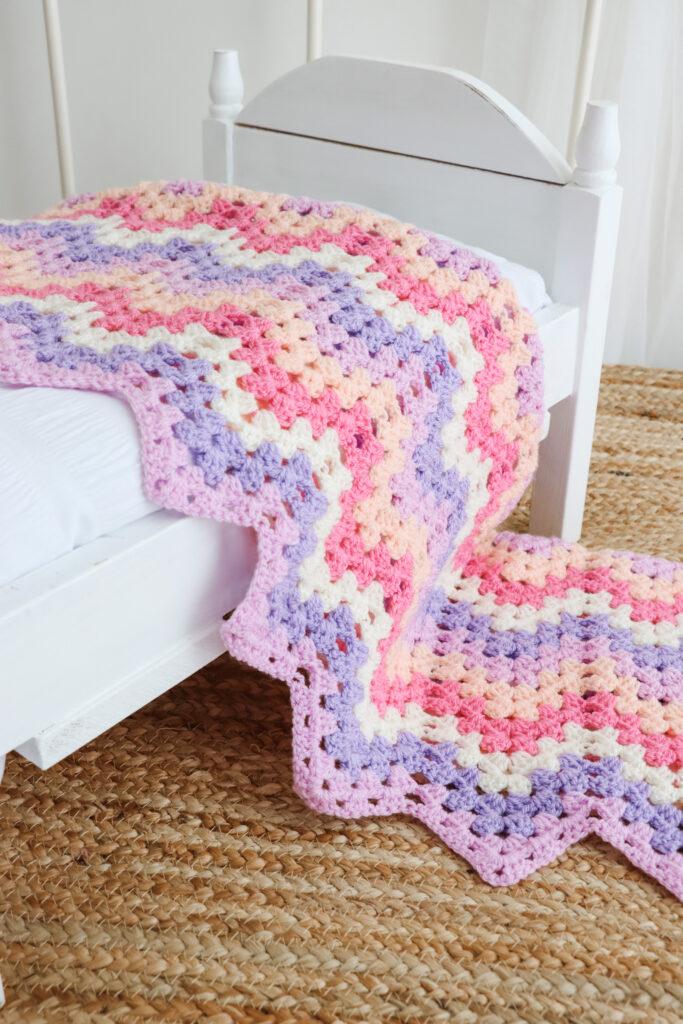
There’s something so comforting about a handmade blanket, especially one bursting with colour and charm like this Granny Chevron Stitch beauty. With its soft waves and joyful palette of pinks, purples, and creams, this blanket is the perfect mix of vintage flair and modern sweetness.

Crochet Granny Stitches
The granny stitch is one of my favourite stitches; it’s not only an iconic stitch in the crochet world, it’s also very versatile. From stripes, chevrons, squares and spiked variations. The possibilities are endless! I’ll leave some links below for you to explore:
Materials & Tools
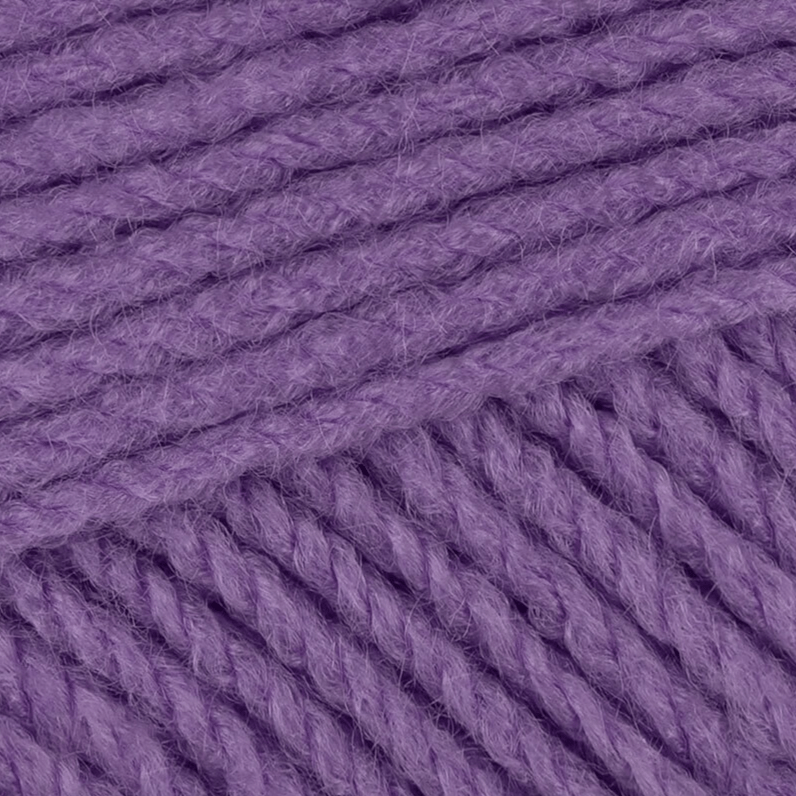
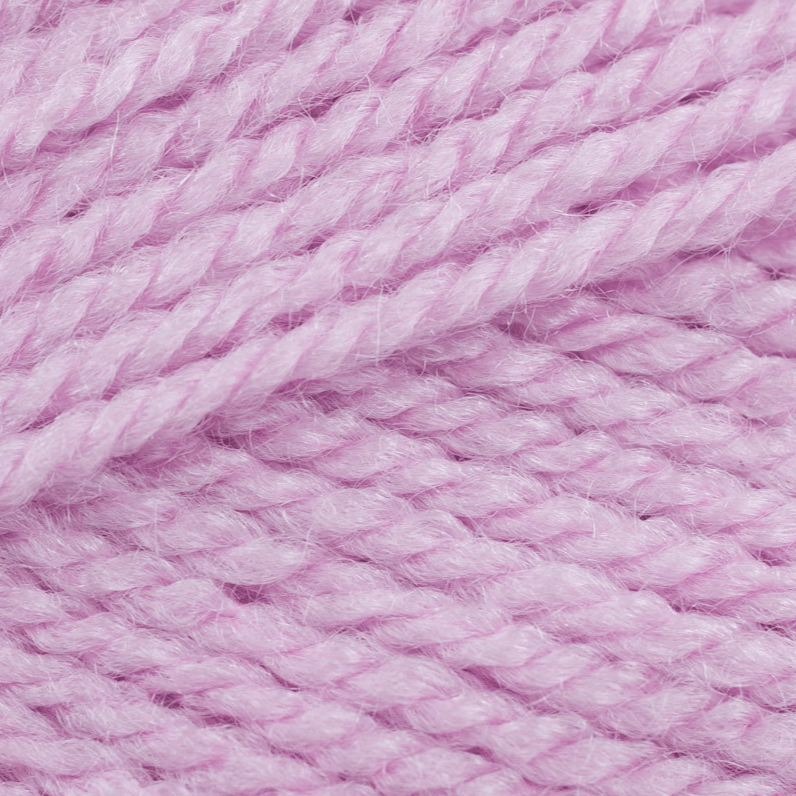
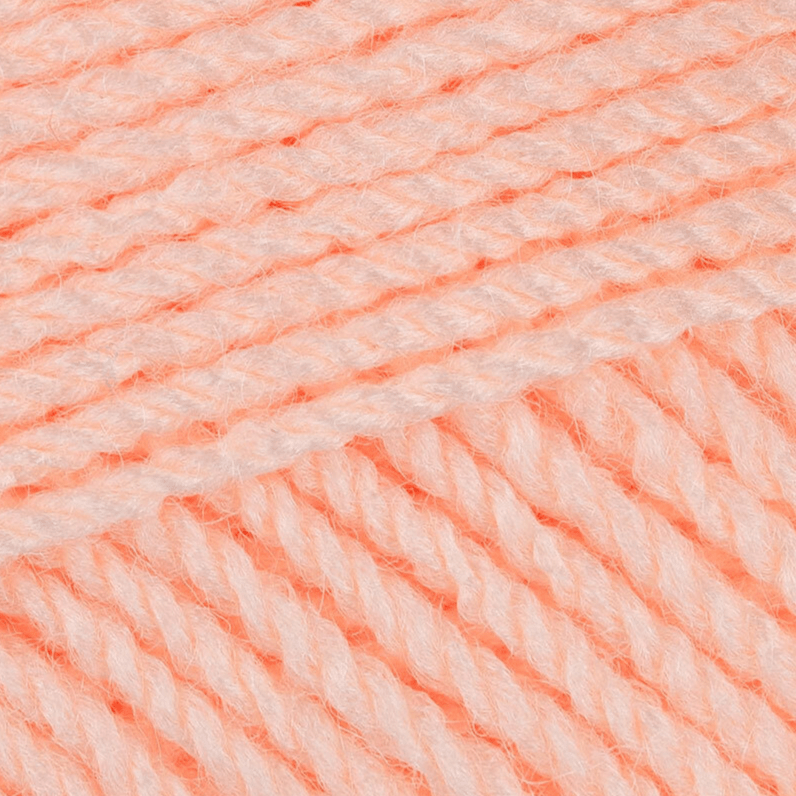
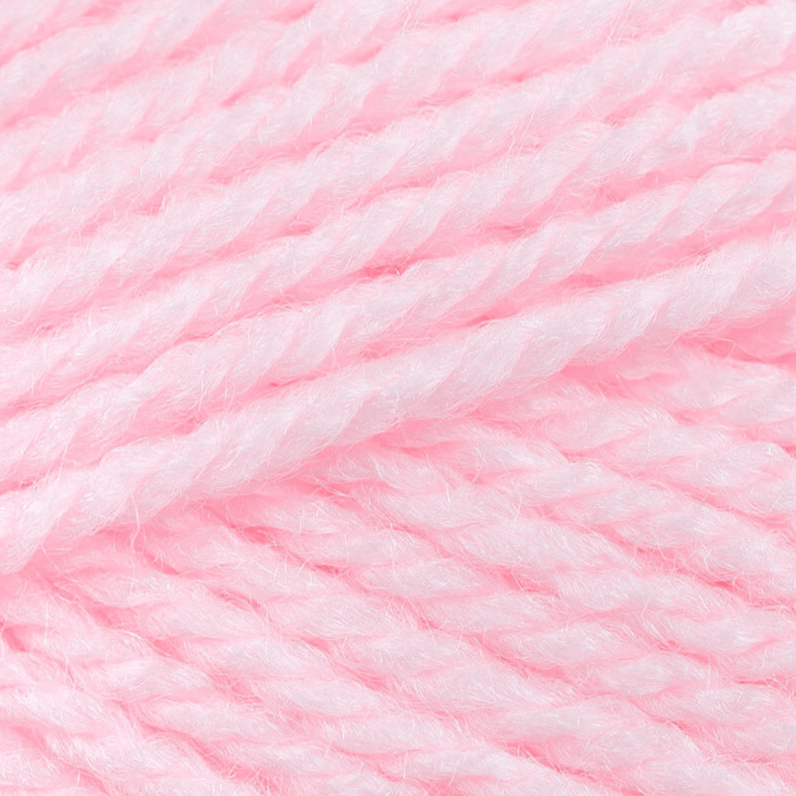
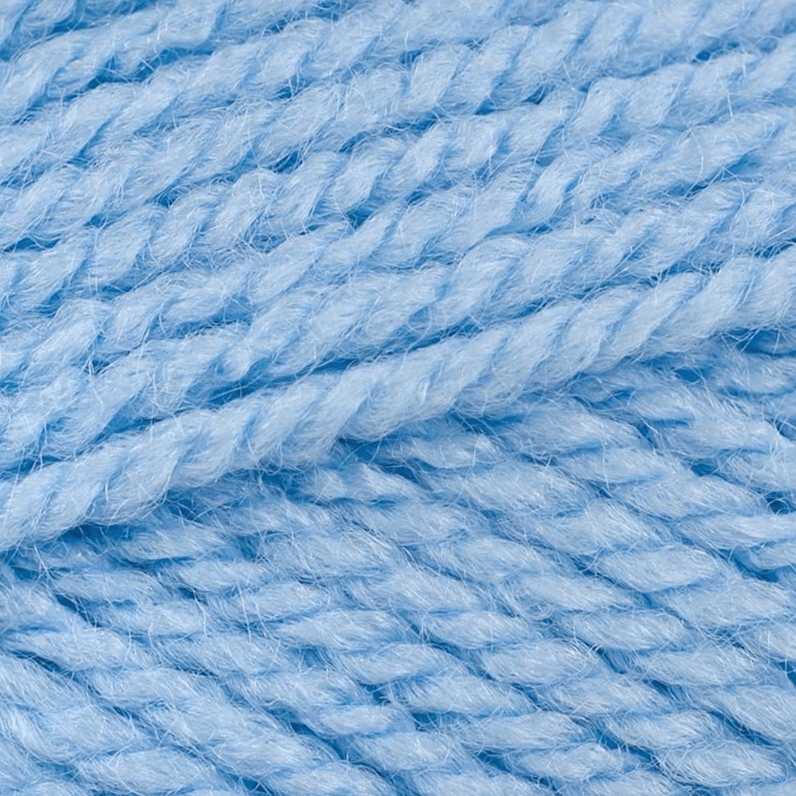
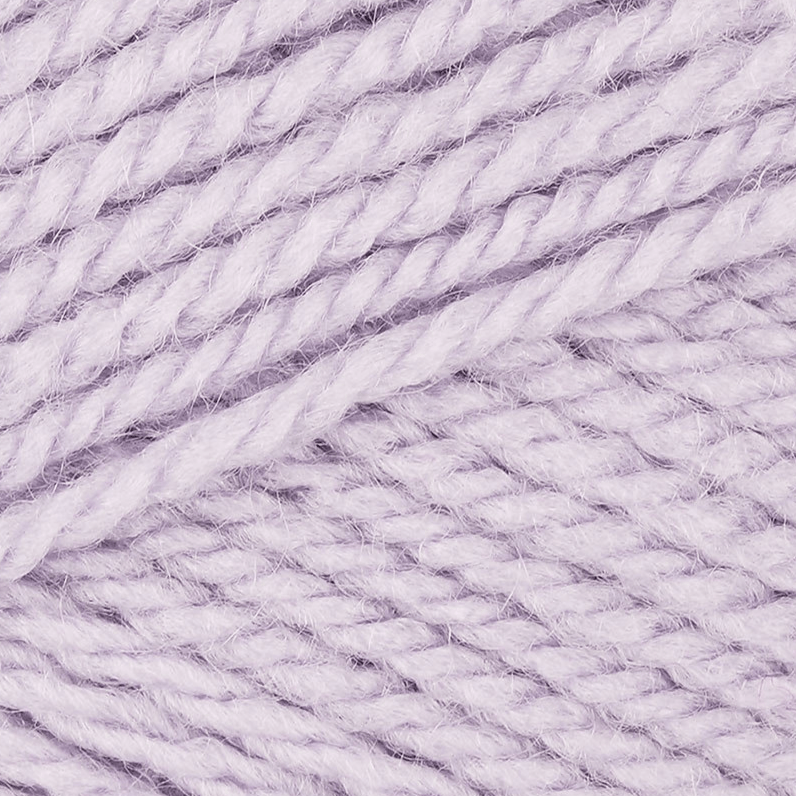
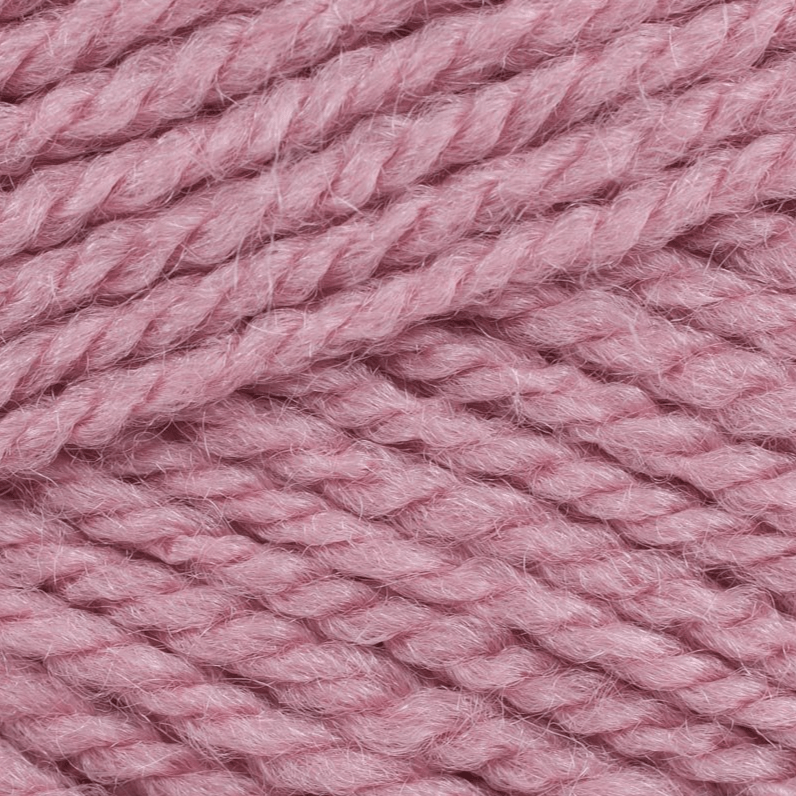
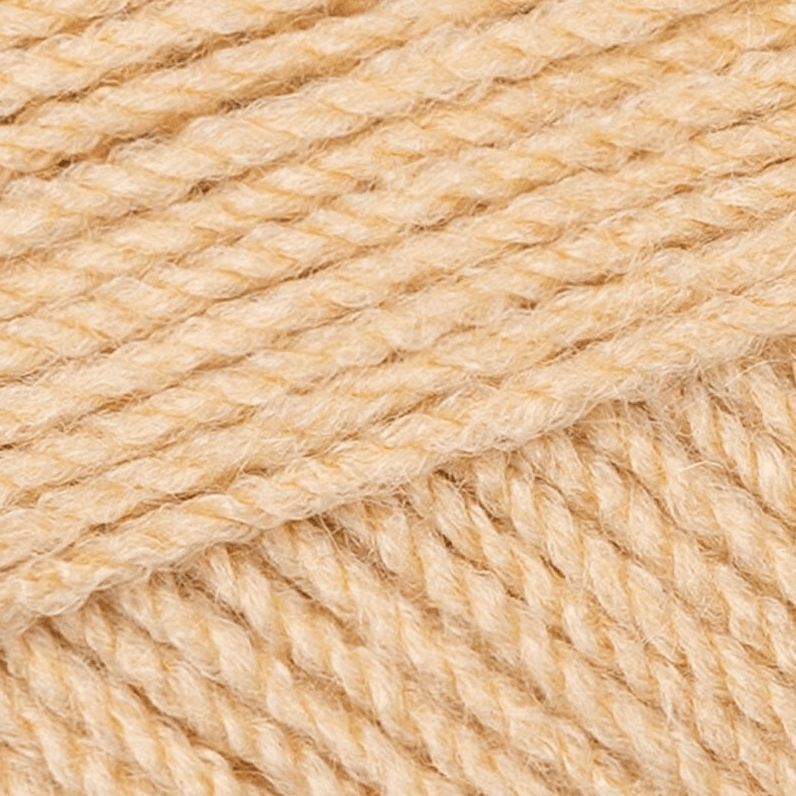
- Yarn: Stylecraft Special DK. In the blanket pictured, I used the shades Fondant, Apricot, Clematis, Wisteria and Cream
- Hook: 4mm
- Scissors
- Darning Needle
Pattern Notes
- Written in UK terms but switchable to US terms below.
- Assisting tutorial avaliable
Pattern Support
The fastest way to get pattern support is to ask in our dedicated facebook group for Bella Coco Crochet patterns. This is the best place for you to connect with other crocheters.
Please note, if you wish to change and adapt this pattern in any way, this must be done at your own exploration and we cannot offer assistance with this.
About The Yarn
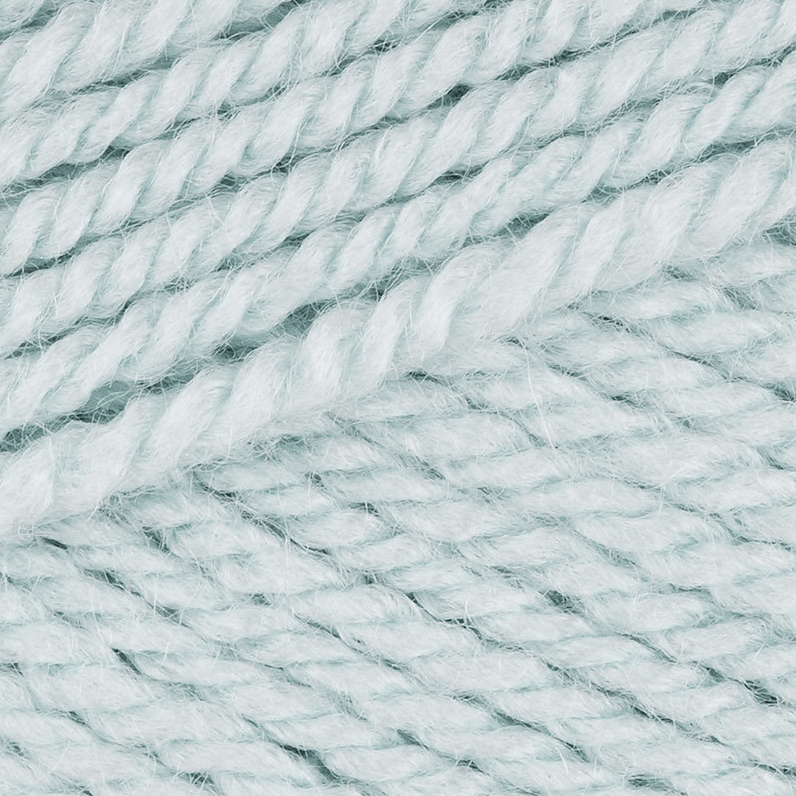
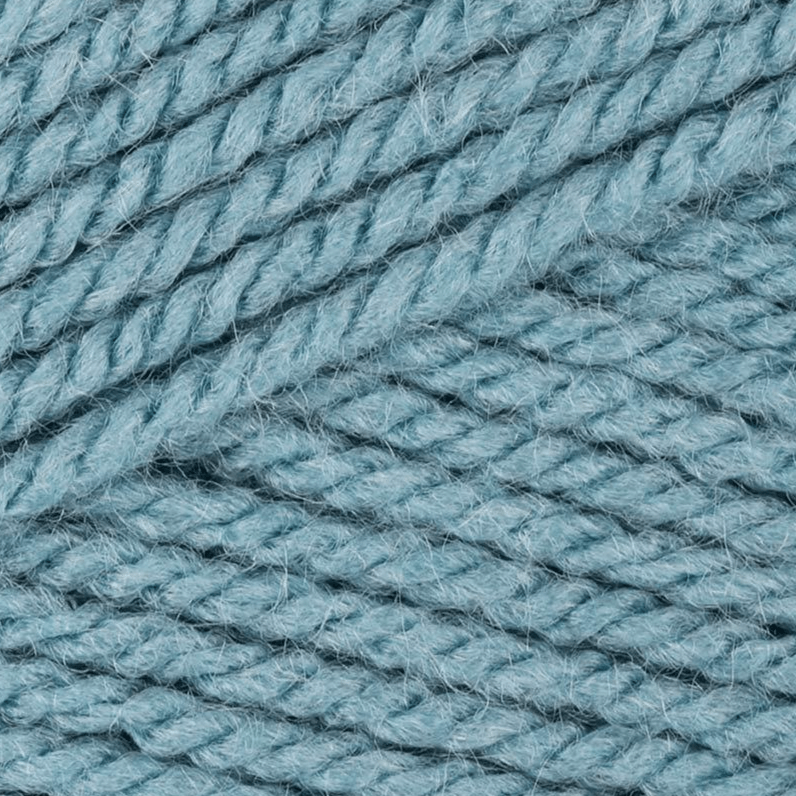
For this pattern, I have used StyleCraft Special DK. I LOVE this yarn so much. The colour palette is incredible, and it’s so budget-friendly! Stylecraft Special DK is a durable 100% acrylic which is perfect for creating soft garments, children’s clothes, accessories, and fabulous homeware!
Colour Inspiration


2. Cheerful
3. Vintage


3. Duck Egg
Convert Pattern Terms
Here you can quickly switch between UK and US crochet terms. This will make following the pattern easier as all terms will be converted to your preferred version.
Pin For Later
Terms and Abbreviations
Chain(s): ch(s): Yarn over, pull through one loop on hook
Treble Crochet(s): tr(s): Yarn over and insert your hook into the chain or stitch, yarn over and pull through (you will have three loops on the hook) yarn over and pull through two loops (you will have two loops on your hook) yarn over and pull the yarn through both of the remaining loops on the hook
Slip Stitch(s): ss(s): Insert hook, yarn over pull through stitch and loop on hook
Stitch(es): st(s)

Unsure of the differences between UK and US terms? Need a refresher on how to do your stitches? In my ‘How to crochet: A handy reference guide’ EBook I help you with all of these terms and you can always have them to hand! You will also get exclusive access to free video instructions. Learn more about the eBook here.
Free Crochet Pattern: Granny Ripple Pattern
You are viewing this pattern in UK terms.
Foundation Chain
- Begin by working out how wide you want your blanket to be.
- You will need to work in multiples of 18.
- On my sample piece I have chained 36 (18×2) and added an extra 6. So 42 in total.
If you are making a baby blanket, I recommend chaining 108 then adding 6 for turning. So 114 in total. But this is totally up to you. If you’d like some help with sizing your blanket, this blog may be helpful: How Many Chains For A Blanket?
- R1: Working in the 6th chain from the hook (do not include the loop on your hook) insert 3 tr into that chain space.
- Skip two chain spaces and do 3tr into the third chain space. Skip two chains again and insert 3tr into the third chain space- you will end up with three clusters of treble crochets.
- Now will will work our ‘trough’. Skip five chain spaces and work 3tr into the sixth chain space.
- Skip two chain spaces and do 3tr into the third chain space. Skip two chain again and insert 3tr into the third chain space.
- Now we will work our ‘Peak’.
- Chain 3 and insert another 3tr into the same chain space.
- Continue to work down to your ‘trough’ in the same way. Follow the diagram below and chain 5 at the end and turn your work.
- R2: When you turn your work, you will now be working within the spaces (between the clusters of treble crochets) from here on out. Follow the diagram below:
- After this round, you can choose to change colours or continue with the same colour. Just keep following the same instructions to build your own Granny Ripple blanket.
Assisting Video Tutorial
[adthrive-in-post-video-player video-id=”AkFilODZ” upload-date=”2025-03-25T20:26:08+00:00″ name=”CROCHET_ Chevron_Granny ripple tutorial | Bella Coco.mp4″ description=”null” player-type=”default” override-embed=”default”]Or you can watch on YouTube
Granny Stitch Patterns To Try
Explore some of the endless possibilities of the granny stitch with these free patterns on the blog:
- Mindful Mood Blanket
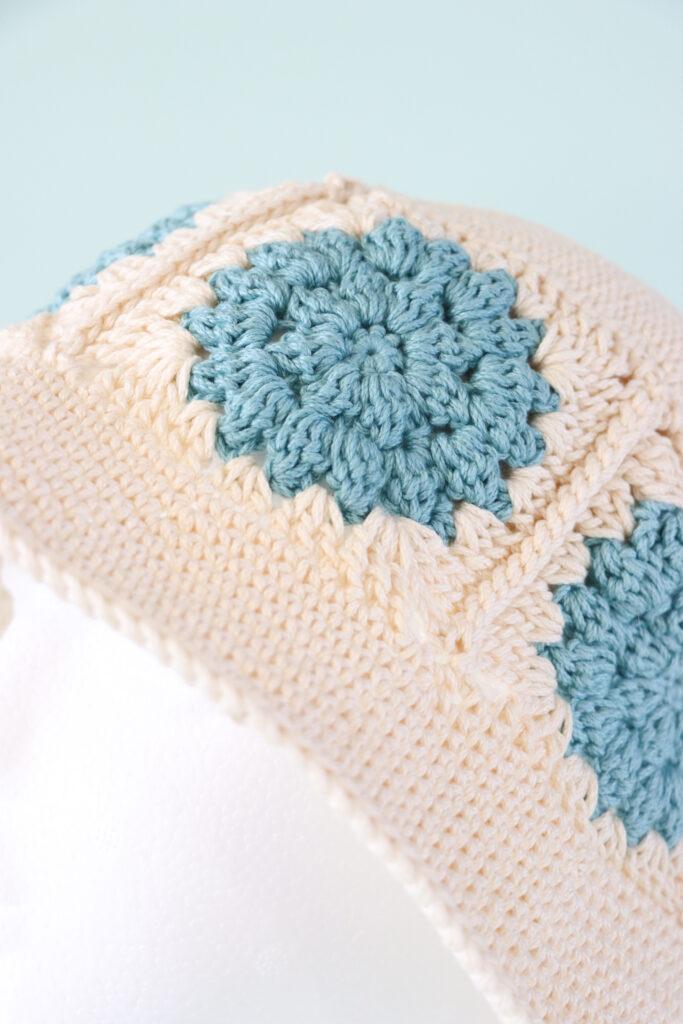
- Coco Bucket Hat
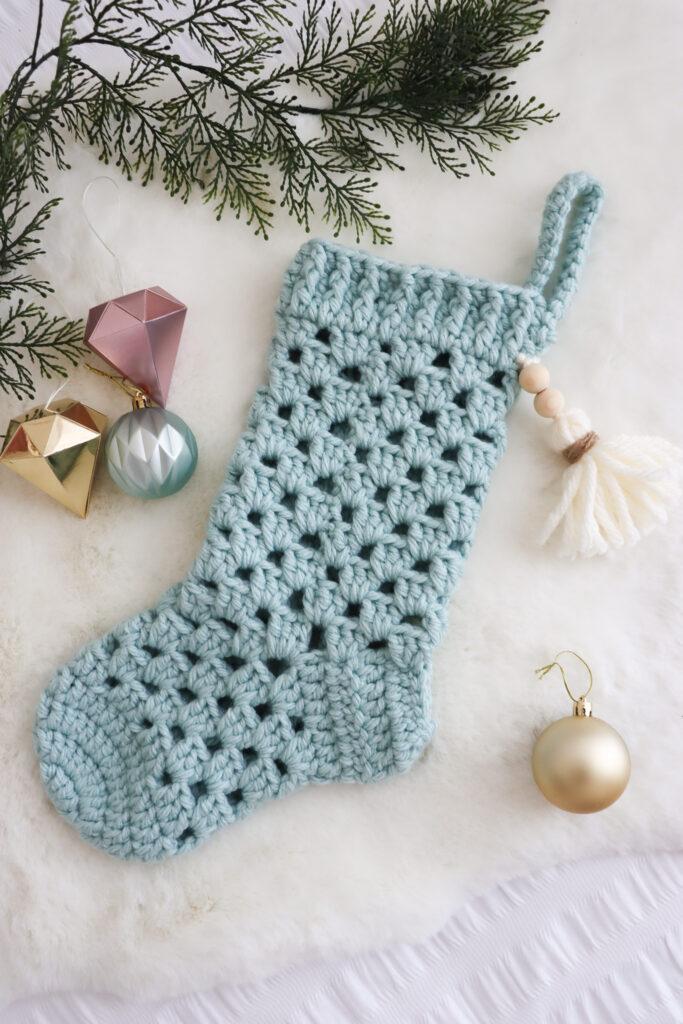
- Granny Stitch Stocking
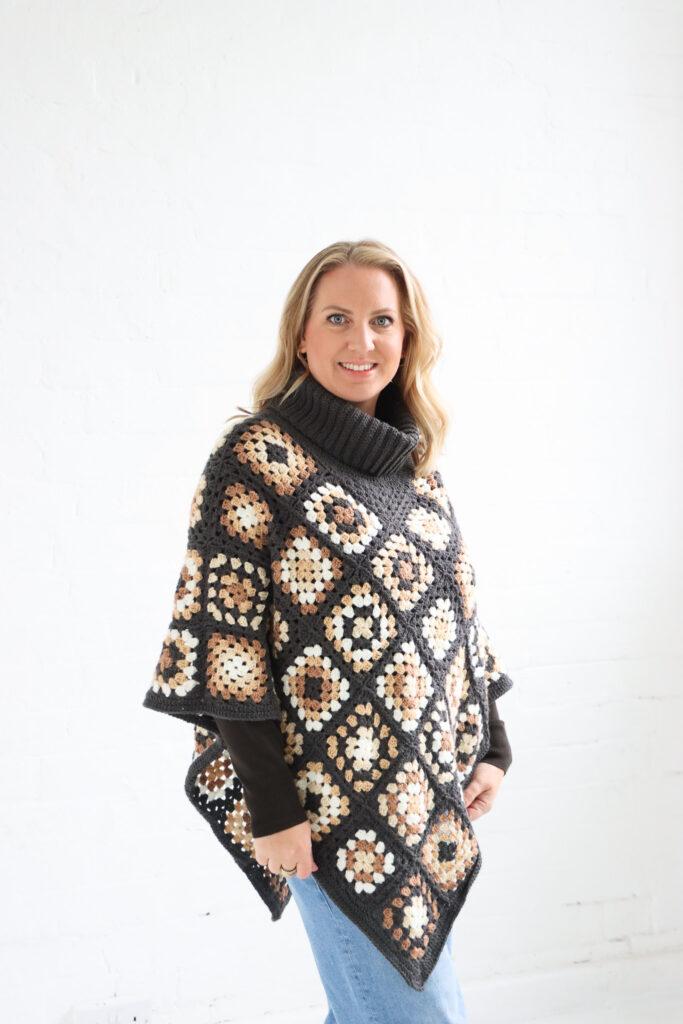
- Poncho
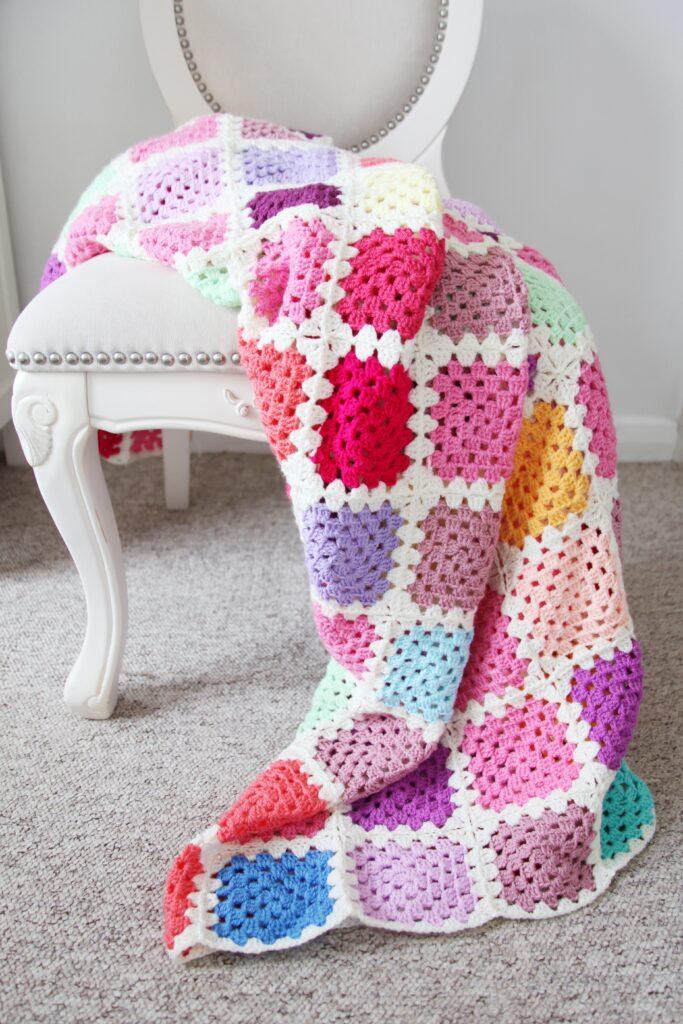
- Infinity Granny Square Blanket
- Tote Bag
I always love to see your makes so if you try any of my patterns or follow my stitch tutorials please tag me @bellacococrochet or use the #bellacococrochet
sarah-jayne
Pingback: Quick Crochet Baby Makes - Bella Coco Crochet
This is so beautiful and the pattern works up easily but I have found that I am ending on a peak at both ends and this is causing the blanket to grow in size with each row. Can you please show me how to end the row on a ‘trough’ or at the end of row 3 to prevent this and get a squared off edge?
Hi Bree, it sounds like one of two things – either your stitch count is not quite right, and you perhaps didn’t start with the right number of chains, OR, you are crocheting into the base of the turning chain when you turn, so you’re increasing another stitch each time. I would try to work into the first stitch of the row instead of at the base of the turning chain, and see if that gives you a straighter side. If the sides of the blanket (at the end) are wonky, you can add a border to straighten that up, using different sized stitches – this video shows you how to do that at the top and bottom of the blanket, but you can also do this down the sides, using different height stitches as you go to create a straight edge!
https://www.youtube.com/watch?v=RBa5WbPXPBk
I hope that helps!