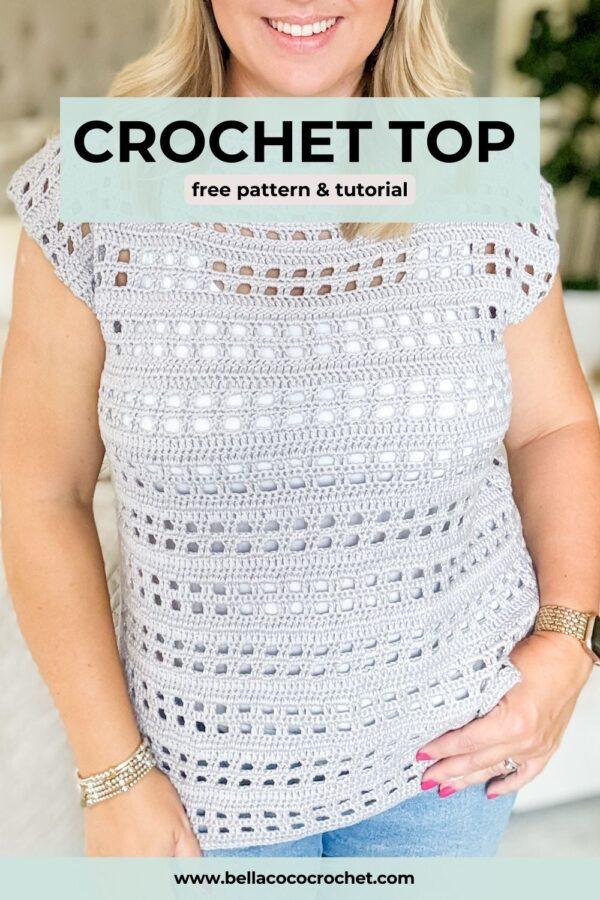
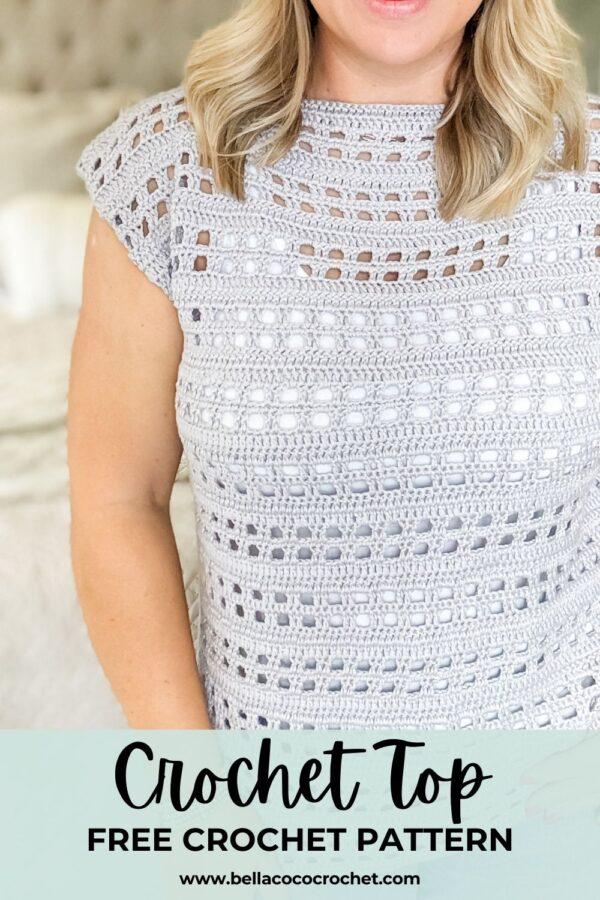
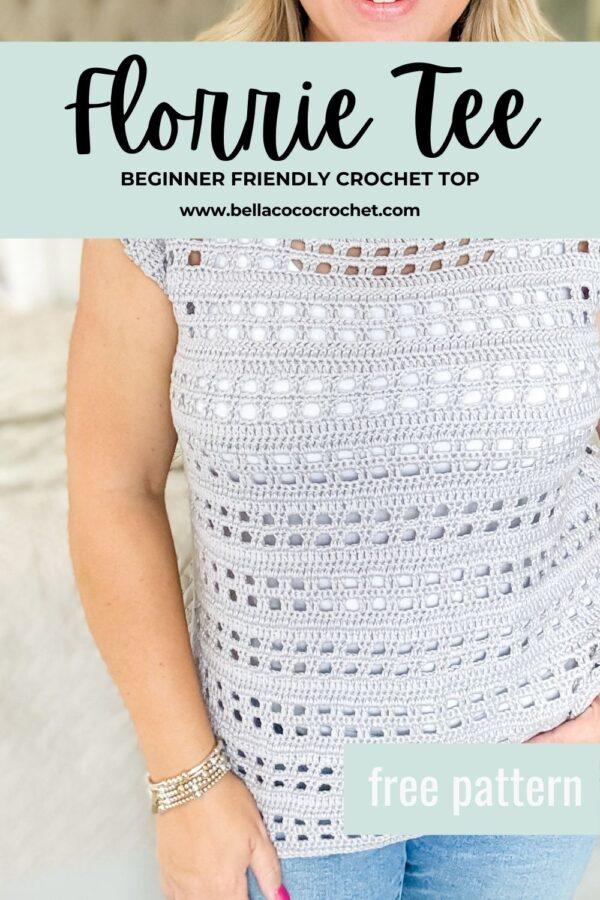
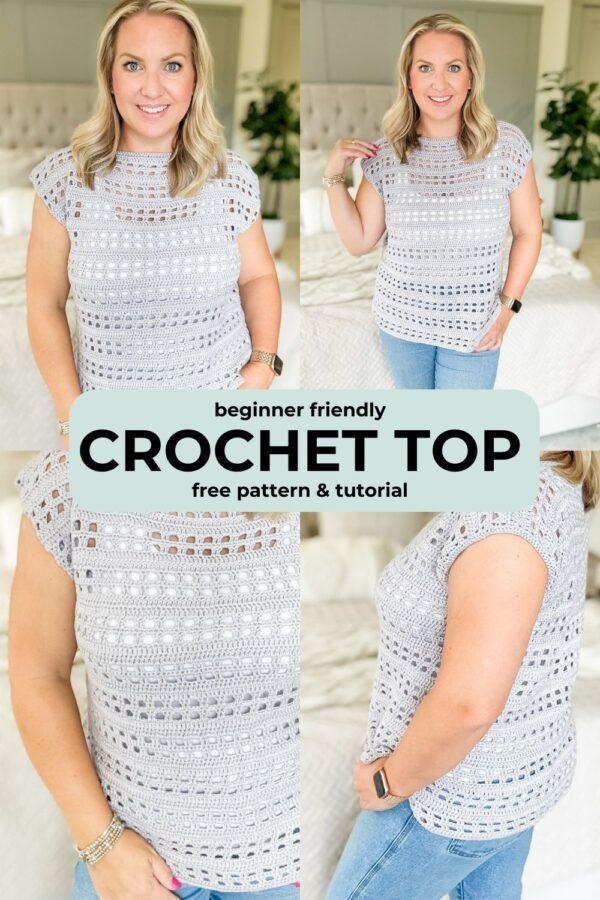
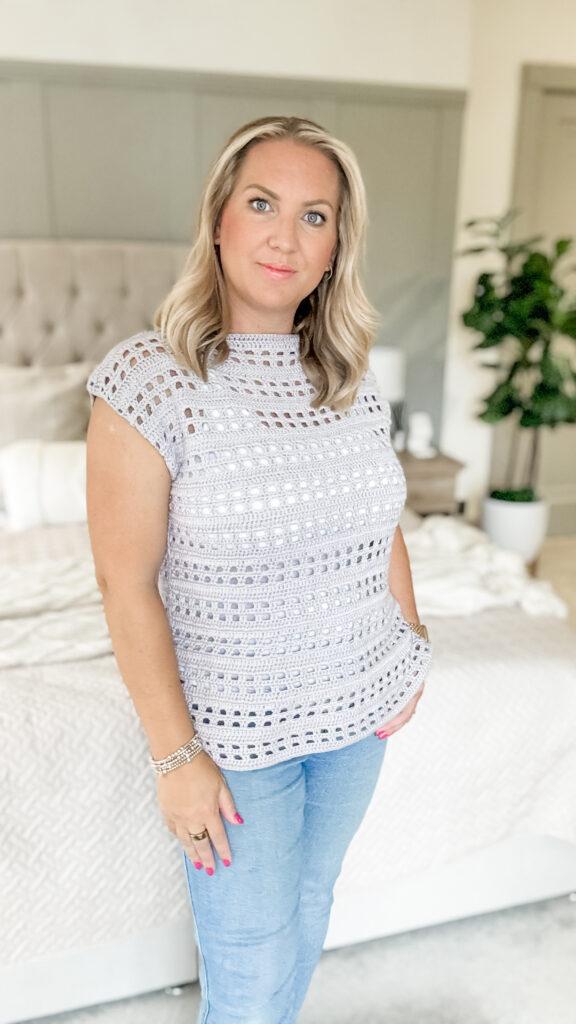
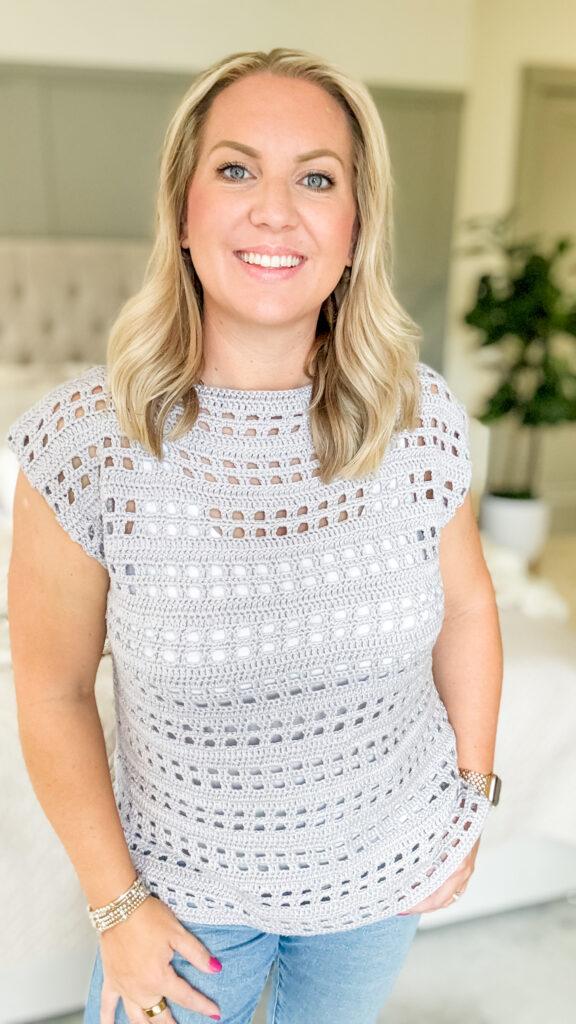
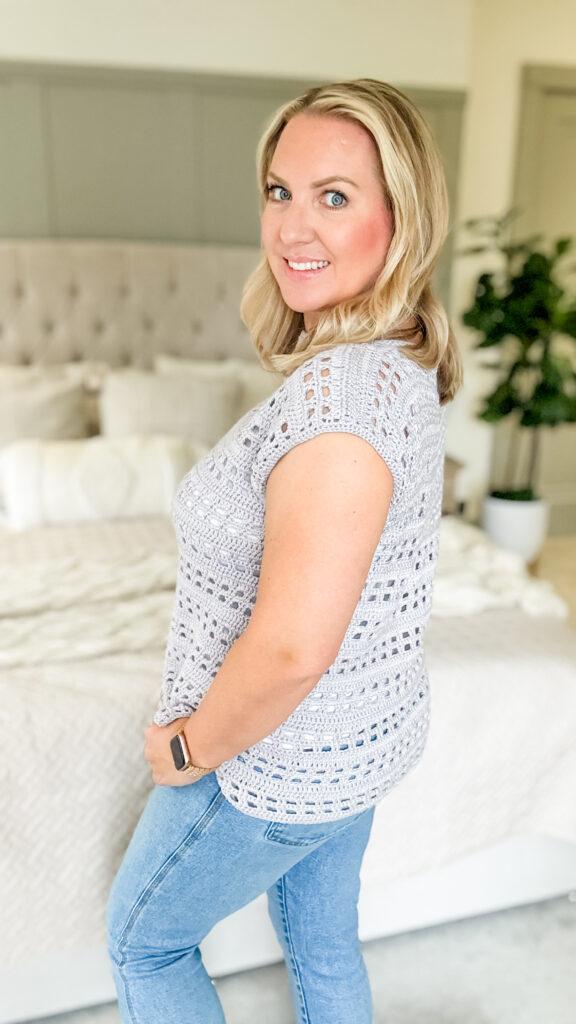
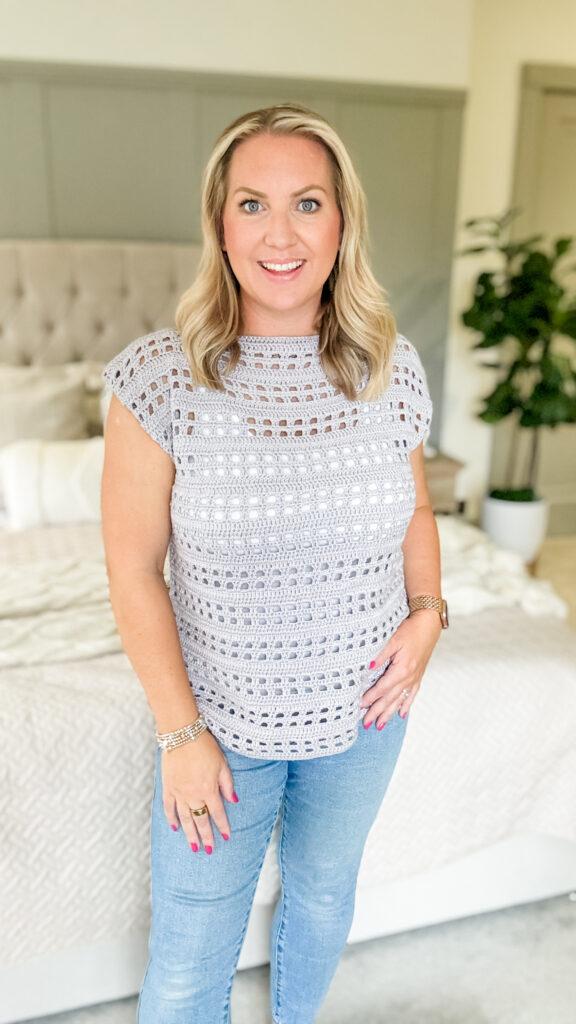
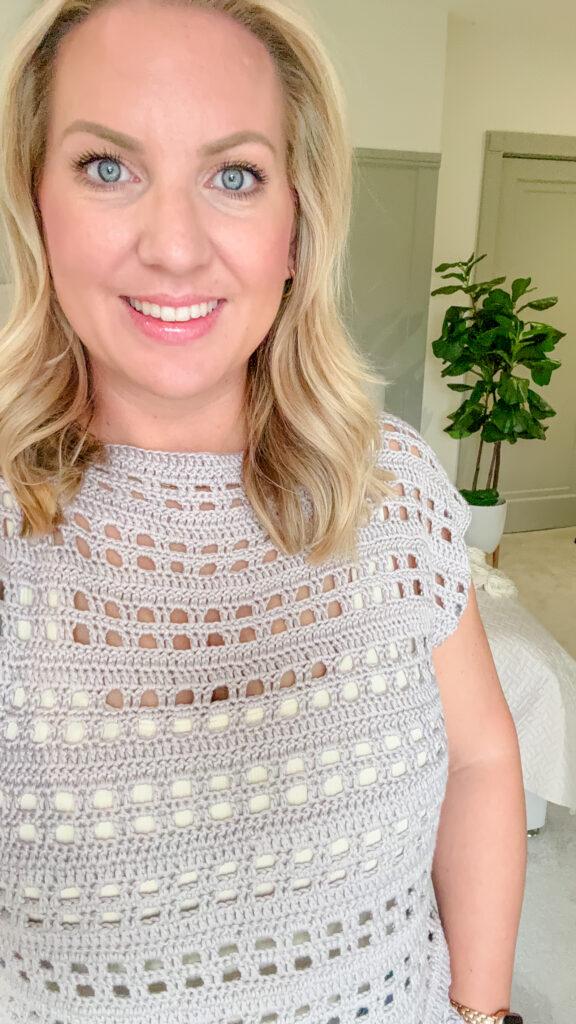
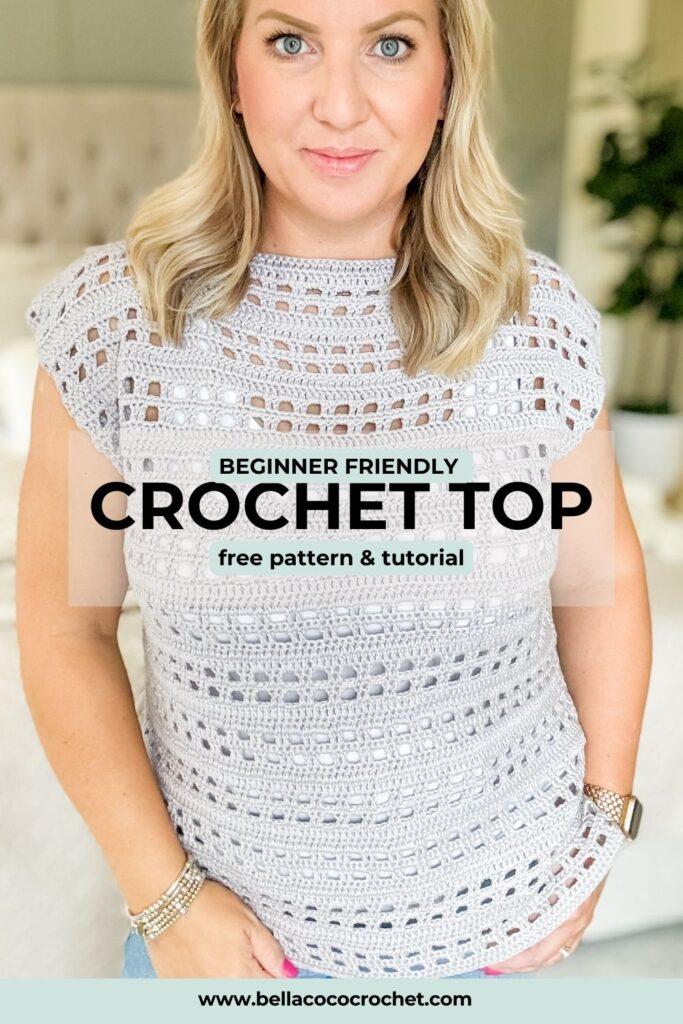
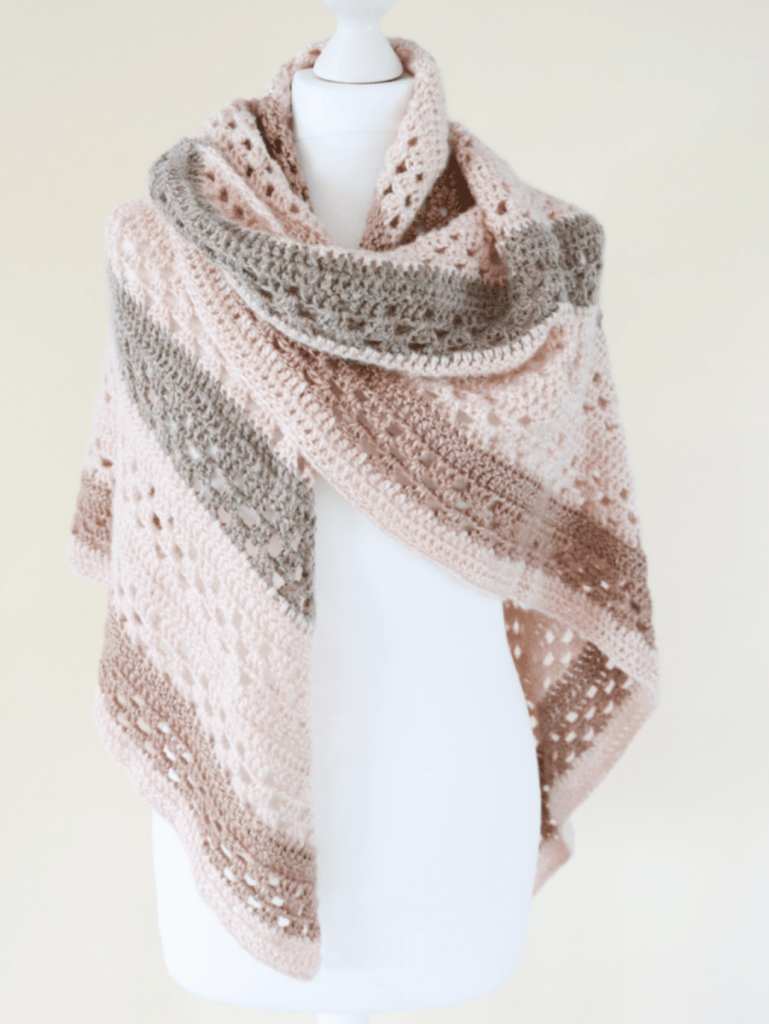
Learn how to crochet this beginner-friendly top with my FREE step-by-step pattern and video tutorial. The Florrie Tee was inspired and designed during a trip to Florida with 4 other amazing crochet designers! This versatile design can be worn all year round over a vest, swimwear, layered over t-shirts, long-sleeved tops or jumpers.

Materials & Tools
Yarn: Lion Brand Coboo DK/Category 3, 50% Cotton 50% Bamboo, 212m (232yds)/99g (3.5oz) in shade Silver (See sizing chart for quantities)
Hook: 4mm
Tape Measure
Darning Needle
Scissors
Binding clips or stitch markers

Yarn Alternatives
From time to time, you may want to use an alternative yarn than what is used in the pattern. This is totally fine, however, you do want to make sure that you are checking the yardage to ensure you have enough for your intended size. Please also make sure you are doing a gauge swatch so that you meet the pattern gauge. If you want to use an alternative yarn, here are a couple that I recommend:

Convert Pattern Terms
Here you can quickly switch between UK and US crochet terms. This will make following the pattern easier as all terms will be converted to your preferred version.
Terms & Abbreviations
Stitch(s): st(s)
Slip Stitch(s): ss(s): Insert hook, yarn over, pull through stitch and loop on hook.
Chain(s): ch(s): Yarn over, pull through loop on the hook.
Double Crochet(s): dc(s): Insert hook into stitch, yarn over, pull up a loop, you will have two loops on the hook. Yarn over, pull through remaining two loops.
Standing Double Crochet(s): sdc(s): With slip knot on hook, Insert hook into stitch, yarn over, pull up a loop, you will have two loops on the hook. Yarn over, pull through remaining two loops.
Treble Crochet(s): tr(s): Yarn over, insert into stitch, yarn over, pull up a loop, you will have three loops on the hook. Yarn over, pull through two loops, yarn over, pull through remaining two loops.

Unsure of the differences between UK and US terms? Need a refresher on how to do your crochet stitches? In my ‘How to crochet: A handy reference guide’ EBook I help you with all of these terms and you can always have them to hand! You will also get exclusive access to free video instructions. You can find my EBook HERE.
Pattern Notes
You have selected to view the pattern in UK terms.
This pattern is made up of two rectangles and then joined.
Please select your size based on your chest measurements.
You can customise this pattern by altering the neck opening, armhole depth and length.
The number of references for each size will be listed as follows:
XS (S, M, L, XL) (2X, 3X, 4X, 5X)
Gauge & Size
18 sts and 10 rows measures over 10cm X 10cm (4in X 4in) over main pattern repeat after light blocking.
Gauge Swatch Tips
Crochet gauge (also known as tension swatch) is important because it ensures that your finished projects have the correct size, fit, appearance, and use of materials as intended by the pattern designer. Ignoring gauge can lead to the project not coming out to the intended size.
I highly recommend making a gauge swatch to ensure you are not disappointed with the finished item.
If you’re struggling to hit gauge, you may find the following video helpful. In this video, I explain how to adjust the amount of stitches in your own projects and also demonstrate how to adjust the height of your stitches using the golden loop. This is a great way to get to know your own personal tension and I’d highly recommend watching this video tutorial.

Gauge Swatch Sample
Chain 28 and work 15 rows of the ‘panels’ section of the pattern.
Stitch count: Row 1: 26 trs, Row 2: 14 tr, 6 ch-2 sps, Row 3: 26 dc.
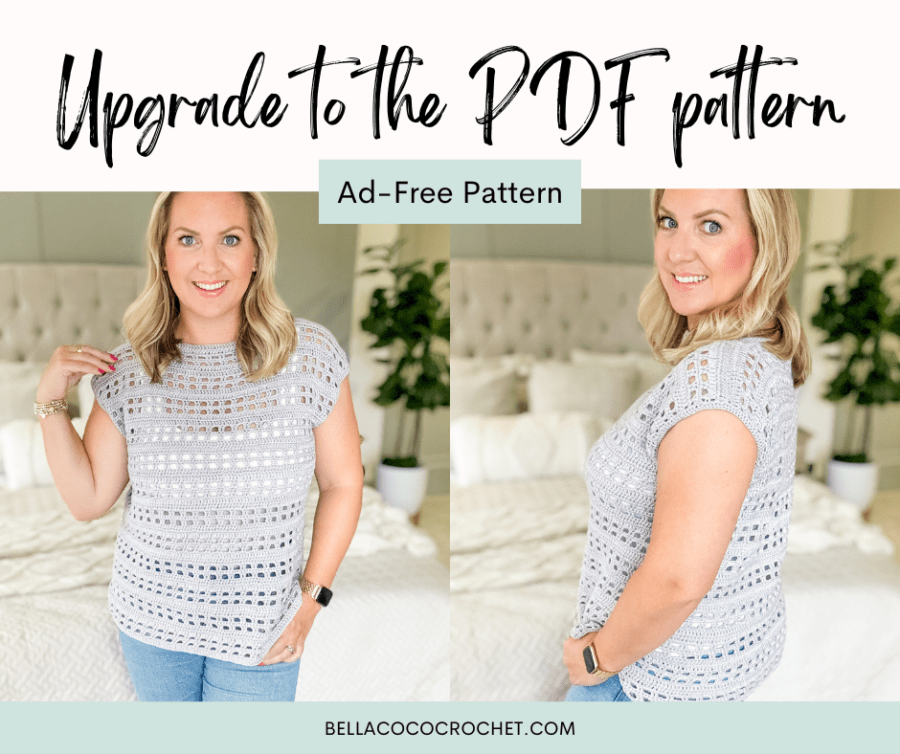
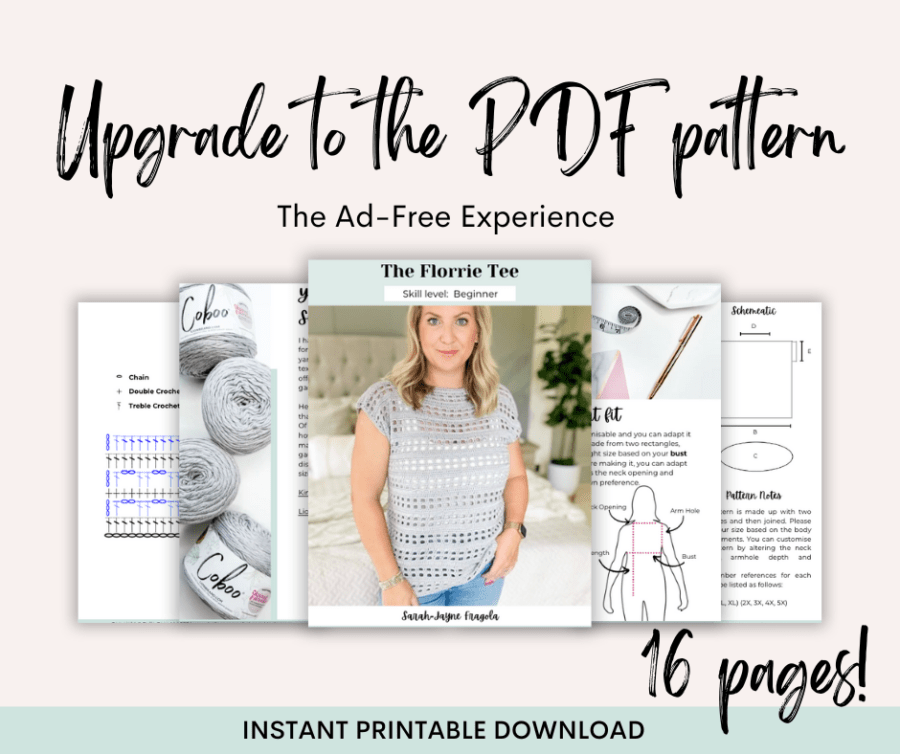
PDF Crochet Patterns
Did you know you can shop Bella Coco Crochet Patterns on these websites:
Sizing
Length – 23 (23, 25, 25, 27) (27, 29, 29, 31) inches, 58.5 (58.5, 63.5, 63.5, 69) (69, 73.5, 73.5, 75) cm.
Width – 15 (17, 19, 21, 23) (25, 27, 29, 31) inches, 38 (43.25, 48.25, 53.25, 58.5) (63.5, 68.5, 73.5, 78.75) cm.
Circumference – 30 (34, 38, 42, 46) (50, 54, 58, 62) inches, 76.25 (86.5, 96.5, 107, 117) (127, 137, 147.5, 157.5) cm.
Neckline – 9 (10, 10, 11, 11) (12, 12, 13, 13) inches, 23 (25.5, 25.5, 28, 28) (30.5, 30.5, 33, 33) cm.
Armhole Depth – 8 (8, 9, 9, 10) (10, 11, 11, 12) inches, 20.25 (20.25, 22.75, 22.75, 25.5) (25.5, 28, 28, 30.5) cm.
Sizing Chart
| XS | S | M | L | XL | |
| To fit chest size | 76cm/ 30in | 86cm/ 34in | 96cm/ 38in | 106cm/ 42in | 117cm/ 46in |
| Length | 58.5cm/ 23in | 58.5cm/ 23in | 63.5cm/ 25in | 63.5cm/ 25in | 68.5cm/ 27in |
| Approx. Yardage | 665 | 740 | 917 | 980 | 1185 |
| Balls | 3 | 4 | 4 | 5 | 6 |
| 2X | 3X | 4X | 5X | |
| To fit chest size | 127cm/ 50in | 137cm/ 54in | 147cm/ 58in | 157cm/ 62in |
| Length | 68.5cm/ 27in | 73.5cm/ 29in | 73.5cm/ 29in | 78.5cm/ 31in |
| Approx. Yardage | 1270 | 1455 | 1590 | 1797 |
| Balls | 6 | 7 | 7 | 8 |
All measurements are approximate.

Pattern Support
The fastest way to get pattern support is to ask in our dedicated facebook group for Bella Coco Crochet patterns. This is the best place for you to connect with other crocheters.
Please note, if you wish to change and adapt this pattern in any way, this must be done at your own exploration and we cannot offer assistance with this.
Pin For Later
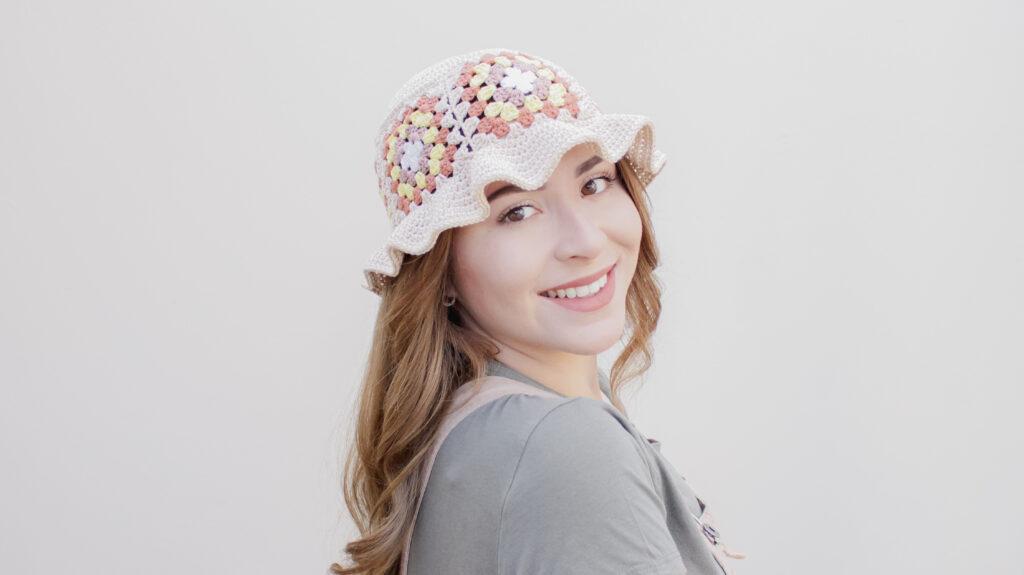
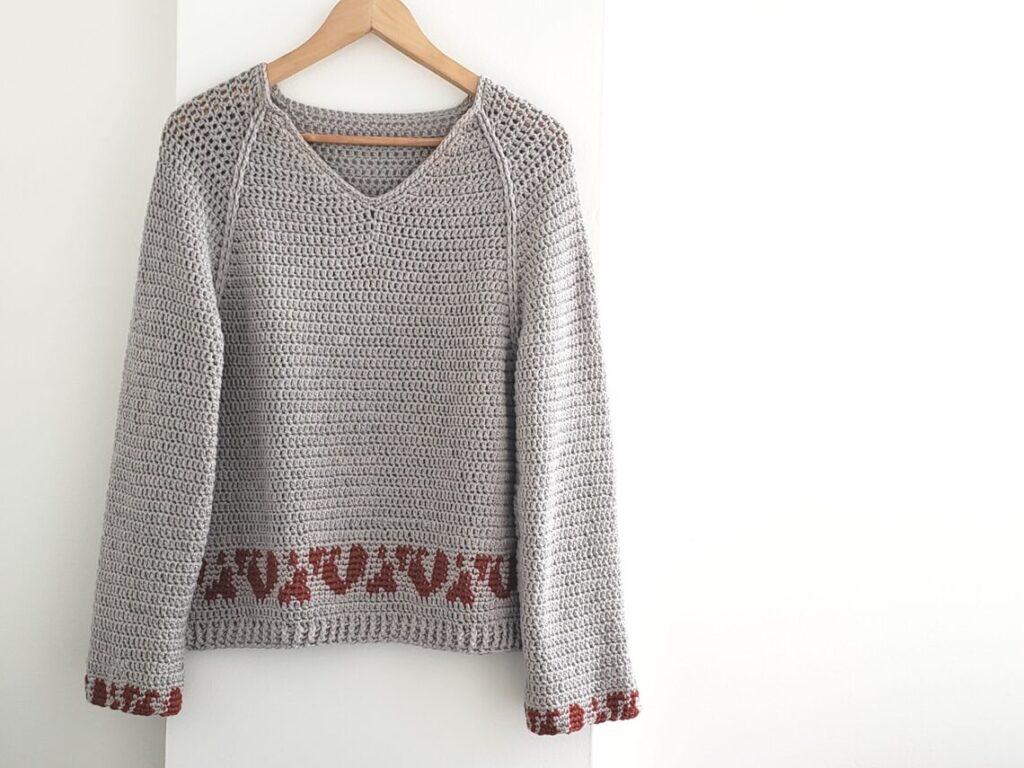
Crochet Wearbles
Have you explored the crochet wearable patterns on the blog? CLICK HERE to browse the library of patterns designed by me and guest designers. I’ve also selected some of my personal favourites for you to take a look at below:


Free Pattern: Crochet Top
You have selected to view the pattern in UK terms.
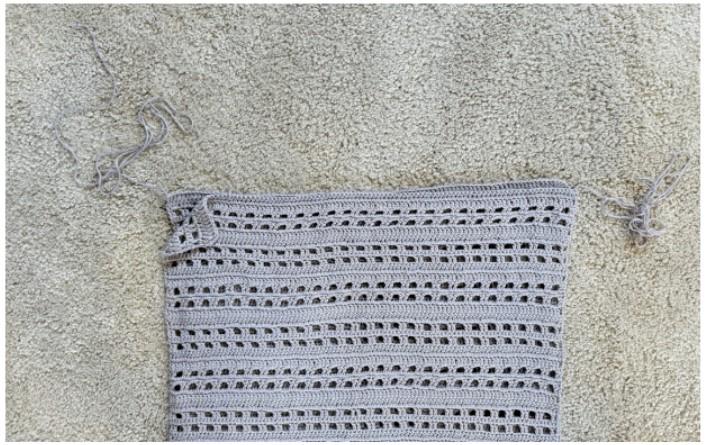
Panels (make two)
Ch 76 (84, 96, 104, 116) (124, 132, 144, 152)
Row 1: Working in the back bumps of the ch, tr in fourth ch from hook
(missed chs count as st) and each ch across. Turn.
<74 (82, 94, 102, 114) (122, 130, 142, 150) sts>
Row 2: Ch 3 (counts as tr here and throughout), tr in next st, *ch 2, skip 2 sts, tr in next 2 sts, rep from * across. Turn.
<38 (42, 48, 52, 58) (62, 66, 72, 76) tr, and 18 (20, 23, 25, 28) (30, 32, 35, 37) ch-2 sps>
Row 3: Ch 1 (does not count as st here or throughout), dc in first 2 sts, *2 dc in ch- sp, dc in next 2 sts, rep from * to end. Turn.
<74 (82, 94, 102, 114) (122, 130, 142, 150 sts>
Row 4: Repeat row 2.
Row 5: Ch 3, tr in next st, *2 tr in ch-sp, tr in next 2 sts, rep from * to end. Turn.
<74 (82, 94, 102, 114) (122, 130, 142, 150) sts>
Row 6: Ch 3, tr in each st across. Turn
Repeat row 2-6 another 10 (10, 11, 11, 12) (12, 13, 13, 14) more times.
Or adjust to your preferred length ending on row 6.
Fasten off leaving a long tail end for sewing.
Time to block
I highly recommend that you steam block your two panels prior to joining
making sure they are the same size.
Construction
After blocking your panels, lay your two pieces together making sure the
tail ends are on the outer edges ready for you to seam the shoulders.
Shoulder seams
Using your binding clips or stitch markers, mark out your neckline opening to
measure: 9 (10, 10, 11, 11) (12, 12, 13, 13) inches or 23 (25.5, 25.5, 28, 28) (30.5, 30.5, 33, 33) cm, ensuring it is central.
You can adapt your neckline to your own preference if needed.
Working through both thicknesses, seam using whipstitch (or your preferred seaming method) from the outer edge inwards.
Tip
Don’t sew in your ends until you have finished all seaming.
This will make it easier to adjust if needed.
Side seams for armholes
Using your binding clips or stitch markers, mark out your armholes measuring: 8 (8, 9, 9, 10) (10, 11, 11, 12) inches, or 20.25 (20.25, 22.75, 22.75, 25.5) (25.5, 28, 28, 30.5) cm from the shoulder seam downwards.
You can adapt your armhole depth to your own preference if needed.
Leaving a 3.5-inch (8.75-cm) gap at the base of the tee to allow for a better fit over your hips (optional), work through both thicknesses, seam using whipstitch (or your preferred seaming method) from base of the tee to the armhole.

Turn work right side out. Once you’re happy with the fit, sew in the tail ends.
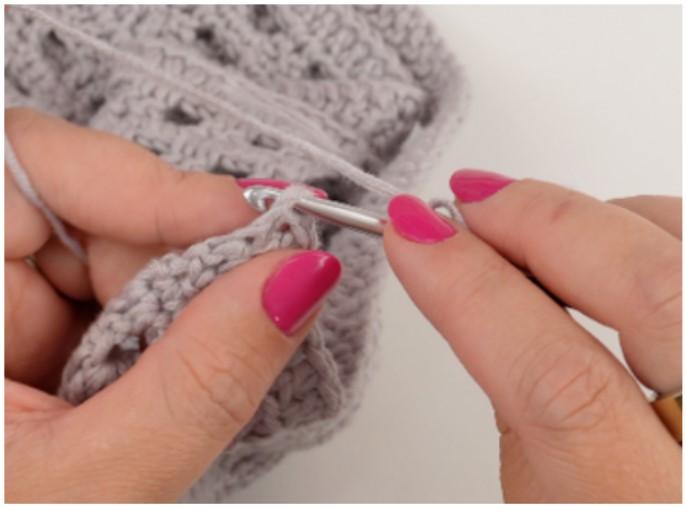
Armhole edging
Join with ss in the seam at the base of the armhole.
Round 1: Working around the arm hole, place 2 dc in the side of each tr st and 1 dc in the side of each dc around. Join with a ss in the first st.
Round 2: Ch 1, dc in each st around.
Repeat on other armhole.
Sew in ends.
Hip opening edging
With slip knot on hook.
Row 1: Place a sdc in first st. Working up to the side seam, place 2 dc in the side of each tr st and 1 dc in the side of each dc, up to the side seam. Rotating work to work down the other panel, place 2 dc in the side of each tr st and 1 dc in the side of each dc. Finishing with the last st in the foundation ch of the panel.
Fasten off.
Reattach yarn to the first st of the last row.
Row 2: Ss in each st across.
Fasten off and sew in ends.
Repeat on other side.
Sew in ends.
Video Tutorials
Right-handed
[adthrive-in-post-video-player video-id=”9g7lsJcL” upload-date=”2025-04-13T15:54:51+00:00″ name=”How to Crochet a Top | Super EASY, Beginner Friendly Crochet Top.mp4″ description=”null” player-type=”default” override-embed=”default”]Or you can watch on YouTube
Left-handed
[adthrive-in-post-video-player video-id=”H4Z6Gy3Q” upload-date=”2025-04-13T15:54:51+00:00″ name=”Easy Crochet Top LEFT.mp4″ description=”null” player-type=”default” override-embed=”default”]Or you can watch on YouTube
I always love to see your makes so if you try any of my patterns or follow my stitch tutorials please tag me @bellacococrochet or use the #bellacococrochet
sarah-jayne
I cannot print this easy crochet top pattern for beginners. Can you email it to me?
Hi Shirley, the pattern is free on the blog, however if you wish to download the pattern we do have printable PDF available to purchase :- https://bellacococrochet.com/products/the-florrie-tee 🙂
Hi
I have brought your pattern but do you have an alternative yarn available in the UK. Having where I go they don’t do American yarn.
Hi Jane, it does give you yarn alternatives on the blog – King Cole Bamboo Cotton DK and Lion Brand Truboo, I hope this helps 🙂
Hi,
Why when scrolling down this pattern does the pattern instructions suddenly get greyed out, and I am asked to unlock the content by creating a ‘Grow’ account (which I do not want to do). I thought the pattern was free on the blog.
Hi Su, The pattern is free, we ask you to create a grow account which is free and it allows us to monitor visitors to the site etc.