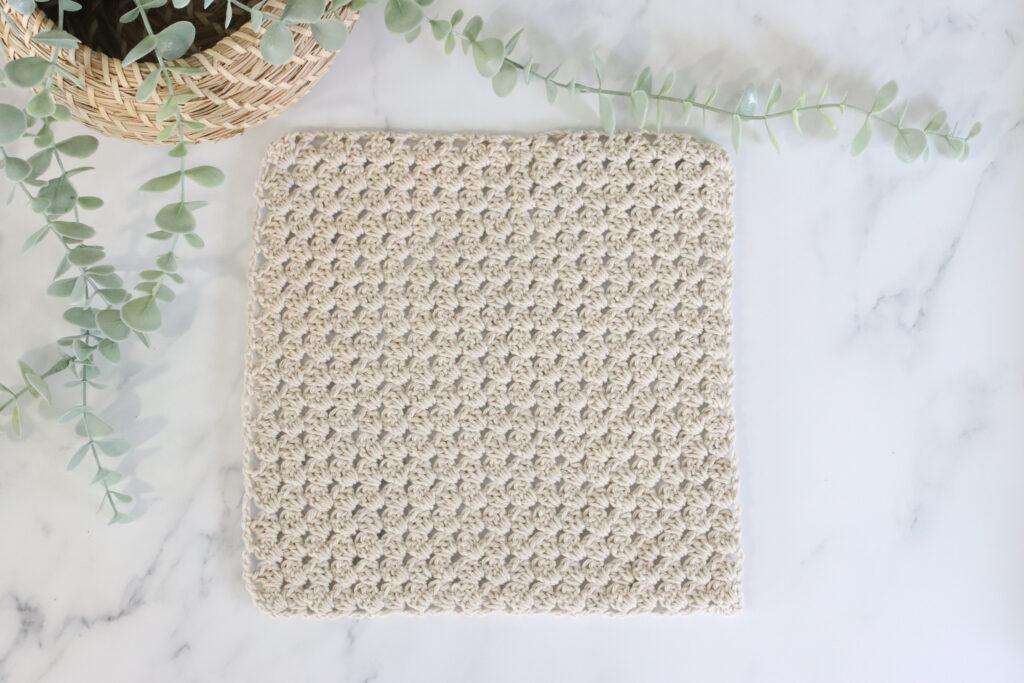
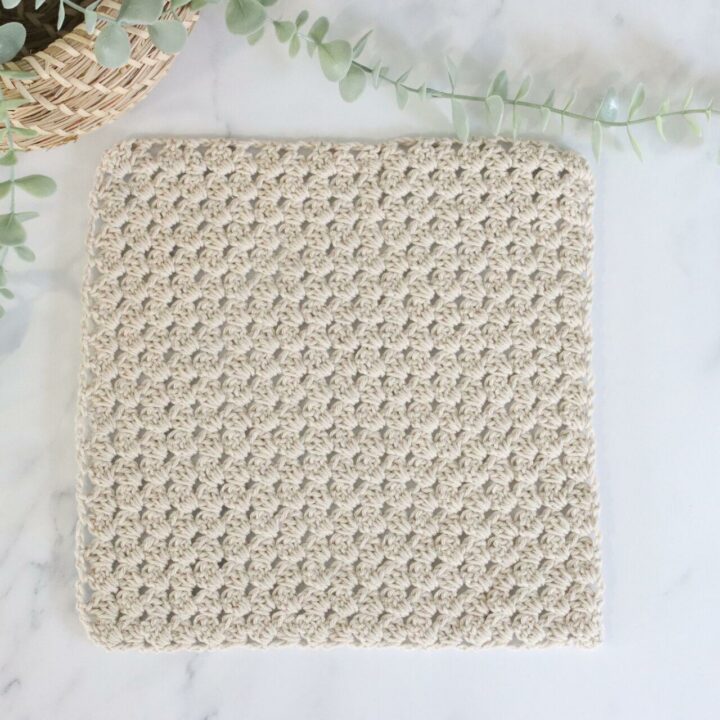
Discover the magic of corner-to-corner crochet with this captivating C2C granny square – a stunningly intricate piece that showcases the beauty of C2C in a square so you can let your crochet imagination run wild. Granny Squares are a great foundation for any project, whether it be for a blanket, cardigan or shawl and a lovely way for beginners to get to grips with the corner to corner method. If you’re unfamiliar with the crochet to crochet method, click here to check out the blog for the basics.
what will I learn?
In this blog, I will take you through how to crochet a Corner to Corner granny square step by step with both written instructions and video tutorial for both left handers and right handers. I’ve provided information below on the tools and materials you’ll need to get started and any pattern notes and terms you’ll need to know before getting your hook into this gorgeous project.

materials & tools
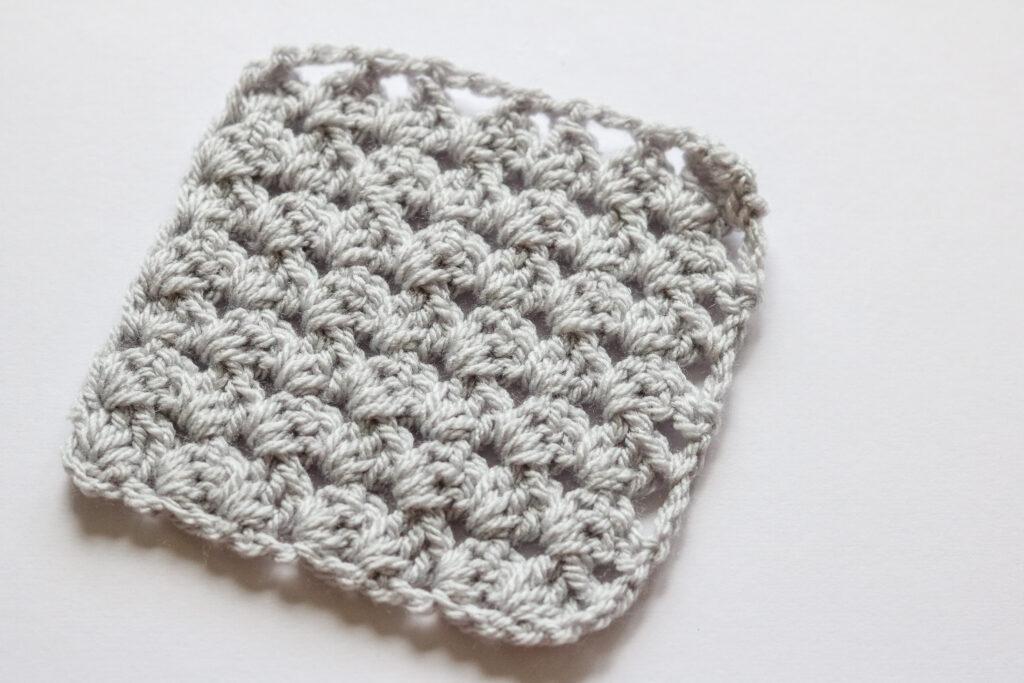
- Yarn: Paintbox Simply Aran in Misty Grey
- Hook: 5mm or size needed to obtain gauge
- Darning needle
- Scissors

pattern notes
- Written in UK terms but switchable to US terms below.
- Video tutorials available in right and left handed versions

Convert Pattern Terms
Here you can quickly switch between UK and US crochet terms. This will make following the pattern easier as all terms will be converted to your preferred version.
terms & abbreviations
Chain (ch): Yarn over, pull through.
Treble Crochet(s): tr(s): Yarn over, insert into stitch, yarn over, pull up a loop, you will have three loops on the hook. Yarn over, pull through two loops, yarn over, pull through remaining two loops.
Slip stitch (sl-st): Insert hook, yarn over, pull through both stitch and loop on hook.
Stitch(es) (st/s)

Unsure of the differences between UK and US terms? Need a refresher on how to do your stitches? In my ‘How to crochet: A handy reference guide’ EBook I help you with all of these terms and you can always have them to hand! You will also get exclusive access to free video instructions. Learn more about the eBook here.
pin for later
c2c granny square pattern
increase rows:
You are viewing this pattern in UK terms.
- Chain 4 and join in 1st st with a ss.
- Row 1: Ch 3 (counts as a st here and throughout), 4 tr in centre circle. Turn
- Row 2: Ch 3, work 3 trs in sp between the 1st and 2nd st. Work 4 tr in the sp between the 2nd to last and last st. Turn
- Row 3: Ch 3, work 3 trs in sp between the 1st and 2nd st. Skip 3 sts, work 3 tr in sp between the clusters of trs. Work 4 tr in the sp between the 2nd to last and last st. Turn.
- Row 4: Ch 3, work 3 trs in sp between the 1st and 2nd st. *Skip 3 sts, work 3 tr in sp between the clusters of trs; repeat from * to last sp. Work 4 tr in the sp between the 2nd to last and last st. Turn.
- Row 5-7: repeat row 4
If you wish to make your square bigger, simply repeat row 4 until it is the width you desire.
decrease rows:
You are viewing this pattern in UK terms.
- Row 8: Ch 3. *Skip 3 sts, work 3 tr in sp between the clusters of trs; repeat from * to last sp. Tr in the sp between the 2nd to last and last st. Turn.
- Row 9: Ch 3. *Skip 3 sts, work 3 tr in sp between the clusters of trs; repeat from * to last sp. Tr in last tr sp of previous row. Turn.
- Row 10-12: Repeat row 9
If your square is larger, repeat row 9 until you have 2 tr clusters remaining.
- Row 13: Ch 3, Skip 3 sts, work 3 tr in sp between the clusters of trs. Tr in last tr sp of previous row. Turn.
- Row 14: Ch 3, ss into last tr sp of previous row.
- Finally, tie off.
video tutorial


‘I always love to see your makes so if you try any of my patterns or follow my stitch tutorials please tag me @bellacococrochet or use the #bellacococrochet‘
sarah-jayne
Looking for some more Granny Square projects now you’ve mastered the corner to corner? Here’s some more inspiration for you…


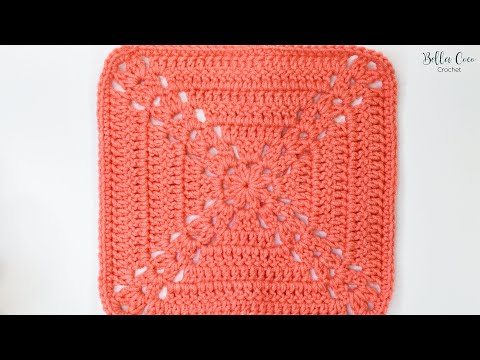
The Farmhouse granny square, sometimes known as the Wisteria granny square, was featured in the Pocket Book of Crochet Squares available with Crochet Now Magazine Issue 91. Below, it is available as a video tutorial.
If you’re looking for a project to work on gradually whilst learning new crochet stitches then the Patchwork Blanket might be the project you’re looking for. Crochet 30 stitches and construct this beautiful Patchwork Blanket following my 65 page Ebook. Click here to find out more or alternatively click the image below.
Corner to Corner Granny Square
Discover the magic of corner-to-corner crochet with this captivating C2C granny square – a stunningly intricate piece that showcases the beauty of C2C in a square so you can let your crochet imagination run wild.
Materials
- Here's the yarn I used in the video tutorial, but feel free to mix it up to get different textures!
- Yarn: Stylecraft Special DK in 2 colours (Colour A, Colour B)
Tools
- Hook: 5mm or size needed to obtain gauge
- Darning needle
- Scissors
Instructions
- Chain 4 and join in 1st st with a ss.
- Row 1: Ch 3 (counts as a st here and throughout), 4 tr in centre circle. Turn
- Row 2: Ch 3, work 3 trs in sp between the 1st and 2nd st. Work 4 tr in the sp between the 2nd to last and last st. Turn
- Row 3: Ch 3, work 3 trs in sp between the 1st and 2nd st. Skip 3 sts, work 3 tr in sp between the clusters of trs. Work 4 tr in the sp between the 2nd to last and last st. Turn.
- Row 4: Ch 3, work 3 trs in sp between the 1st and 2nd st. *Skip 3 sts, work 3 tr in sp between the clusters of trs; repeat from * to last sp. Work 4 tr in the sp between the 2nd to last and last st. Turn.
- Row 5-7: repeat row 4
If you wish to make your square bigger, simply repeat row 4 until it is the width you desire. - Row 8: Ch 3. *Skip 3 sts, work 3 tr in sp between the clusters of trs; repeat from * to last sp. Tr in the sp between the 2nd to last and last st. Turn.
- Row 9: Ch 3. *Skip 3 sts, work 3 tr in sp between the clusters of trs; repeat from * to last sp. Tr in last tr sp of previous row. Turn.
- Row 10-12: Repeat row 9
- Row 8: Ch 3. *Skip 3 sts, work 3 tr in sp between the clusters of trs; repeat from * to last sp. Tr in the sp between the 2nd to last and last st. Turn.
- Row 9: Ch 3. *Skip 3 sts, work 3 tr in sp between the clusters of trs; repeat from * to last sp. Tr in last tr sp of previous row. Turn.
- Row 10-12: Repeat row 9
- If your square is larger, repeat row 9 until you have 2 tr clusters remaining.
- Row 13: Ch 3, Skip 3 sts, work 3 tr in sp between the clusters of trs. Tr in last tr sp of previous row. Turn.
- Row 14: Ch 3, ss into last tr sp of previous row.
- Finally, tie off.
Notes
This pattern is written in UK terms.
Hi! I used the YouTube video this week to become addicted to this style dquare! Thank-you! I was wondering if you have a post or suggestion on putting squares together to make them into a blanket?
Just saw the next post has blankets that explain joining. Do you have any videos on that? It looked like you were just saying to slip stich but im such a visual person! Sorry if I’m just missing it.
Hi Katie I have a few different tutorials on how to join granny squares, pop over to my youtube channel and you will find them all on their 🙂
I have several tutorials on how to join granny squares if you pop over to my youtube channel Bella Coco Crochet you will find all the different ones on their 🙂