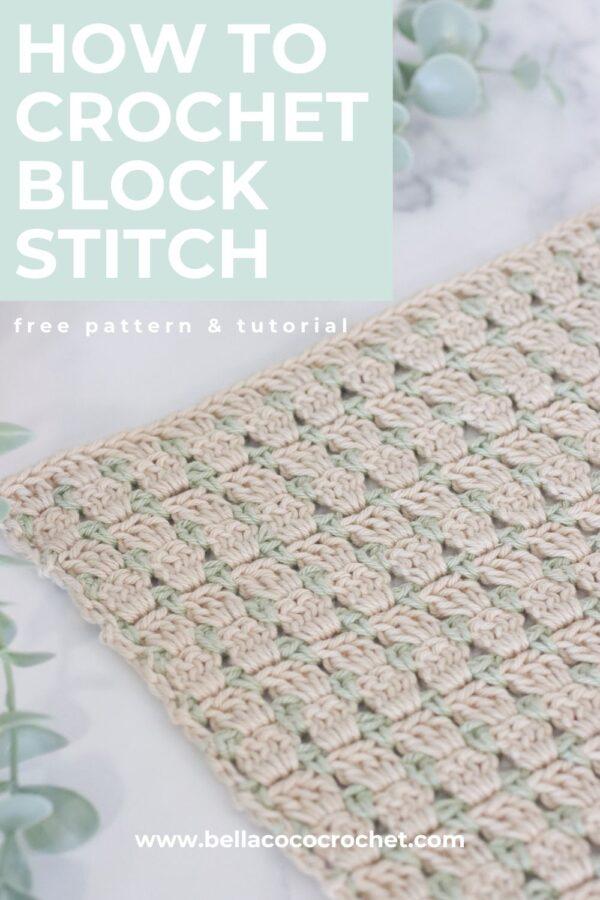
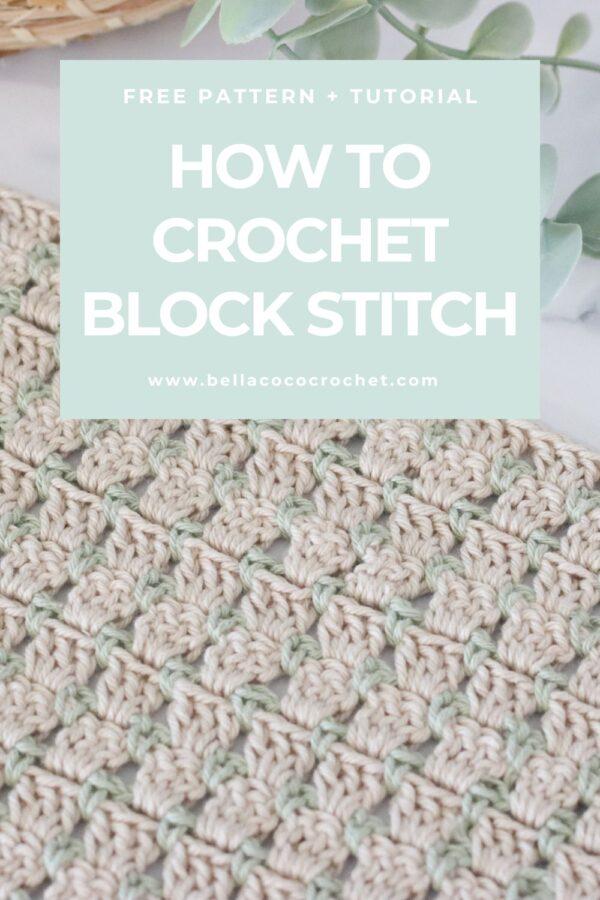
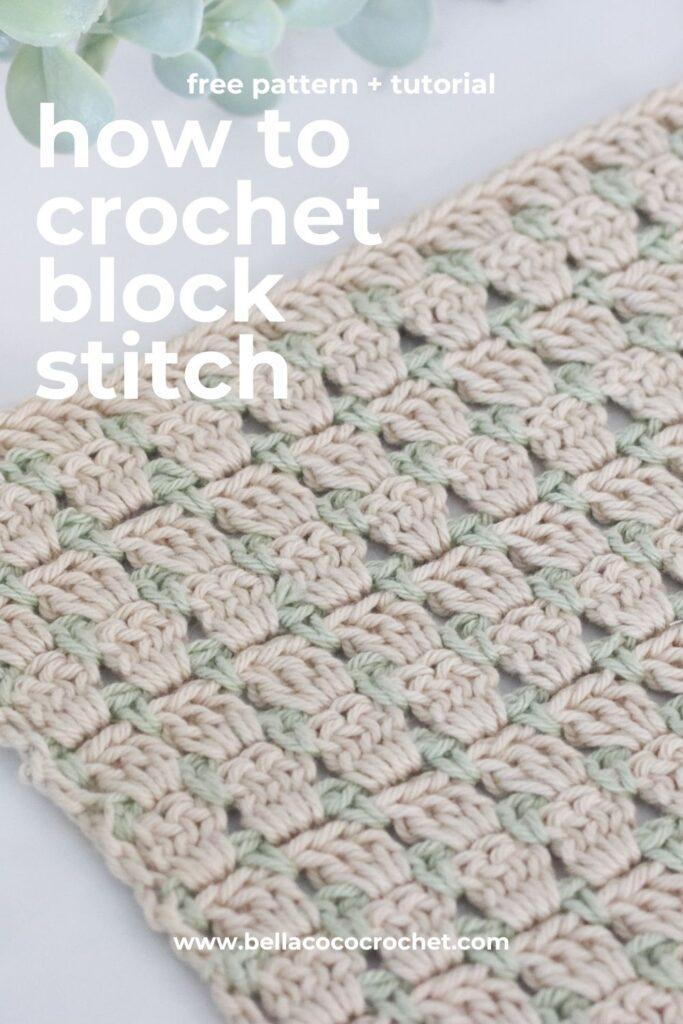
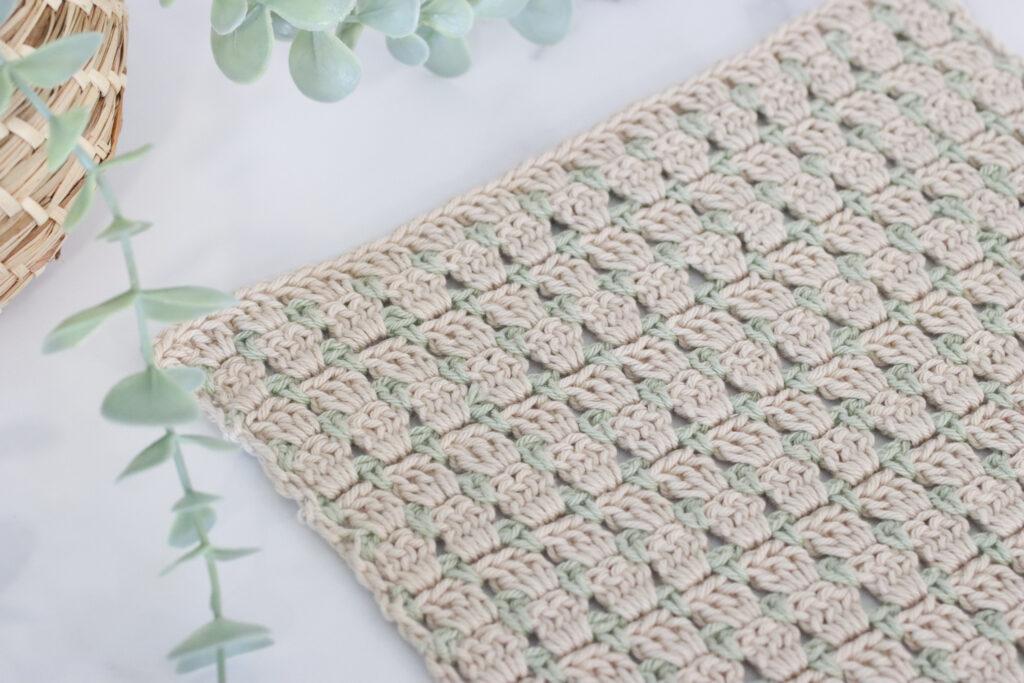
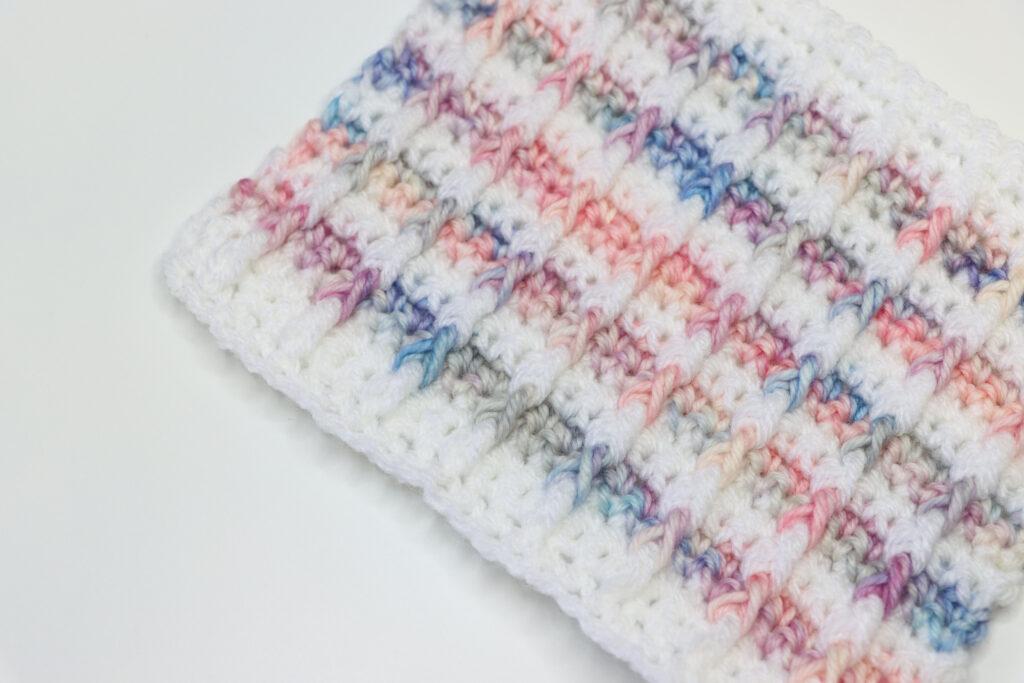
Learn how to crochet the block stitch with my free step-by-step pattern and video tutorial. This stitch creates a beautiful, textured pattern using a combination of basic crochet stitches, making this so much easier than it looks. So, whether you’re a beginner looking to expand your skills or an experienced crocheter searching for a new favourite stitch, this blog post will guide you through everything you need to know to master the block stitch.

Pattern Use Ideas
- Blankets
- Scarves
- Home Decor
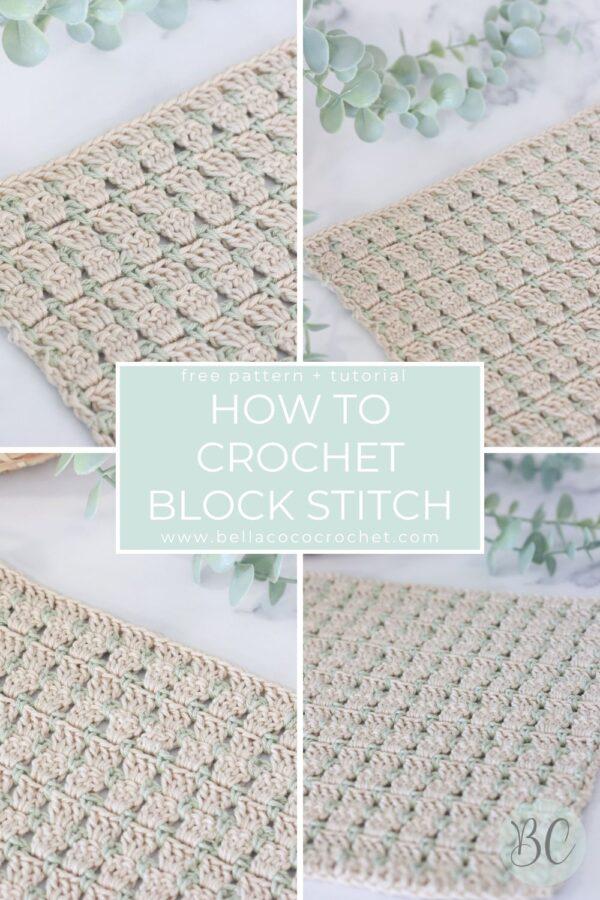
Pin For Later
Materials & Tools
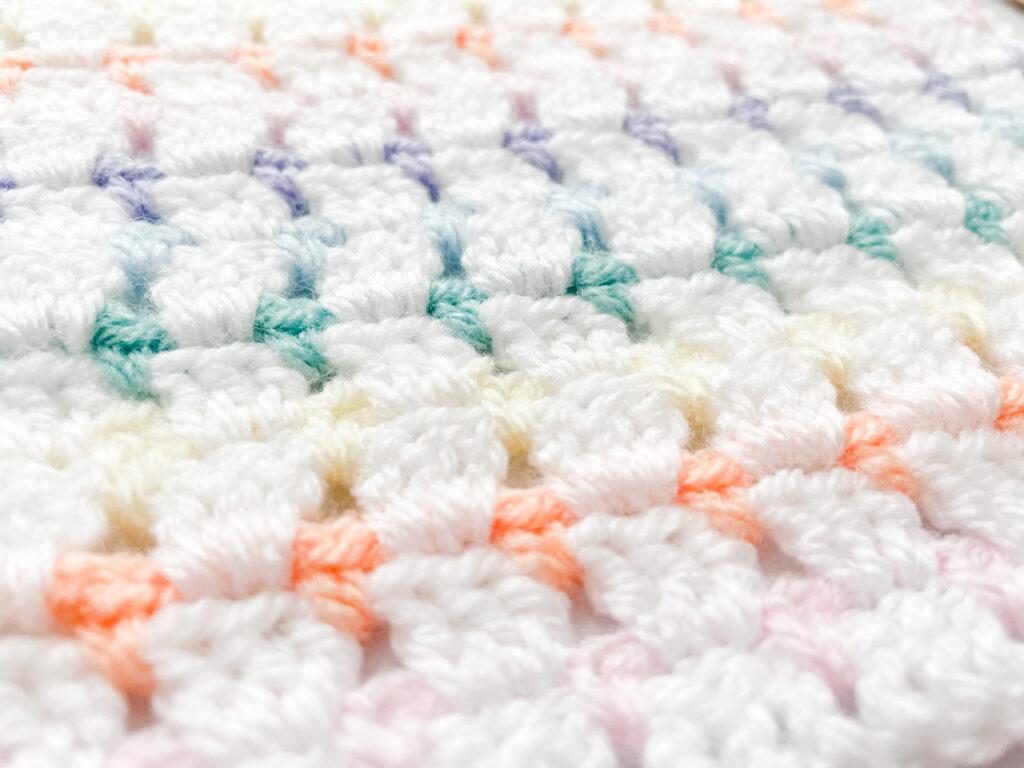
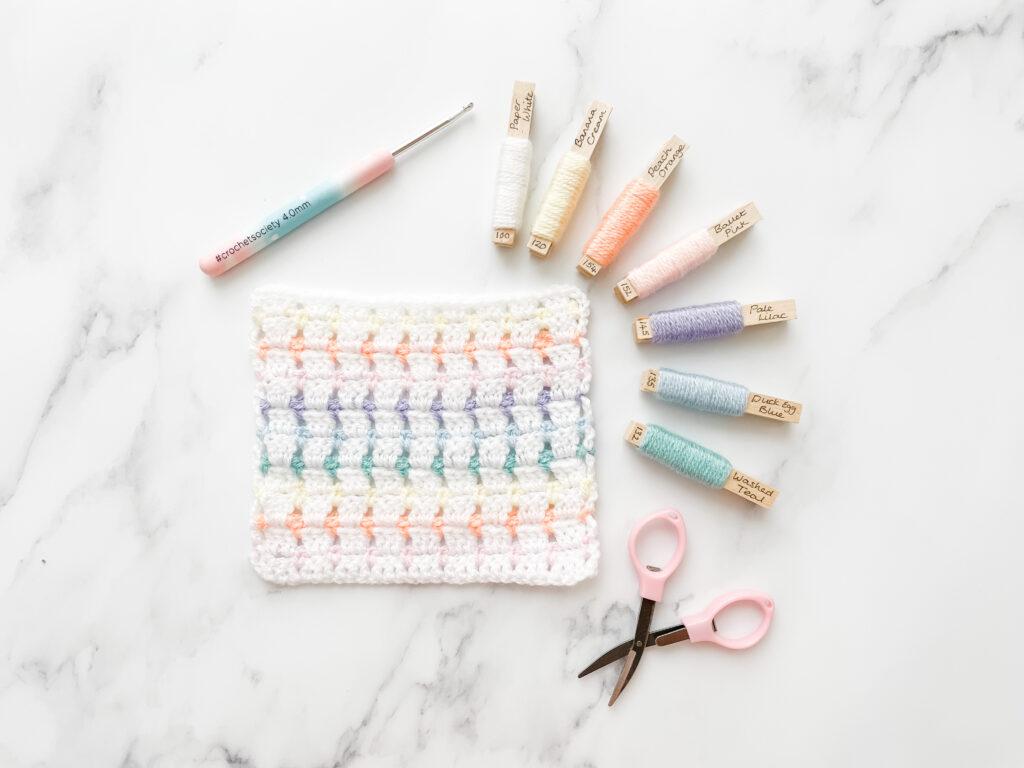
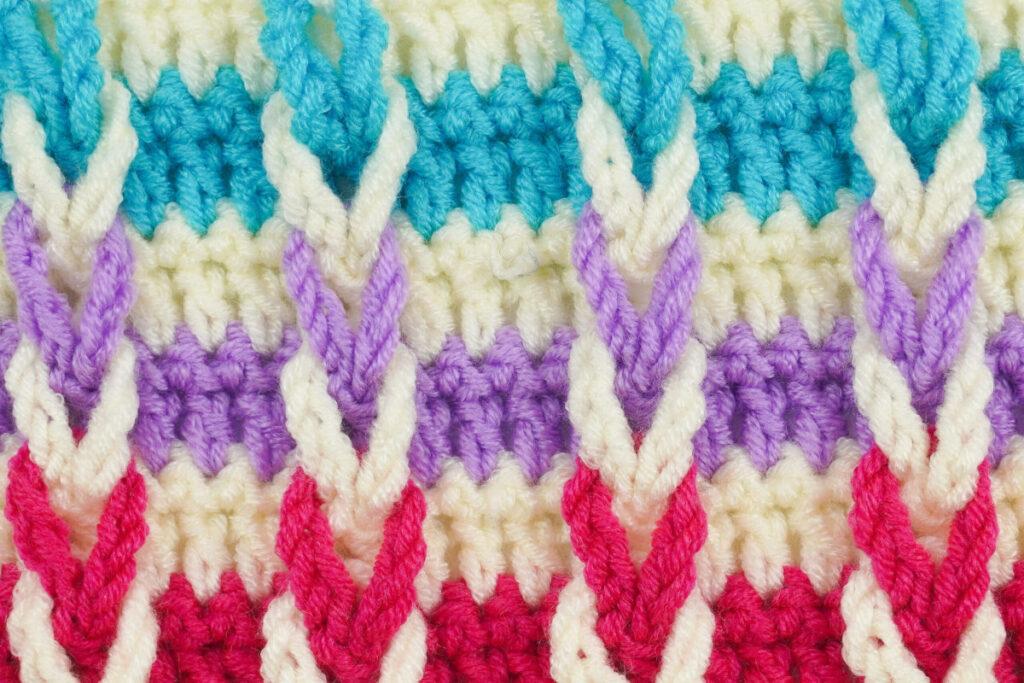
- Yarn: The sample uses Paintbox Simply DK in Paper White, Banana Cream, Peach Orange, Ballet Pink, Pale Lilac, Duck Egg blue and Washed Teal. However, you can use any weight yarn and recommended hook size that can be found on the belly band to your chosen yarn.
- Hook: 4mm (G-6)
- Scissors
- Darning Needle
Pattern Notes
- Written in UK terms but switchable to US terms below.
- Skill Level: Beginner
- Stitch Multiple: 3 +2
- This pattern gives you the basic principles for the Block Stitch, designed to help you create your own projects. You can adapt this pattern to your liking.
- The video tutorial can be found at the base of the post.
Convert Pattern Terms
Here you can quickly switch between UK and US crochet terms. This will make following the pattern easier as all terms will be converted to your preferred version.
Terms & Abbreviations
Chain(s): ch(s): Yarn over, pull through loop on the hook.
Double Crochet(s): dc(s): Insert hook into stitch, yarn over, pull up a loop, you will have two loops on the hook. Yarn over, pull through remaining two loops.
Treble Crochet(s): tr(s): Yarn over, insert into stitch, yarn over, pull up a loop, you will have three loops on the hook. Yarn over, pull through two loops, yarn over, pull through remaining two loops.
Special Stitches
Standing Double Crochet: (sdc): with slip knot on the hook, insert hook into stitch, yo, pull up a loop (2 loops on hook), yo, pull through remaining 2 loops.

Unsure of the differences between UK and US terms? Need a refresher on how to do your stitches? In my ‘How to crochet: A handy reference guide’ EBook I help you with all of these terms and you can always have them to hand! You will also get exclusive access to free video instructions. Learn more about the eBook here.
Pattern Support
The fastest way to get pattern support is to ask in our dedicated facebook group for Bella Coco Crochet patterns. This is the best place for you to connect with other crocheters.
Please note, if you wish to change and adapt this pattern in any way, this must be done at your own exploration and we cannot offer assistance with this.
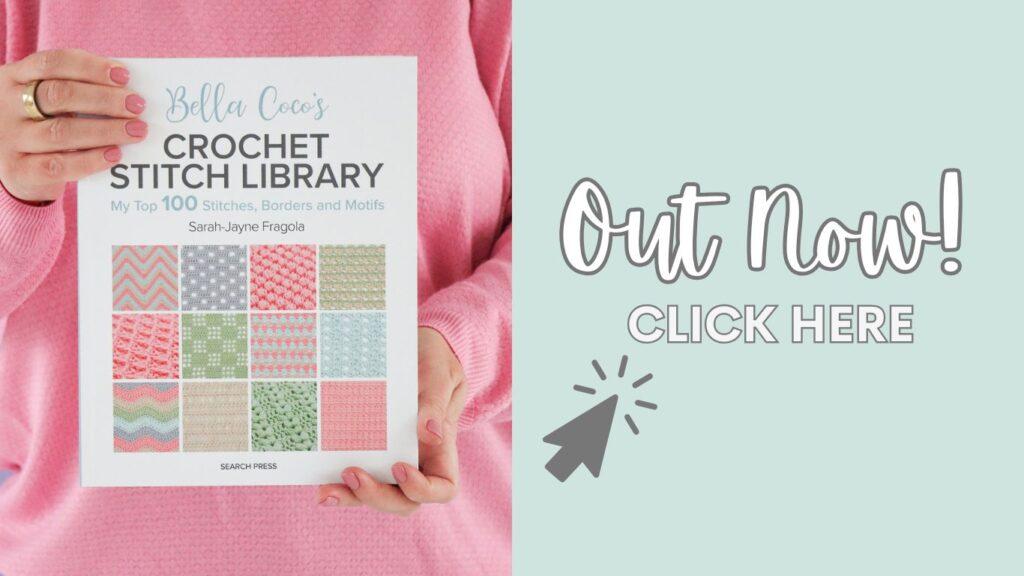
Free Crochet Pattern: Block Stitch
You are viewing this pattern in UK terms.
Foundation: With MC ch in multiples of 3 +2.
Row 1: with yarn A tr in fifth ch from hook (skipped 4-ch counts as st), tr in each ch across. Do not turn your work. Pull up the working loop, remove your hook and add a stitch marker to the loop so you don’t lose it.
Row 2: join in yarn B with a sdc in sp between turning ch and tr from previous row, *2 ch, skip 3 sts, dc in next sp between tr, rep from * across, working last st into last sp before final st. Fasten off yarn B. Turn.
Row 3: remove stitch marker from loop of yarn A and insert hook, 3 ch (counts as tr), *3 tr in next ch sp, rep from * across, tr in top of turning ch from two rows below. Do not turn your work. Pull up the working loop, remove your hook and add a stitch marker as previously.
Rep Rows 2 and 3 until desired height.
Fasten off and sew in ends.
Video Tutorial
[adthrive-in-post-video-player video-id=”LsF3bmCg” upload-date=”2025-03-18T19:32:12+00:00″ name=”CROCHET_ How to crochet the block stitch | Bella Coco.mp4″ description=”null” player-type=”default” override-embed=”default”]Or you can watch on YouTube
Crochet Stitches To Try Next
Have you tried these stitches?
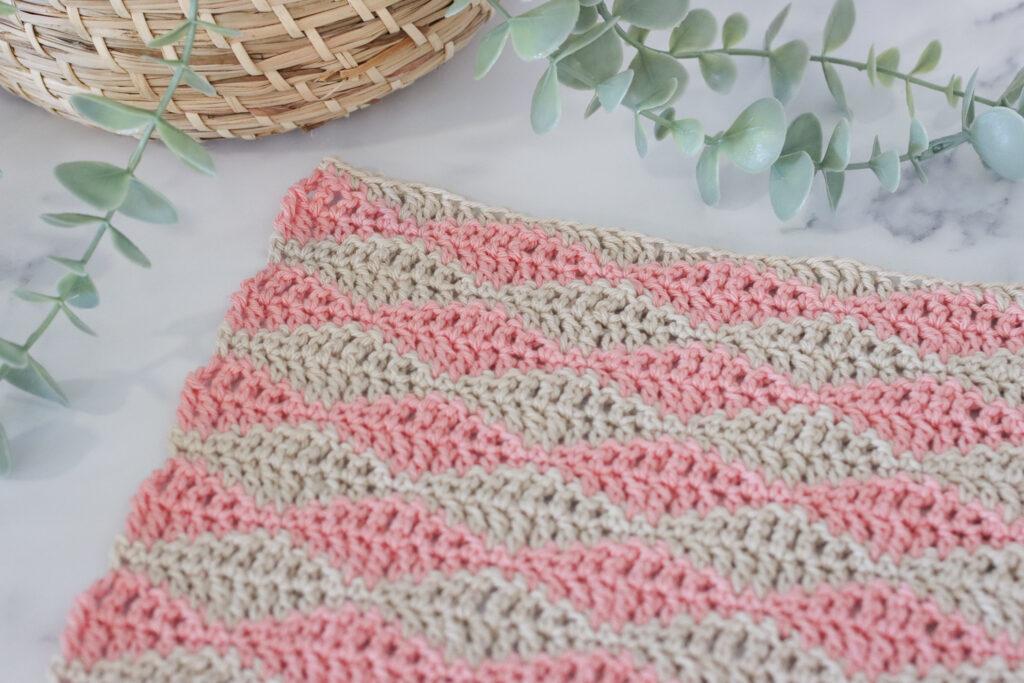
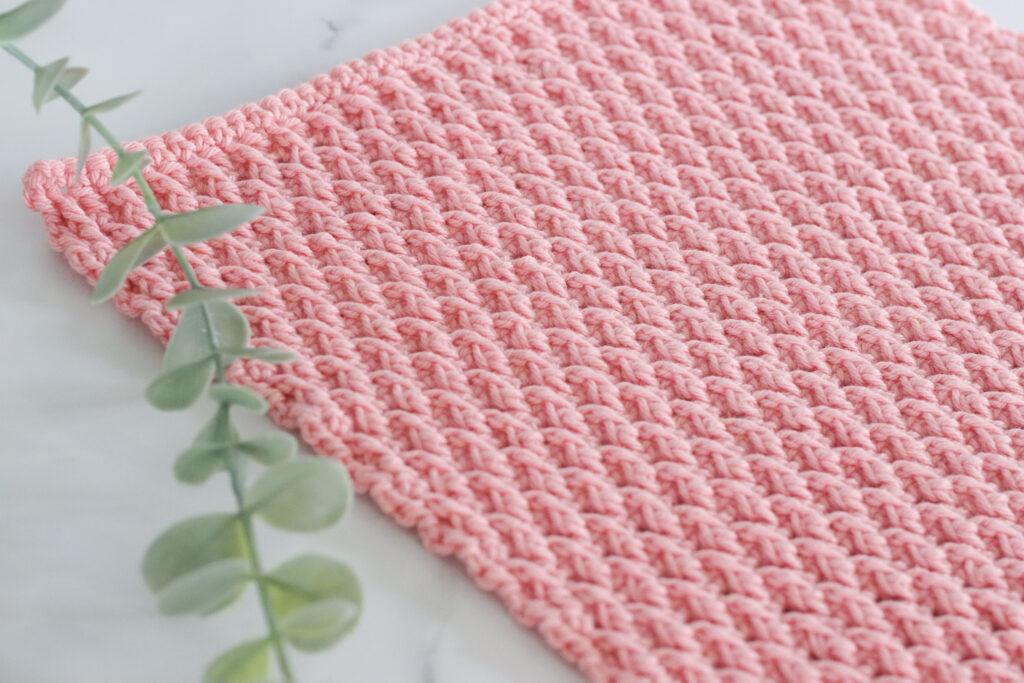
Click below to explore the FREE stitch library.
I always love to see your makes so if you try any of my patterns or follow my stitch tutorials please tag me @bellacococrochet or use the #bellacococrochet
sarah-jayne
Love this one going to give it a try for my lap rug. Thank you love your videos and wish they were around 60 years ago when I first started to crochet!
You are very welcome 🙂
Do you know if this pattern can be decreased? Thanks! Love the tutorial so far
Hi Sarah I’m glad you like the tutorial To decrease crochet you need to work two or more stitches together; with block stitch this can make the pattern look a bit uneven as you will end up with part blocks at either end where you decrease.
I’m a bit late in the game for this, but I have figured out a way to decrease this stitch that comes out reasonably well. Using US terms. At the start and end of the DC row, do 1dc instead of 2. At the start and end of the sc row, start as normal with sc ch1 but skip the three dc below and then sc. Your chain may need to be a bit on the lose side so it doesn’t pull it up too much. I tried a ch2, but it was too big a gap. That said, the project I am working on calls for 2dc, not 3dc so ch2 may be called for if you are doing 3dc.
This looks lovely (and quick and easy for me as a ‘next steps’ beginner) for a baby blanket. Clean lines, unfussy with pops of colour – just my style! Thank you xx
You are very welcome 🙂
Love this pattern! For a lap size blanket, how many balls of the main colour do you need?
Hi Janet, this is a really difficult question to answer as this would really depend on your hook size, personal tension and what size you are doing. If you do a swatch you should be able to work it out from there 🙂
Hi!
Thank you for having this both written and with a video tutorial. I have a question that isn’t addressed, as your even-numbered rows are changing color each time. I’m using the same color for all even-numbered rows, and an ombre for the odd-numbered rows. How could I do the stitches in the even-numbered rows to go up past the row above it, to start the next even row? I feel like there should be something better than what I’m doing, which is basically slip-stitching between the first and second stitches of the odd row above, and then beginning the even row. I’m sorry that I can’t explain the problem very well; this is one of those “a picture’s worth 1000 words” situation.
Thanks in advance!
Hi Jill You’re welcome! If you’re wanting to carry the yarn up as you go rather than cut it, you can do this by pulling the yarn through as you make the final part of the last stitch of the row before the new colour. This way, there’s no need to slip stitch. Hope I’ve understood what you meant correctly and forgive me if not!