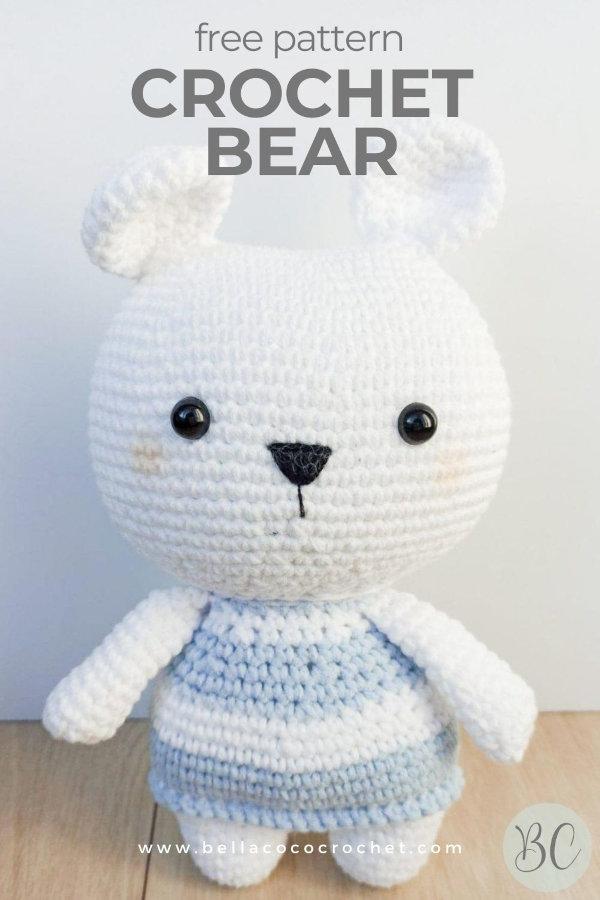
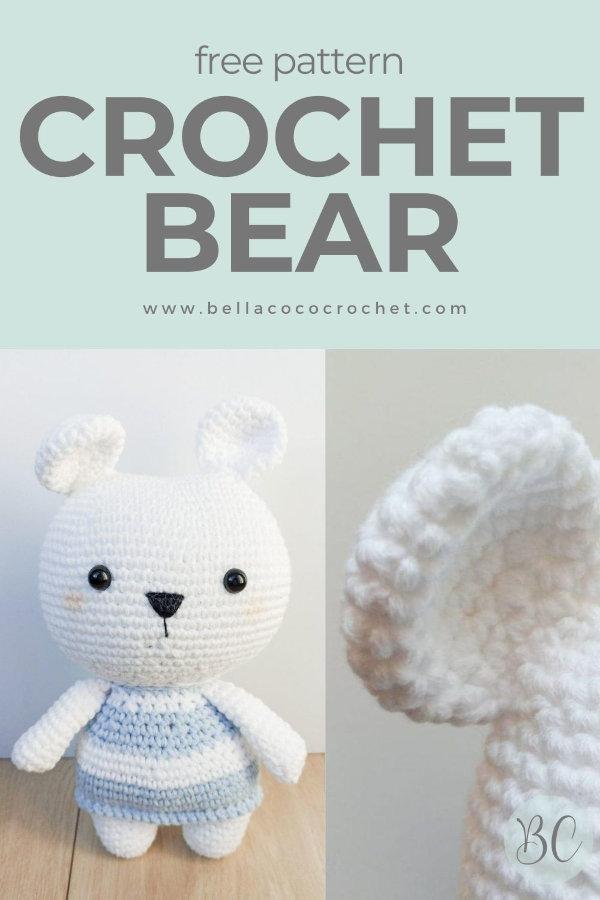
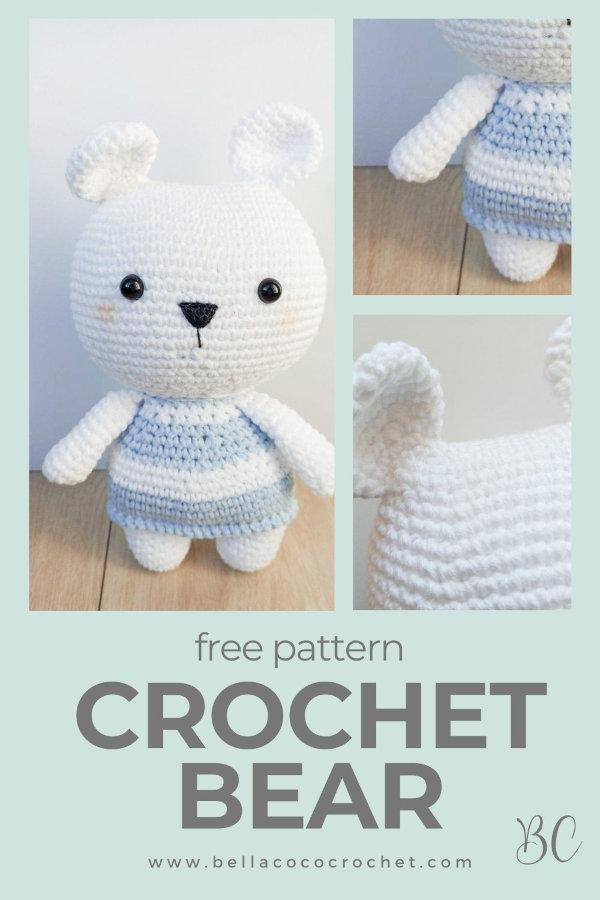
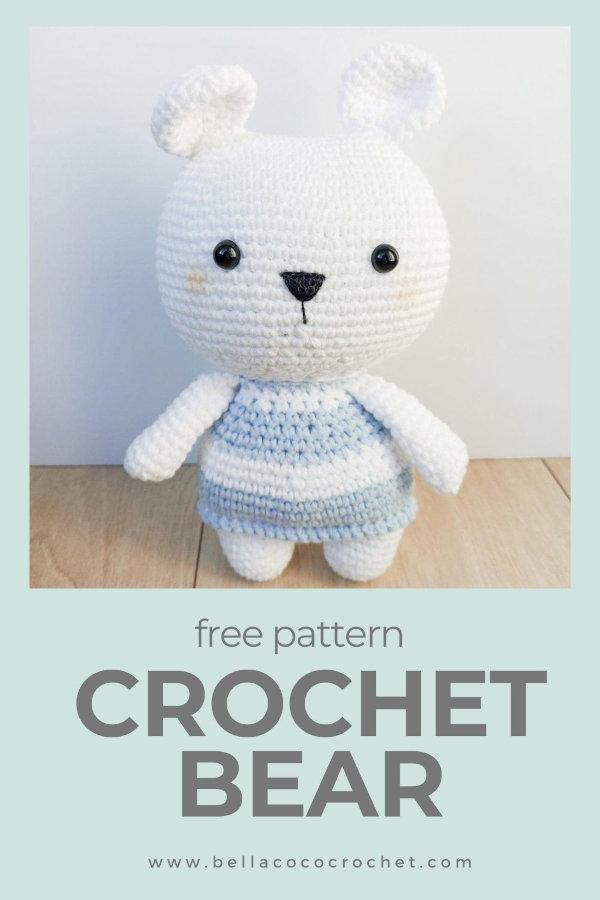
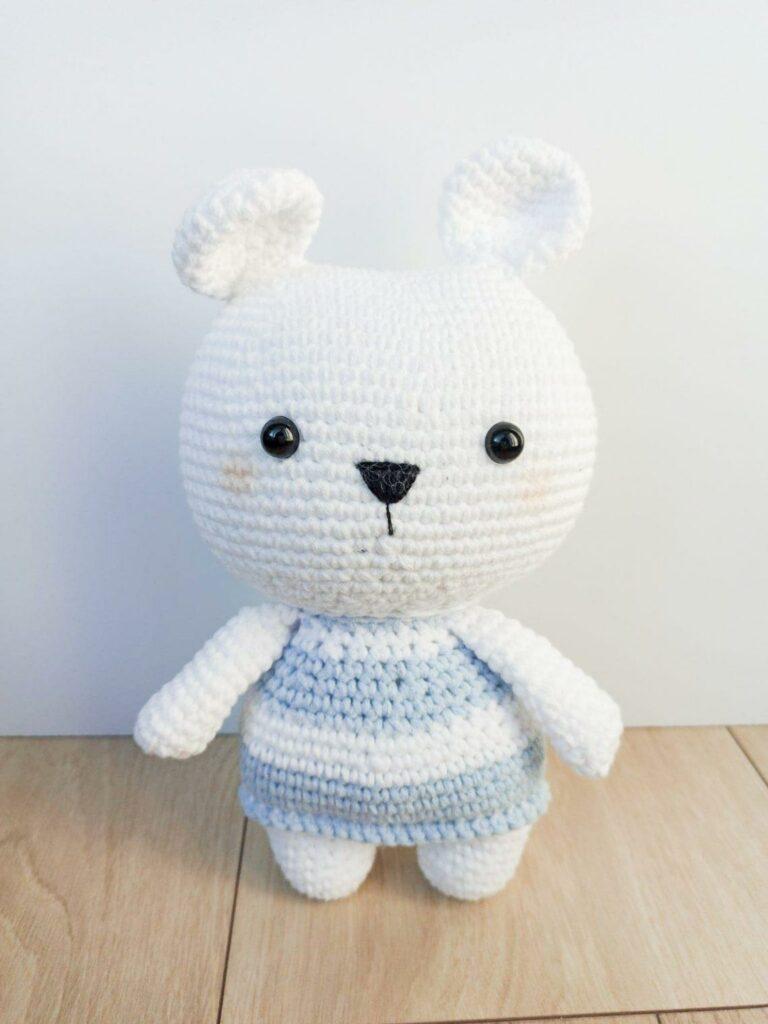
Crochet this cute amigurumi bear by guest designer Natasha Savel from L’Atelier De Pouêtète. This adorable bear would make the perfect gift or nursery decor and is easily customised, just switch up the colours to suit your style. Just remember, if you’re going to gift or sell this bear you must make sure it meets the legal safety requirements for your country.
“As this is a guest post, Bella Coco Crochet is unable to answer any queries. If you have a question, please contact the designer directly and they will be happy to help you.”
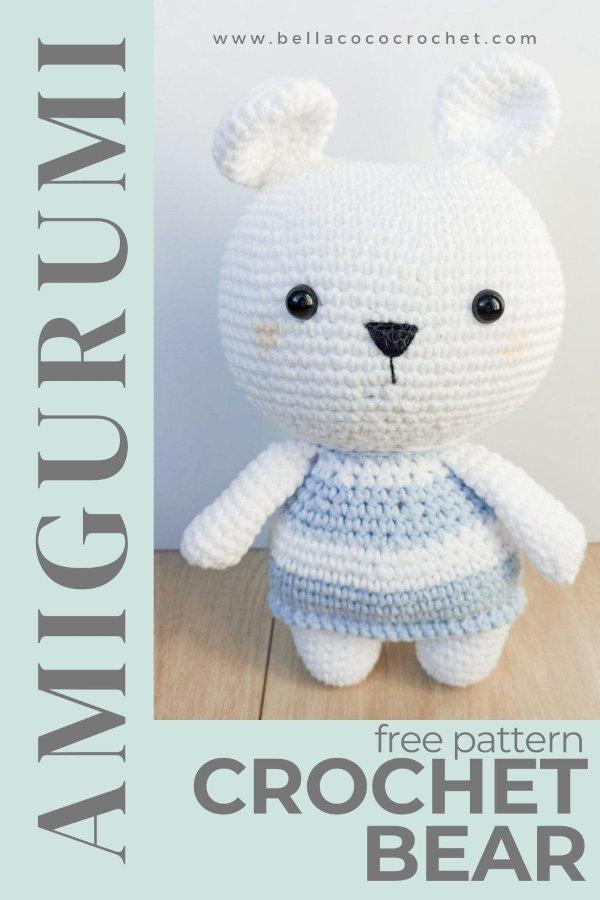
What is Amigurumi?
Amigurumi is a Japanese art form of creating small crocheted or knitted stuffed toys, dolls or figurines. The word “amigurumi” comes from the Japanese words “ami”, meaning crocheted or knitted, and “nuigurumi”, meaning stuffed doll. The art of making amigurumi involves using simple crochet techniques to create small and detailed shapes, which are then stuffed with fiberfill to create cute and often whimsical characters.
Worked typically in the round and are made with a combination of basic stitches such as double crochet and slip stitch. Amigurumi has become increasingly popular in recent years, with crafters around the world sharing patterns and designs to create their own unique amigurumi creations.
Free Amigurumi Patterns
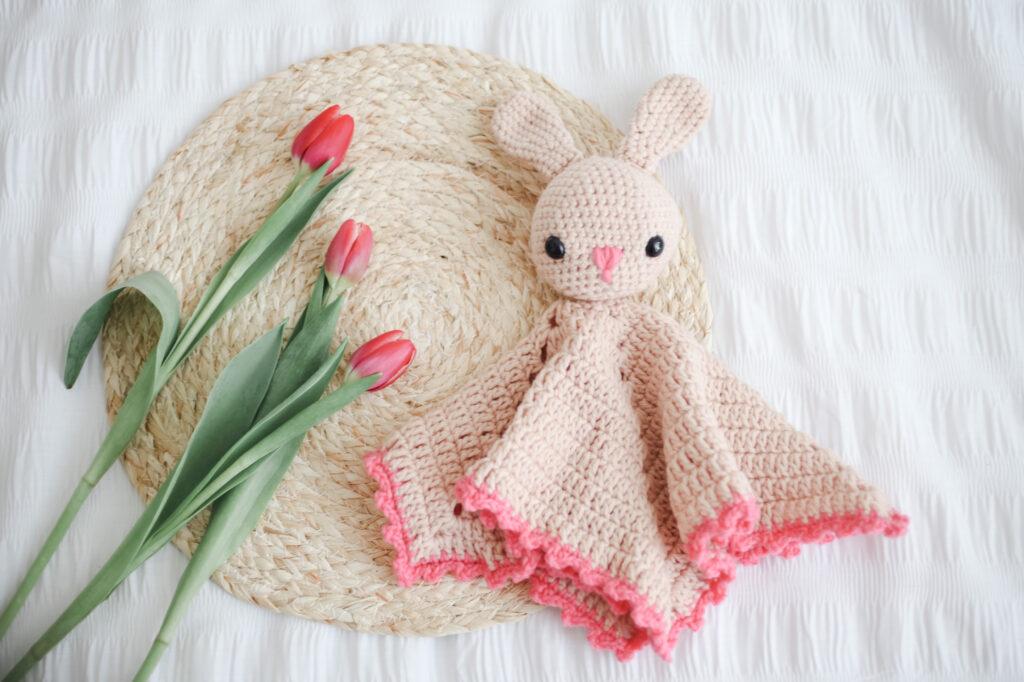
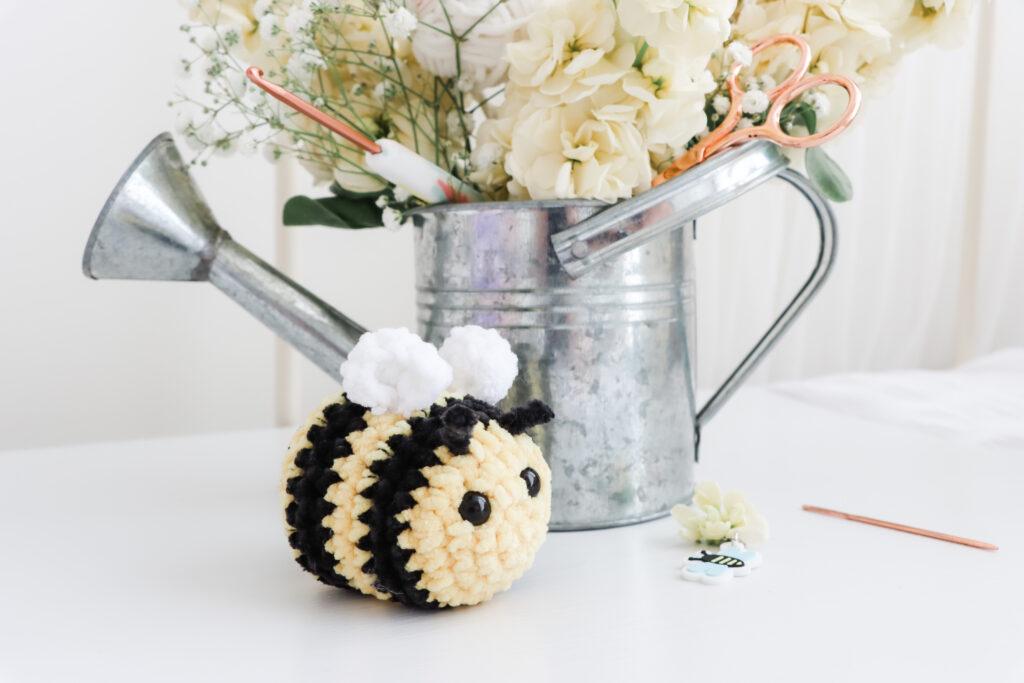
If you love amigurumi why not check out these adorable FREE patterns available on the blog and get inspired for your next make.
- Bella Bunny Lovey
- Crochet Bee
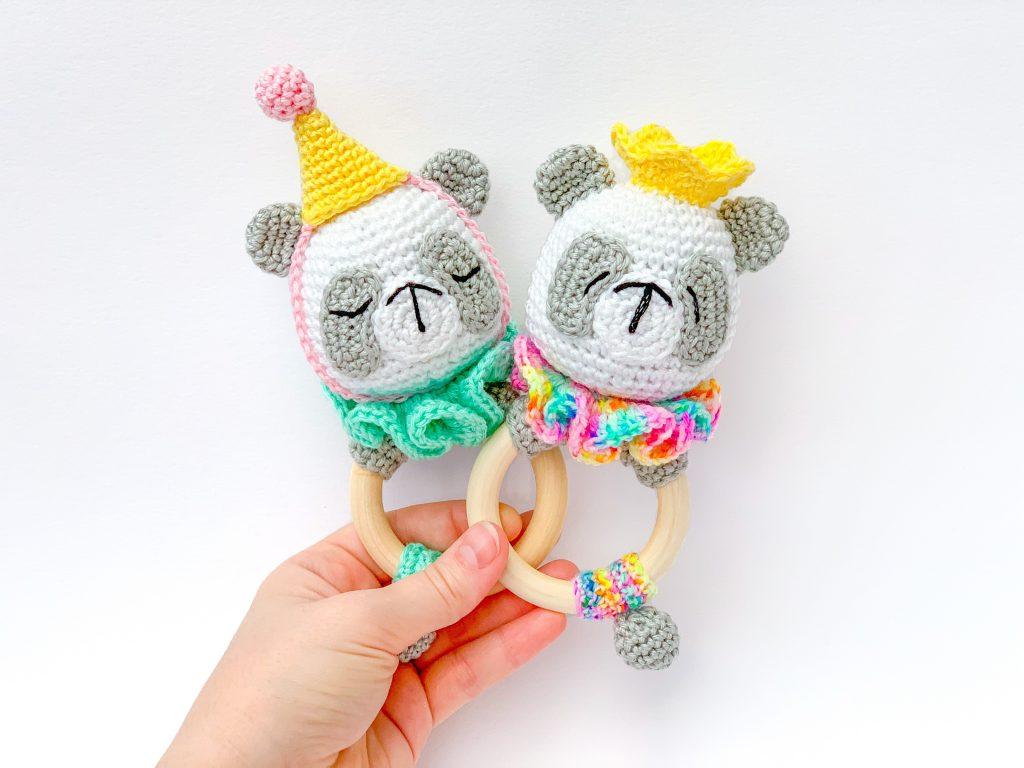
- Party Panda Rings
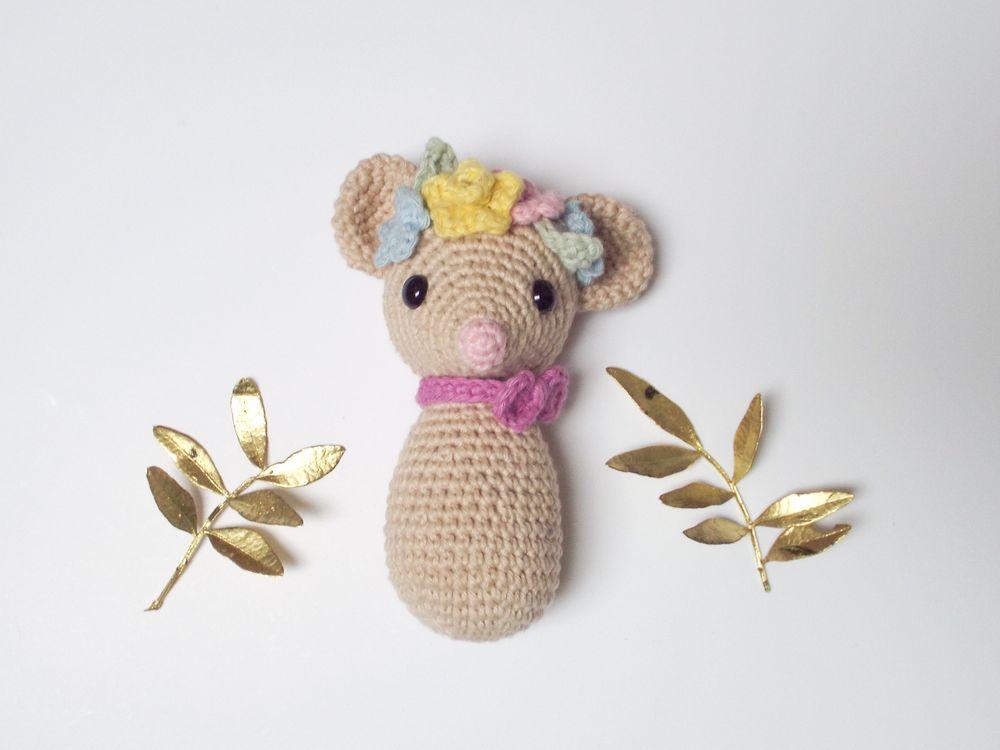
- Crochet Door Mouse
- Fox Rattle Stick
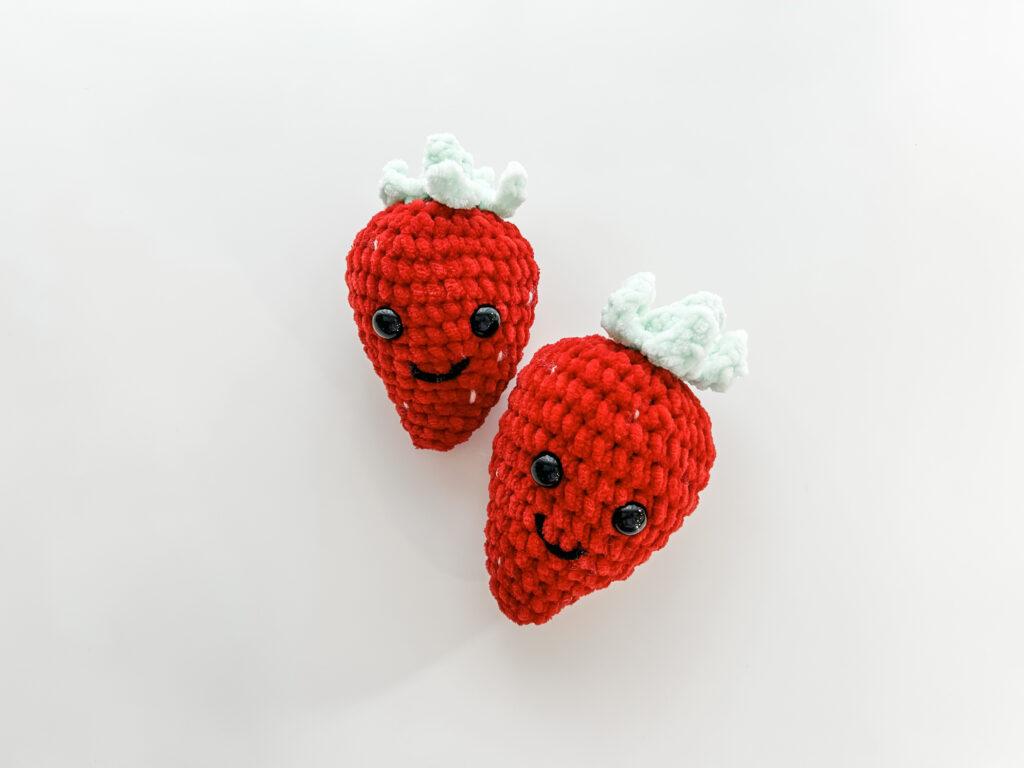
- Crochet Strawberry


Materials & Tools
- Yarn: 2 balls of HOBBII Rainbow Cotton 8/8 in 2 different colours. I used white as the MC and blue as the CC.
- Hook: 4mm or a hook suitable for your yarn
- Black embroidery thread
- Darning Needle
- Safety Eyes: 10mm
- A brush and makeup for the cheekbones
Pattern Notes
- Written in UK terms but switchable to US crochet terms below.
Finished Size
This pattern makes a 23cm tall teddy bear.
Convert Pattern Terms
Here you can quickly switch between UK and US crochet terms. This will make following the pattern easier as all terms will be converted to your preferred version.
Terms & Abbreviations
Double crochet (dc): Insert hook into stitch, yarn over, pull up a loop, you will have two loops on the hook. Yarn over, pull through remaining two loops.
Increase (inc): Make two complete double crochets (dc) into the same stitch.
Decrease (dec): Insert hook into front loop only of next two stitches, yarn over, pull through, you will have two loops on the hook. Yarn over and pull through both loops on the hook.
Slip stitch (sl-st): Insert hook, yarn over, pull through both stitch and loop on hook.

Unsure of the differences between UK and US terms? Need a refresher on how to do your stitches? In my ‘How to crochet: A handy reference guide’ EBook I help you with all of these terms and you can always have them to hand! You will also get exclusive access to free video instructions. Learn more about the eBook here.
Pin for Later
Crochet Amigurumi Bear Pattern
To get started, you’ll need some basic crochet skills, including how to make a magic ring, double crochet (UK term), and increasing and decreasing stitches.
Head
Chain 11
You are viewing this pattern in UK terms.
R1: 1 inc – 8 dc – 2 inc – 8 dc – 1 inc = 24
R2: 2 inc – 8 dc – 4 inc – 8 dc – 2 inc = 32
R3: 1 dc – 1 inc – 12 dc – 1 inc – 2 dc – 1 inc – 12 dc – 1 inc – 1 dc = 36
R4: 36 dc
R5: (5 dc – 1 inc) * 6 = 42
R6: (6 dc – 1 inc) * 6 = 48
R7: (7 dc – 1 inc) * 6 = 54
R8: 54 dc
R9: 54 dc
R10: (8 dc – 1 inc) * 6 = 60
R11: 60 dc
R12: 60 dc
R13: (9 dc – 1 inc) * 6 = 66
R14 to 19: 66 dc (6 rows)
R20: (9 dc – 1 dec) * 6 = 60
R21: 60 dc
R22: (8 dc – 1 dec) * 6 = 54
R23: (7 dc – 1 dec) * 6 = 48
R24: (6 dc – 1 dec) * 6 = 42
R25: (5 dc – 1 dec) * 6 = 36
R26: (4 dc – 1 dec) * 6 = 30
R27: (3 dc – 1 dec) * 6 = 24; slst to close.
Insert the safety eyes between rows 14 and 15 at a distance of 10 stitches.
You are viewing this pattern in UK terms.
Stuff the head firmly.
Arms x 2
R1: 6 dc in mr = 6
R2: 6 inc = 12
R3: 12 dc
R4: (1 dec – 4 dc) * 2 = 10
R5: 10 dc
R6: 10 dc
R7: 10 dc
R8: 10 dc
R9: (1 dec – 3 dc) * 2 = 8
R10: 8 dc
R11: 8 dc
R12: (2 dc – 1 dec) * 2 = 6
R13: 6 dc
You are viewing this pattern in UK terms.
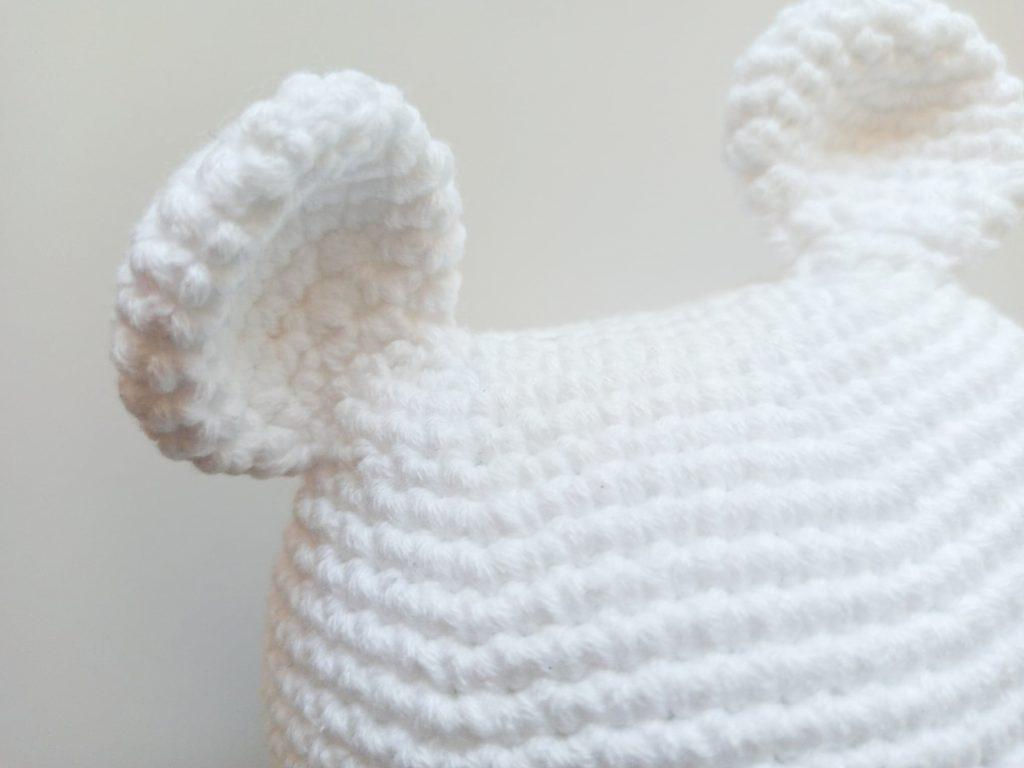
Ears x 2
R1: 5 dc in mr = 5
R2: 5 inc = 10
R3: (1 dc – 1 inc) * 5 = 15
R4: 15 dc
R5: (2 dc – 1 inc) * 5 = 20
R6: 20 dc
R7: (2 dc – 1 dec ) * 5 = 15
You are viewing this pattern in UK terms.
Body
Leg 1
R1: 5 dc in mr = 5
R2: 5 inc = 10
R3: (1 dc – 1 inc) * 5 = 15
R4: 15 dc
R5: 15 dc
R6: 15 dc
R7: 15 dc
You are viewing this pattern in UK terms.
Leg 2
R1: 5 dc in mr = 5
R2: 5 inc = 10
R3: (1 dc – 1 inc) * 5 = 15
R4: 15 dc
R5: 15 dc
R6: 15 dc
R7: 15 dc
R8: From there, join the 1st leg and do: 15 dc on the 1st leg – 3 dc on the chain – 15 dc on the other leg – 3 dc on the other side of the chain = 36
R9: (5 dc – 1 inc) * 6 = 42
R10: (6 dc – 1 inc) * 6 = 48
R11: 48 dc in back loop only.
R12–15: In CC 48 dc (4 rows)
R16-17: In MC 48 dc (2 rows)
R18: In MC (6 dc – 1 dec) * 6 = 42
You are viewing this pattern in UK terms.
R19. In CC 42 dc
R20: In CC (5 dc – 1 dec) * 6 = 36
R21: In CC 36 dc
R22: In CC (4 dc – 1 dec) * 6 = 30
R23: In MC 30 dc
R24: In MC (3 dc – 1 dec) * 6 = 24
R25: In CC 24 dc, slst to close.
Finishing Off
You are viewing this pattern in UK terms.
- In CC, make a row of 45 dc in the front loop of row 11
- Firmly stuff the legs and body
- Join the head to the body by putting the 2 end stitches of the last rounds face to face.
- Sew the arms to the body at 6 stitches intervals on the front
- Sew the ears on the head between rows 1 and 4 or 5
- Embroider the nose between rows 15 and 17, in the middle of the 2 eyes
- Mark the small cheekbones with makeup based on the picture
I always love to see your makes so if you try any of my patterns or follow my stitch tutorials please tag me @bellacococrochet or use the #bellacococrochet
sarah-jayne
Is there any alternative to use for the safety eye
Hi sarah, it would be really helpful if u make a video tutorial on this project in your youtube channel. I really loved this one n its kinda difficult for me to understand so could u pls make a video. It would be really helpful.
As this is a guest post I will not be making a tutorial. If you have any queries regarding the pattern you will have to contact the designer direct.
oh ok! u make beautiful projects btw
Amigurumi models are great.
Hey,
Sorry to ask but is the first section to form the head supposed to be a magic ring?
Thank you
Hi Rebecca
You should start the head by chaining 11 and then you will work your way along the chain; however instead of turning your work you should continue working on the other side so you are working in rounds
Hope this helps
Sarah-Jayne
Hiya, do you need a chain to join the first left to the second leg.
Thank you
K
As this was a guest post you will need to contact the designer direct with any queries 🙂
The definition for double double crochet (dc) is incorrect. It should a single crochet (sc). Unless there is a difference for US/CA/EU terminolgy. I started this project using a proper double crochet (dc) and realized this was incorrect fairly quickly.
Hi Izabella a UK double is a US single, it’s the same stitch just different terminology, here is the link to my conversion chart which maybe of use to you:- bit.ly/Conversionchart 🙂
I was wanting to create this bear for my husband but the starting out chain for the head is unclear. Should it be as a magic ring like the rest of the pattern or is it a chain ring? Also chain 11 doesn’t allow for as many stitches to do all of the ones that round 1 requires.
I’m sorry the pattern isn’t clear; you should be working along the chain and then continue to work around and into the bottom side so that you create an oval shape