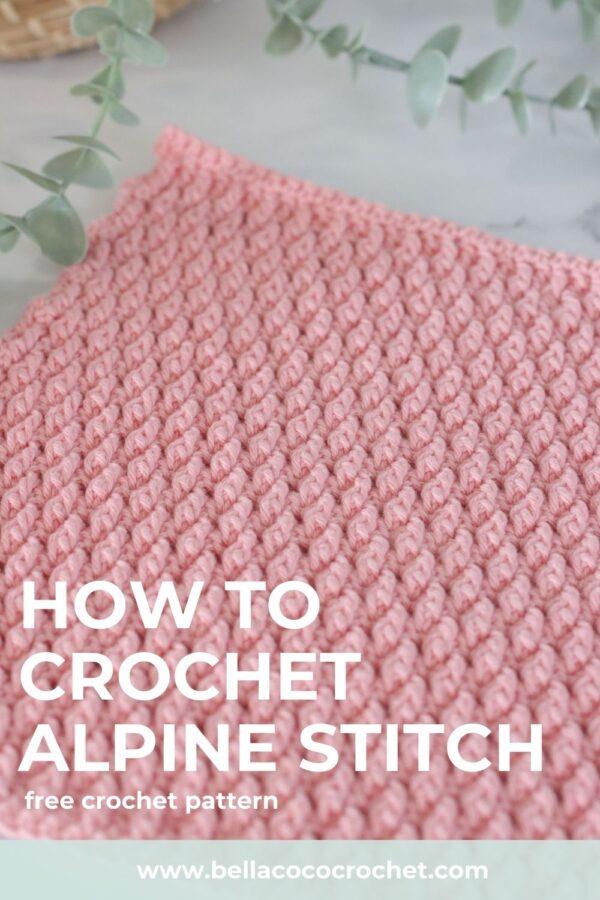
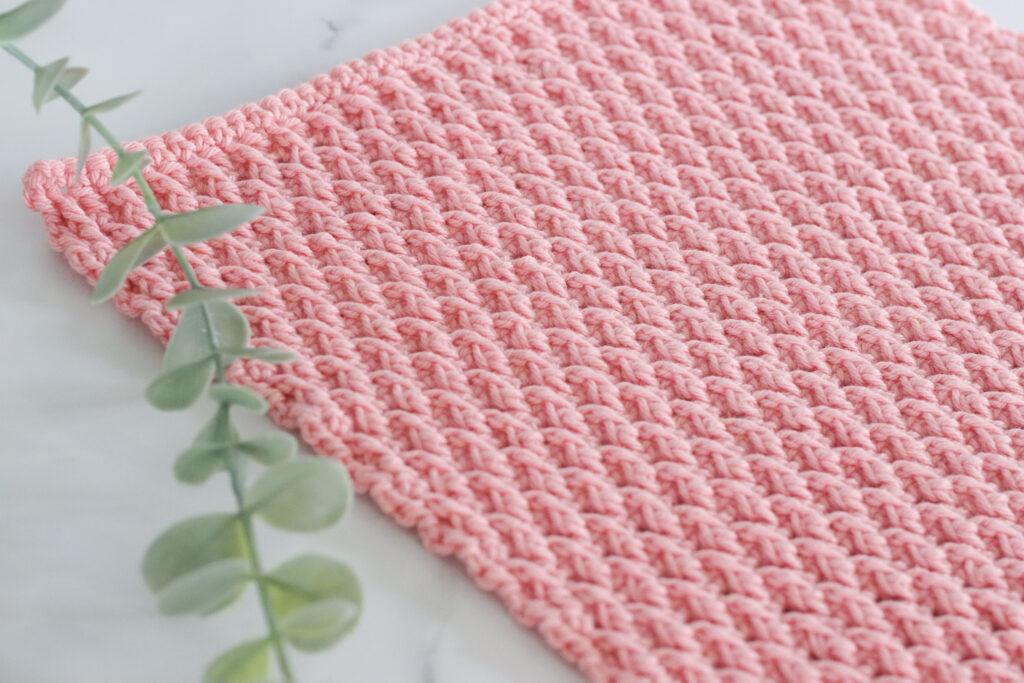
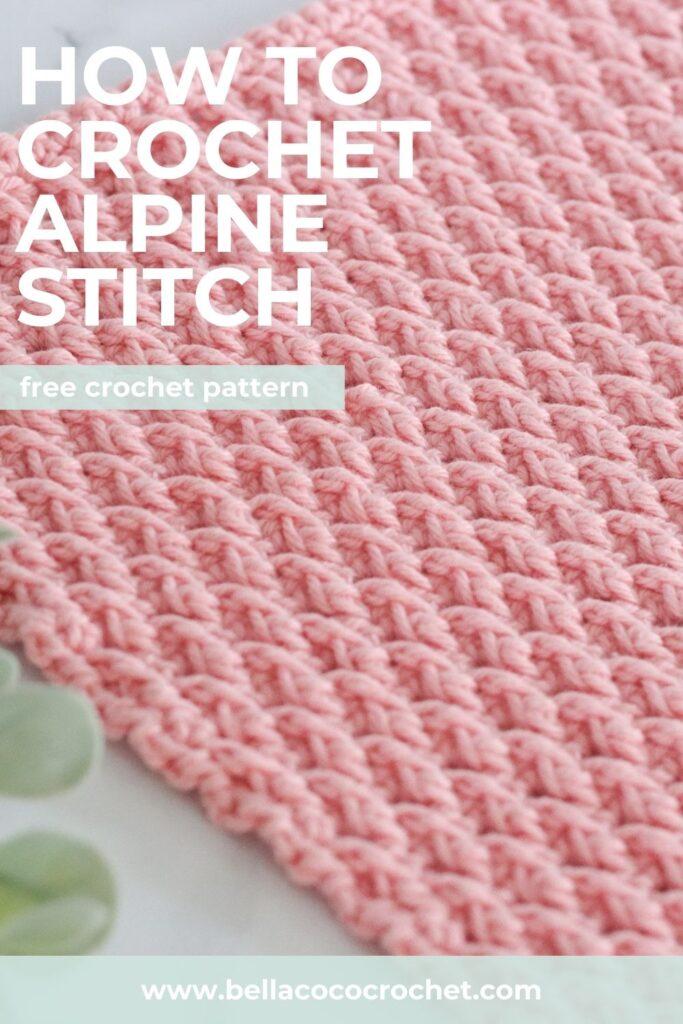
Learn how to crochet the Alpine Stitch with this FREE step-by-step pattern and video tutorial in right and left-handed versions. The crochet Alpine stitch is a textured stitch pattern that creates a beautifully raised, woven-like design.

About the Stitch
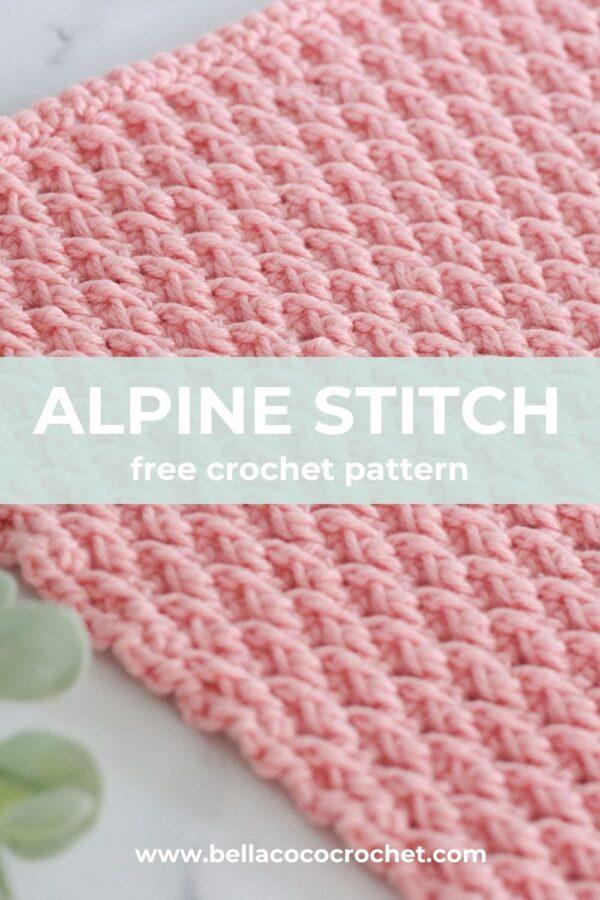
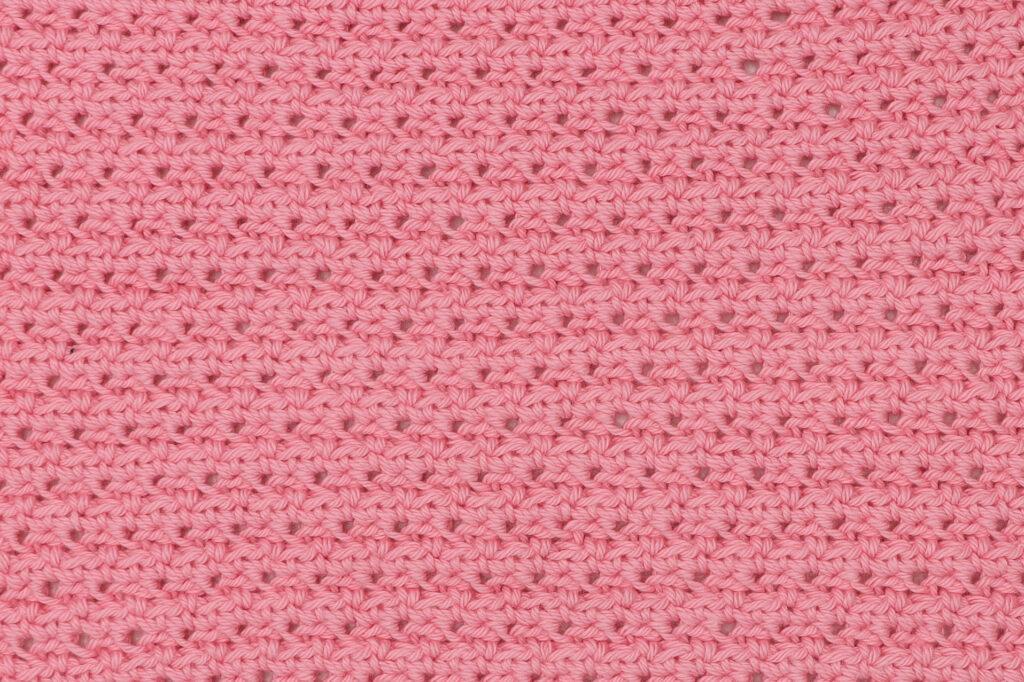
It combines standard double crochet stitches with front post double crochet stitches, giving it a rich, dimensional look. The result is a fabric with a zigzag or ridged effect, making it perfect for cosy blankets, scarves, and other warm projects.
Pattern Use Ideas
Pattern Notes
Written in UK terms but switchable to US terms below.
Skill Level: Intermediate
Stitch Multiple: 2 +1
When working a front post treble crochet, you will skip the stitch just worked over on the current row.
This pattern gives you the basic principles for the crochet Alpine stitch, designed to help you create your own projects.
Video tutorials can be found at the base of the post for both right and left-handed crochet.
Convert Pattern Terms
Here you can quickly switch between UK and US crochet terms. This will make following the pattern easier as all terms will be converted to your preferred version.
Terms & Abbreviations
Stitch(s): St(s)
Chain(s): Ch(s): Yarn over, pull through loop on the hook.
Slip Stitch(s): ss(s): Insert hook, yarn over, pull through stitch and loop on hook.
Double Crochet(s): dc(s): Insert hook into stitch, yarn over, pull up a loop, you will have two loops on the hook. Yarn over, pull through remaining two loops.
Treble crochet: tr(s): Yarn over, insert hook into stitch, yarn over, pull up a loop, you will have three loops on the hook. Yarn over, pull through two loops, yarn over, pull through remaining two loops.
Special Stitches
Front Post Treble Crochet(s): fptr(s): Yarn over, insert hook around post of stitch from front to back to front, yarn over, pull up a loop, you will have three loops on the hook. Yarn over, pull through two loops, yarn over, pull through remaining two loops.
Unsure of the differences between UK and US terms? Need a refresher on how to do your stitches? In my ‘How to crochet: A handy reference guide’ EBook I help you with all of these terms and you can always have them to hand! You will also get exclusive access to free video instructions. You can find my EBook HERE.

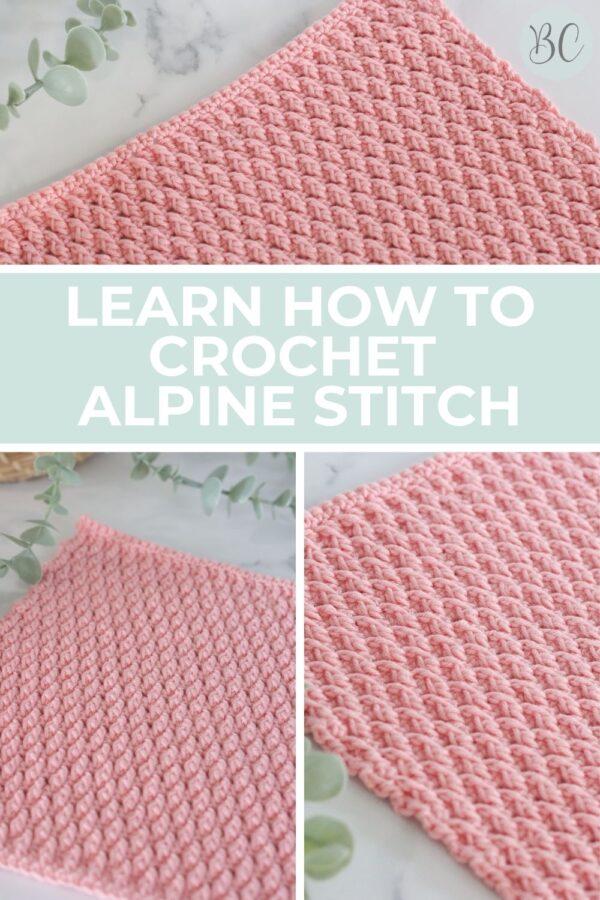
Front View: Alpine Stitch
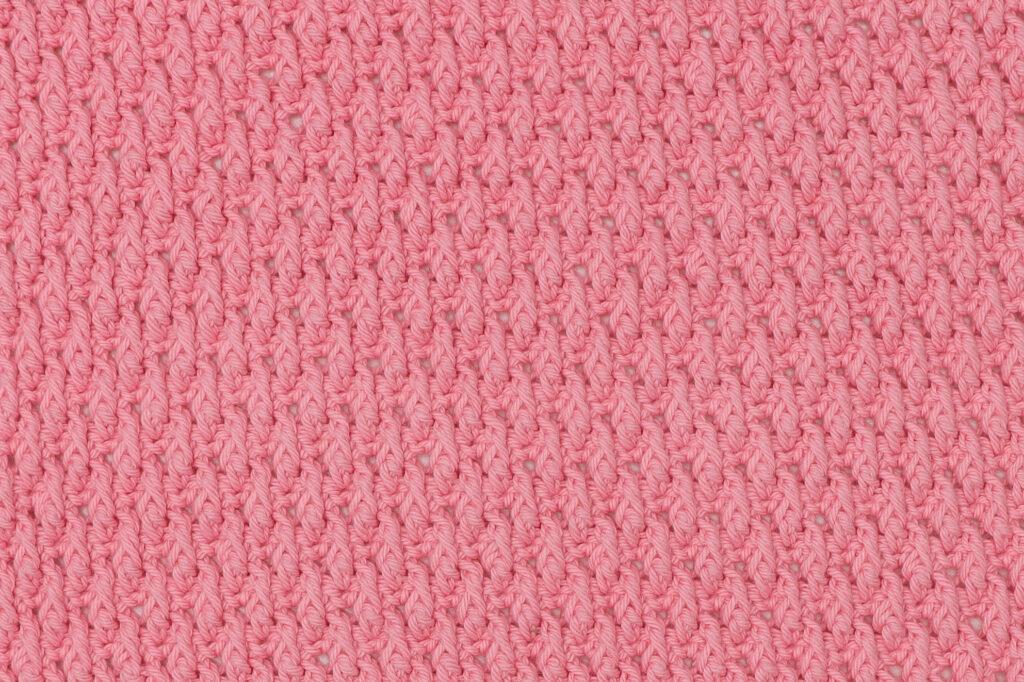
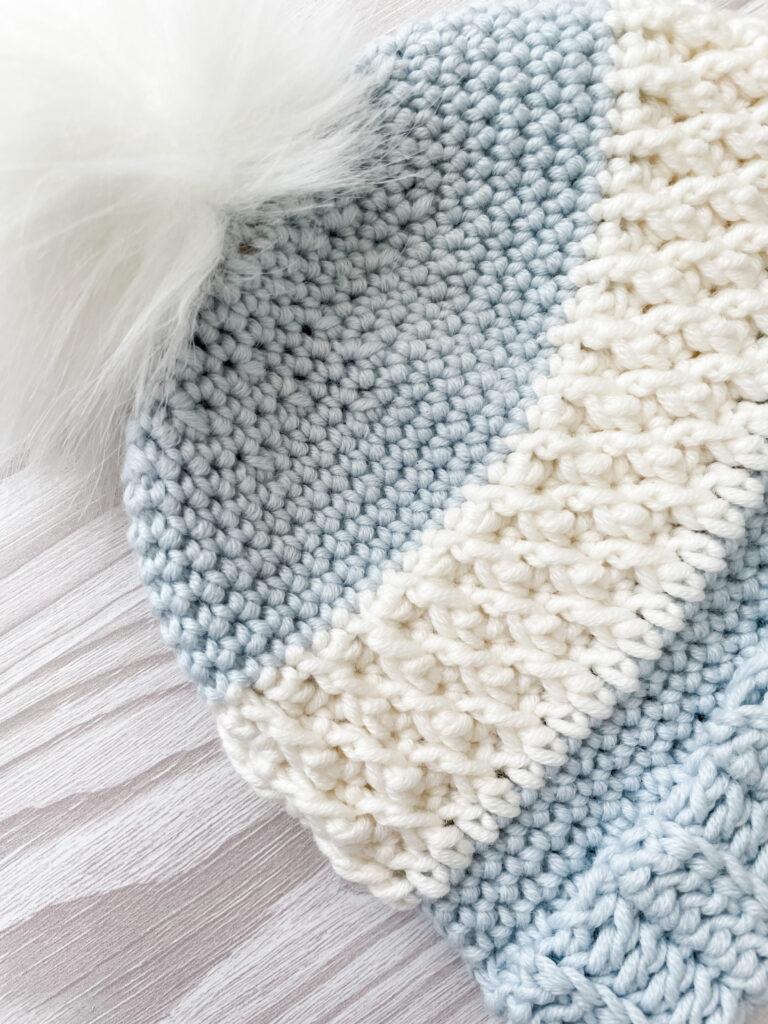
Back View: Crochet Alpine Stitch
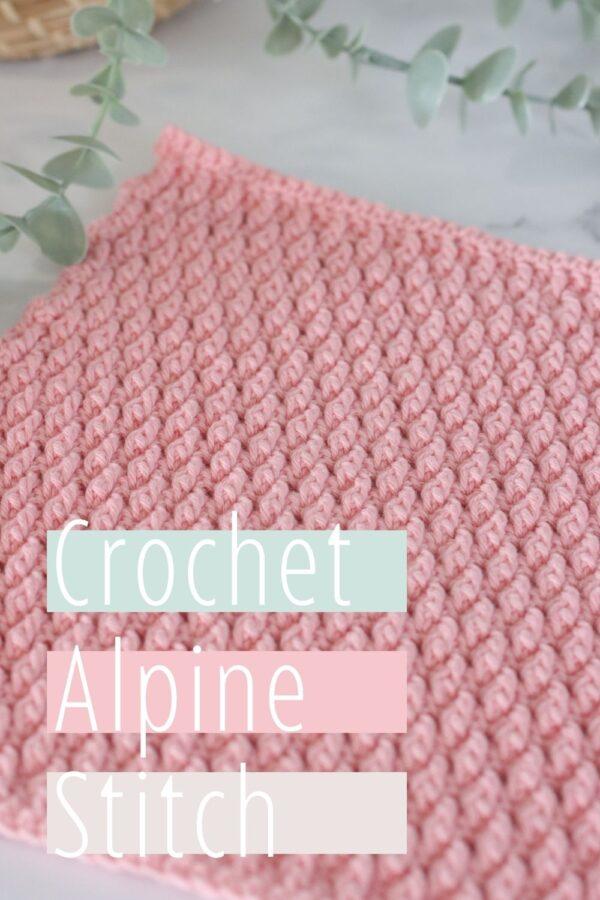
Pin For Later
Pattern Support
The fastest way to get pattern support is to ask in our dedicated facebook group for Bella Coco Crochet patterns. This is the best place for you to connect with other crocheters.
Please note, if you wish to change and adapt this pattern in any way, this must be done at your own exploration and we cannot offer assistance with this.
Free Pattern: Crochet Alpine Stitch
You are viewing this pattern in UK terms.
Foundation: Ch in multiples of 2 +1.
Row 1 (WS): dc in second ch from hook (skipped ch does not count as
st), dc in each ch across. Turn.
Row 2 (RS): 2 ch (counts as a tr here and throughout), tr in each st
across. Turn.
Row 3: 1 ch (does not count as st here and throughout), dc in each st
across. Turn.
Row 4: 2 ch, *FPtr around next st two rows below, tr in next st, rep
from * to last st, tr in last st. Turn.
Row 5: 1 ch, dc in each st across. Turn.
Row 6: 2 ch, *tr in next st, FPtr around next st two rows below, rep
from * to last st, tr) in last st. Turn.
Rep Rows 3–6 until desired height.
Final Row: 1 ch, dc in each st across. Turn.
Fasten off and sew in ends.
Video Tutorials
Right-handed
[adthrive-in-post-video-player video-id=”Dqes4THb” upload-date=”2025-03-11T10:49:10+00:00″ name=”CROCHET_ ALPINE STITCH | Bella Coco Crochet.mp4″ description=”null” player-type=”default” override-embed=”default”]Or you can watch on YouTube
Left-handed
[adthrive-in-post-video-player video-id=”FosLnjKN” upload-date=”2025-03-11T10:50:02+00:00″ name=”LEFT HANDED CROCHET_ ALPINE STITCH | Bella Coco Crochet.mp4″ description=”null” player-type=”default” override-embed=”default”]Or you can watch on YouTube
Pattern Ideas
Are you ready to turn your new skill into a pattern? See below for two free patterns that use the Alpine stitch alternatively, continue to explore the stitch library to expand your crochet skills.

I always love to see your makes so if you try any of my patterns or follow my stitch tutorials please tag me @bellacococrochet or use the #bellacococrochet
sarah-jayne
Hi I have just received my 1st box from bella coco and I love it thank you , but I cannot find the tutorial on it and can you help please many thanks Jenny Oliver ♡
Hi Jenny these can be found on the website under blog post and their is also a link in the mini magazine. Hope this helps 🙂
How many skeins do I need to make a 50×60 throw blanket using the millamia yarn (alpine stitch pattern) ?
Thank you
Hi Jan I’m not able to advise you on this as it would depend on your tension and hook size, maybe if you use a skein then measure how much it has made and work it out from their ? 🙂
is it possible to crochet this in the round? I am trying to make a cup holder/carrier and have started in the round.
Hi CC, For a cup holder it would be better to work a flat rectangular piece and then seam it together. Hope this helps 🙂
I am having trouble with my ends. one side goes in like i am missing a stitch.
Are you making sure to work a stitch into the turning chain when you reach the end of a row?
A CLASSY CROCHET STITCH
Clear explanations
Sharp pictures
Perfect timing
Beautiful English
Beautiful voice
Thank you.
You’re very welcome and thank you for your feedback 🙂
Hello. How do you increase and decrease [end and middle] using this stitch? Thanks 🙂
To increase the stitch you can work your treble into the top of the same stitch following the front post treble, instead of the next stitch. To decrease you need to work two stitches together, by beginning to work into the next stitch before you have finished the current one
The instruction for fpt in Rows 4 and 6 are not clear, they don’t mention that you need to skip and work on every alternate stitch – I got that cleared from the video tutorial. Adding that instruction up here would be helpful. Thanks.
Thank you for picking this up; I’ll have the written instructions looked at and amended. I hope it didn’t cause too much confusion
I’m so confused. You say double crochet in row 2 but show a single crochet.
Hi Gina, I’m working in UK terms so a UK double is a US single, it’s the same stitch just different terminology 🙂
One of my sides isn’t straight. Am I doing something wrong?Emily
You should find that your sides stay reasonably straight with this stitch so it may be worth checking that you’ve followed the pattern correctly If one of your sides slants inwards or outwards, it’s usually a sign that you’ve missed a stitch out or made one extra by mistake.
I just want to thank you for all your tutorials. They are so easy to follow.
Thank you so much 🙂