When preparing your crochet project for a border, there are a few important steps to take to ensure the best result. First, it’s essential to block your crochet to ensure that it’s the right size and shape, and any uneven stitches are corrected. Next, choose a border that complements your project and fits with the style you’re going for. You need to consider the yarn weight and colour of the border, and whether you want a simple or more elaborate design

CLICK HERE for lots of border inspiration. Then once you have your border chosen, it’s time to make sure your work is ready for the border to avoid warping or distortion.
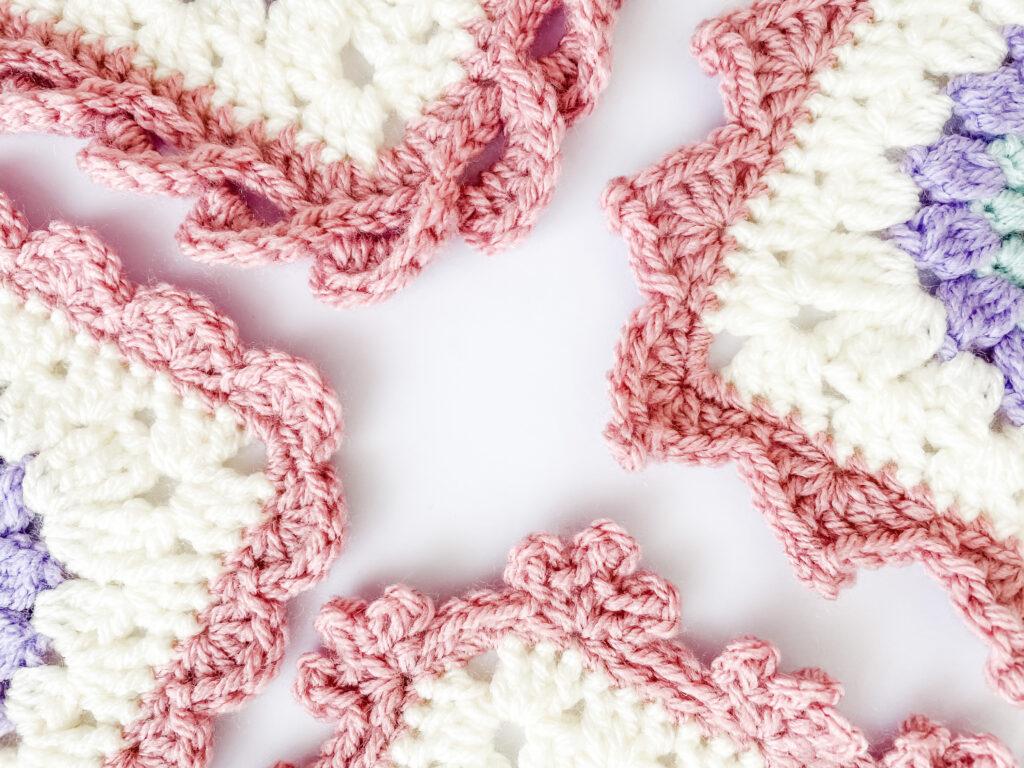
Pin For Later

Pattern Notes
Written in UK terms but switchable to US terms below.
Convert Pattern Terms
Here you can quickly switch between UK and US crochet terms. This will make following the pattern easier as all terms will be converted to your preferred version.
Terms & Abbreviations
- Chain (ch): Yarn over, pull through.
- Double crochet (dc): Insert hook into stitch, yarn over, pull up a loop, you will have two loops on the hook. Yarn over, pull through remaining two loops.
Half Treble Crochet(s): htr(s): Yarn over, insert into stitch, yarn over, pull up a loop, you will have three loops on the hook. Yarn over, pull through all three loops.
Treble Crochet(s): tr(s): Yarn over, insert into stitch, yarn over, pull up a loop, you will have three loops on the hook. Yarn over, pull through two loops, yarn over, pull through remaining two loops.
- Slip stitch (sl-st): Insert hook, yarn over, pull through both stitch and loop on hook.
- Space (sp)
- Stitch(es) (st/s)
Preparing Your Crochet for a border
To prepare for a border, it’s important that you create an even base to work your border stitches into. For this, I suggest using the same colour that you have used for the main body of your work. If you have used multiple colours, you can select either the most used colour or the one which you feel will complement the border colour.
In my video example, I have used a contracting colour so that you can better see the stitches.
As a general rule when working down raw edges/row ends:
You are viewing this pattern in UK terms.
Work 1 dc in a dc row.
Then alternate 2 dc and 1 dc in a htr row.
Followed by 2 dc in a tr row.
For the corners, you can work 3 dc marking the 2nd stitch with a stitch marker.
OR
You can work dc, ch 2, dc (this method will create a gap at the corner).
Which ever chosen is down to personal preference.
Always check that you have been constant in the amount of stitches you have placed down each edge.
Video Tutorial


Finally, take your time when working the border, ensuring your stitches are neat and even, and that the border is attached firmly to your crochet project. With these steps, you’ll be well on your way to adding the perfect finishing touch to your crochet project.
I always love to see your makes so if you try any of my patterns or follow my stitch tutorials please tag me @bellacococrochet or use the #bellacococrochet