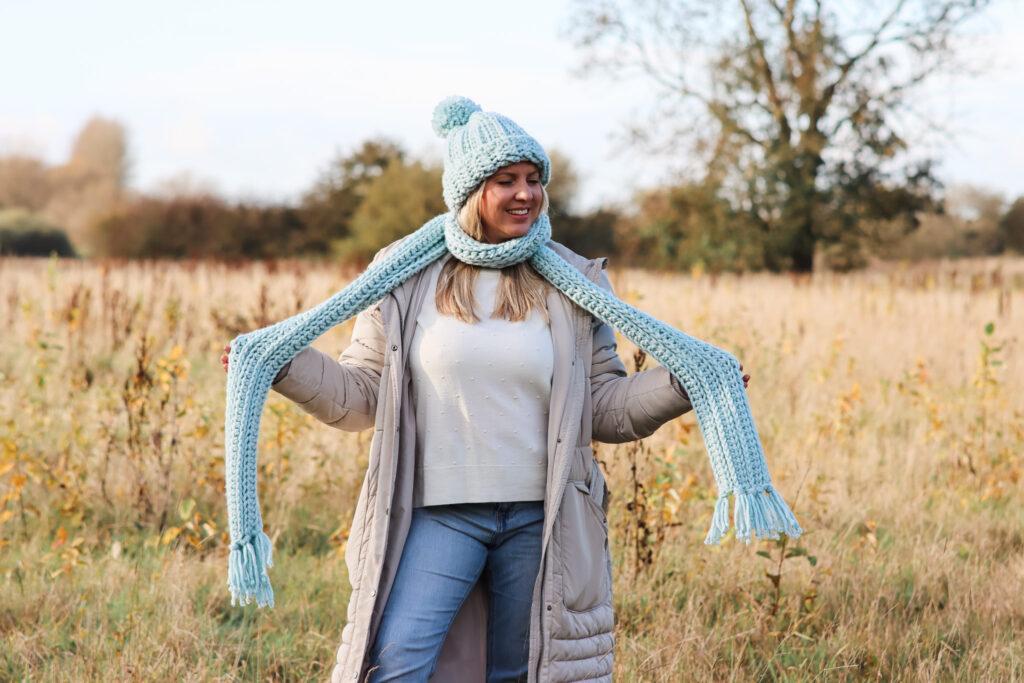
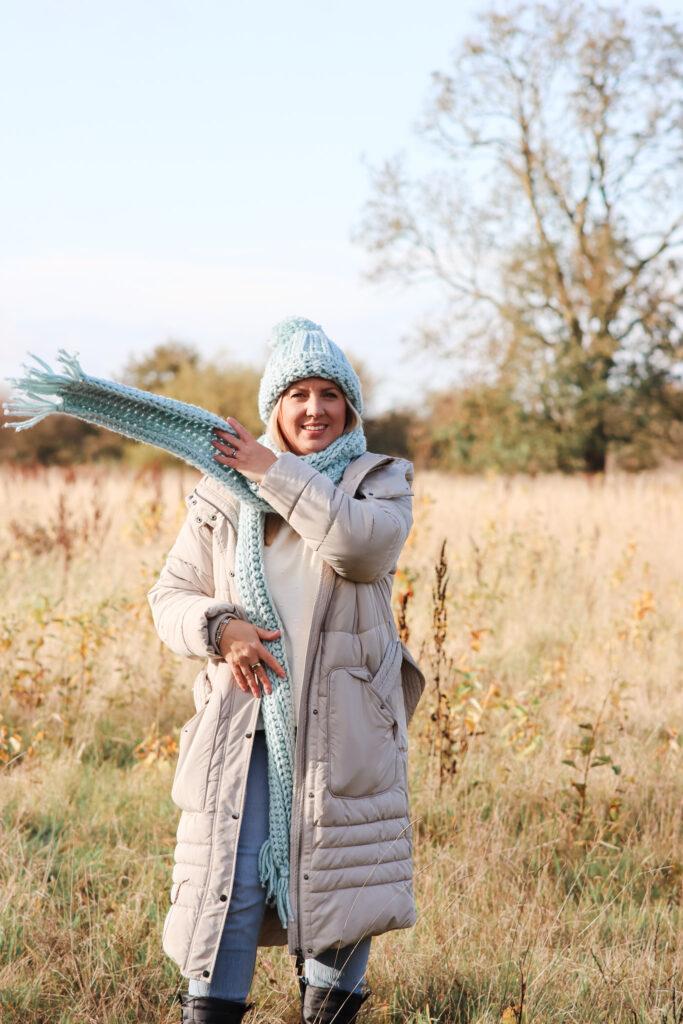
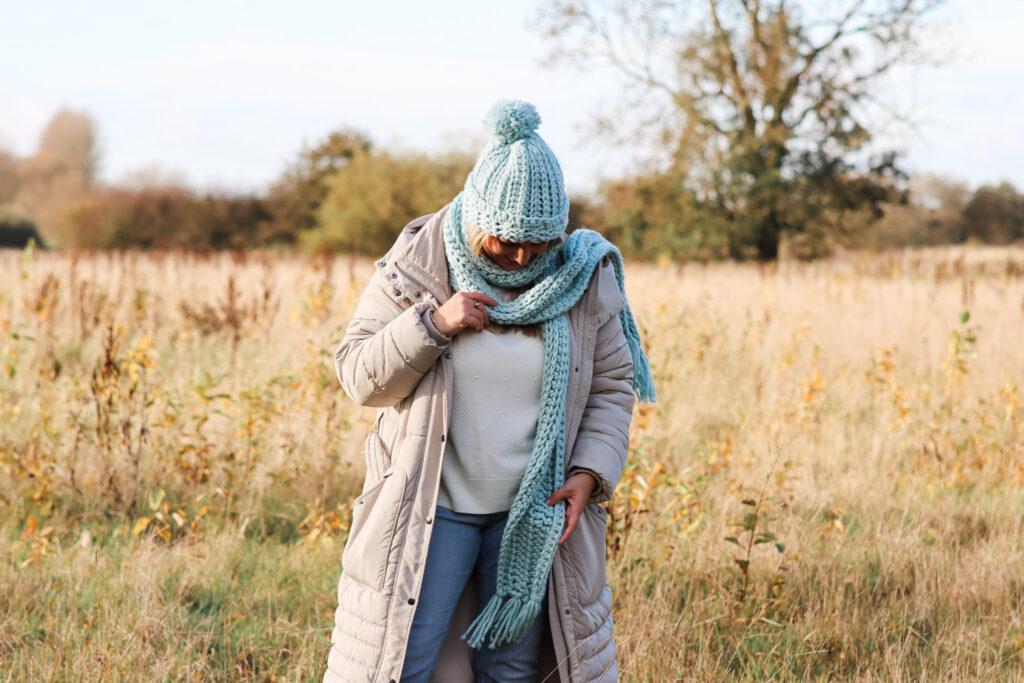
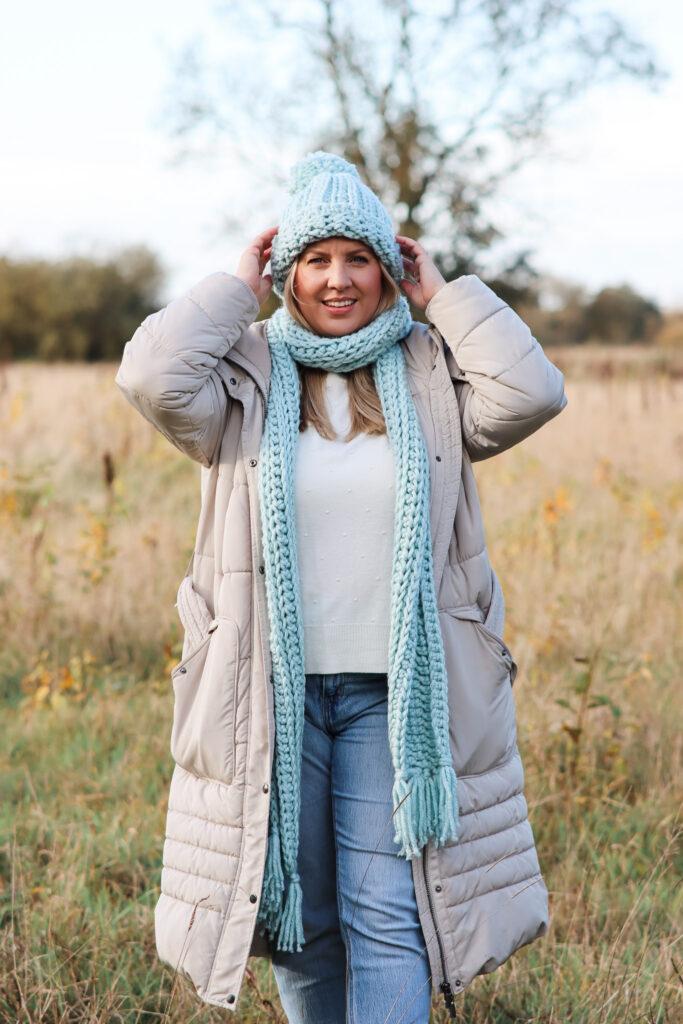
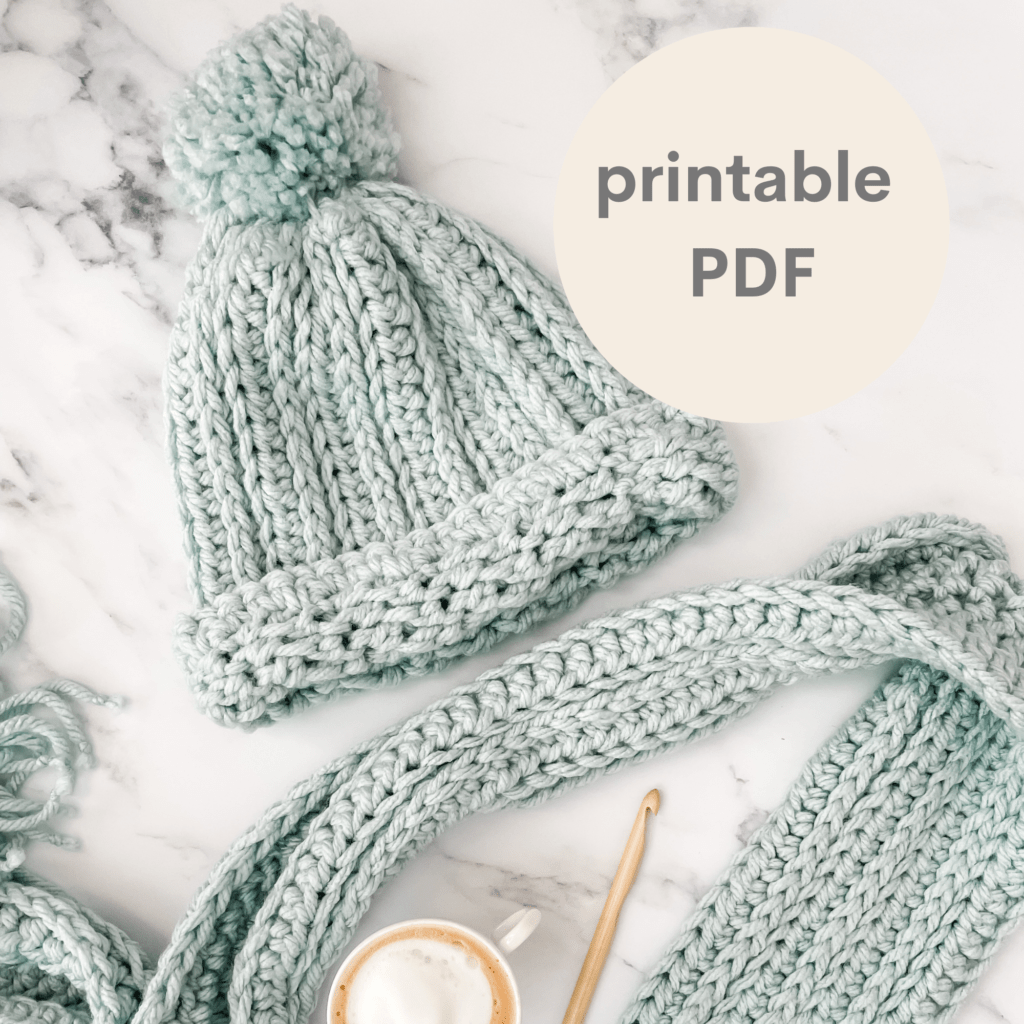
Learn how to crochet a beginner-friendly hat and scarf with my free step-by-step pattern with an assisting tutorial to help you. Whether you’re a crochet beginner looking for a fun and quick project or a seasoned crocheter wanting a relaxing yet satisfying pattern, this chunky hat and scarf duo is perfect for you. With extra chunky yarn and simple stitches, you’ll have this set whipped up in no time
This fast and easy, crochet pattern uses Stylecraft Special XL which is really soft and easy to work with making it suitable for all skill levels. This project is ideal for crochet gifts or for your autumn/winter wardrobe.
Materials & Tools
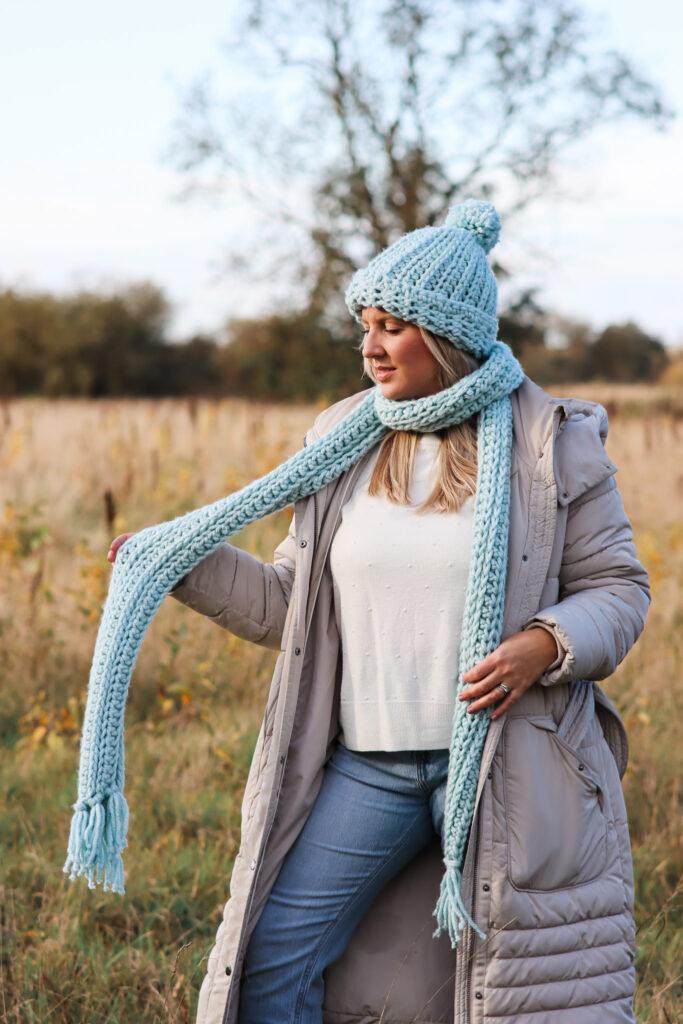
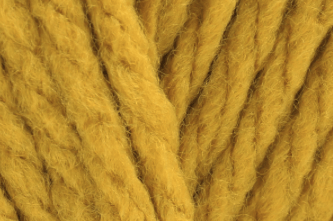
- Yarn: Stylecraft Special XL 300g I have used the colour: Spearmint (1842)
- Hook: 10mm
- Scissors
- Darning Needle
- Pom Pom Maker (optional)
- Fur Pom Poms (alternative)
About the Yarn
Stylecraft Special XL is an incredibly popular yarn, and for good reason. Made from 100% acrylic, this yarn is soft, durable, and comes in a stunning range of colors, making it perfect for creating bold, eye-catching projects like hats and scarves. Its thicker, super-chunky texture means it works up quickly, making it ideal for those looking for a fast and satisfying crochet project.
Why is this yarn good for Hats & Scarves?
Stylecraft Special XL’s softness ensures comfort against the skin, without the itchiness that can come with some wool yarns. The yarn also holds its shape exceptionally well, meaning your finished accessories will maintain their structure and stay looking great wear after wear. Plus, it’s machine washable, which makes it a practical choice for items that will be worn frequently.
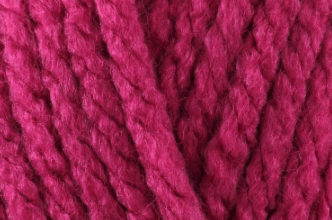
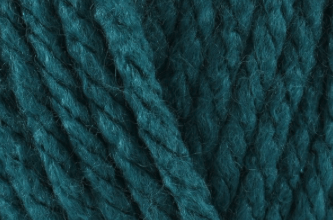
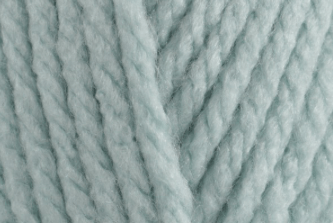
Colour Inspiration: What colours would this crochet pattern look great in?
The yarn’s versatility, along with its ability to hold vibrant colors beautifully, means you can create everything from bold statement pieces to neutral, everyday accessories.
Bright & Bold
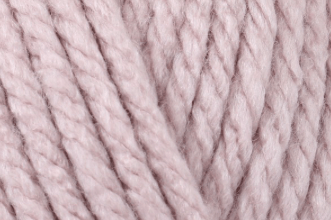
Pastels

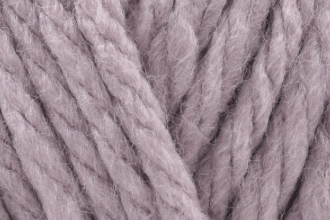
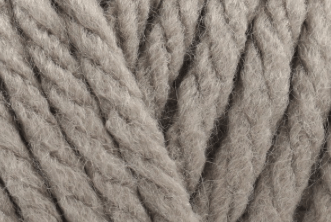
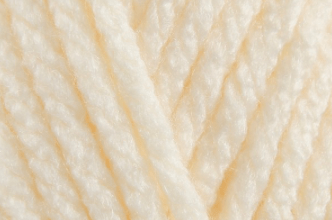
Neutrals
pattern Notes
- This pattern is written in UK terms but switchable to US terms below.
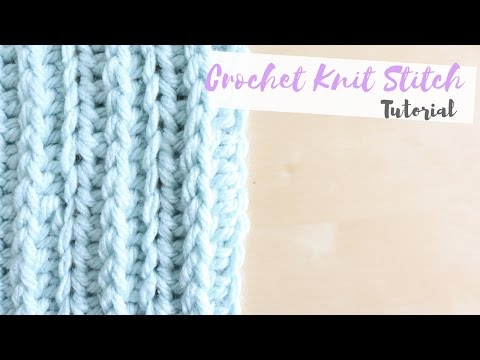
- To help you crochet this pattern you will need an understanding of Knit Stitch. If you are unfamiliar with this stitch you can learn before you make a start by watching my step by step YouTube tutorial below.
About the Stitch
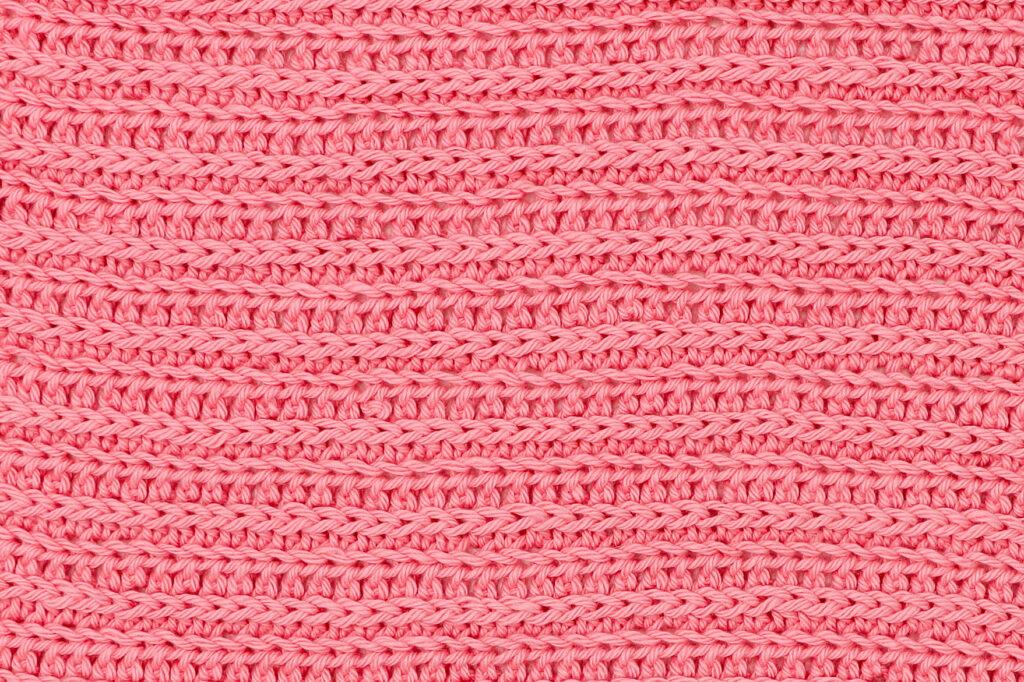
The crochet knit stitch, closely resembles the look of knitted fabric. This stitch is worked like a double crochet but with one slight variation: instead of inserting the hook under the top loops of the stitch, you insert it between the “legs” of the stitch in the row below. This creates a dense, sturdy texture with a clean, knit-like appearance.
What Projects can I make with the Knit Stitch?
The crochet knit stitch is fantastic for projects where you want a smooth, tightly woven look. While it requires a bit of practice to master as it can be a bit tight to work. I always recommend completing a gauge swatch and practising a new stitch before starting your crochet projects. Perfect for:
- Hats
- Scarves
- Blankets
- Sweaters
Pattern Support
The fastest way to get pattern support is to ask in our dedicated facebook group for Bella Coco Crochet patterns. This is the best place for you to connect with other crocheters.
Please note, if you wish to change and adapt this pattern in any way, this must be done at your own exploration and we cannot offer assistance with this.
Upgrade to the AD FREE PDF Pattern
Want an ad free, printable copy of this pattern? Why not visit my shop and purchase the PDF. Not only does it mean you get your own copy of the pattern to print, you also support a small business and help me to keep making free patterns!
Convert Pattern Terms
Here you can quickly switch between UK and US crochet terms. This will make following the pattern easier as all terms will be converted to your preferred version.
Terms & Abbreviations
Chain (ch): Yarn over, pull through one loop on hook.
Double Crochet (dc): Insert hook into stitch, yarn over, pull through two loops (2 loops on hook), yarn over, pull through both loops.
Half Treble Crochet (htc): Yarn over, insert into chain space, yarn over, pull through, you will have three loops on the hook. Yarn over, pull through all three loops on the hook.
Repeat anything between *and* for the indicated time

Unsure of the differences between UK and US terms? Need a refresher on how to do your stitches? In my ‘How to crochet: A handy reference guide’ EBook I help you with all of these terms and you can always have them to hand! You will also get exclusive access to free video instructions. Learn more about the eBook here.
Pin For Later


Assisting Tutorial
For this pattern, you’ll need to know how to crochet the Knit Stitch. don’t worry if you have never tried this stitch before, I have a free tutorial to teach you.
FREE Pattern: Crochet Hat & Scarf Set
Scarf Pattern
You are viewing this pattern in UK terms.
- Foundation chain: Chain 150 plus 2 for turning.
- Row 1: While working into the foundation chain, you will be working into the front and back loop of the chain. Htr into the 4th chain from the hook and then into every chain along that row. (150 stitches including the skipped chains from the beginning)
- Row 2: Chain 2 and turn your work (this chain 2 does not class as a stitch) For this row, you will be working into the front post of the stitch. Please refer to the video instructions if you are uncertain of where to perform the stitches. Htr into each of the front posts along the row stopping at the second to last stitch. Htr into top of the last stitch along this row. (150 stitches)
- Row 3: Chain 2 and turn your work. In this row you will be working into the back loops of the stitches. Please refer to the video instructions if you are uncertain of where to perform the stitches. Htr into each of the back loops along this row. (150 stitches)
- Repeat Row 2 and 3 for a further 4 rows. Tie off.
How to Make a Tassel
Tassels: (optional) Cut 4 pieces of yarn measuring approximately 10 inches. Tie a small knot in each end in order to top the yarn from fraying. Place the 4 strands next to each other and fold in half. Insert your crochet hook into the corner of the work. Using your crochet hook, pull the folded loops through the work forming a loop. Pull the loose ends through the loop, pulling downwards to secure in place.
Crochet Hat Pattern
You are viewing this pattern in UK terms.
- Foundation chain: Chain 20 Plus 2 for turning.
- Row 1: While working into the foundation chain, you will be working into the front and back loop of the chain. Htr into the 4th chain from the hook and then into every chain along that row. (20 stitches including the skipped chains from the beginning)
- Row 2: Chain 2 and turn your work (this chain 2 does not class as a stitch) For this row, you will be working into the front post of the stitch. Please refer to the video instructions if you are uncertain of where to perform the stitches. Htr into each of the front posts along the row stopping at the second to last stitch. Htr into top of the last stitch along this row. (20 stitches)
- Row 3: Chain 2 and turn your work. In this row you will be working into the back loops of the stitches. Please refer to the video instructions if you are uncertain of where to perform the stitches. Htr into each of the back loops along this row. (20 stitches)
Pattern Repeat
Repeat Row 2 and 3 until your work measures 1-2 inches smaller then the circumference of the head you are creating the work for. Making your work smaller will allow for the natural stretch of the yarn.
Finishing Touches
You are viewing this pattern in UK terms.
Finishing off your Hat: Fold your work rights sides facing. DC along the seam to connect each side. With the yarn still connected, DC around the circumference of the hat to make a neat edge. Tie off. Thread up your darning needle and on the opposite opening, weave your needle in and out of each ridge along the opening. Pull on the thread to bunch up the top of the hat. Weave your needle from one side of the opening to the other to secure in place. Tie off and turn your hat the right way out.
How to create a Pom Pom
I have used a 9cm pompom maker to create the pom pom for my crochet hat. You can make your pom pom to any size that suits your taste. I have a video tutorial showing you the basic principles of how to make a pom pom below.

Alternative Pom Pom
If you’re looking for an alternative pom pom to finish off your crochet hat CLICK HERE to shop my favourite fluffy pom poms! I love the variety of colours these come in and they are a great investment if you enjoy making crochet hats for gifts.
Share your Makes on Socials!
I always love to see your makes so if you try any of my patterns or follow my stitch tutorials please tag me @bellacococrochet or use the #bellacococrochet
sarah-jayne
Crochet Scarf FREE Patterns
Check out these FREE crochet patterns on the blog. CLICK HERE to explore all of the wearable patterns or check out some of the patterns I’ve selected 5 FREE crochet patterns that I think you’ll enjoy below:
Crochet Hat Patterns
- Textured Crochet Beanie
- Crochet Beanie & Matching Mittens
- Solstice Crochet Beanie
- Alaskan Delights Hat
Want to keep on top of the latest Bella Coco news? The best way is to subscribe to my newsletter…you get a weekly inbox packed full of news, patterns and tips!