Learn how to crochet the Moss Stitch Border: adding texture and detail to your projects. Crochet borders are a great way to add a finishing touch to your projects, and the moss stitch border is a beautiful and versatile option. This border adds texture and depth to your work, creating a beautiful frame around your project.
In this blog post, we will explore how to crochet the moss stitch border, including the materials you will need, the stitch pattern, and tips for achieving the best results.

But before we get started, make sure your work is ready to add a border:

Convert Pattern Terms
Here you can quickly switch between UK and US crochet terms. This will make following the pattern easier as all terms will be converted to your preferred version.
Terms & Abbreviations
Chain(s): ch(s): Yarn over, pull through loop on the hook.
Double Crochet(s): dc(s): Insert hook into stitch, yarn over, pull up a loop, you will have two loops on the hook. Yarn over, pull through remaining two loops.
Slip Stitch(s): ss(s): Insert hook, yarn over, pull through stitch and loop on hook.
Space (sp)
Stitch(es) (st/s)
Pattern Notes
- Written in UK terms but switchable to US terms above.
- Start with the foundation border
- This border is worked in an odd number of stitches across each edge. When building your foundation border, bear this in mind: you can adjust your number of stitches if needed by adding two stitches in one space
- When working your first stitch of the round, you can either chain 1 (does not count as st) and dc in same space OR work a standing double crochet
Pattern Support
The fastest way to get pattern support is to ask in our dedicated facebook group for Bella Coco Crochet patterns. This is the best place for you to connect with other crocheters.
Please note, if you wish to change and adapt this pattern in any way, this must be done at your own exploration and we cannot offer assistance with this.
Materials and Tools
- Yarn: Any yarn can be used for this stitch, but for best results, choose a yarn that is the same weight and texture as your main project.
- Crochet hook: Use a hook that is appropriate for your chosen yarn. For example, if you are using a medium weight yarn, a size H/8 (5mm) hook would work well.
- Scissors
- Darning Needle
Tips for Achieving the Best Results
- When crocheting the moss stitch border, be sure to keep your tension even. This will help to create a neat and uniform border.
- If your main project has a lot of color changes or texture changes, consider using a solid color for your border. This will help to create a cohesive and finished look.
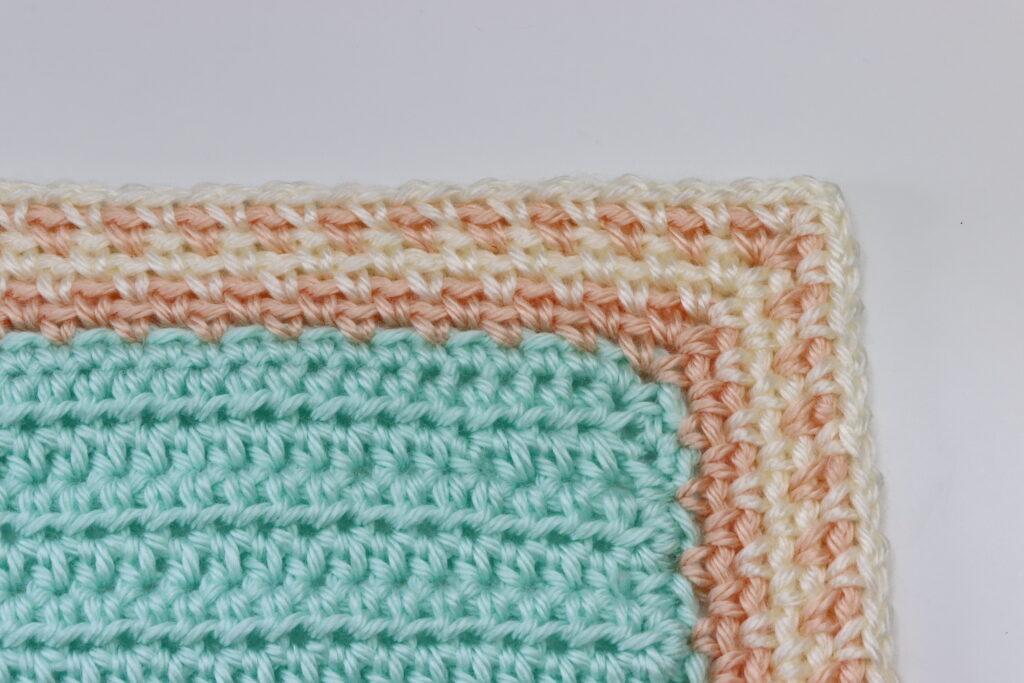
Moss Stitch Border Pattern
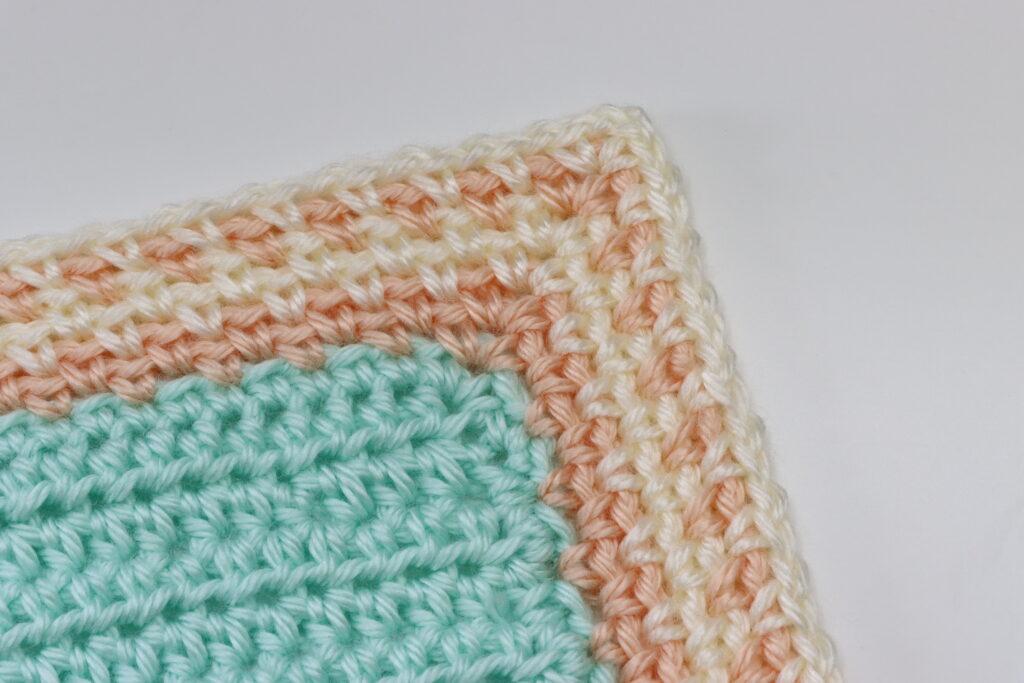
- Round 1: Attach yarn in any corner space. Ch 1 (does not count as st) dc in same corner space. Ch 1, miss a st, *dc in next st, ch 1, miss a st; repeat from * to next corner space. **(dc, ch 2, dc) in corner sp. Ch 1, *dc in next st, ch1; repeat from * to corner space. Repeat from ** twice more. Dc, ch 2 in corner sp. Join to first dc with ss.
- Round 2: Ch 1, dc in same corner sp. Ch 1, miss a st, *dc in next ch-1 sp, ch 1, miss a st; repeat from * to next corner space. **(dc, ch 2, dc) in corner sp. Ch 1, *dc in next ch-1 sp, ch1; repeat from * to corner space. Repeat from ** twice more. Dc, ch 2 in corner sp. Join to first dc with ss.
- Repeat round 2 until you reach your desired depth of border.
- You can change your colour as you please. You will produce a different effect with 1, 2 or 3 rounds of each colour, so have a play around with it and see that you think!
Pin For Later
Video Tutorials
Right-handed

Left-handed

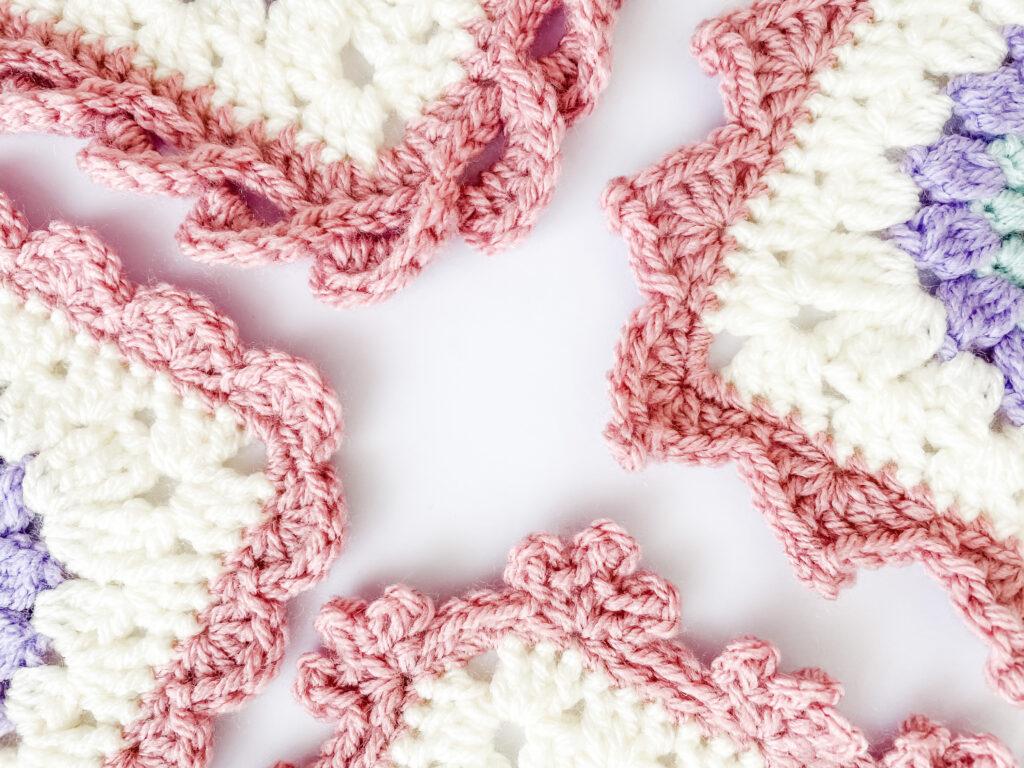
More Inspiration
For more crochet border inspiration click below.
I always love to see your makes so if you try any of my patterns or follow my stitch tutorials please tag me @bellacococrochet or use the #bellacococrochet
Want to keep on top of the latest Bella Coco news? The best way is to subscribe to my newsletter…you get a weekly inbox packed full of news, patterns and tips!