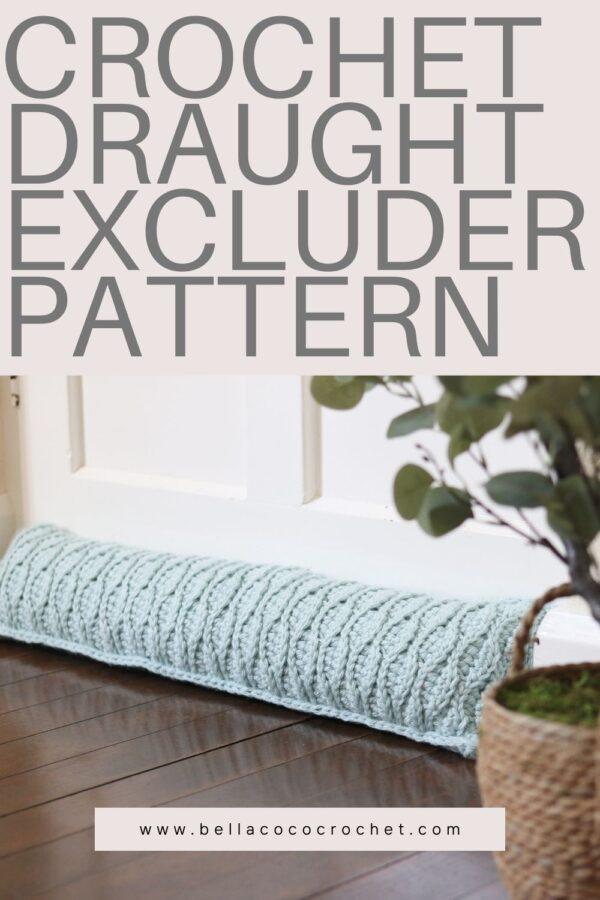
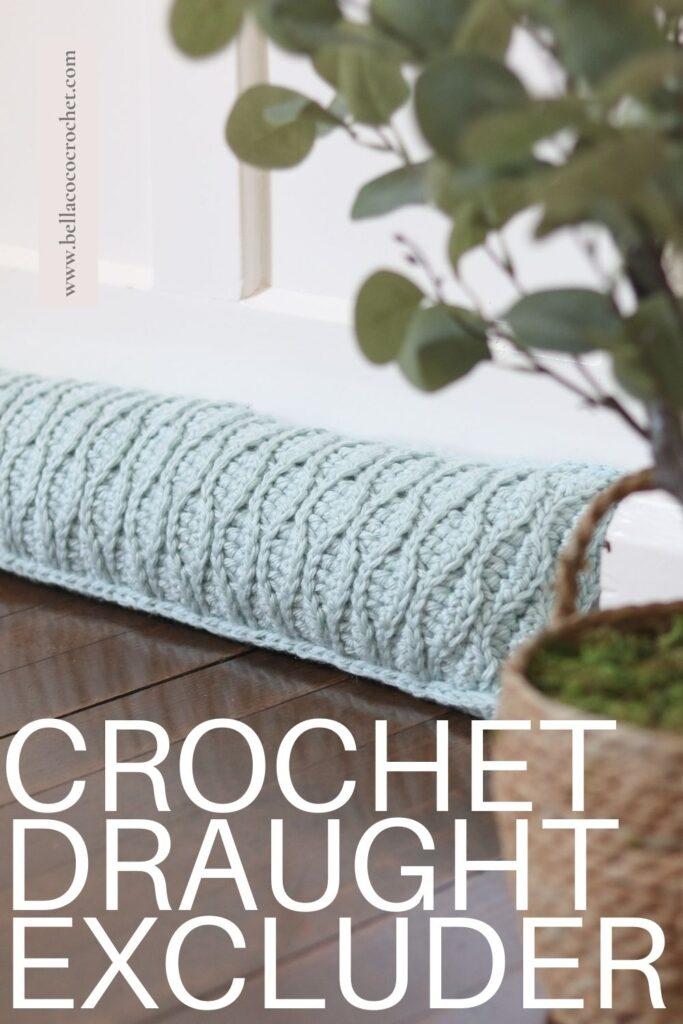
Learn how to crochet a textured draught excluder for your home with my step-by-step pattern and assisting video tutorial. A crochet draught excluder is a practical yet beautiful way to block chilly breezes and add a handmade touch to your space.
This pattern was originally designed for the Homeware Collection, a five-piece collaborative collection with guest designers Lucy @craftingbylucy and Nicola @bunnyandblossomhome. CLICK HERE to find out more about the Homeware Collection.

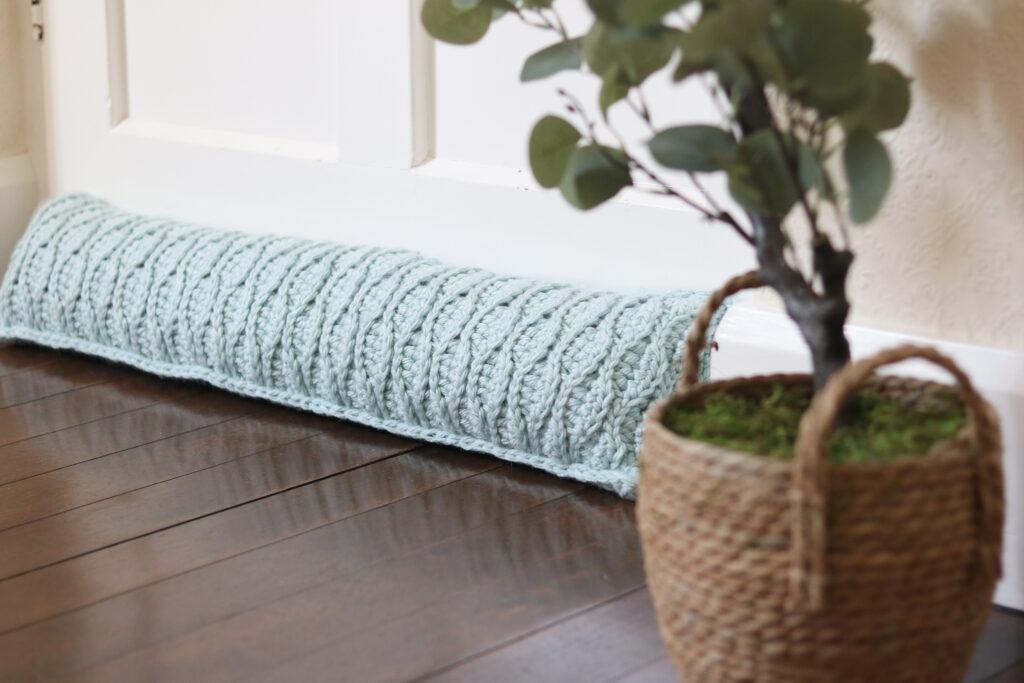
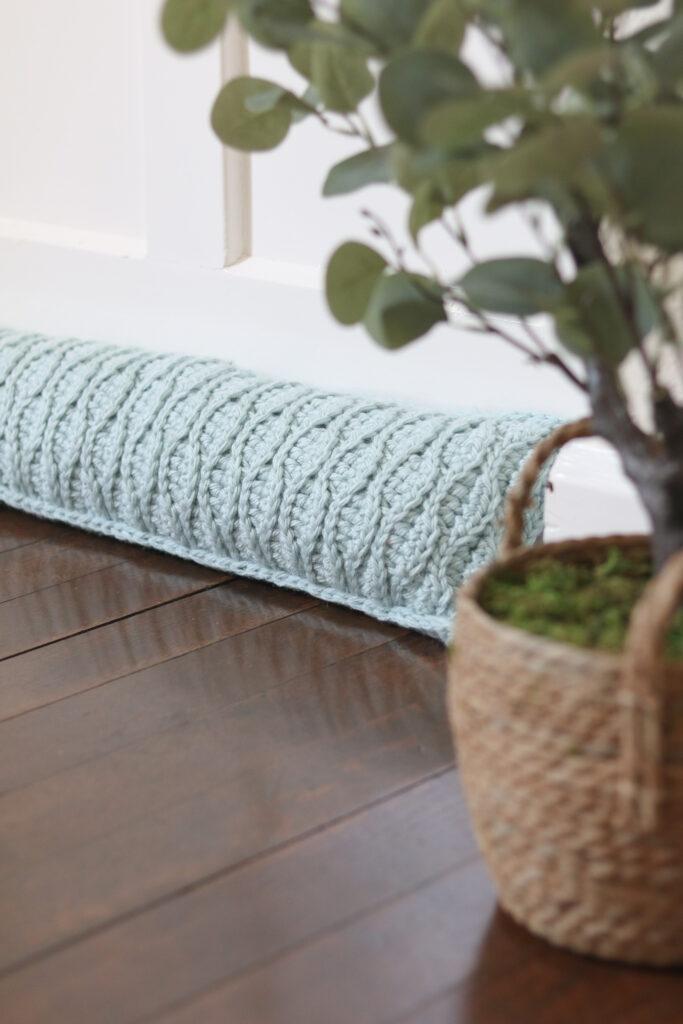
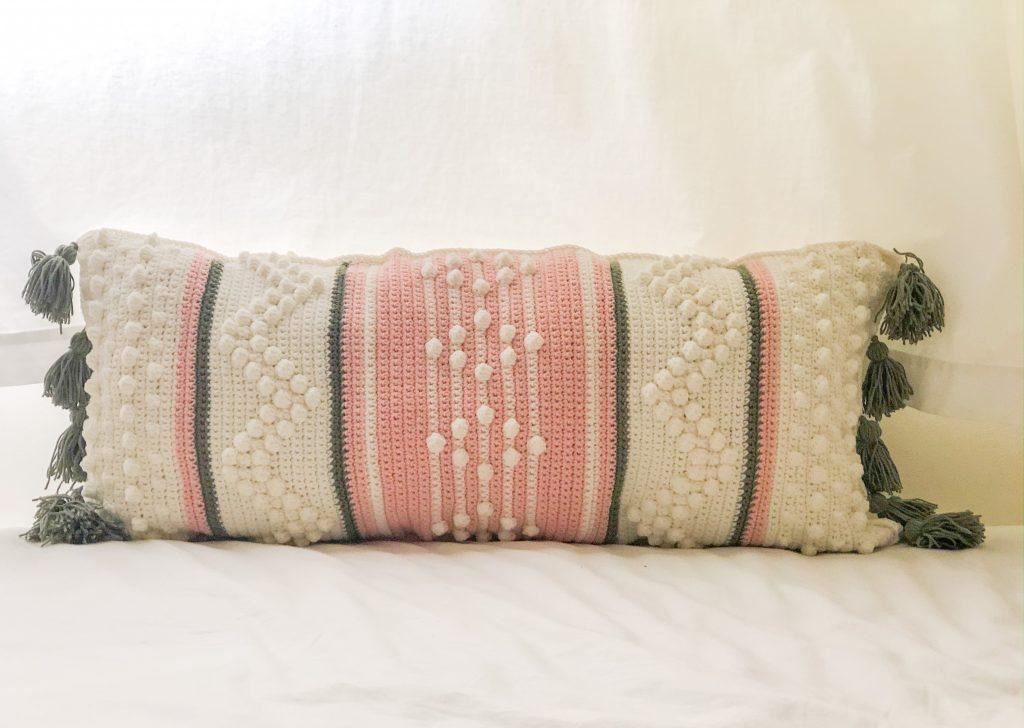
Elm Draught Excluder: About the Design
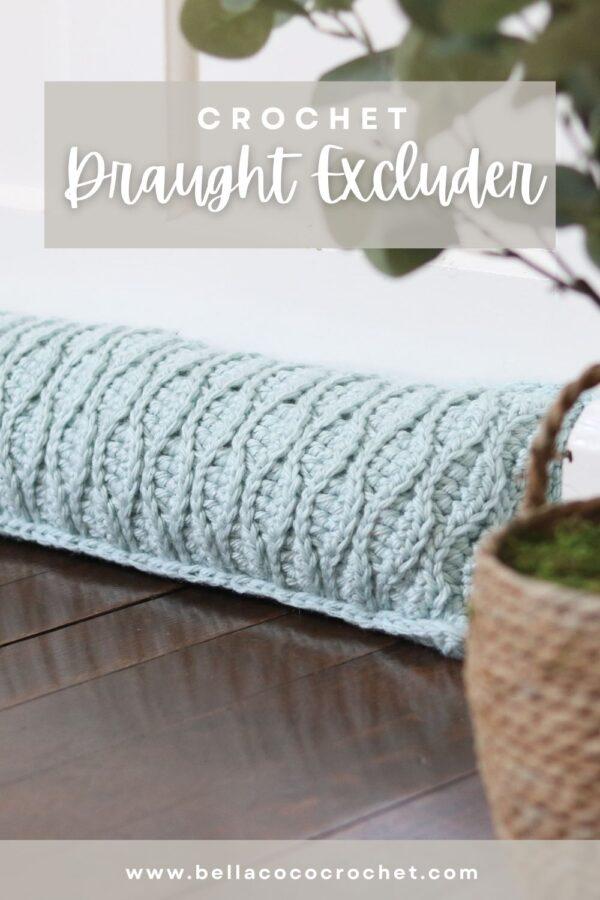
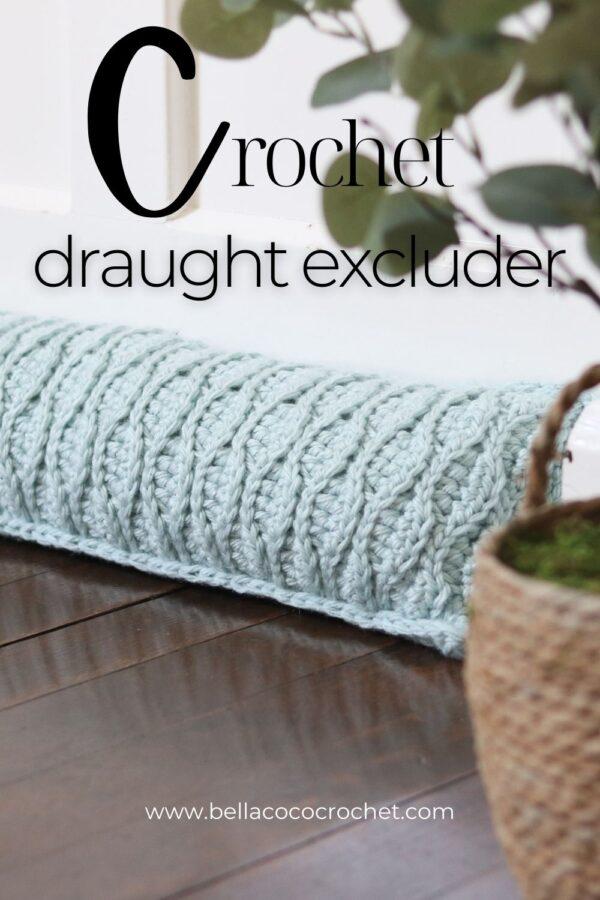
Inspired by the textures of nature this draught excluder brings style and function to your home. Texture is a key focus in this collection and the draft excluder is no exception with its soft ridges using the almond ridge stitch to resemble the surface texture of an elm tree.
Materials & Tools
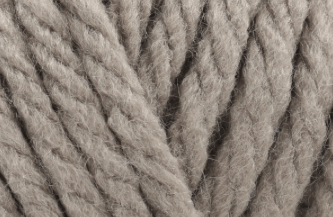
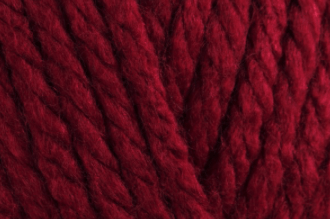
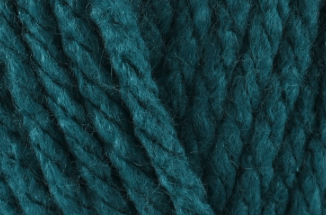
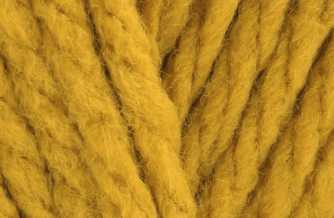
- Yarn: 3 balls of Stylecraft Special XL, Super Chunky, 100% Premium acrylic, 200g (7.1oz), 136m (148yds) in shade 1820 Duck Egg
- Crochet Hook: 8mm/ US L-11
- Scissors
- Darning Needle
- Stitch Markers (optional)
- Fabric for lining
- Stuffing
- Sewing needle or sewing machine
- Thread
About the Yarn
Stylecraft Special XL is a super chunky version of Stylecraft’s best-selling yarn, Special DK. With 12 fantastic colours to choose from in handy 200g balls perfect for winter crochet projects such as blankets, cushions, garments and accessories.
Colour Inspiration
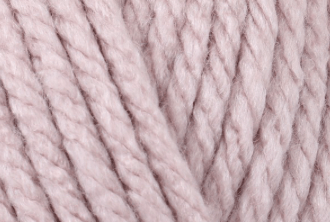
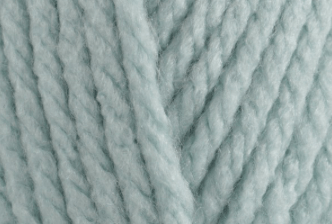
Pastels
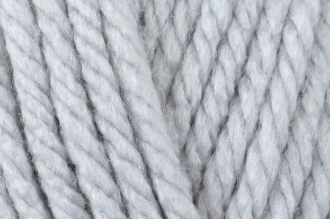
Neutrals
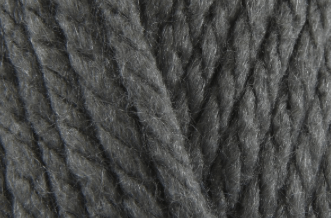
Bold
Convert Pattern Terms
Here you can quickly switch between UK and US crochet terms. This will make following the pattern easier as all terms will be converted to your preferred version.
Terms & Abbreviations
- Stitch(s): st(s)
- Slip Stitch(s): ss(s): Insert hook, yarn over, pull through stitch and loop on hook.
- Chain(s): ch(s): Yarn over, pull through loop on the hook.
- Back loop only: BLO: Working into the back loop only of a stitch. This will be followed by the indicated stitch. Example: BLOss, BLOhtr.
- Double Crochet(s): dc(s): Insert hook into stitch, yarn over, pull up a loop, you will have two loops on the hook. Yarn over, pull through remaining two loops.
- Half Treble Crochet(s): htr(s): Yarn over, insert into stitch, yarn over, pull up a loop, you will have three loops on the hook. Yarn over, pull through remaining three loops.
Pattern Notes
- Written in UK terms but switchable to US above.
- Skill level: Beginner
- Chain 1 does NOT count as a stitch.
- Back and front panels will be made before making the insert.
Gauge & Size
- Gauge: 9 sts x 11 rows per 10cm x 10cm (4inch X 4inch) measured over dc.
- Completed Size: 81cm (length) X 20cm (height) approx. (32in X 8in approx)
Pattern Support
The fastest way to get pattern support is to ask in our dedicated facebook group for Bella Coco Crochet patterns. This is the best place for you to connect with other crocheters.
Please note, if you wish to change and adapt this pattern in any way, this must be done at your own exploration and we cannot offer assistance with this.
Pin For Later
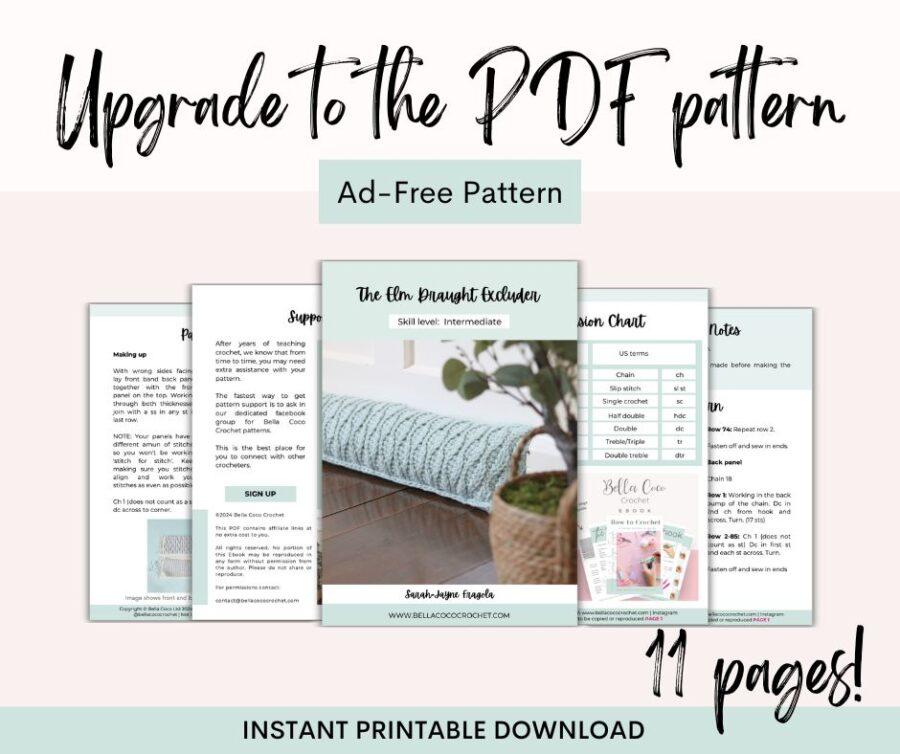
PDF Pattern
Shop PDF Patterns
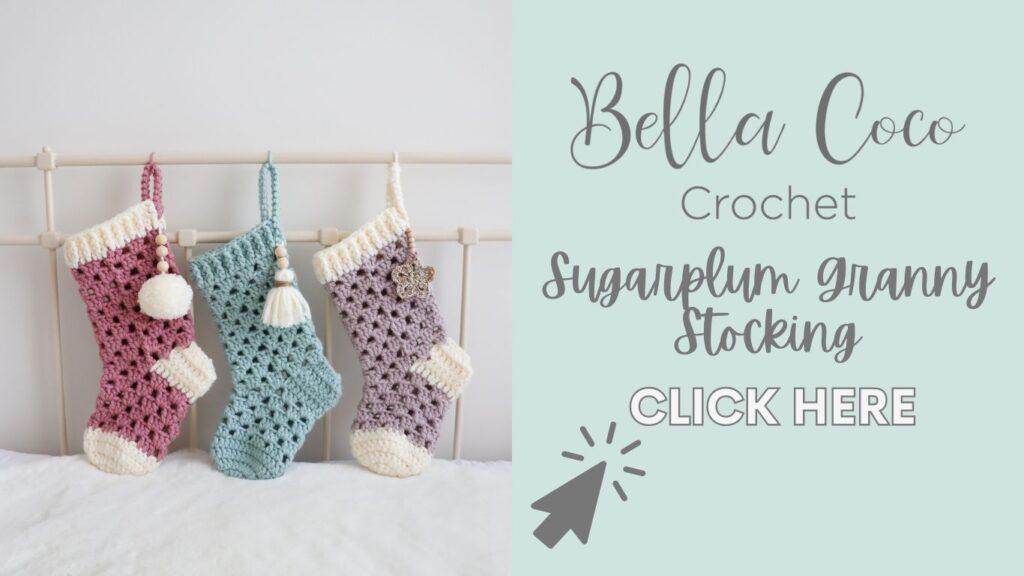
Crochet Homeware Patterns
If you love crocheting home decor, then I think you’ll love these patterns available on the blog:
Homeware Collection: Pattern Bundle
The Bella Coco Crochet Homeware Collection has five pieces to fit perfectly in the place you call home. This crochet collection allows you to make your own stunning, self-stitched, delightful textured homewares.

Free Pattern: Crochet Draught Excluder
Making Up
With wrong sides facing, lay front band back panel together with the front panel on the top. Working through both thicknesses, join with a ss in any st in last row.
NOTE: Your panels have a different amount of stitches so you won’t be working ‘stitch for stitch’. Keep making sure your stitches align and work your stitches as even as possible.
Ch 1 (does not count as a st) dc across to corner. Work 2 dc in corner, rotate work to begin working across row ends. Dc evenly across to the next corner working into row ends. Work 2 dc in corner, rotate work to begin working into the foundation chain. Dc in each st across up to the corner. Work 2 dc in corner, rotate work to begin working across row ends. Dc into a few sts of last side, add the insert, and continue to dc evenly across up to corner. Work 2 dc in corner, rotate work complete the final edge. Dc up to your first st. Join using an invisible join.
I always love to see your makes so if you try any of my patterns or follow my stitch tutorials please tag me @bellacococrochet or use the #bellacococrochet
sarah-jayne