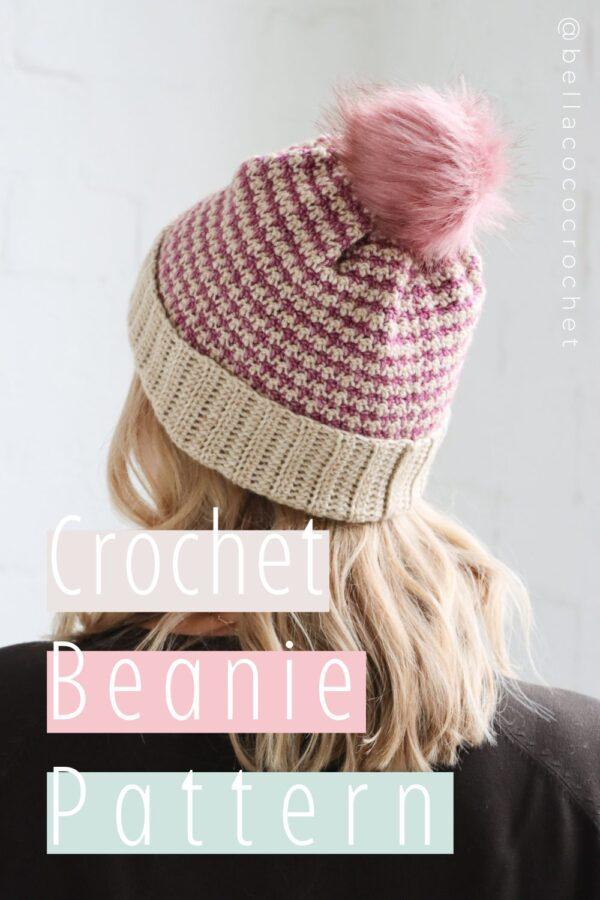
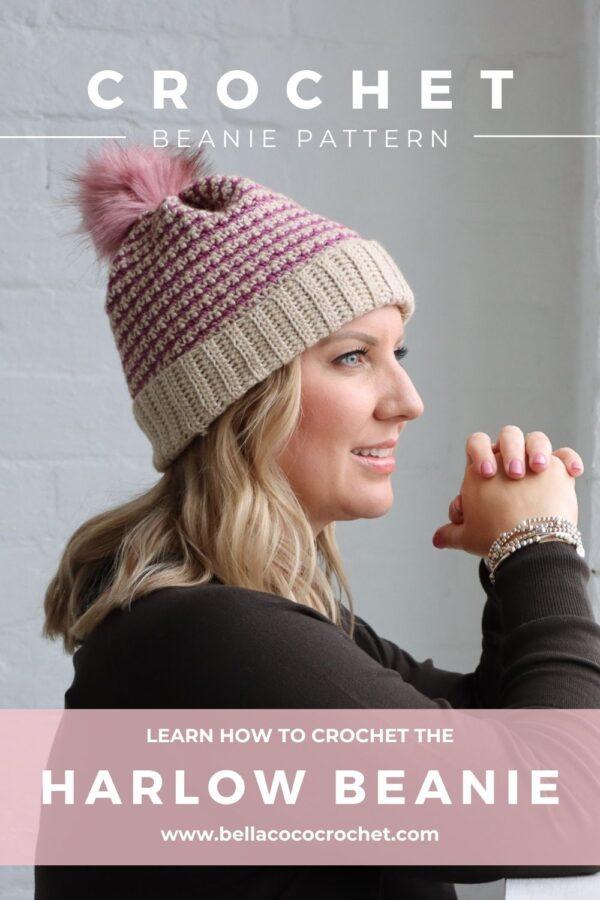
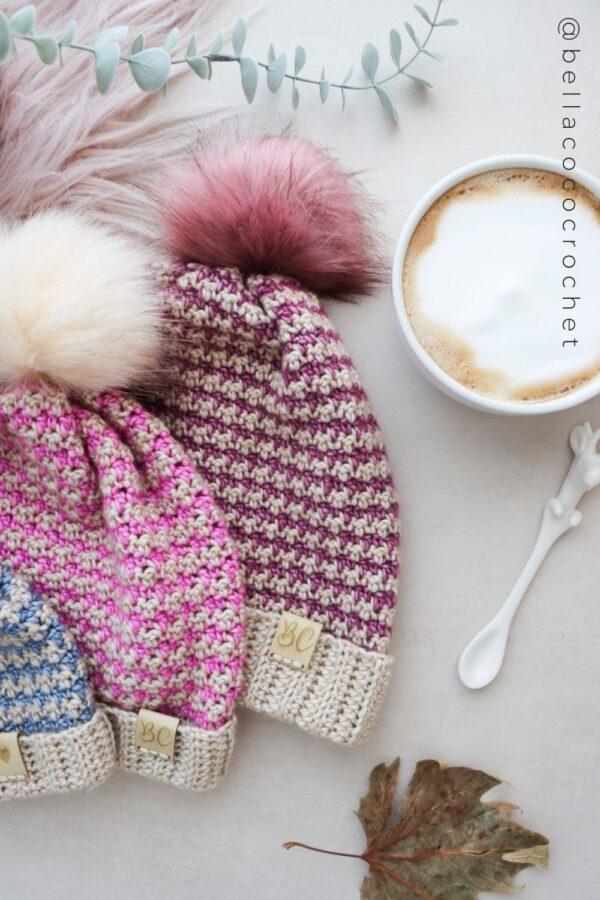
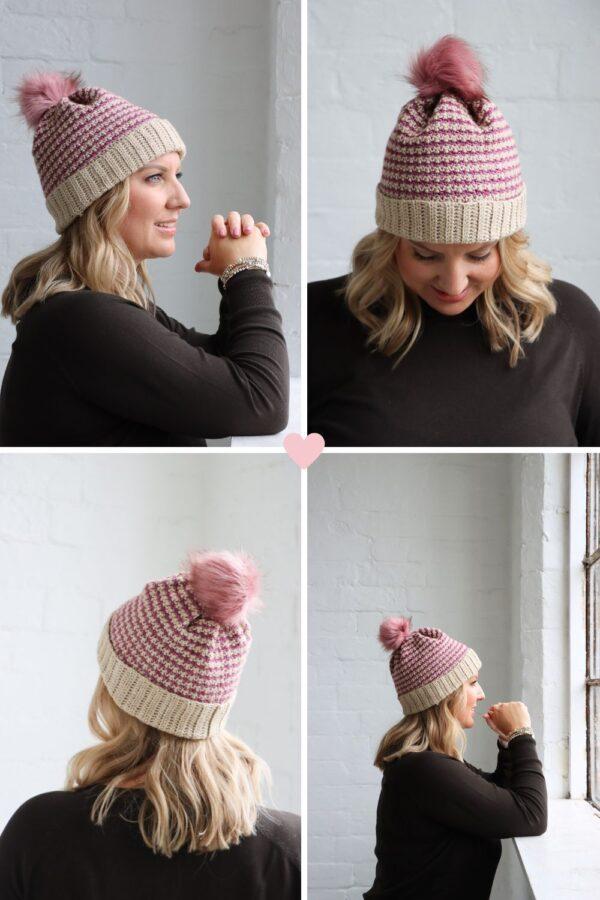
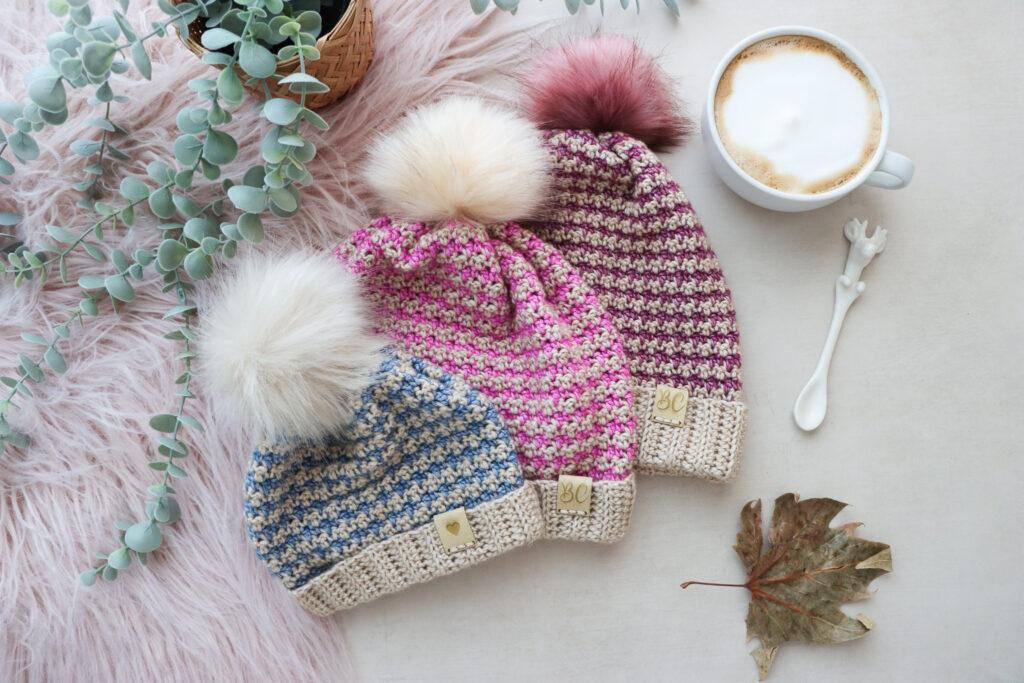
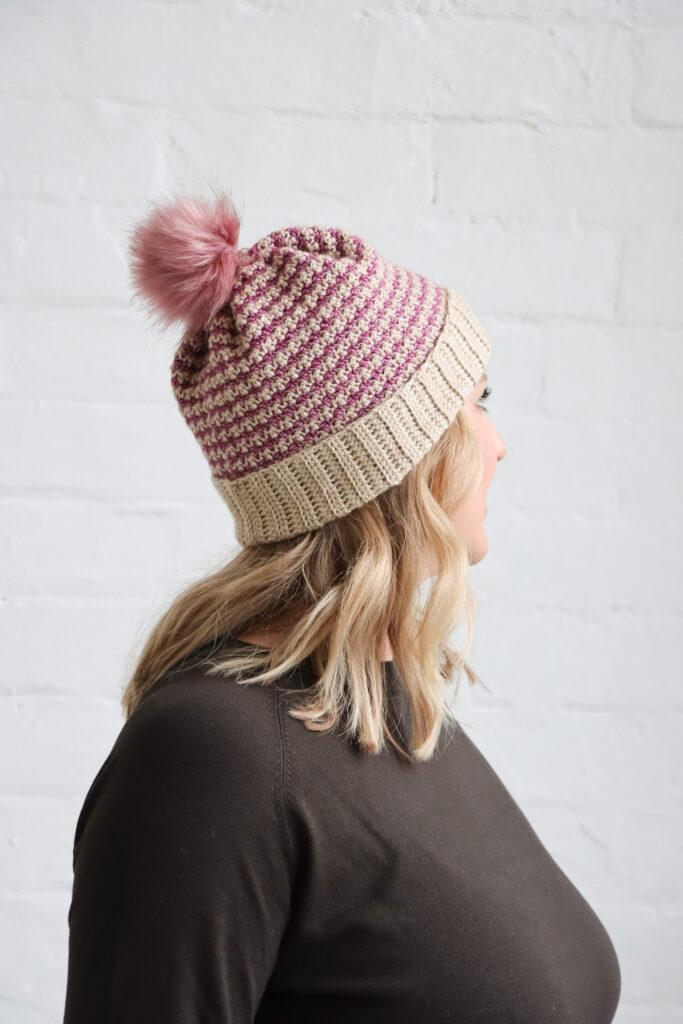
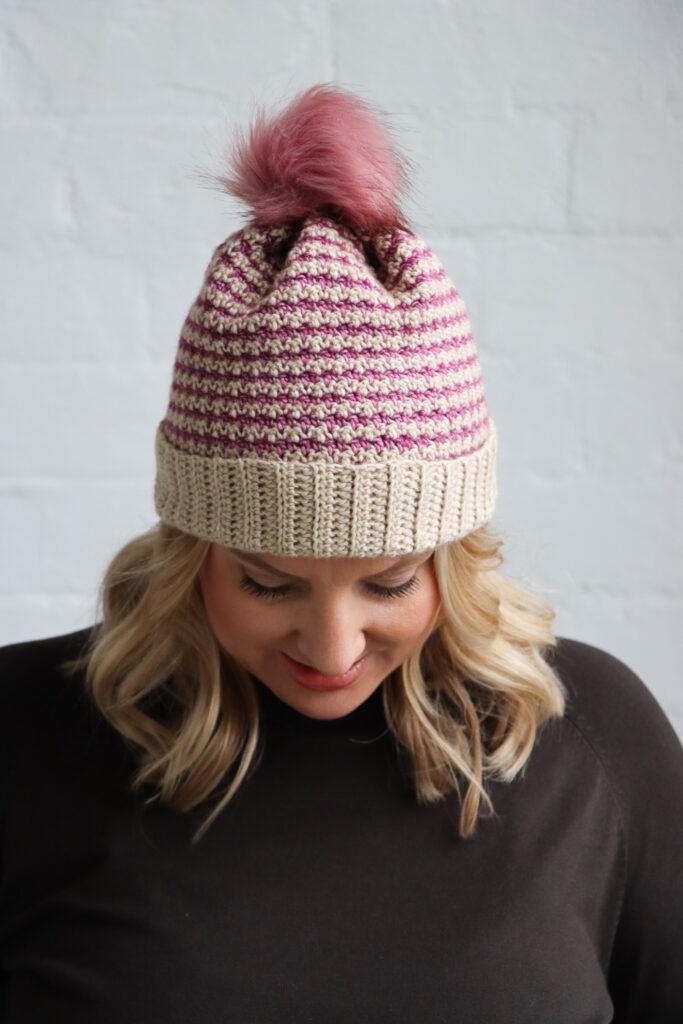
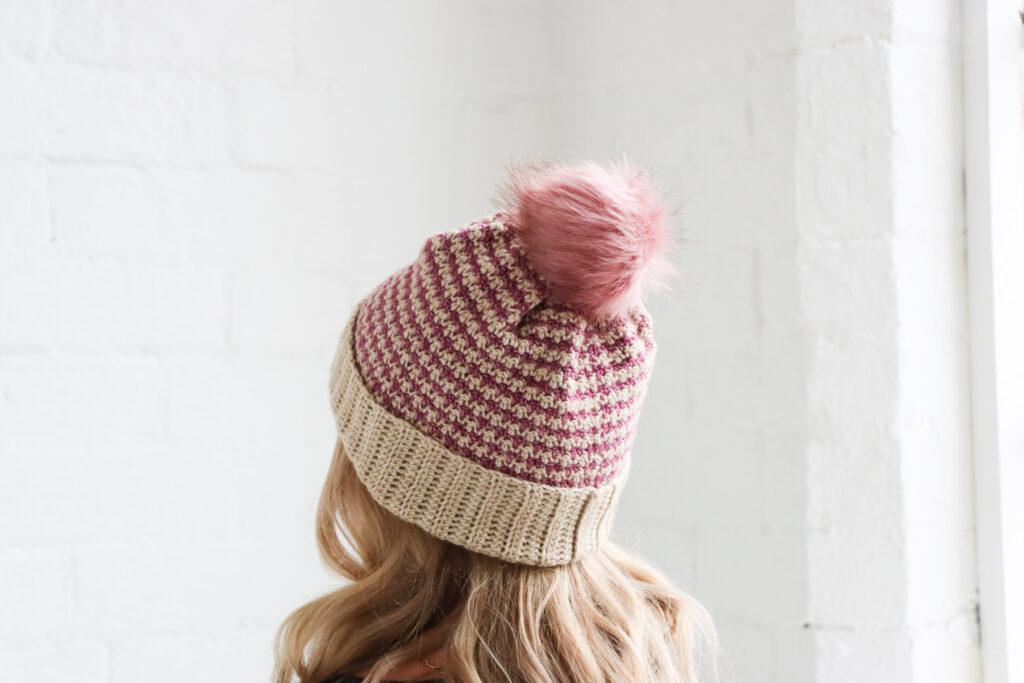
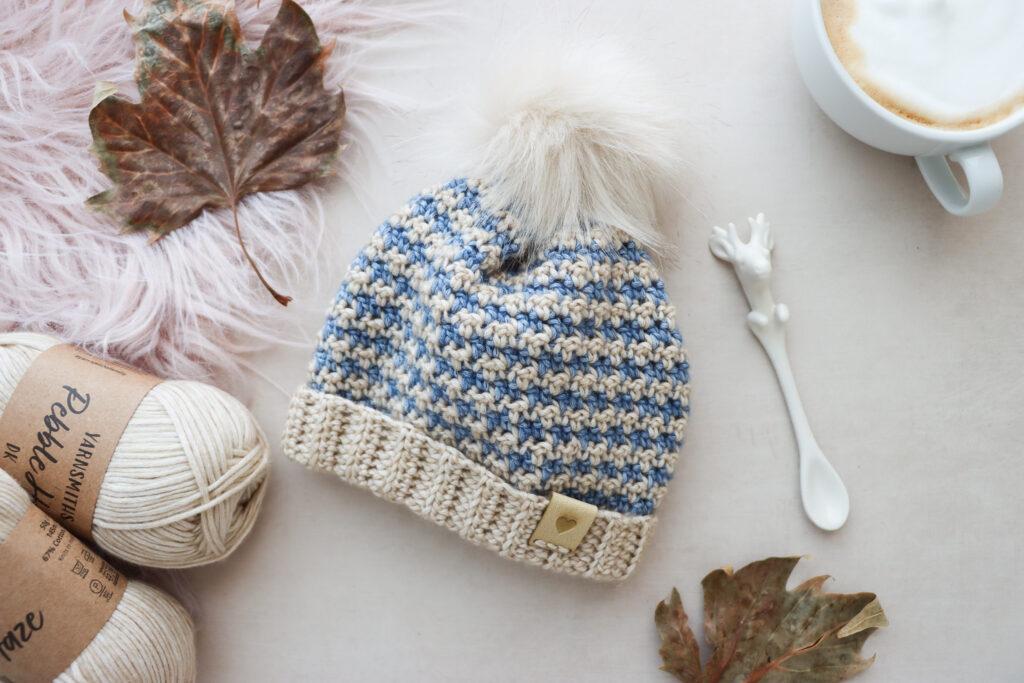
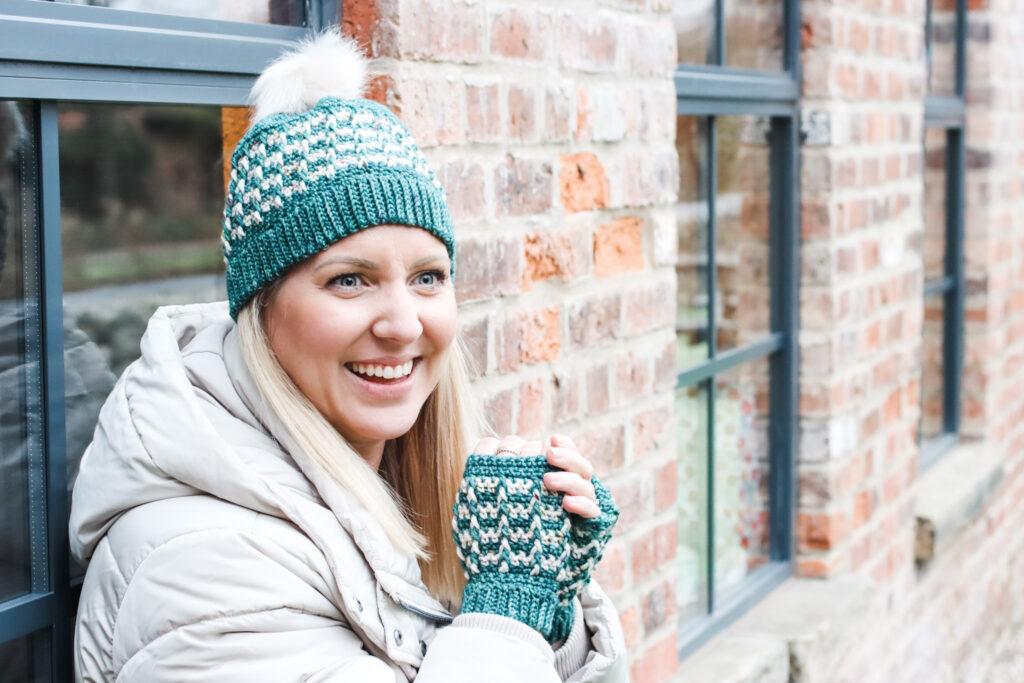
Learn how to crochet a beanie in six different sizes with my free step-by-step pattern and video tutorial. Whether you’re crocheting for yourself, a friend, or a little one, learning to crochet a beanie in different sizes is a fun and rewarding project. In this post, I’ll guide you through creating a classic crochet beanie pattern using one of my favourite stitches plus I have a matching cowl pattern for you to try.

Materials & Tools
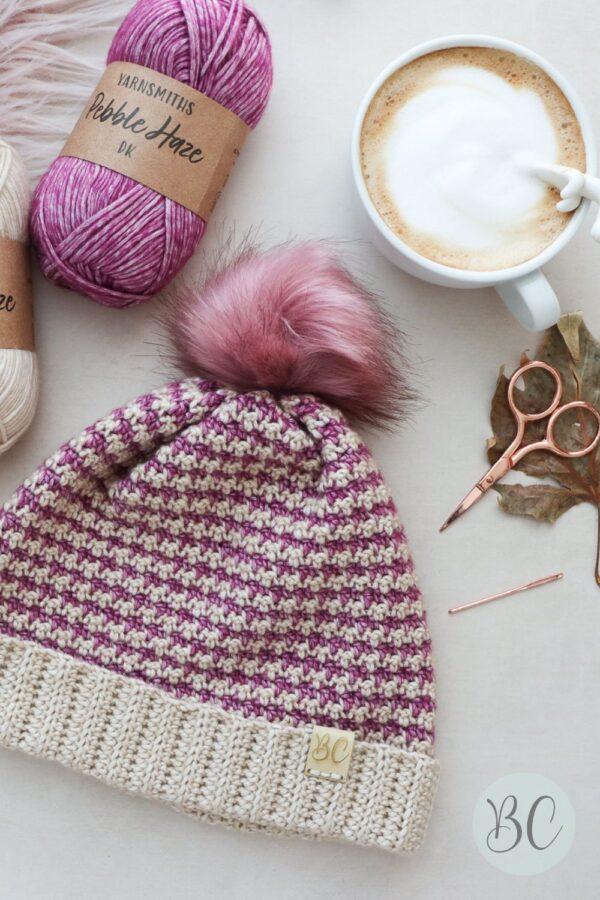
- Yarn: Yarn: Yarnsmiths Pebble Haze DK (#3), 33% acrylic, 67% Cotton, 50g (1.75oz), 145m (159yds) in Colour A: 2C060 Pumice and Colour B: 2C190 Porphyry. See below for the specific yarn quantities.
- Hook: 4mm (US G-6) and 5mm (US H-8)
- Darning needle
- Scissors
- Pom Pom: in the colour of your choice.

About The Yarn

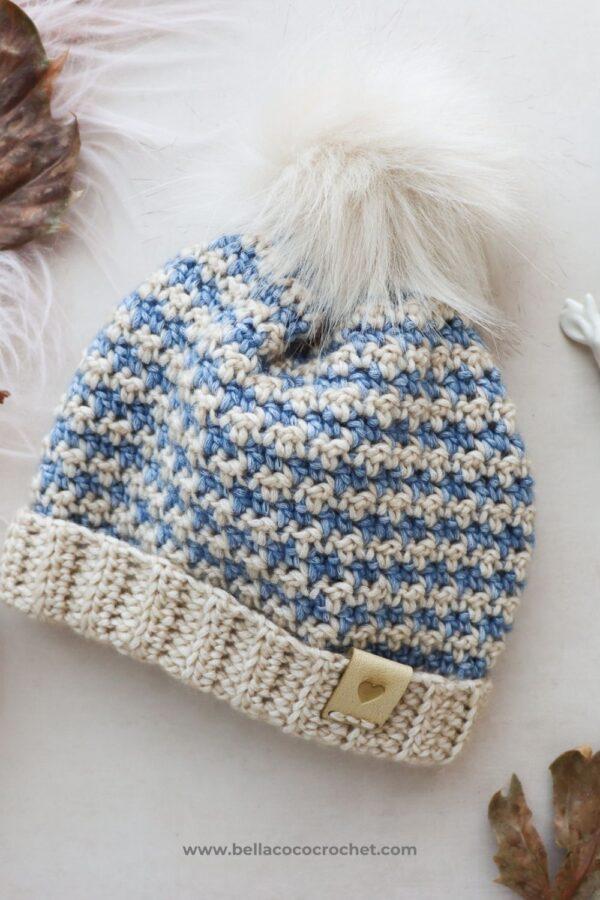
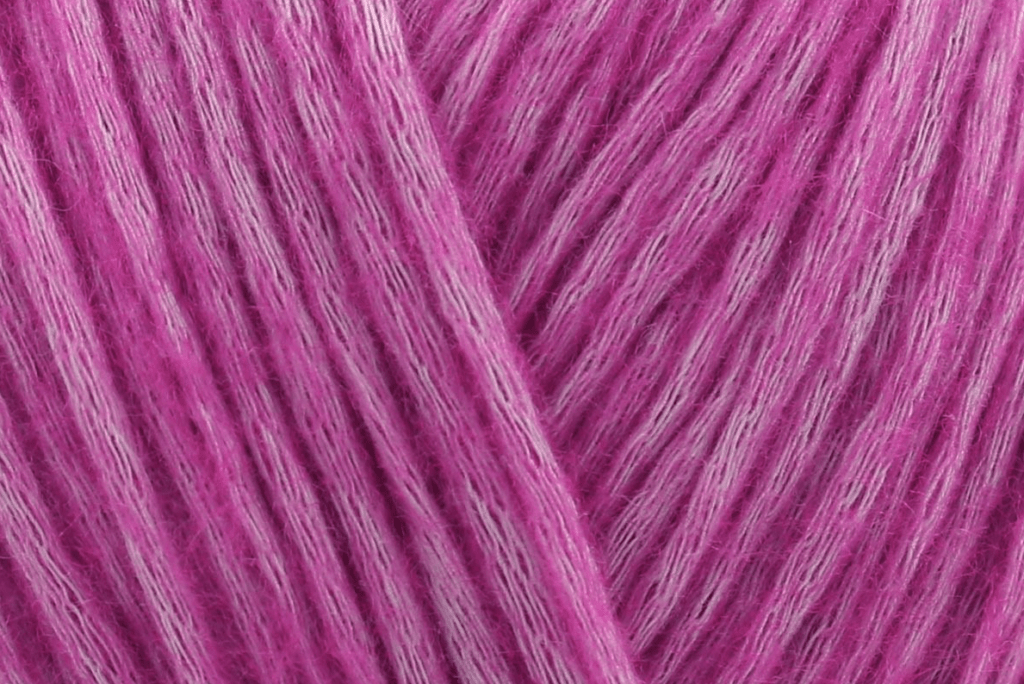
Pebble Haze DK is a soft and beautiful yarn, in a range of charming shades inspired by nature’s beaches, pebbles and stones. This yarn works great for:
- Sweaters
- Cardigans
- Scarfs
- Mittens
- Beanie
This yarn is a “blown yarn”, which means instead of spinning, the fibres are air blown into a tube, therefore the shades will vary in each ball and between balls of the same colour.
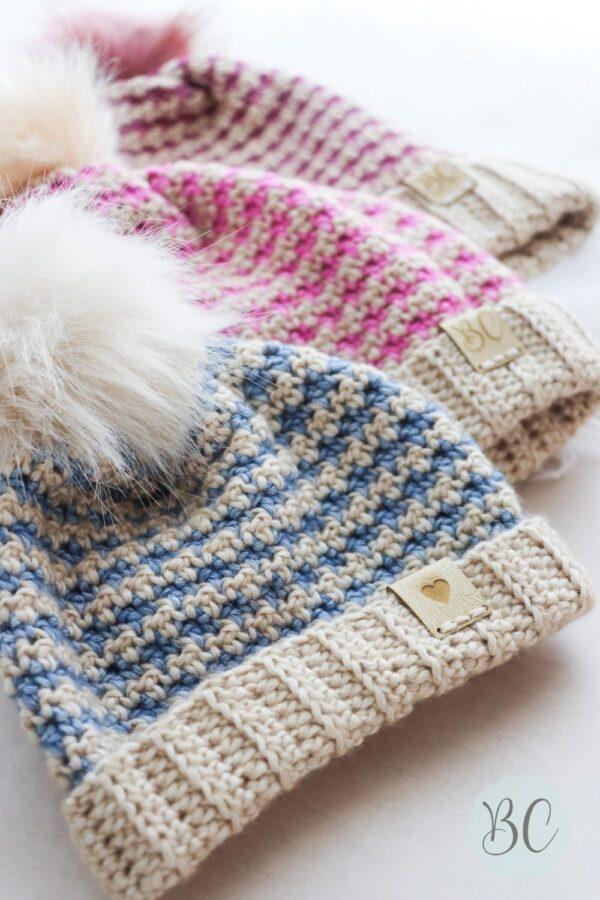
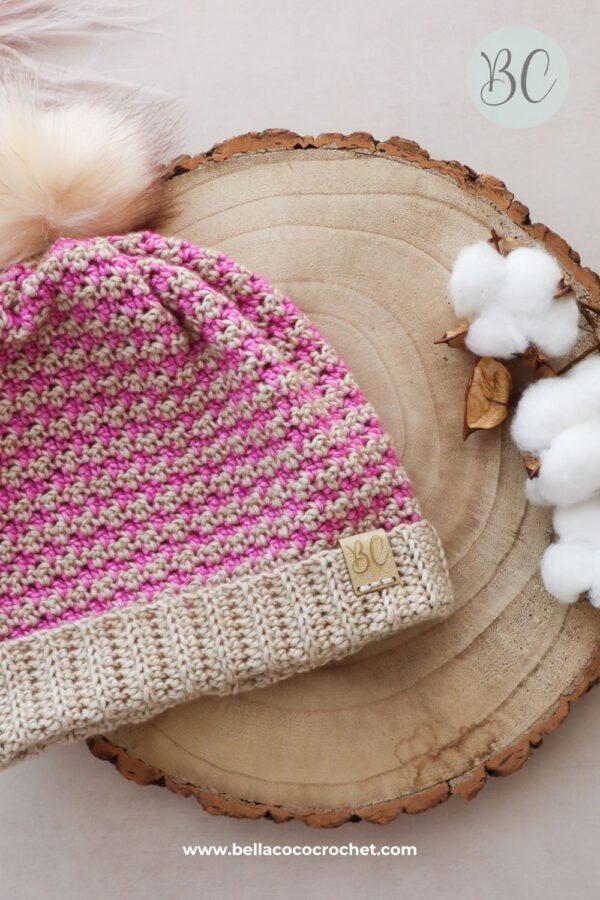
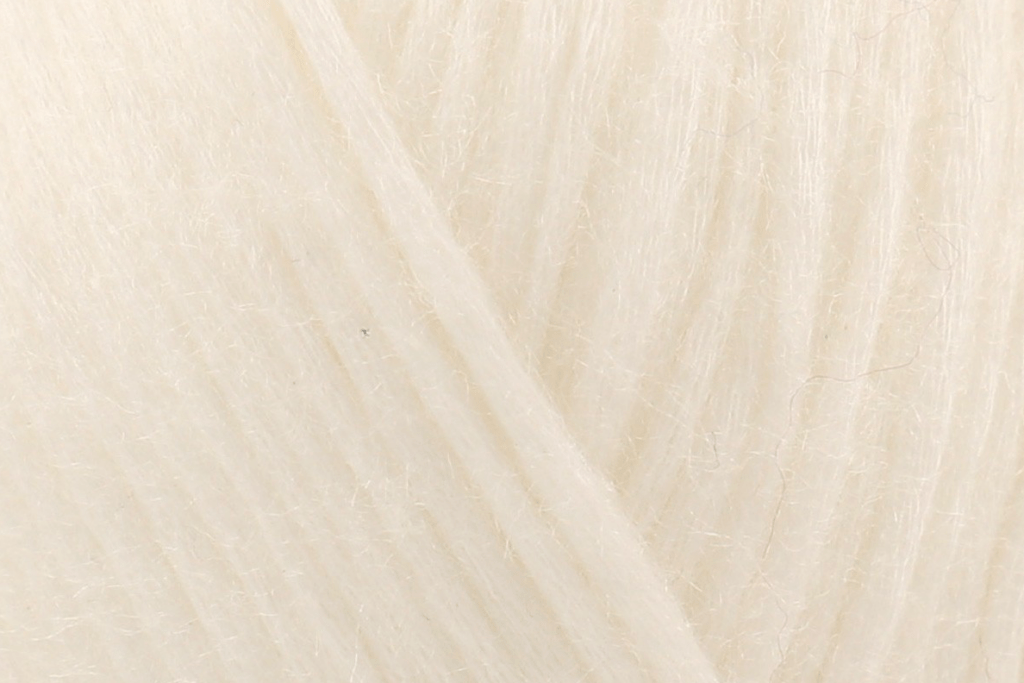
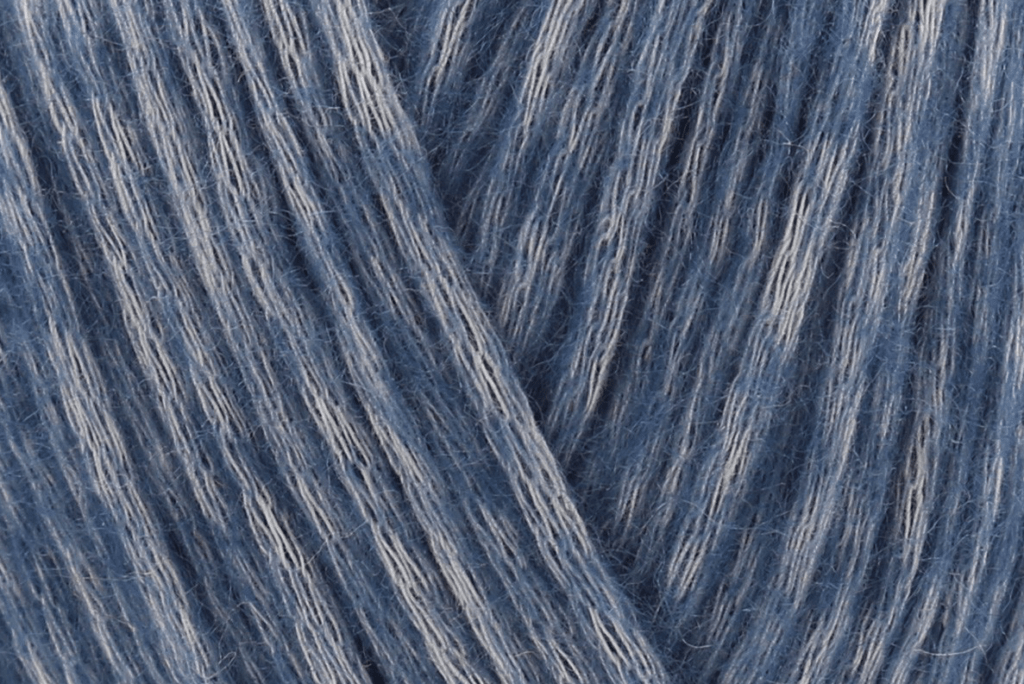
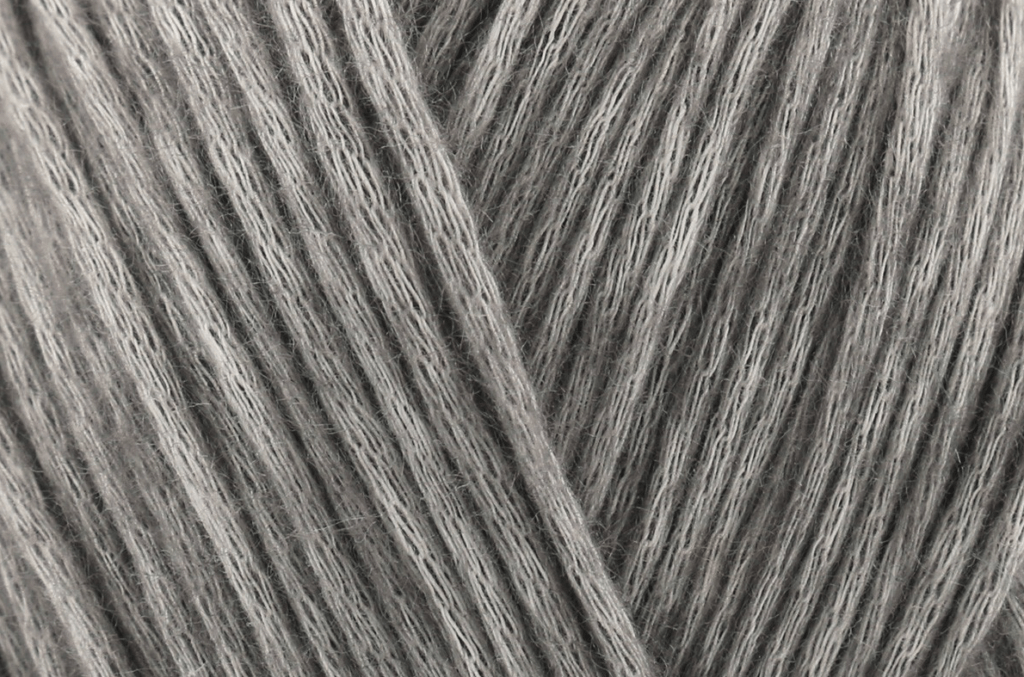
Colour Inspiration
Original
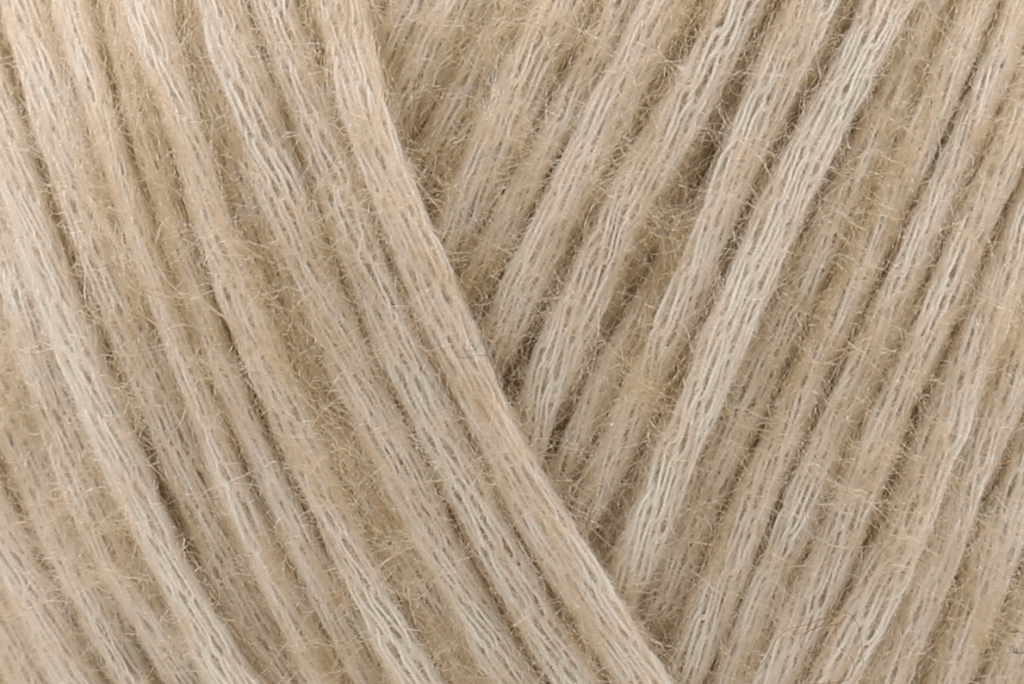
Colour A: Pumpice: 2C060
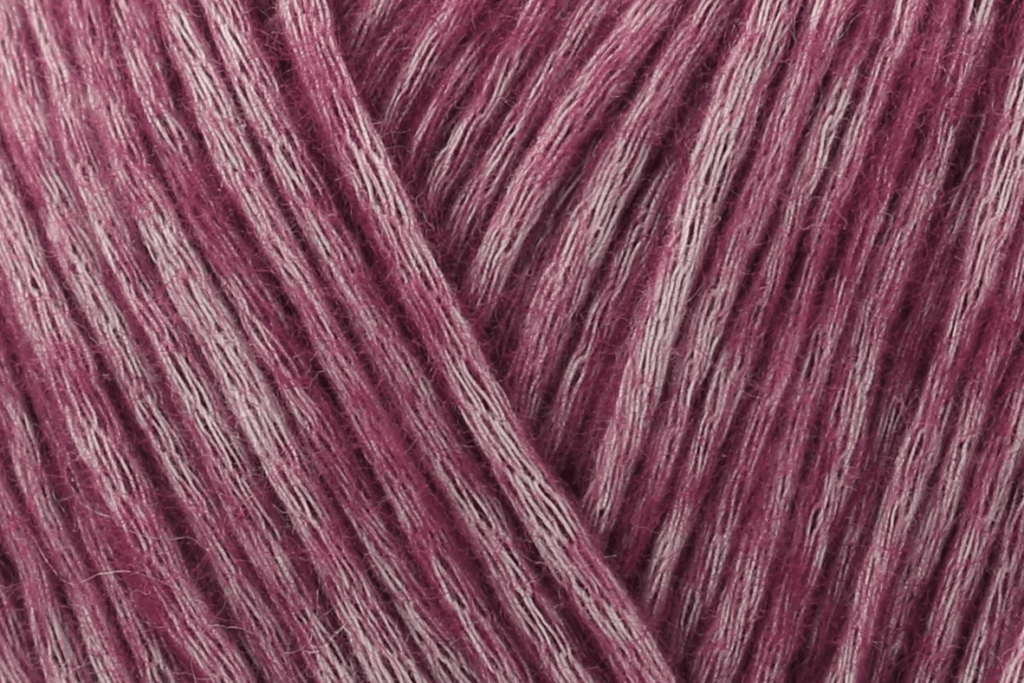
Alternative Colours
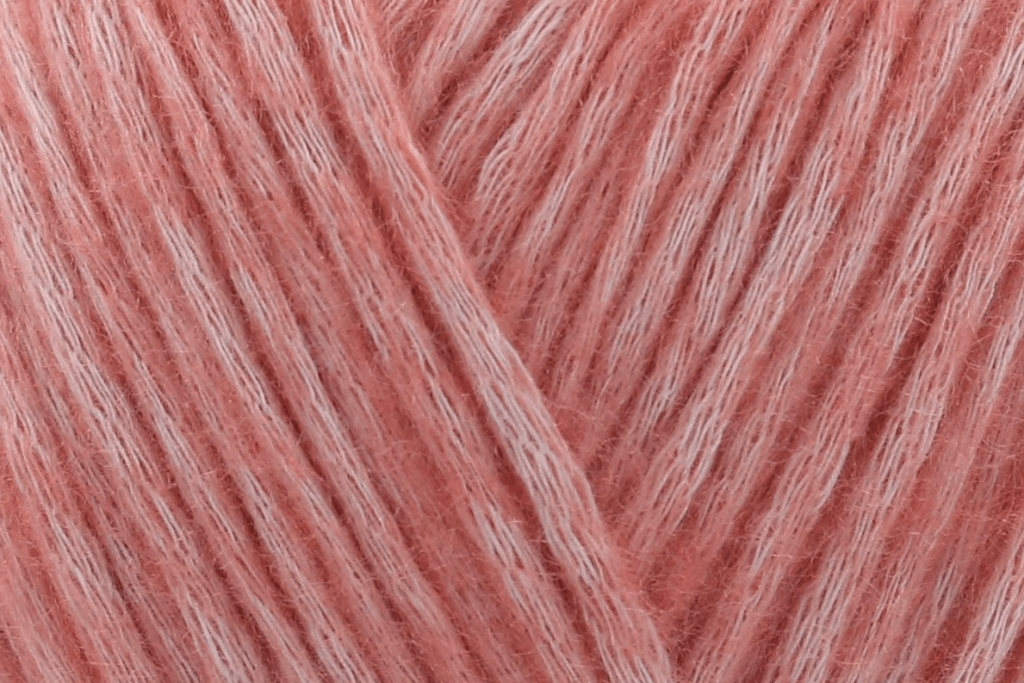
Yarn Quantities
| Yardage | Baby | Toddler | Child | Tween | Adult | Adult Large |
| Colour A | 73yds | 98.5yds | 120.5yds | 156yds | 168.5yds | 181.5yds |
| Colour B | 44.5yds | 60.5yds | 79.5yds | 95.5yds | 105yds | 111.5yds |
| Balls | 1 ball of each | 1 ball of each | 1 ball of each | 1 ball of each | 2 balls of colour A, 1 Ball of colour B | 2 balls of colour A, 1 Ball of colour B |
pattern Notes
- Written in UK terms but switchable to US terms below.
- Video tutorial available demonstrated in the child’s size.
Gauge & Size
- Both gauges are per 10 cm X 10 cm (4 inch X 4 inch)
- Measured over htr rows using 4mm hook. 18 sts X 11 rows.
- Measured over main pattern using 5mm hook. 18.5 sts X 16 rows.
- Completed size: see chart further down the post.

Size Chart
| Area/Approx. Measurement | Baby | Toddler | Child | Tween | Adult | Adult Large |
| Circumference | 35.5cm (14 in) | 40cm (16 in) | 45.5cm (18 in) | 51cm (20 in) | 56cm (22 in) | 58.5cm (23 in) |
| Height (when band folded) | 15cm (6 in) | 18cm (7 in) | 20cm (8 in) | 23cm (9 in) | 23cm (9 in) | 24cm (9.5 in) |
Pattern Support
The fastest way to get pattern support is to ask in our dedicated facebook group for Bella Coco Crochet patterns. This is the best place for you to connect with other crocheters.
Please note, if you wish to change and adapt this pattern in any way, this must be done at your own exploration and we cannot offer assistance with this.
Convert Pattern Terms
Here you can quickly switch between UK and US crochet terms. This will make following the pattern easier as all terms will be converted to your preferred version.
Terms & Abbreviations
Stitch(s): st(s)
Back Loop Only: BLO: Working the indicated stitch into the back loop only.
Slip Stitch(s): ss(s): Insert hook, yarn over, pull through stitch and loop on hook.
Chain(s): ch(s): Yarn over, pull through loop on the hook.
Double Crochet(s): dc(s): Insert hook into stitch, yarn over, pull up a loop, you will have two loops on the hook. Yarn over, pull through remaining two loops.
Half Treble Crochet(s): htr(s): Yarn over, insert into stitch, yarn over, pull up a loop, you will have three loops on the hook. Yarn over, pull through remaining three loops.
Joining Double Crochet(s): Jdc(s): Insert hook into base of double crochet from row 1 and next st stitch of current row, yarn over, pull up a loop, you will have two loops on the hook. Yarn over, pull through remaining two loops.
Treble Crochet(s): tr(s): Yarn over, insert into stitch, yarn over, pull up a loop, you will have three loops on the hook. Yarn over, pull through two loops, yarn over, pull through remaining two loops.

Unsure of the differences between UK and US terms? Need a refresher on how to do your crochet stitches? In my ‘How to crochet: A handy reference guide’ EBook I help you with all of these terms and you can always have them to hand! You will also get exclusive access to free video instructions. You can find my EBook HERE.
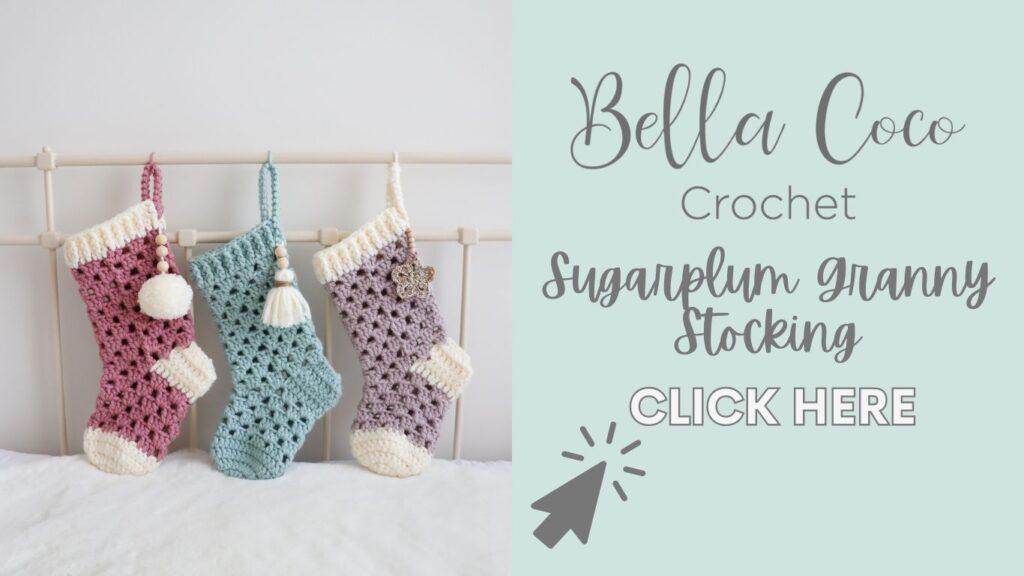
Pin For Later

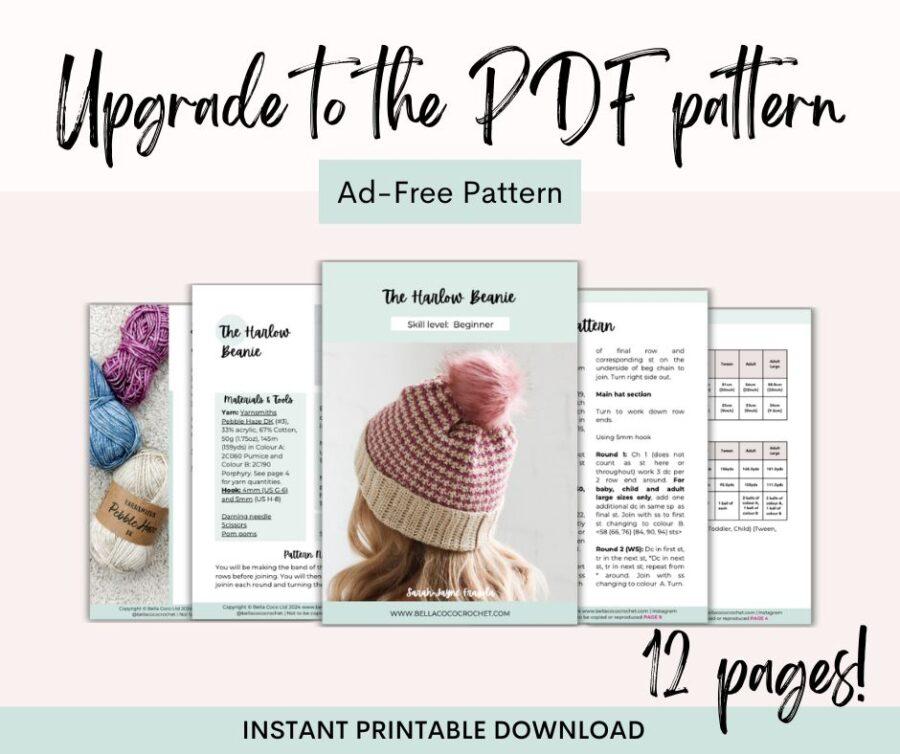
Crochet AD-FREE PDF Patterns
Free Pattern: Crochet Beanie Hat in Six Sizes
You are viewing this pattern in UK terms.
Pattern
Band
Using colour A and 4mm hook.
Row 1: Chain 13 (16, 16) (19, 19, 22), htr in second ch from the hook (missed ch does not count as st), htr in each st across. Turn. <12 (15, 15) (18, 18, 21) sts>
Row 2: Ch 1 (does not count), BLOhtr in each st across. Turn.
Row 3-38 (44, 50) (56, 60, 62): repeat row 2
(Measures 14 (16, 18) (20, 22, 23) inch when lightly stretched) increase or decrease to an even number of rows if needed.
Fold work to have short ends together. Chain 1, ss through BLO of each stitch of final row and corresponding st on the underside of beg chain to join. Turn right side out.
Main Hat Section
Turn to work down row ends.
Using 5mm hook
Round 1: Ch 1 (does not count as st here or throughout) work 3 dc per 2 row end around. For baby, child and adult large sizes only, add one additional dc in same sp as final st. Join with ss to first st changing to colour B. <58 (66, 76) (84, 90, 94) sts>
Round 2 (WS): Dc in first st, tr in the next st, *Dc in next st, tr in next st; repeat from * around. Join with ss
changing to colour A. Turn.
Round 3 (RS): Dc in first, *tr in next st, dc in next st; repeat from * around. Join with ss in top of first st changing to colour b. Turn.
When working your ss at the end of this round, pull colour A forward and insert the hook from back to front to pull through colour B.
Round 4- 20 (23, 27) (30, 30, 31): Repeat round 2 & 3.
Fasten off working yarn leaving a long tail end for sewing.
Fasten off unworked yarn and sew in ends.
Turn inside out.
Thread up darning needle and weave in and out of the top of every other stitch or final round. Pull tight to close center. Weave in and out from one side to another if needed to further secure the top of the hat.
Turn right side out. Bring tail end to the right side of the work to attach the Pom Pom.

Video Tutorials
Right-handed
[adthrive-in-post-video-player video-id=”0zgs4DhB” upload-date=”2024-11-07T16:12:25+00:00″ name=”Harlow Beanie BLOG.mov” description=”null” player-type=”default” override-embed=”default”]Left-handed
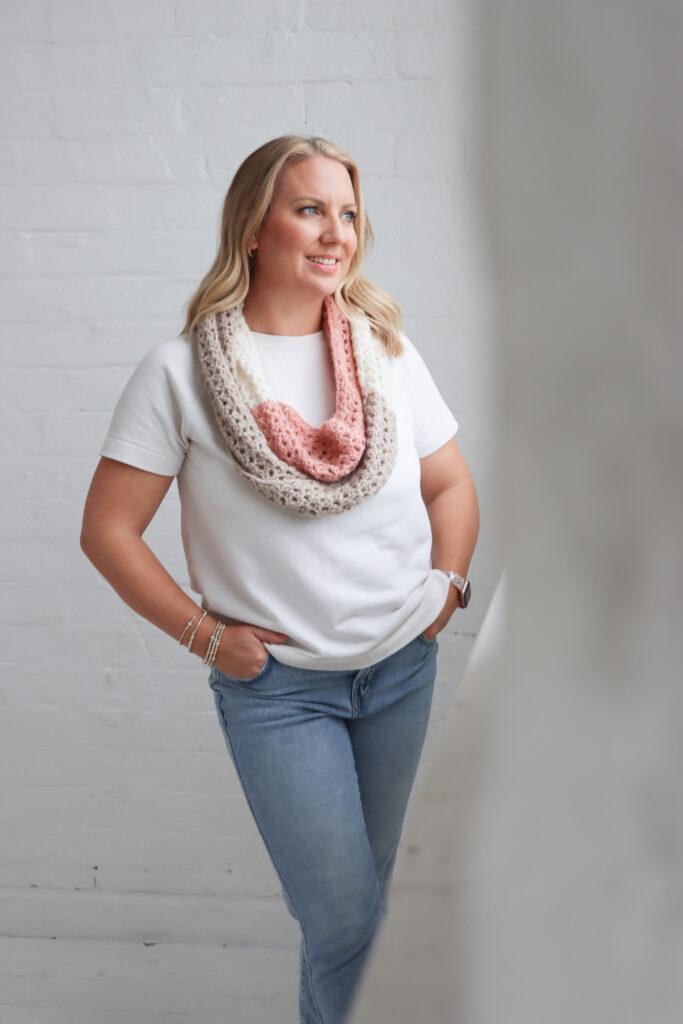
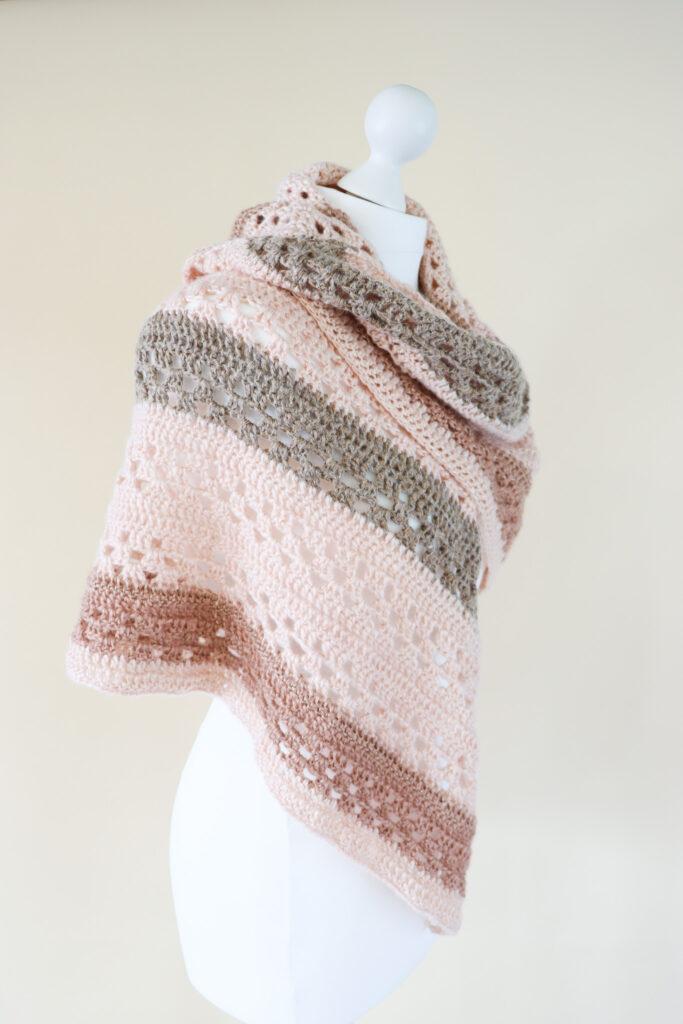
[adthrive-in-post-video-player video-id=”oUsAaLxF” upload-date=”2024-11-07T15:54:56+00:00″ name=”Harlow Beanie LEFT HANDED Blog.mov” description=”undefined” player-type=”default” override-embed=”default”]Make a Matching Scarf: FREE Crochet Pattern
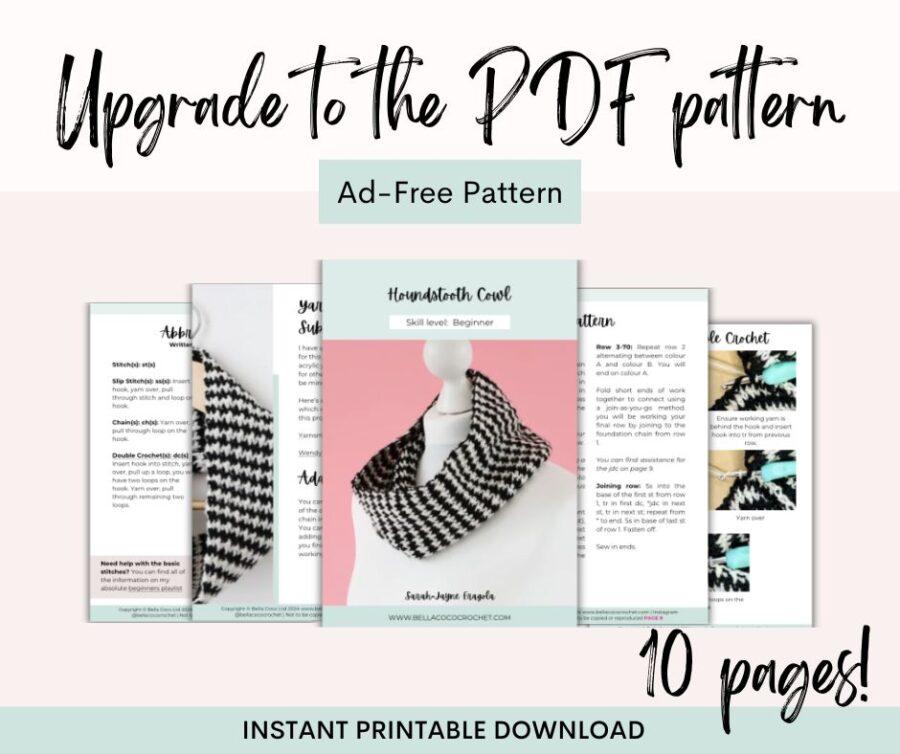
Learn how to crochet this beautiful Houndstooth Cowl to match your beanie! I have a FREE step-by-step pattern, a 10-page PDF and a video tutorial to teach you every step of the way.
Crochet Accessories: FREE Crochet Patterns
I have selected some of my favourite crochet wearables for you to try next:

I always love to see your makes so if you try any of my patterns or follow my stitch tutorials please tag me @bellacococrochet or use the #bellacococrochet
sarah-jayne