In this post, I’ll be showing you how to use a yarn swift and winder with my step-by-step guide to turn your skeins into yarn cakes. If like me when I first started to crochet and came across beautiful skeins/hanks of yarn, I didn’t have a clue how to crochet with them! So calling all beginners and crochet enthusiasts this is where a yarn swift and winder come to the rescue! These tools not only save you time, but also make your crochet projects more enjoyable by ensuring your yarn is tangle-free and ready to use.

What is a Yarn Swift and Winder?
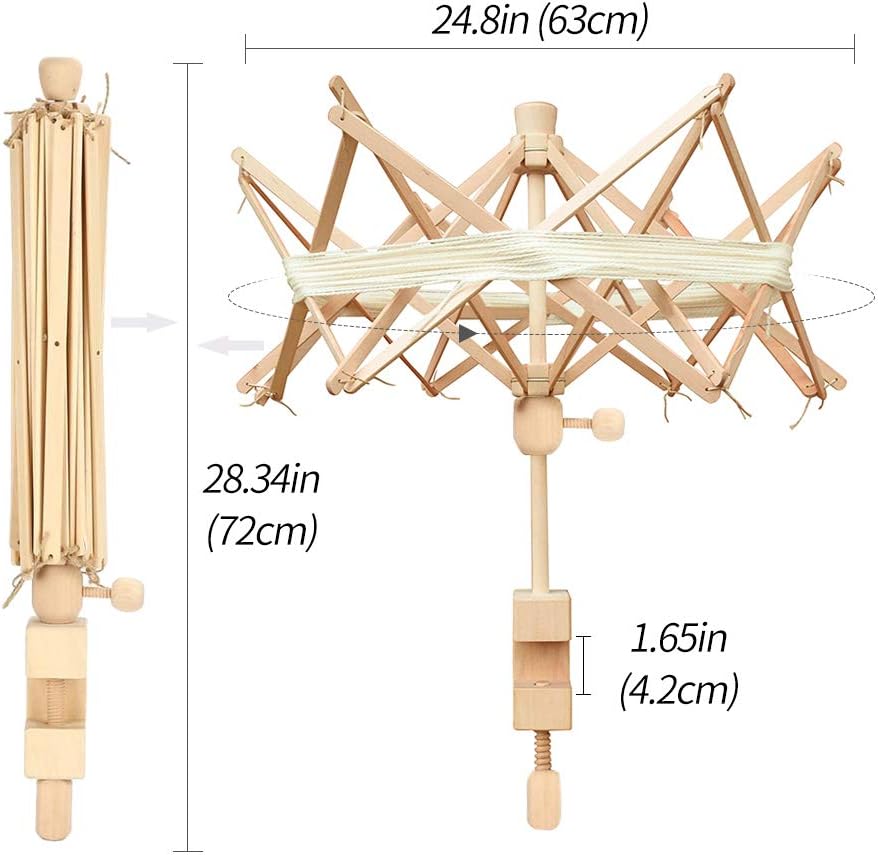
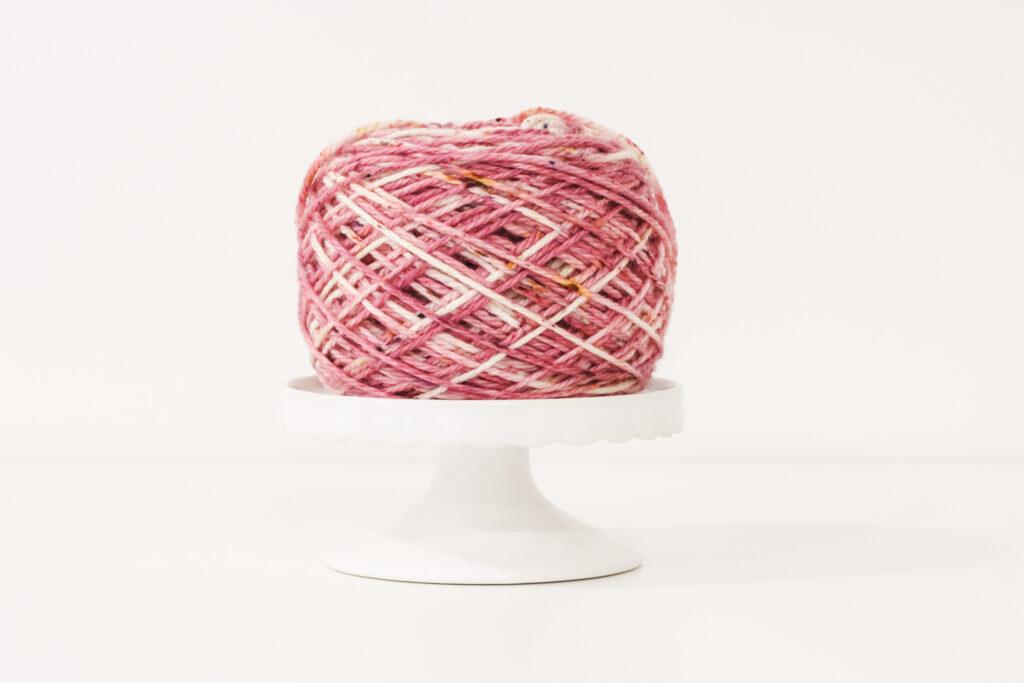
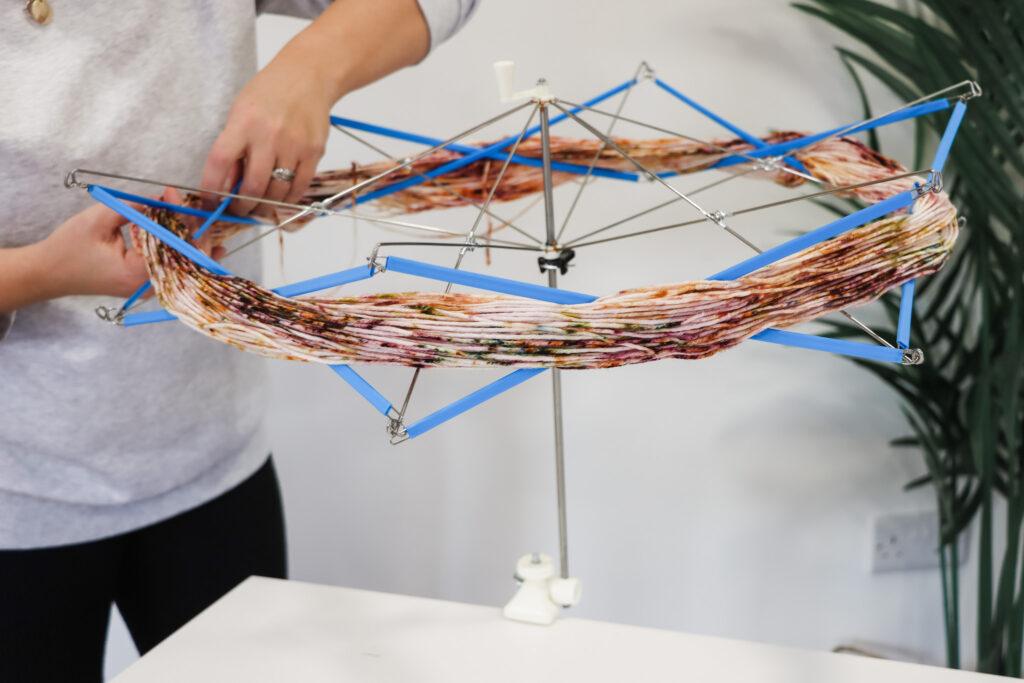
A yarn swift is a handy tool that holds a hank of yarn in place while you wind it into a ball or cake. It resembles an umbrella and can expand to accommodate hanks of different sizes. A yarn winder is a small device that turns your yarn into a tidy, center-pull cake, making it easier to work with.
Yarn Swift
Winder

If you’d like to explore more crochet accessories check out my gift guide: CLICK HERE.
Why Use a Yarn Swift and Winder?
- Save Time: Winding by hand can be time-consuming, especially for large hanks.
- Tangle-Free: Avoid the frustration of dealing with messy yarn.
- Professional Results: Cakes of yarn are easier to store and use, making your crochet projects more enjoyable.
Top Tips
- Go Slow: Especially if it’s your first time using these tools, take it slow to avoid tangles.
- Check for Knots: Before you start, inspect your yarn hank thoroughly for any knots or issues.
- Use a Smooth Surface: A stable surface prevents the swift and winder from shifting during use.
- Practice Makes Perfect: It might feel tricky at first, but with practice, you’ll be winding like a pro!
Pin For Later
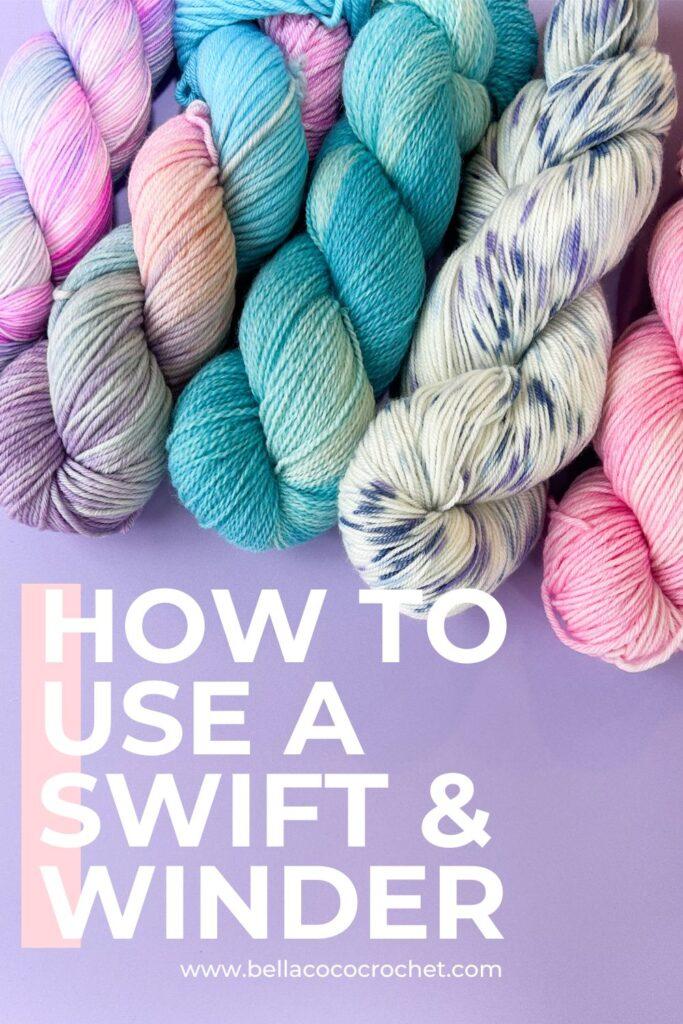
Step-By-Step Guide: How to Use a Swift & Winder
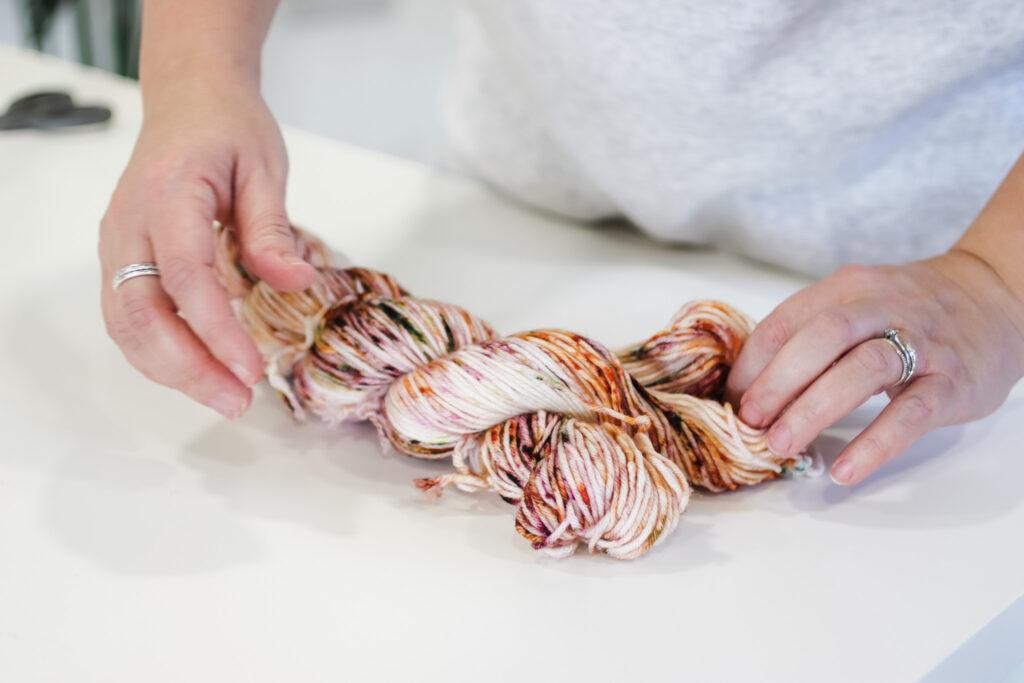
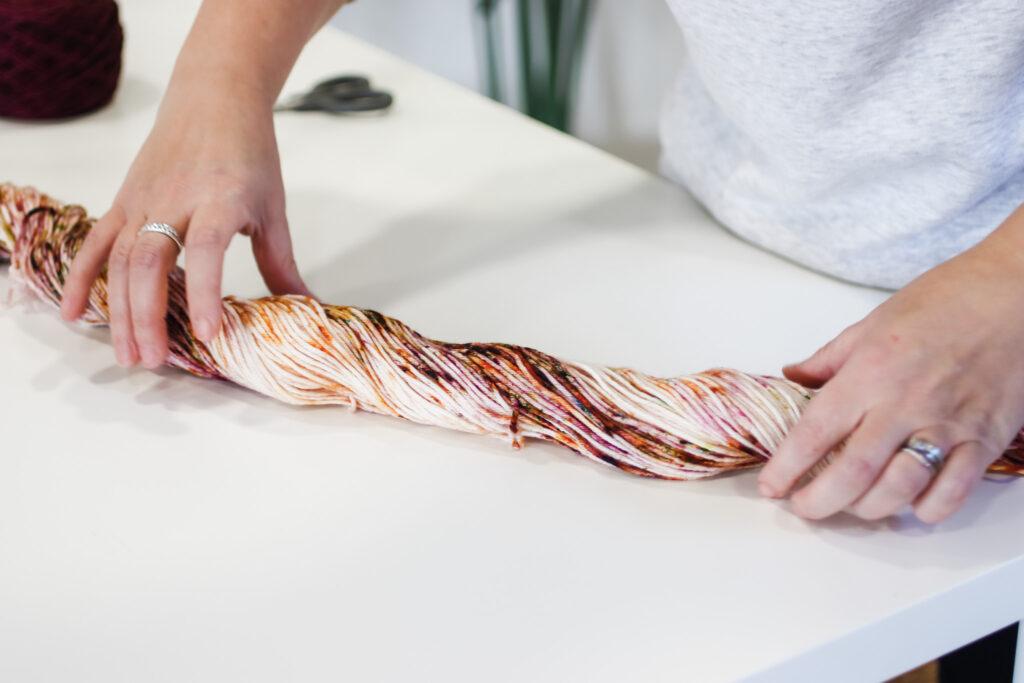
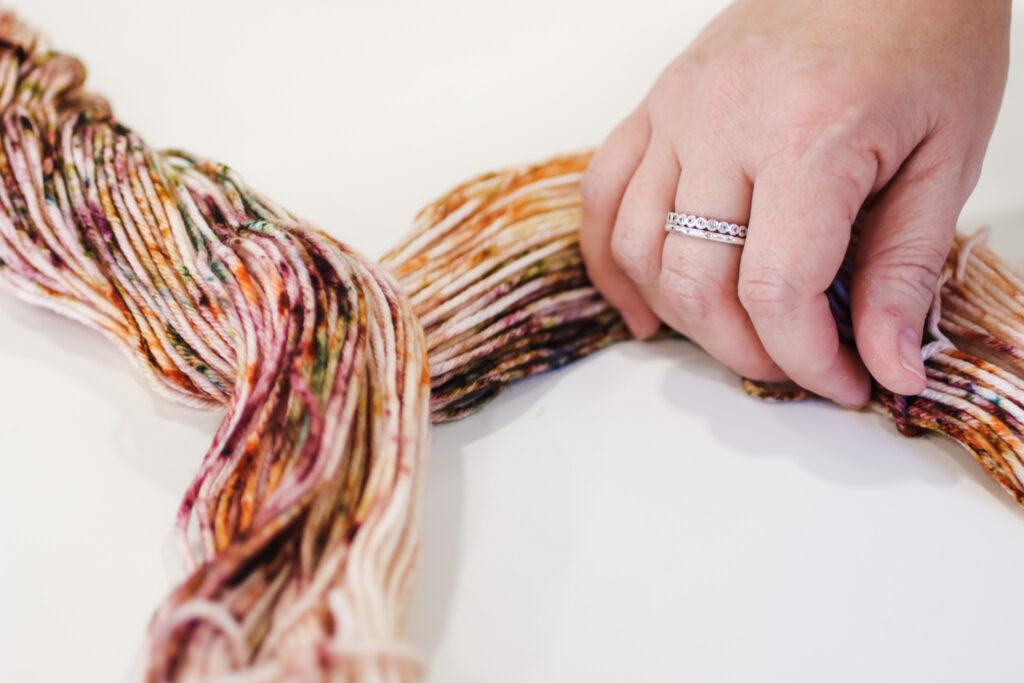
1.
Carefully untwist your skein/hank of yarn on a clean, flat surface.
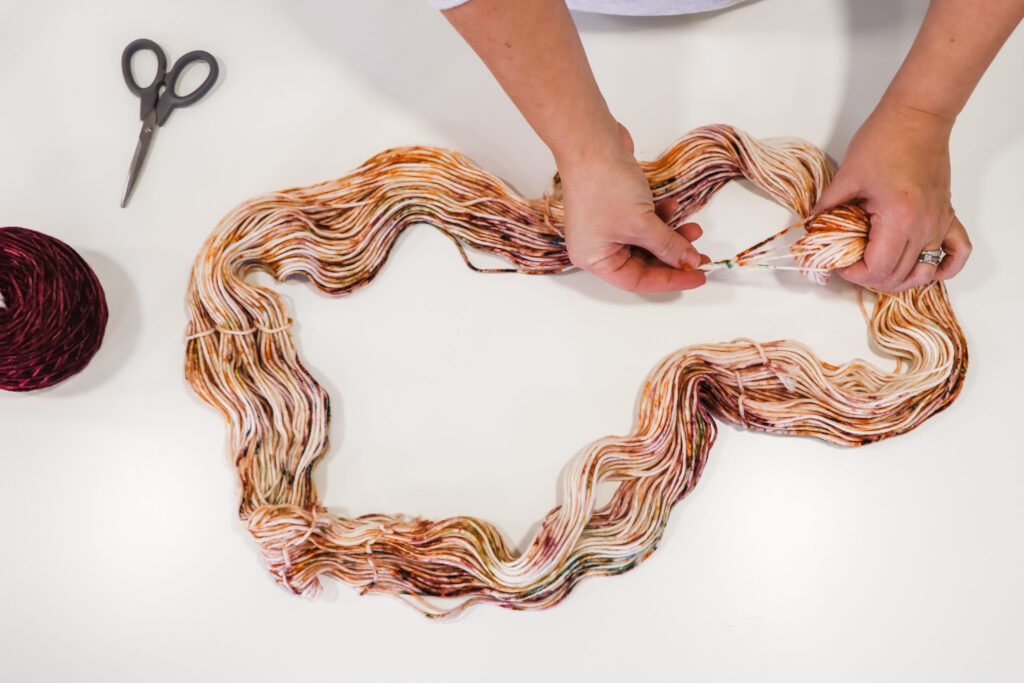
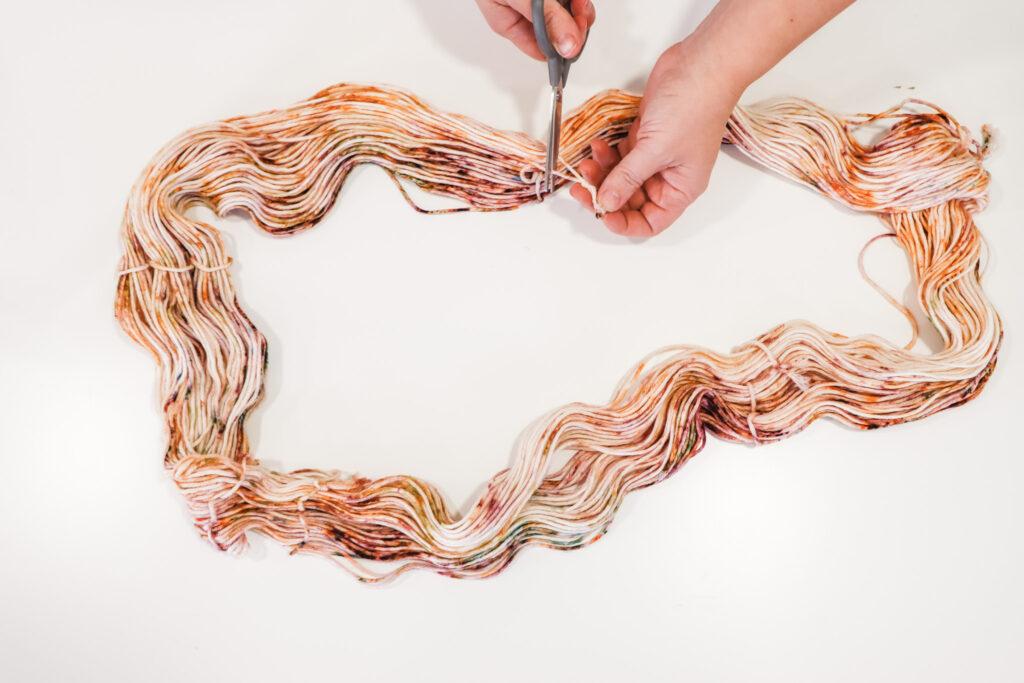
2.
Now your skein/hank has been untwisted and laid flat, you should be able to see some yarn ties holding the yarn together. Go ahead and snip these off, alternatively, you might want to wait and cut these off once the yarn is secure on the swift.
3.
Attach your yarn winder to the same table or a sturdy surface. Make sure it’s clamped tightly to prevent wobbling.
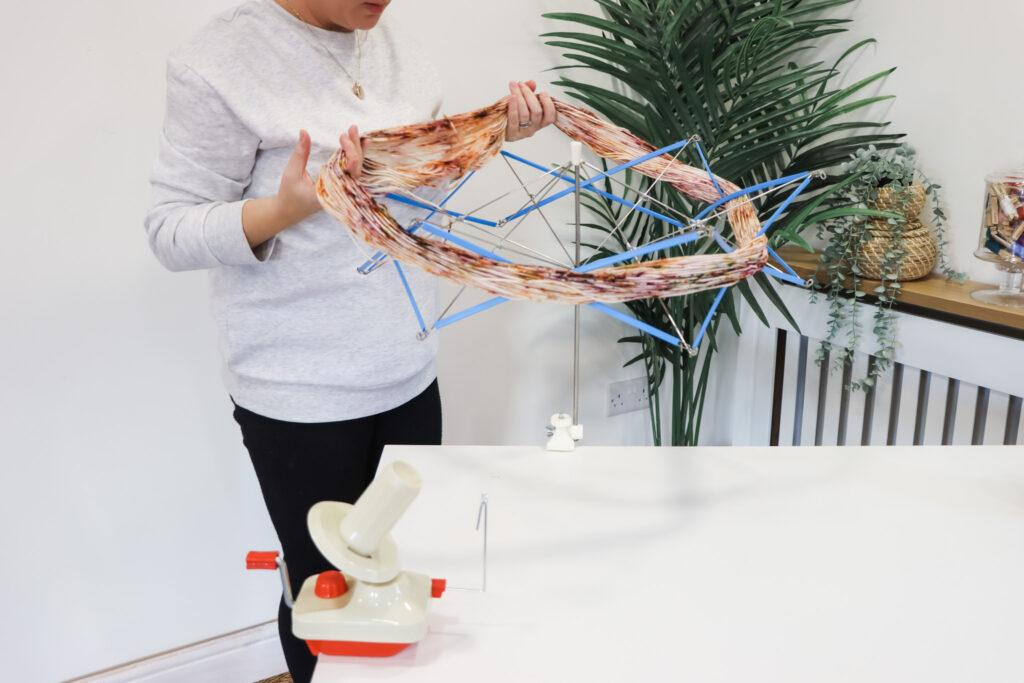
4.
Don’t fully open your swift initially, place your skein/hand around the arms of the swift and adjust the arms so they’re securely locked in place. You want your yarn to be taut but not overly stretched.
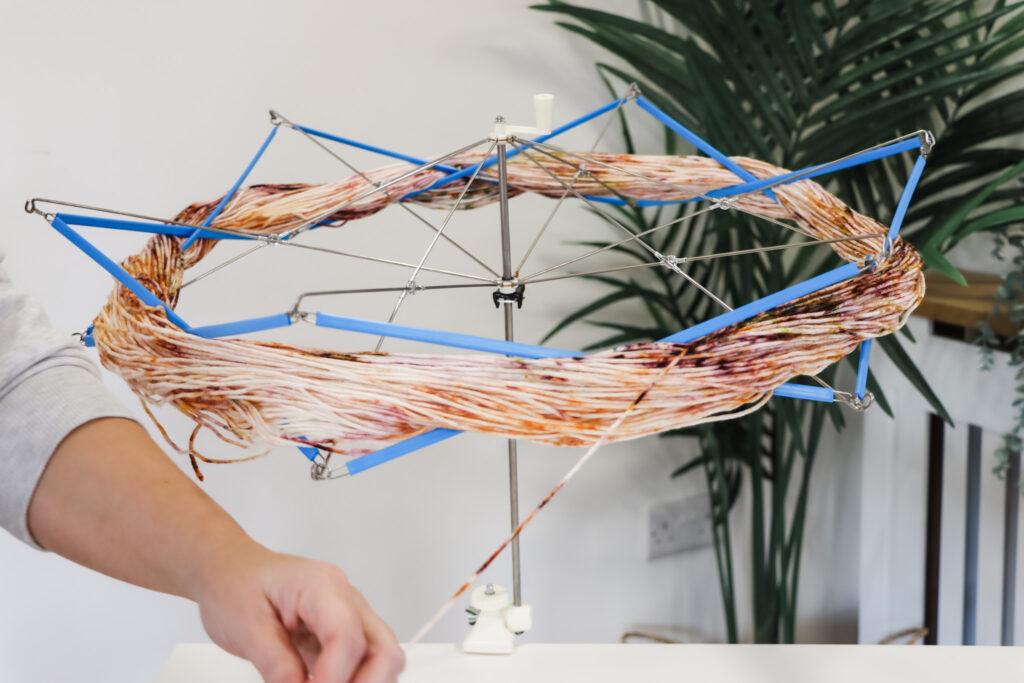
5.
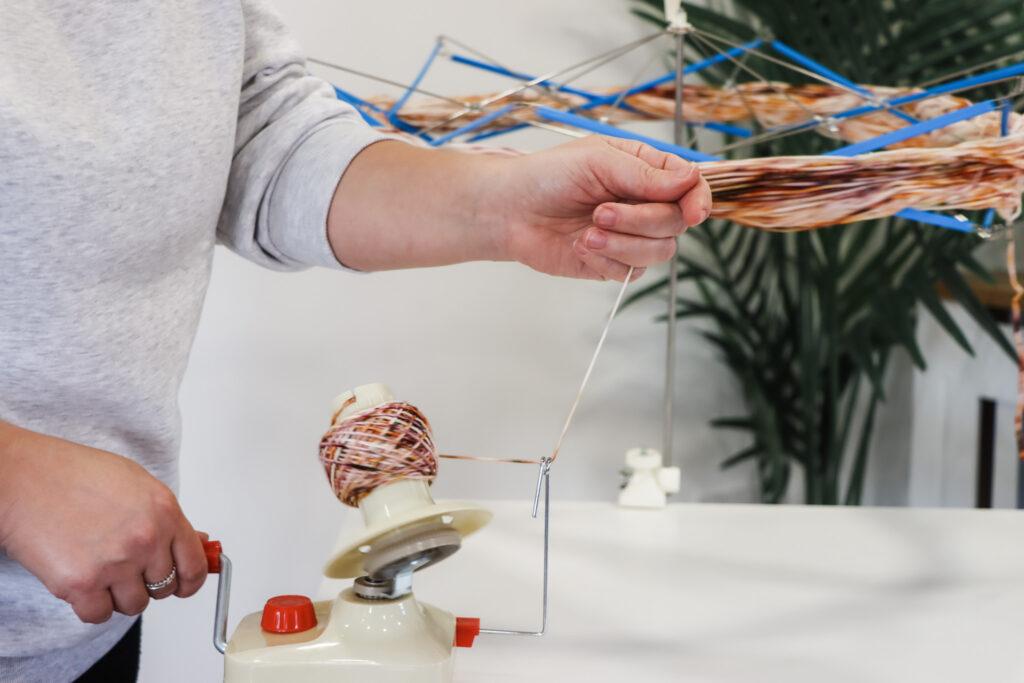
If you haven’t already you need to find the end of the yarn and gently pull this towards the winder.
6.
Take the loose end of your yarn from the swift and thread it through the tension guide on the winder.
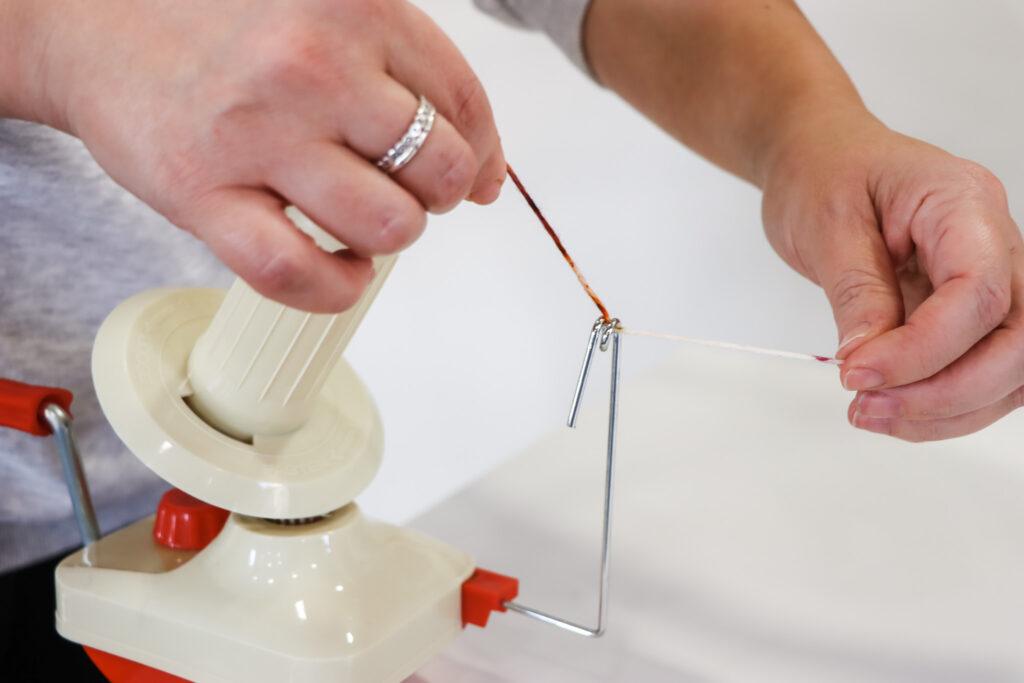
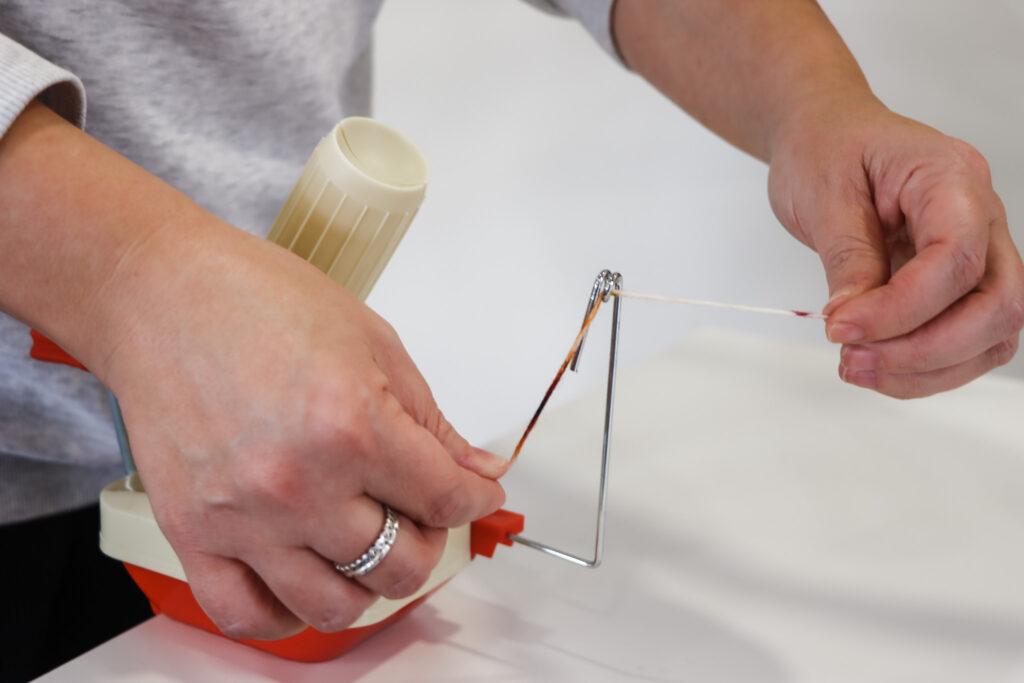
7.
Secure the end into the notch or slit on the winder’s spindle. Before you start to wind you want to secure the overhanging yarn with your thumb for the initial turn.
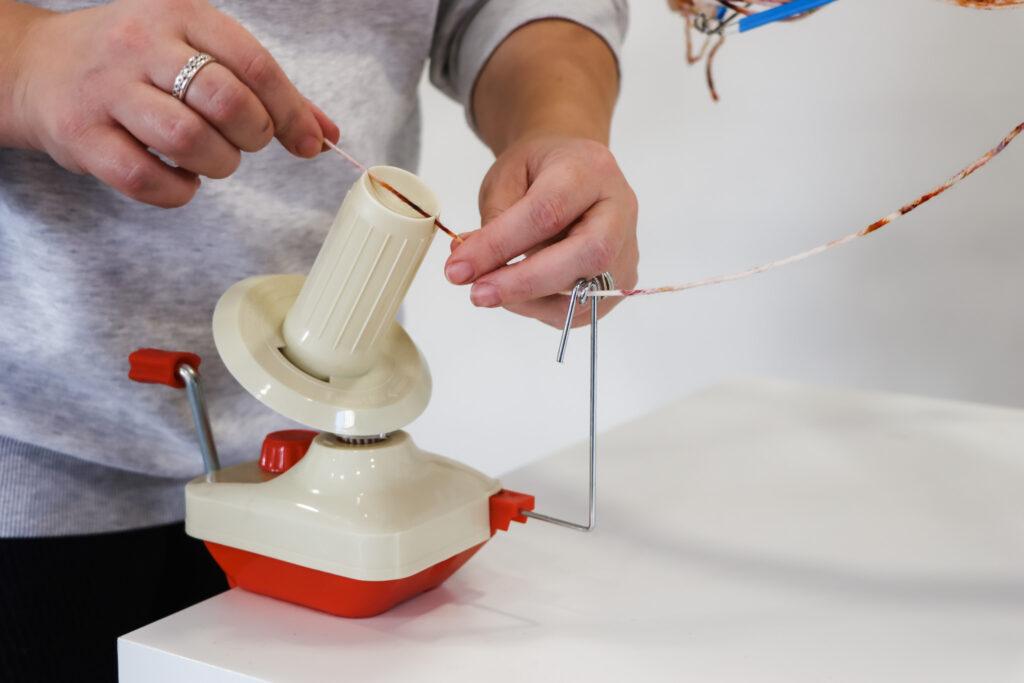
8.
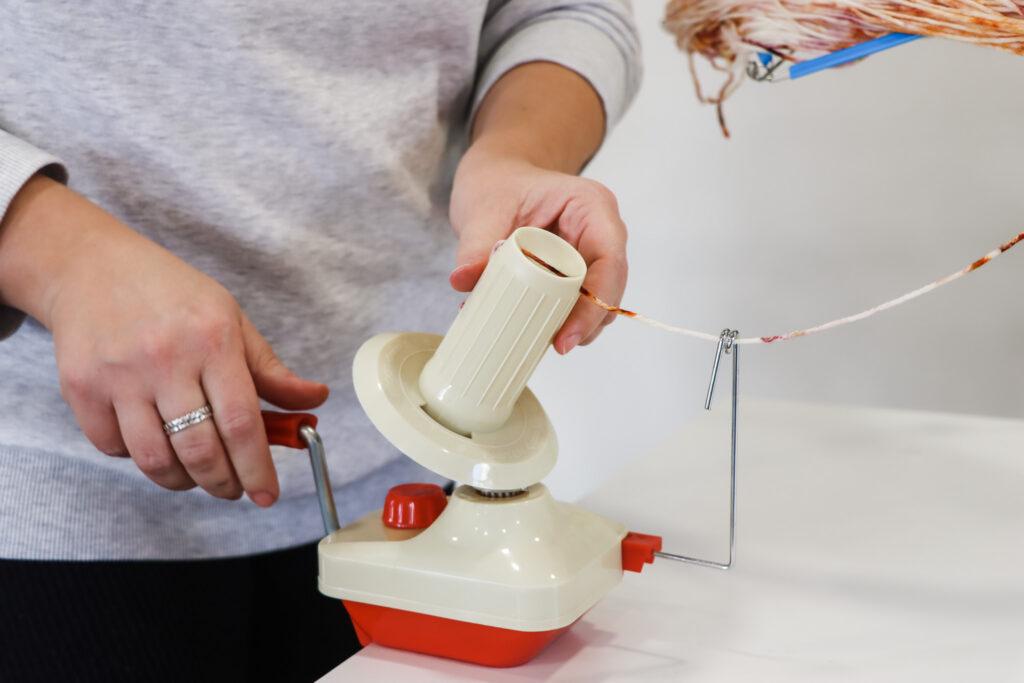
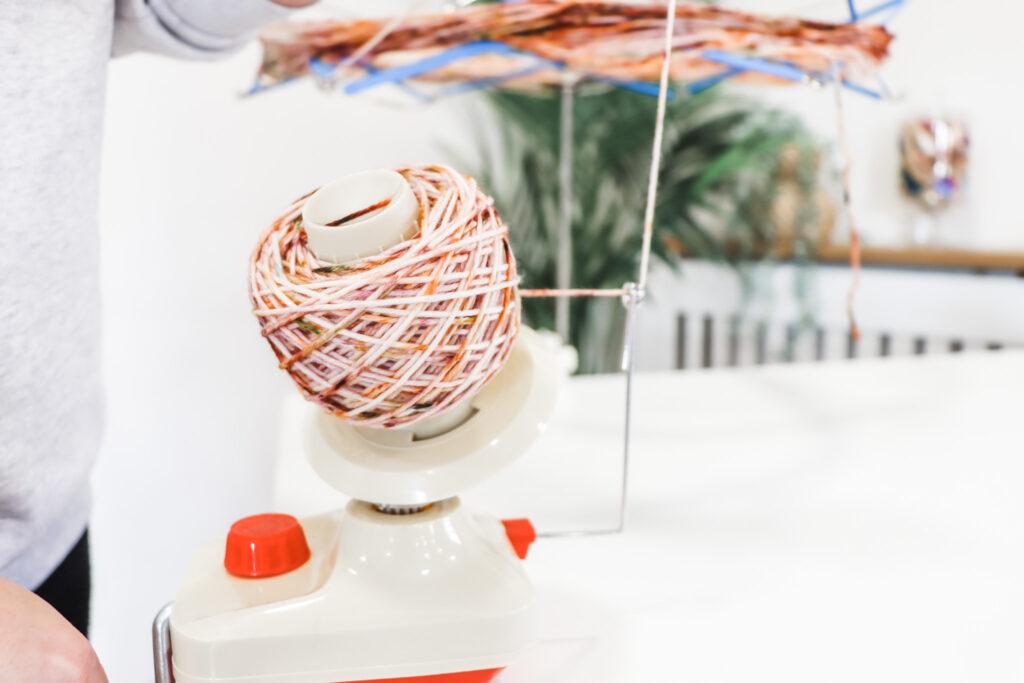
Slowly Start to turn the handle, after a few turns, you want to lift your hand and use this to help keep a consistent tension whilst turning the handle, allowing the swift to spin freely. Keep a steady pace to avoid uneven tension.
9.
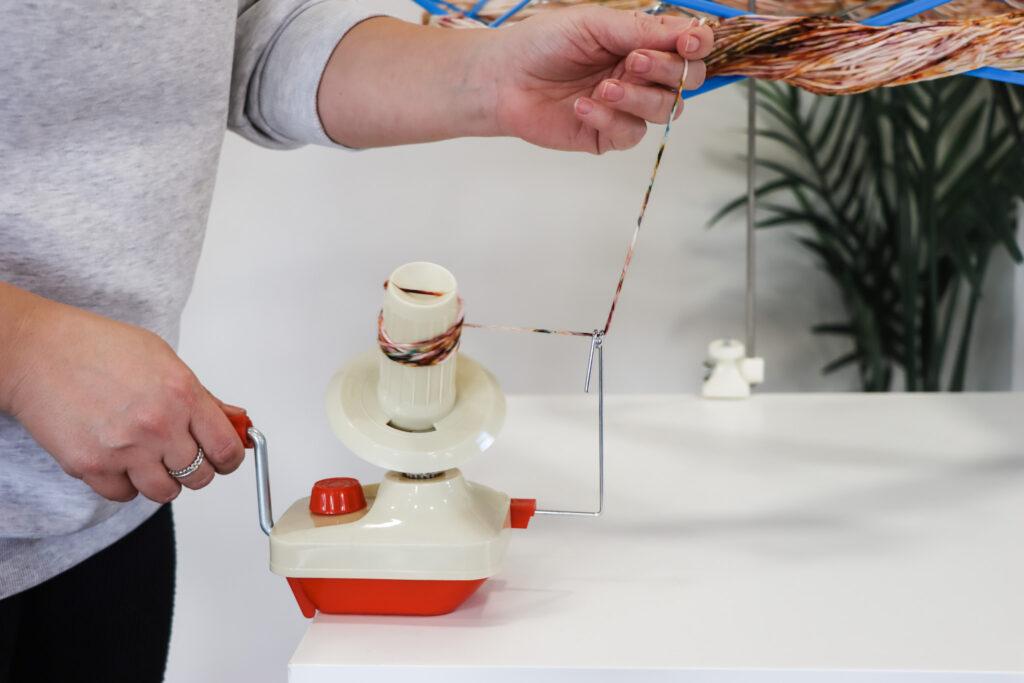
Keep an eye on the yarn as it moves from the swift to the winder. Stop periodically to check for knots or tangles. Continue winding the yarn until the entire skein/hank is transferred onto the winder. As you get towards the end, ensure you are slowing down if you have picked up the pace.
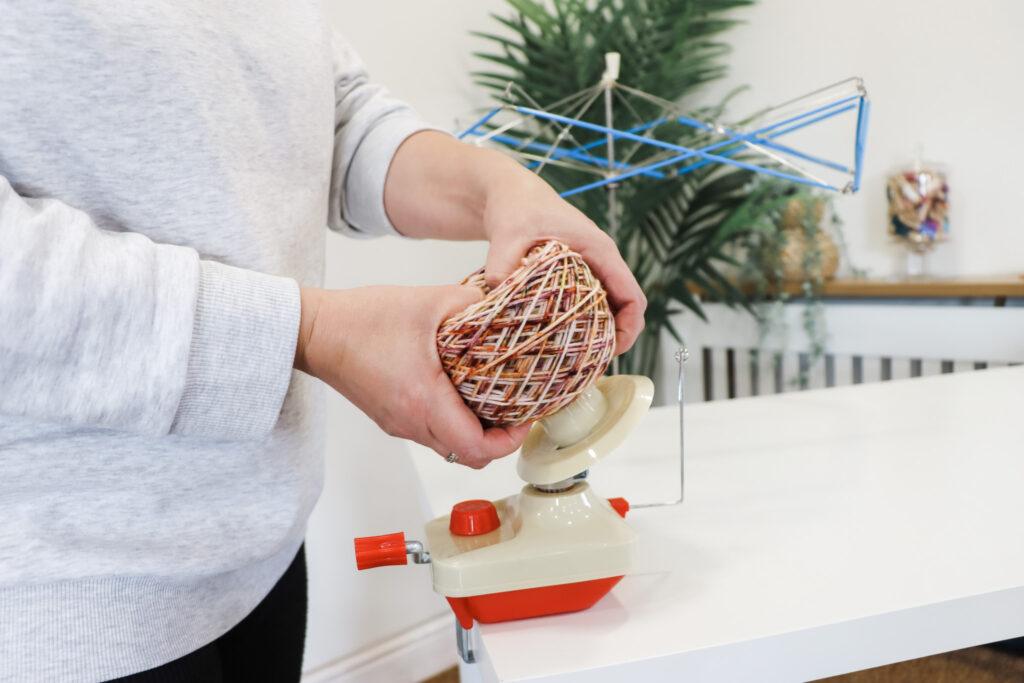
10.
Once all the yarn has transferred onto the winder you want to tuck in the end of the yarn then carefully lift off the spindle of the winder using both hands.
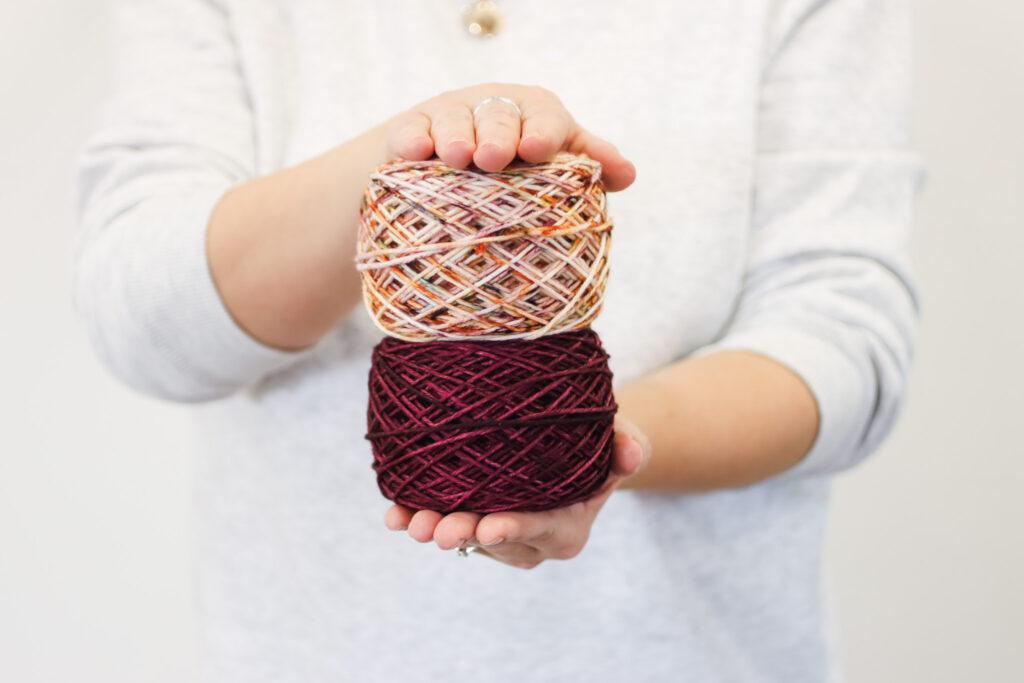
It’s as simple as that! Now you have a beautifully spun yarn cake ready to crochet with!
Alternatively, you might find it easier to follow my quick step-by-step video tutorial: CLICK HERE.
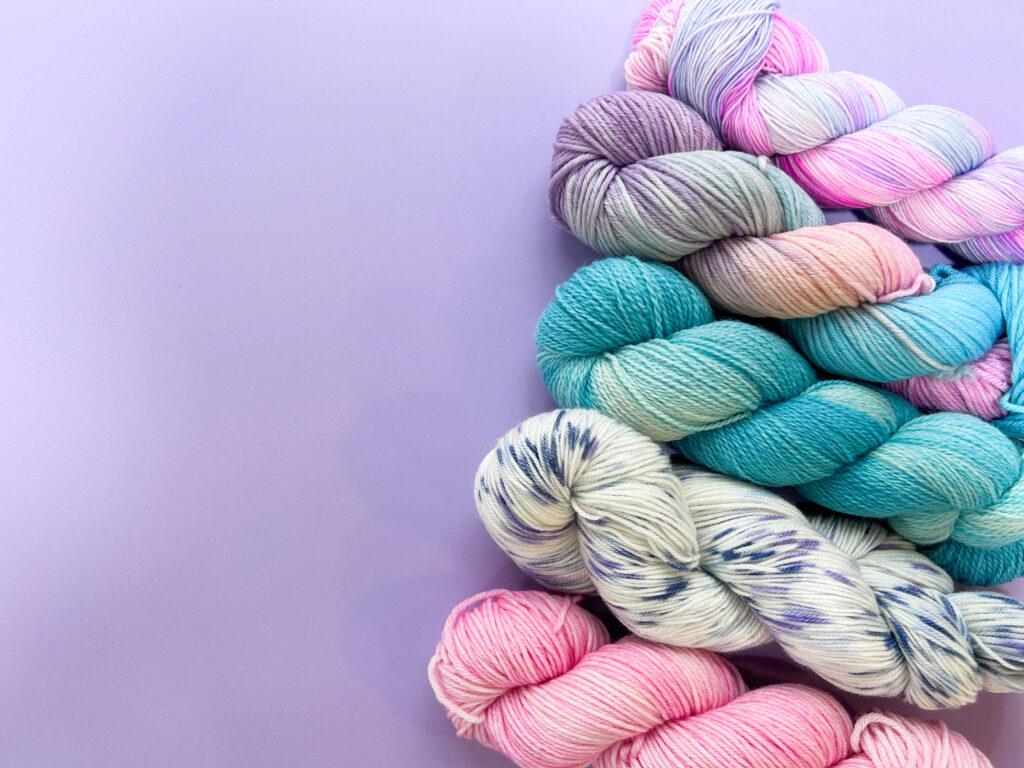
Indie Yarn
Do you love shopping for beautiful hand-dyed yarns? Me too! I’ve shared some of my favourite indie yarns and pulled them all together in the directory. I’ll also be sharing some of my crochet designs that I’ve designed and made using these yarns. CLICK HERE to explore the Indie Yarn Directory.
Q&A with Verity from Truly Hooked
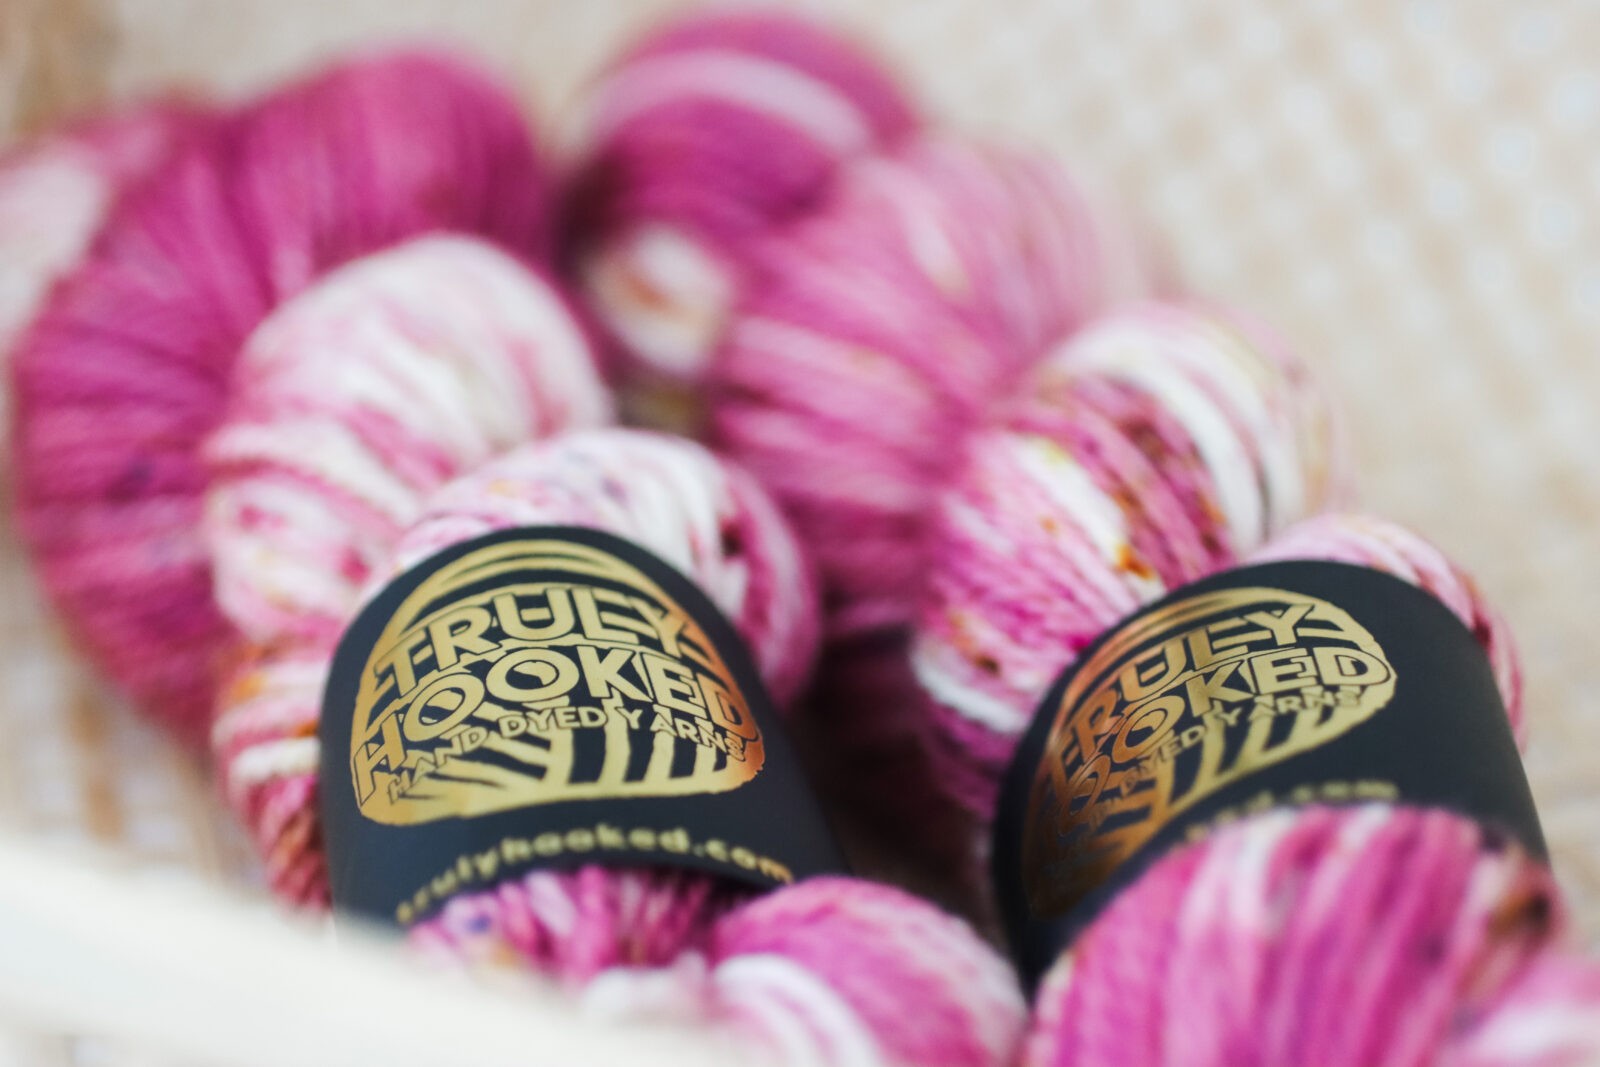
Indie yarns are usually dyed on small scales and every batch is different – every skein is different for that matter – often dyers don’t repeat a colour way…
Verity joined us on the blog to tell us all about her indie yarn-dying journey. Read the full Q&A CLICK HERE.
Crochet Patterns
Verity Infinity Scarf
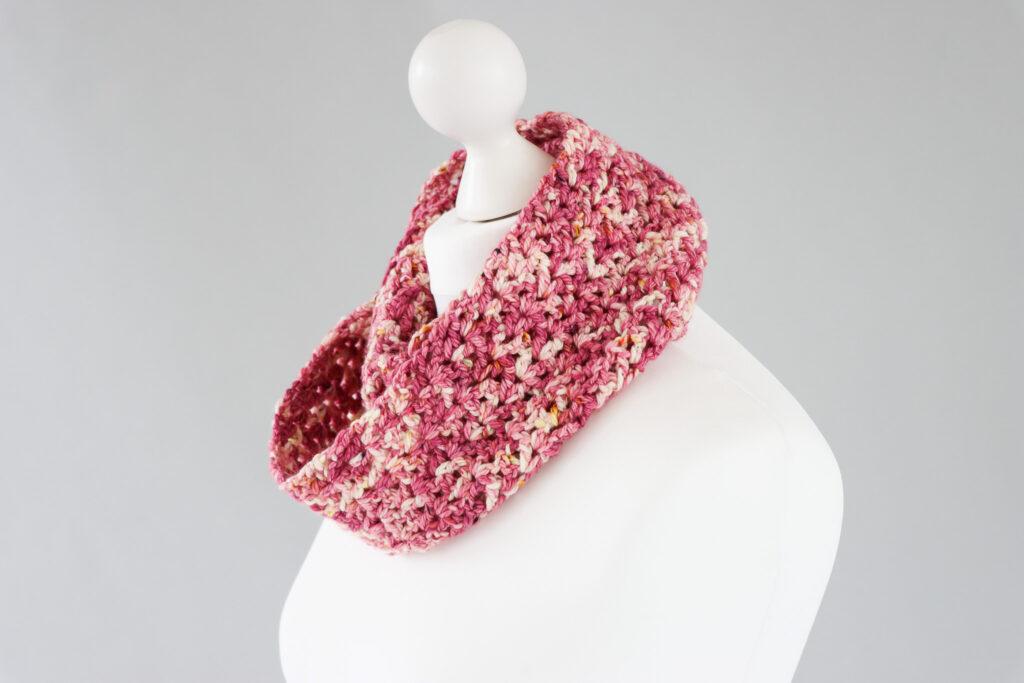
Inspired by the artist herself, I re-made my popular infinity scarf using this beautiful yarn by Verity Truly Hooked.
Crochet Beanie: Truly Beanie
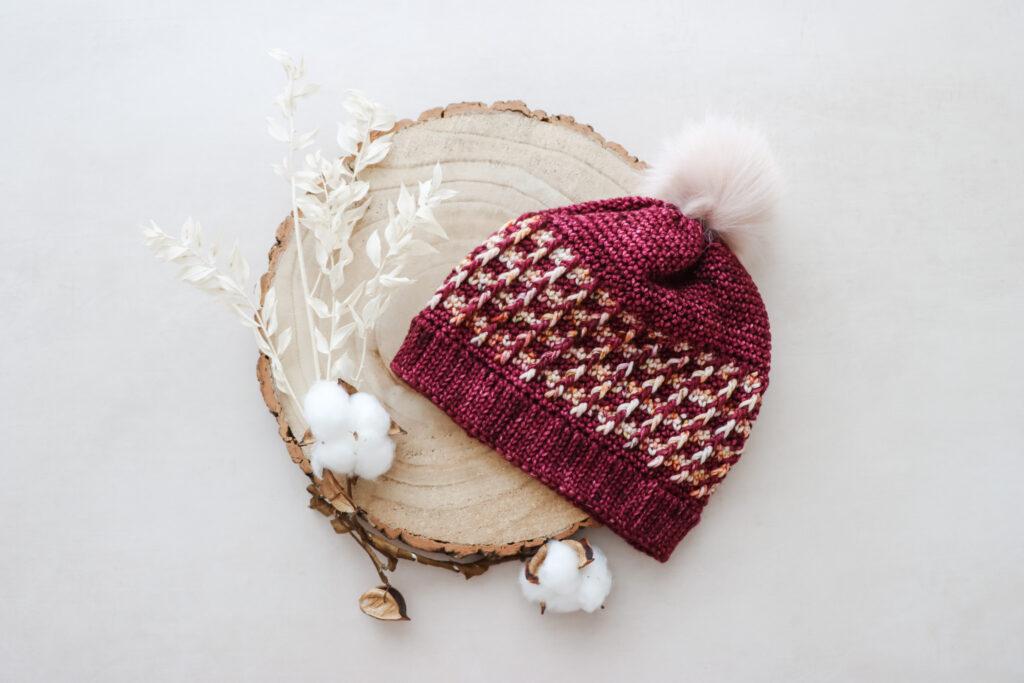
Crochet beanies are among my favourite projects to make because they are so quick and easy…and quick and easy crochet is my favourite kind of crochet! The Truly Beanie Hat got its name from the lovely indie yarn by Nicky of Truly Yarn.
Matching Convertable Mittens: Truly Mittens
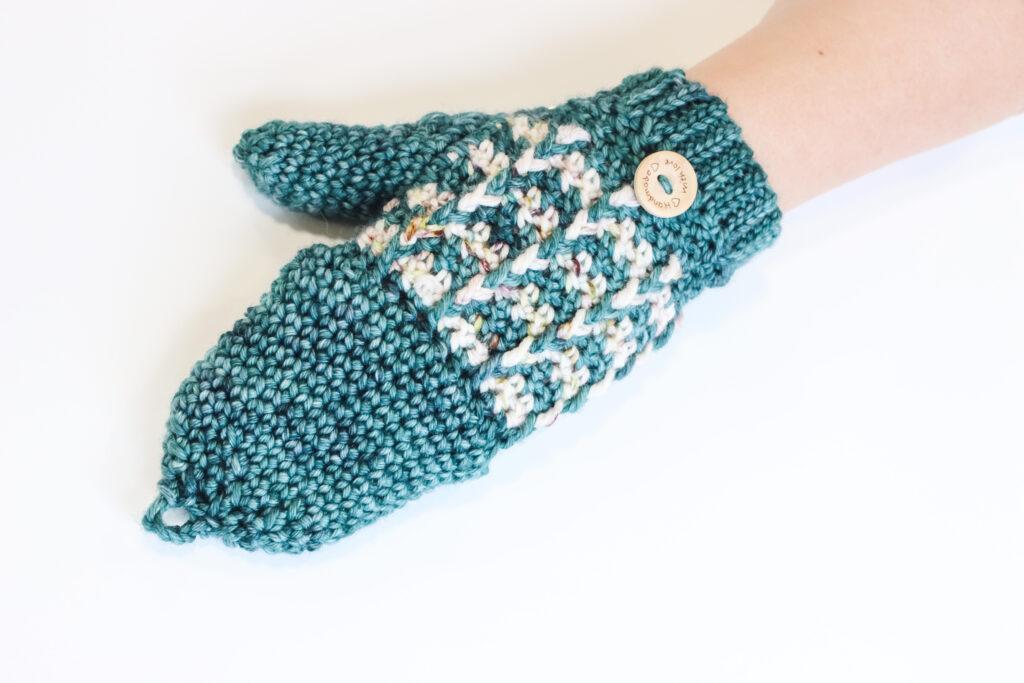

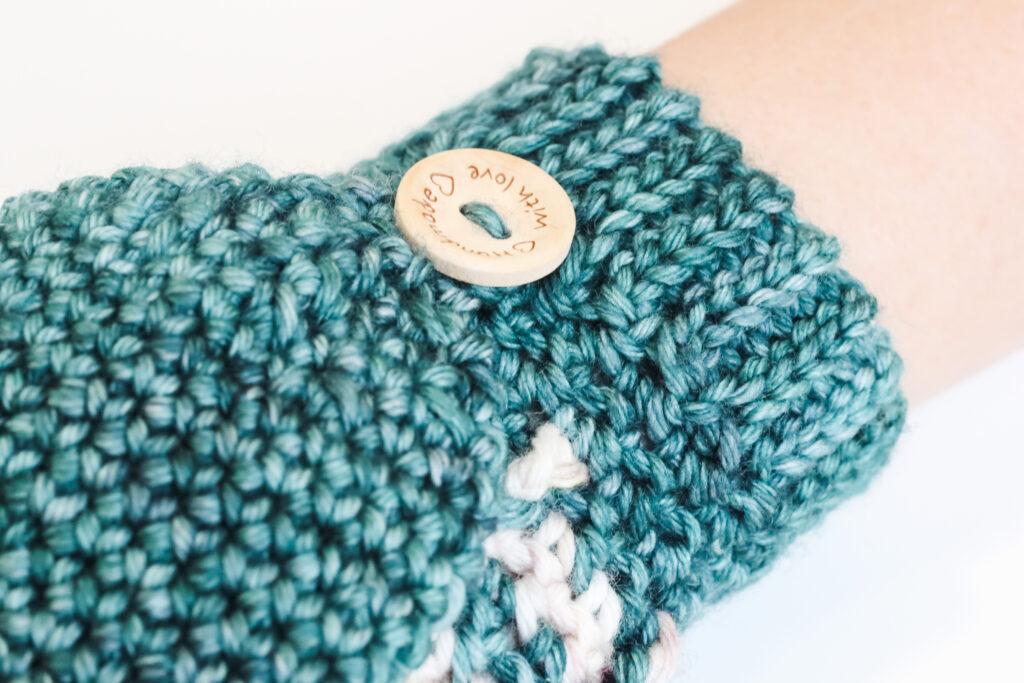
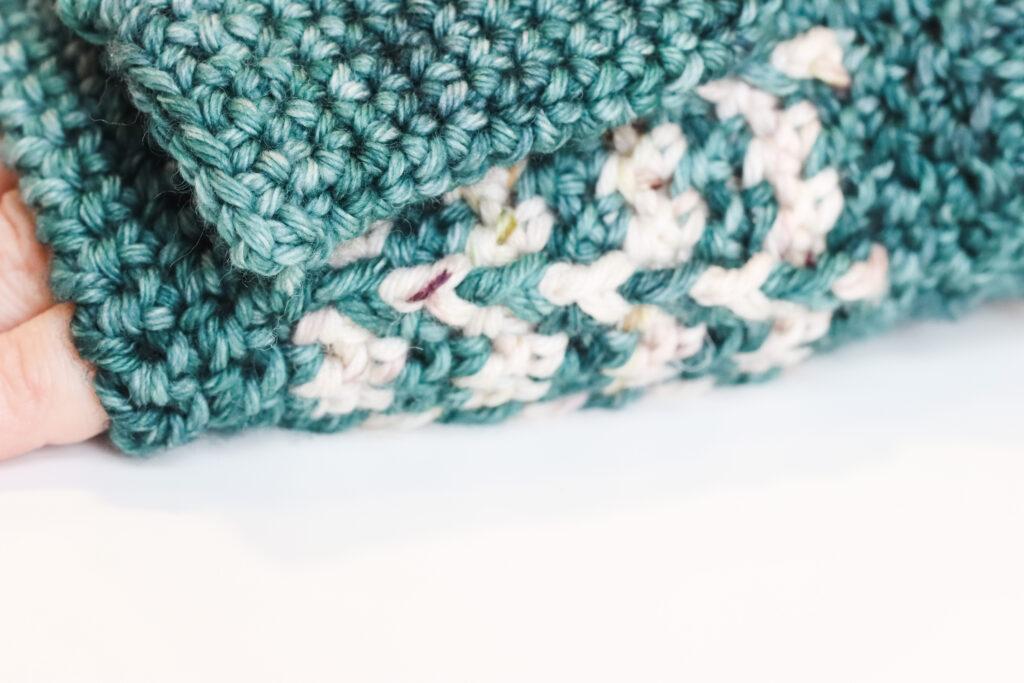
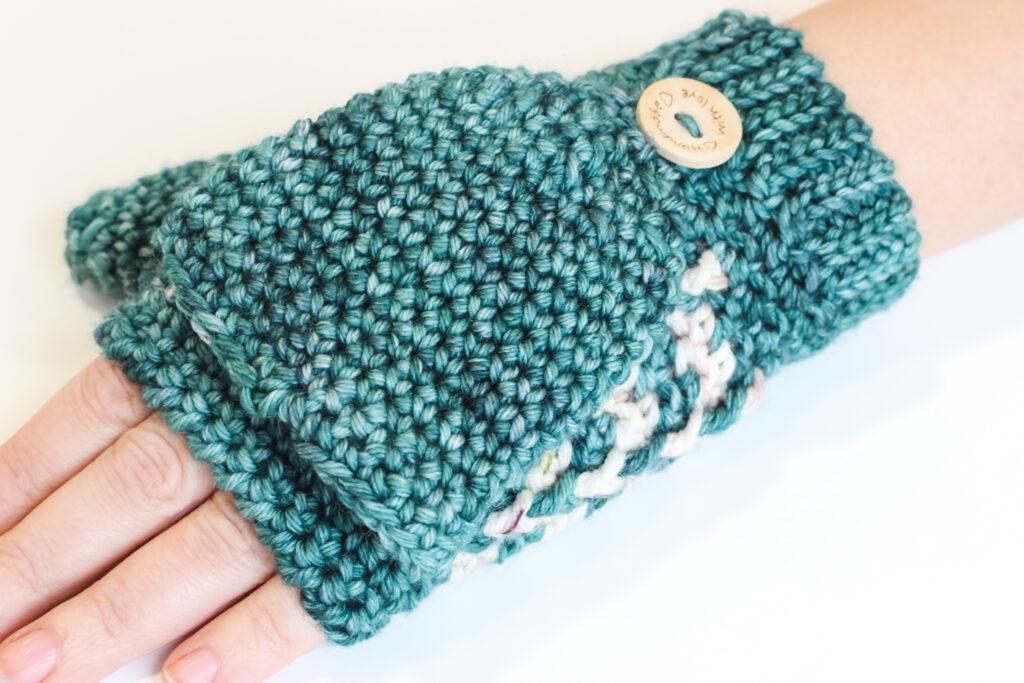

Who doesn’t love matching mittens to go with their crochet beanie, these mittens are convertible, so you can make them with or without the mitt. using another beautiful colourway by Nicky of Truly Yarn.
I always love to see your makes so if you try any of my patterns or follow my stitch tutorials please tag me @bellacococrochet or use the #bellacococrochet
sarah-jayne