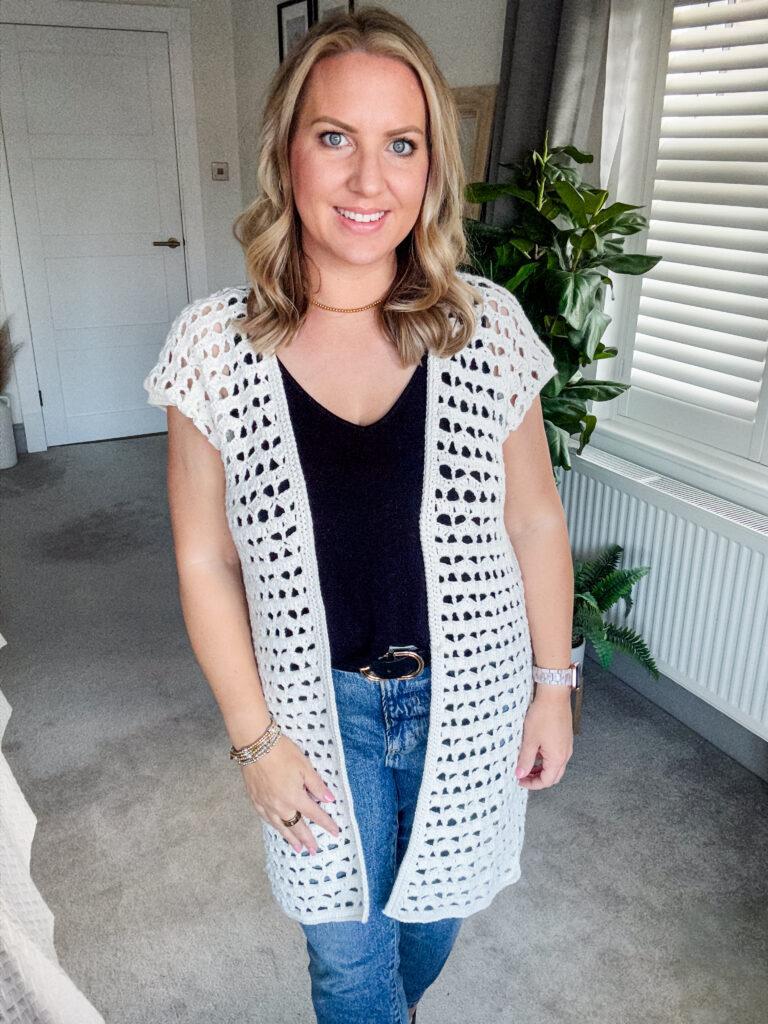
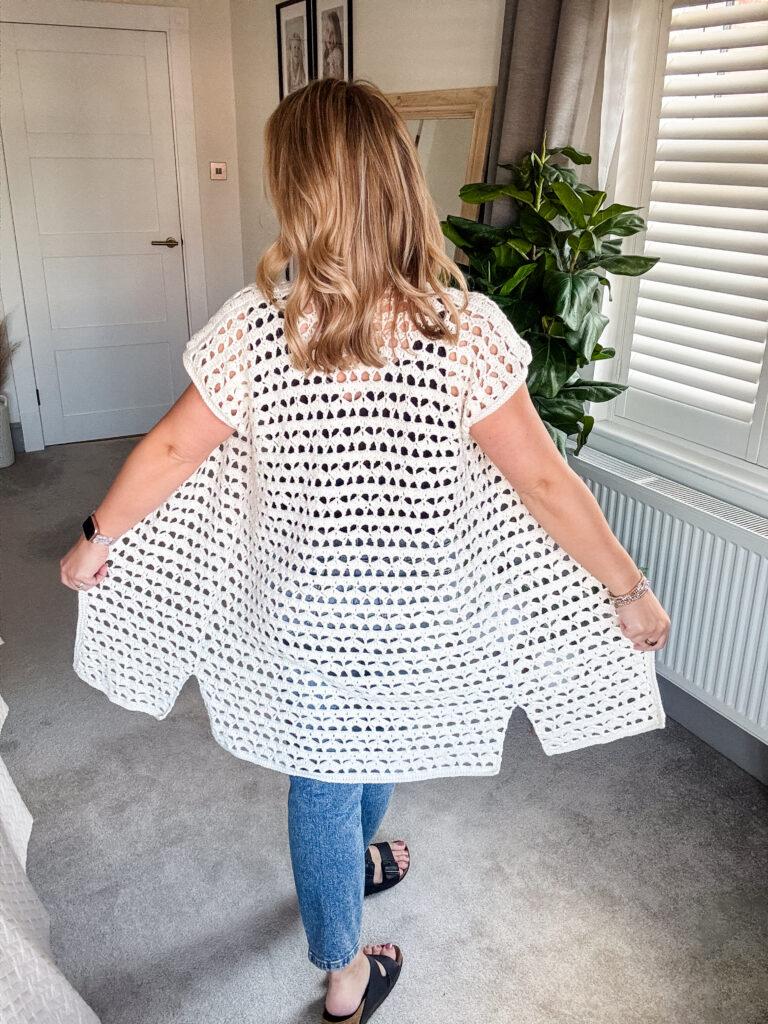
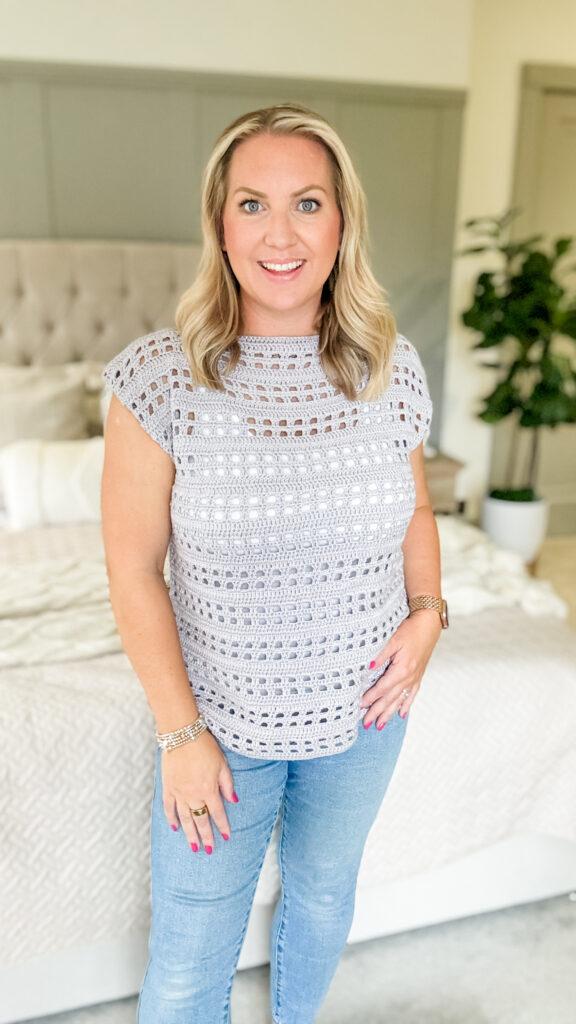
Learn how to crochet a cover-up in 9 sizes with my free step-by-step pattern and video tutorial. Introducing the Sharma cover-up, a beginner-friendly crochet pattern.
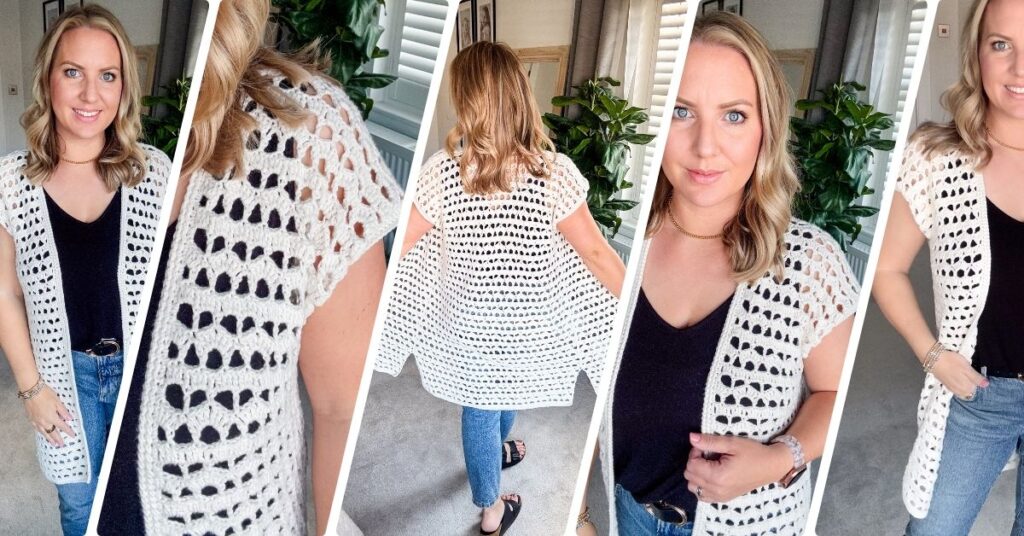
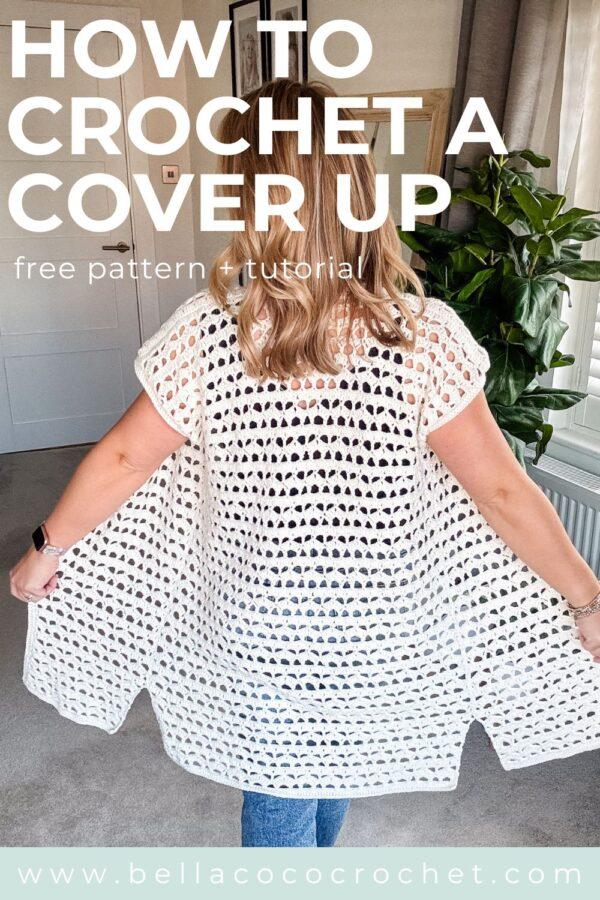
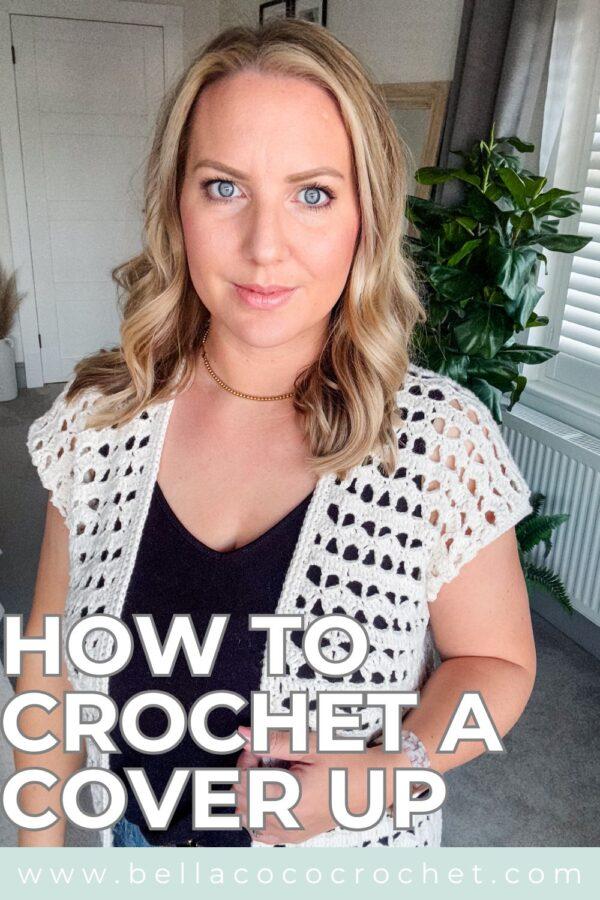
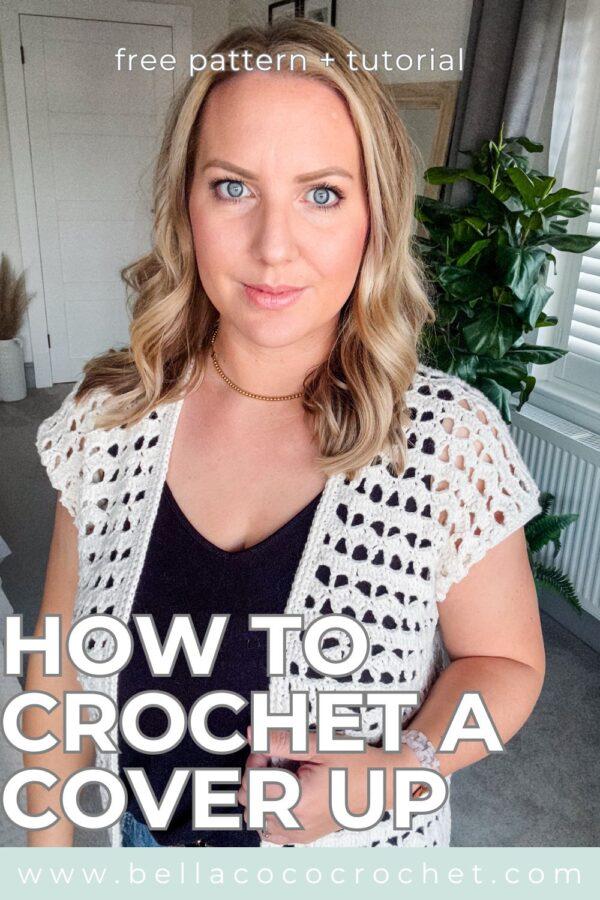

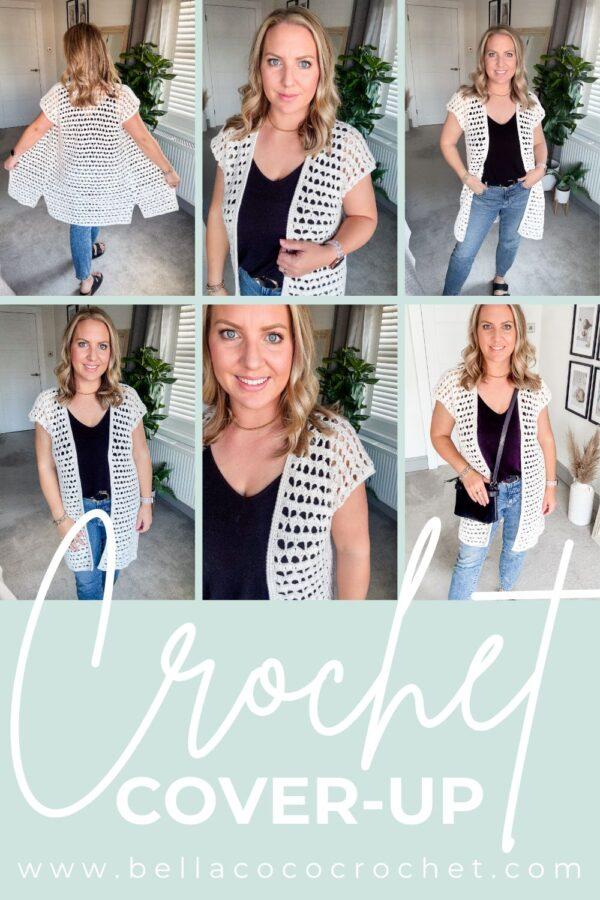
As the sun starts to shine a little brighter and the days stretch out longer, it’s the perfect time to add a handmade touch to your summer wardrobe. Whether you’re heading to the beach, lounging by the pool, or just enjoying a sunny day out, a crochet cover-up is a stylish and breezy way to stay cool while looking effortlessly chic. In this post, I’ll be sharing a beautiful crochet cover-up pattern that’s light, airy, and perfect for layering over your favourite swimwear or summer outfit. Grab your hook and let’s get into this warm-weather must-make!

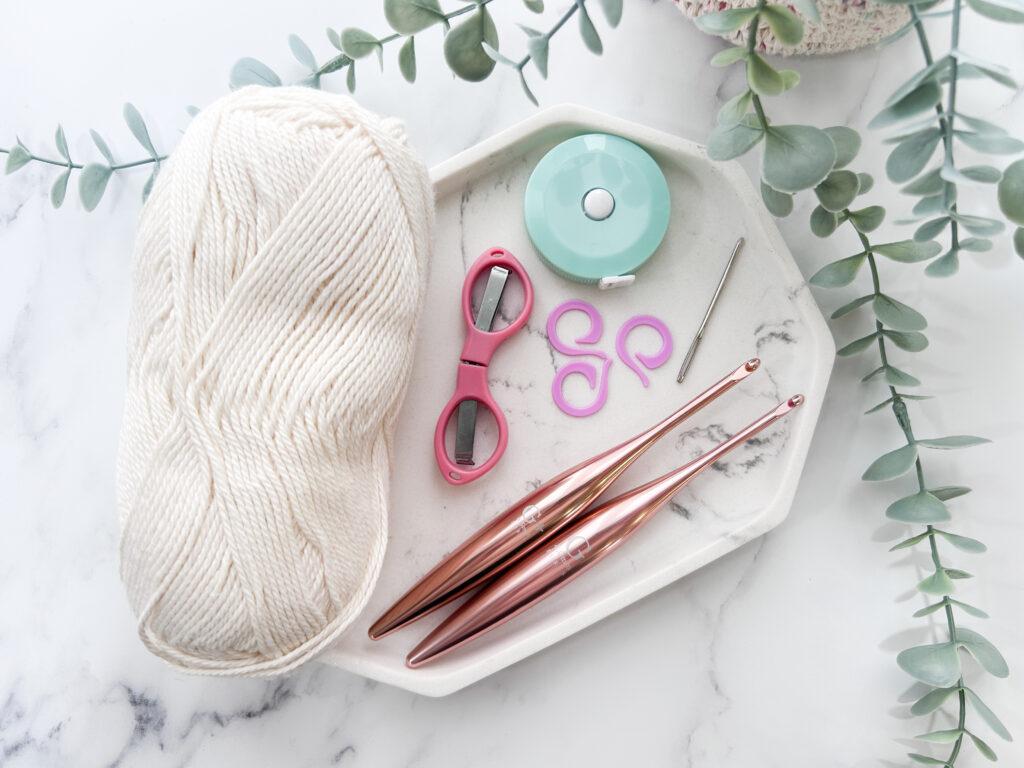
Materials & Tools
- Yarn: King Cole Cottonsoft , DK/Category 3, 100% Cotton, 210m (229yds)/ 100g (3.5oz) in shade Ecru
- Hook: 4mm (US G-6) & 4.5mm (US 7)
- Stitch Markers
- Scissors
- Measuring Tape
- Darning Needle
About The Yarn
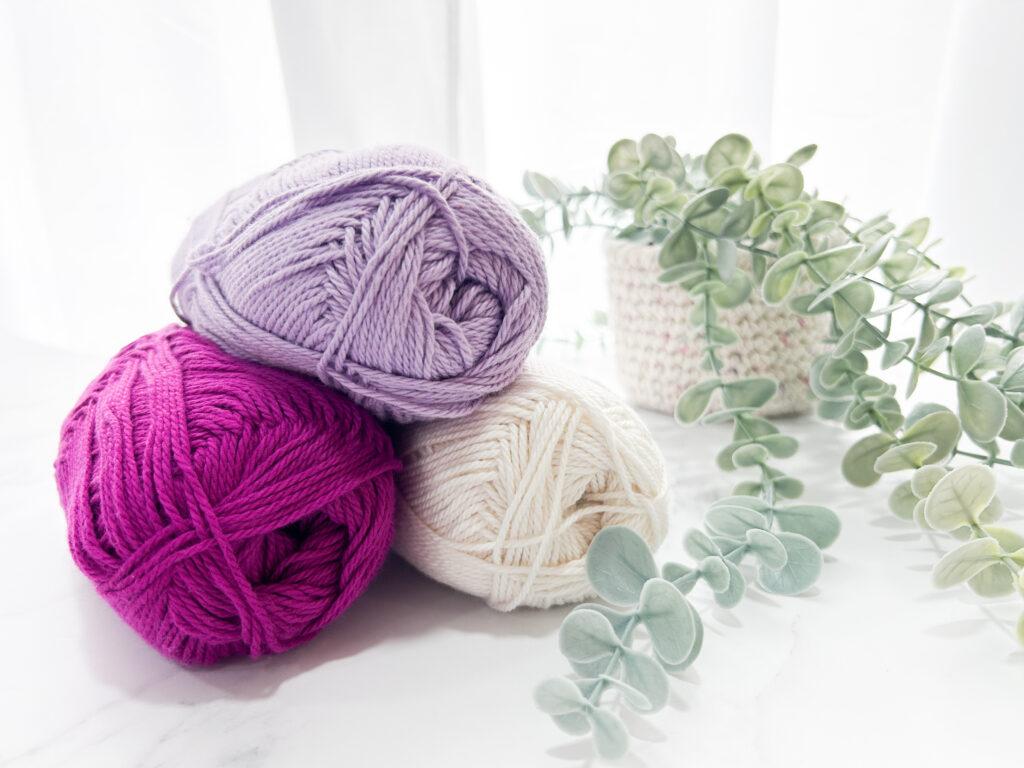
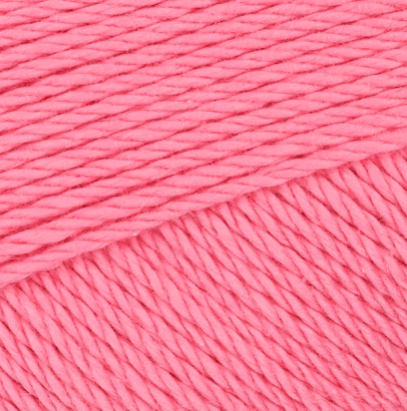
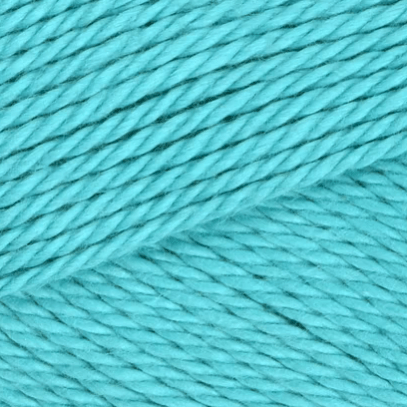
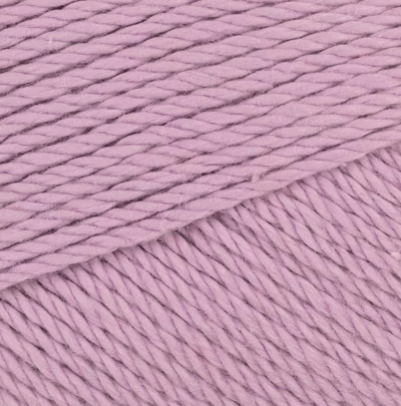
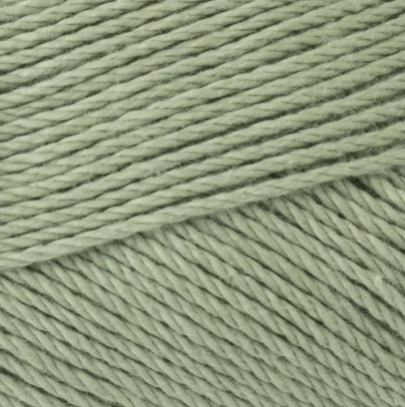
King Cole Cotton Soft DK is 100% cotton, and it comes as no surprise to say this yarn really is super soft! It also comes in a range of delicious pastels, neutrals and muted berries, with staple basics black, French navy and wine! I’ll share some of my favourite shdes below.
I chose this yarn because it’s a natural fibre and feels really soft, as this design will sit directly onto the skin, it’s important to have a soft fibre. Please note it is advised that you wash your garment before wearing for the first time as the fibres may shed a little.

Sizing and Yarn Quantities
The Sharma Cover Up is designed to be a loose fit with up to 18.25cm (7inch) positive ease. Please choose the right size based on your bust measurements. This pattern is designed with an open front for easy wearing and will not close. If you prefer your coverup to be oversized, you can choose a larger size.
| XS | S | M | L | XL | |
| To fit chest size | 76cm/ 30in | 86cm/ 34in | 96cm/ 38in | 106cm/ 42in | 117cm/ 46in |
| Approx. Yardage | 1120 | 1221 | 1272 | 1439 | 1492 |
| Balls (100g) | 5 | 6 | 6 | 7 | 7 |
| 2X | 3X | 4X | 5X | |
| To fit chest size | 127cm/ 50in | 137cm/ 54in | 147cm/ 58in | 157cm/ 62in |
| Approx. Yardage | 1705 | 1920 | 1976 | 2024 |
| Balls (100g) | 8 | 9 | 9 | 9 |
Yardage is approximate.
Measurements
Measurements are approximate and after a light blocking.
| Centimeters | Inches | |
| A = Length | 86 (86, 86, 91.5, 91.5) (91.5, 96.5, 96.5, 96.5) | 34 (34, 34, 36, 36) (36, 38, 38, 38) |
| B = Width | 44.5 (53.5, 57.5, 62, 66.5) (71, 75.5, 80, 84.5) | 17.5 (21, 22.75, 24.5, 26.25) (28, 29.75, 31.5, 33.25) |
| C = Circumference | 89 (107, 112, 124.5, 133.5) (142, 151, 160, 169) | 35 (42, 44, 49, 52.5) (56, 59.5, 63, 66.5) |
| D = Neckline | 10 (10, 12, 12, 16.5) (16.5, 16.5, 20, 20) | 4 (4, 4.75, 4.75, 6.5) (6.5, 6.5, 8, 8) |
| E = Armhole Depth | 20 (20, 26.5, 26.5, 25.5) (25.5, 28, 28, 30.5) | 8 (8, 10.5, 10.5, 10) (10, 11, 11, 12) |
Customisation
Length – You can adjust your length by increasing or decreasing the row repeat. Simply ensure you are doing the same amount of rows for each panel.
Armhole depth – The measurements provided are based on standard body measurements. Feel free to
seam these to your own preference. I’d recommend using stitch markers to ensure they are even!
Gauge
20 sts X 9 rows per 10cm X 10cm (4inch X 4inch) measured over main stitch pattern.
Gauge Swatch
Chain 35, then follow instructions for rows 1-6 of the back panel for 13 rows.
Pattern Notes
- This pattern is written in UK terms but is switchable to US terms below.
- Skill Level: Beginner
- This cover up is made in 3 panels (one back panel and two front panels) before seaming together and adding a border to the arms and front opening.
- The number references for each size will be listed as follows: XS (S, M, L, XL) (2X, 3X, 4X, 5X)
Pattern Support
The fastest way to get pattern support is to ask in our dedicated facebook group for Bella Coco Crochet patterns. This is the best place for you to connect with other crocheters.
Please note, if you wish to change and adapt this pattern in any way, this must be done at your own exploration and we cannot offer assistance with this.
Convert Pattern Terms
Here you can quickly switch between UK and US crochet terms. This will make following the pattern easier as all terms will be converted to your preferred version.
Pin For Later

Terms & Abbreviations
Stitch(s): st(s)
Slip Stitch(s): ss(s): Insert hook, yarn over, pull through stitch and loop on hook.
Chain(s): ch(s): Yarn over, pull through loop on the hook.
Double Crochet(s): dc(s): Insert hook into stitch, yarn over, pull up a loop, you will have two loops on the
hook. Yarn over, pull through remaining two loops.
Standing Double Crochet(s): sdc(s): With slip knot on hook, insert hook into first st, yarn over, pull up a loop, you will have two loops on the hook. Yarn over, pull through remaining two loops.
Half Treble Slip Stitch(s): htrss(s): Yarn over, insert into stitch, yarn over, pull up a loop, you will have three loops on the hook, pull first loop through remaining two loops.
Treble Crochet(s): tr(s): Yarn over, insert into stitch, yarn over, pull up a loop, you will have three loops on the hook. Yarn over, pull through two loops, yarn over, pull through remaining two loops.

Unsure of the differences between UK and US terms? Need a refresher on how to do your crochet stitches? In my ‘How to crochet: A handy reference guide’ EBook I help you with all of these terms and you can always have them to hand! You will also get exclusive access to free video instructions. You can find my EBook HERE.
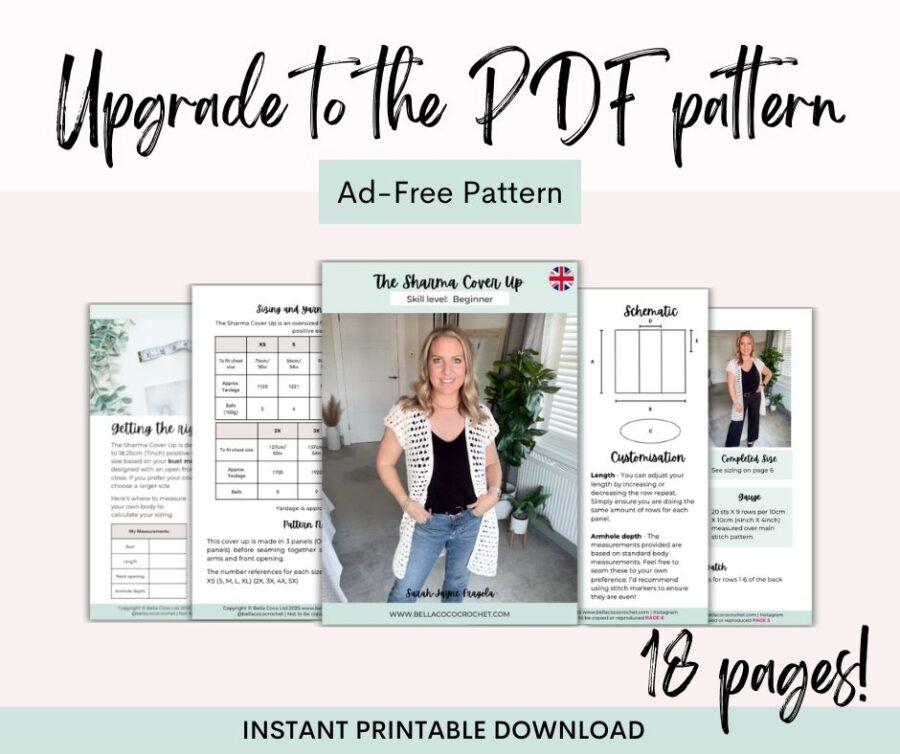
Ad-Free PDF Patterns
How to Access the Free Pattern
To unlock this FREE crochet pattern all you need to do is enter your email and the grow app will appear, please enter your email and create a password. Now you’ve created a grow account you’ll be able to access all of the free patterns on the blog and bookmark your favourites so you can have them all in one place for easy access.
If you forget your password, click the “forgot password” link and follow the prompts. Please note that the team are unable to assist with resetting Grow passwords or accessing your Grow account, so please make sure you save your login information in a safe place.
Your grow account is separate from your Bella Coco account which you use to access your purchased patterns.

Free Pattern: Crochet Cover Up in Nine Sizes
You are viewing this pattern in UK terms.
Back Panel
Using 4mm hook, chain 91 (107, 115, 123, 131) (147, 155, 163, 171)
Row 1: Working in the back bumps of the ch, tr in fourth ch from hook (missed chs counts as st) and each ch across. Turn. <89 (105, 113, 121, 129) (145, 153, 161, 169) sts>
Seaming
Shoulder Seam
With right sides facing inwards, place the two front panels on top of the back panel. If you have made the XS (S, M, 3X, 4X), ensure that the half shells run along the front opening. Using the tail end of each panel and darning needle, whip stitch across each of the shoulder seams and sew in ends.
Side Seams
Mark your arm openings to your desired fit. I recommend trying it on and marking the openings with a stitch marker. Alternatively you can use the suggested measurements provided for the armhole depth.
Using a length of yarn and a darning needle, whip stitch up each side leaving a 10-13cm (4-5inch) gap at the bottom of the work to create the bottom split. Sew in ends and turn work right side out.
Blocking
This is a great point to steam block your work. Blocking will help show off the beautiful stitch pattern. Use the dimensions given above to assist you.
Armhole Border
Using the 4.5mm hook.
With right side of work facing outwards, attach yarn in the side seam.
Round 1: Ch 1, Work 2 dc in each tr row end and 1 dc in dc row end, work 1 dc in seam. Join with ss to first st.
Round 2-3: Ch 1, htrss in first st and each st around. Join with ss to first st.
Fasten off and sew in ends.
Front Opening Border
Using the 4.5mm hook.
With right side of work facing outwards, attach yarn in the first row end at the bottom of the work.
XS (S, M, -, -) (-, 3X, 4X, -) ONLY
Row 1: Sdc, *work 2 dc in in each row end* to neckline, work 1 dc in each st across, repeat from * to * once more. Turn.
– (-, -, L, XL) (2X, -, -, 5X) ONLY
Row 1: Sdc, * work 2 dc in each tr row end and 1 dc in dc row end * to neckline, work 1 dc in each st across, repeat from * to * once more. Turn.
All Sizes
Row 2-3: Ch 1, htrss in first st and each st around. Join with ss to first st.
Fasten off and sew in ends.
Bottom Borders
Using the 4.5mm hook.
With right side facing and work rotated so the bottom of the work is at the top.
Back Panel
Join with a ss to the foundation chain of the first st. Ss in each st across.
Fasten off and sew in ends.

Front Panels
Right Panel
Join with a ss to the foundation chain of the first st. Ss in each st across up to front opening border. SS in each row end of the front border opening.
Fasten off and sew in ends.
Left Panel
Join with a ss to the foundation chain of the first st. Ss in each st across up to front opening border. SS in each row end of the front border opening.
Fasten off and sew in ends.
Video Tutorials
Right-handed
[adthrive-in-post-video-player video-id=”Dk3RPQhj” upload-date=”2025-04-29T10:54:40+00:00″ name=”Sharma Cover Up_1.mp4″ description=”null” player-type=”default” override-embed=”default”]Or you can watch on YouTube
Left-handed
[adthrive-in-post-video-player video-id=”ce9jpVIQ” upload-date=”2025-04-29T14:42:23+00:00″ name=”Sharma Cover Up LEFT HANDED_1.mp4″ description=”null” player-type=”default” override-embed=”default”]Or you can watch on YouTube
Crochet Patterns for You to Try Next


I always love to see your makes so if you try any of my patterns or follow my stitch tutorials please tag me @bellacococrochet or use the #bellacococrochet
sarah-jayne