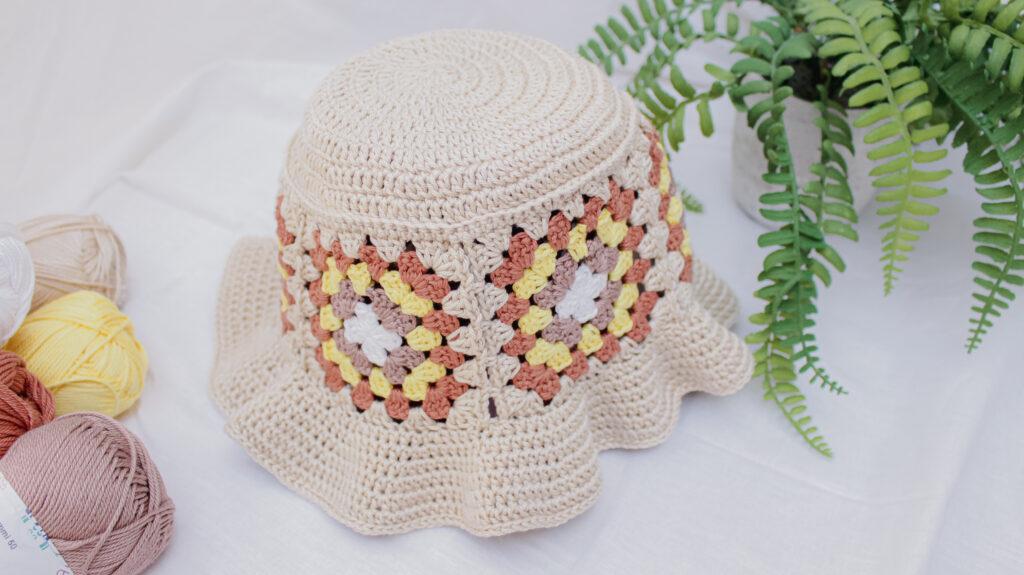
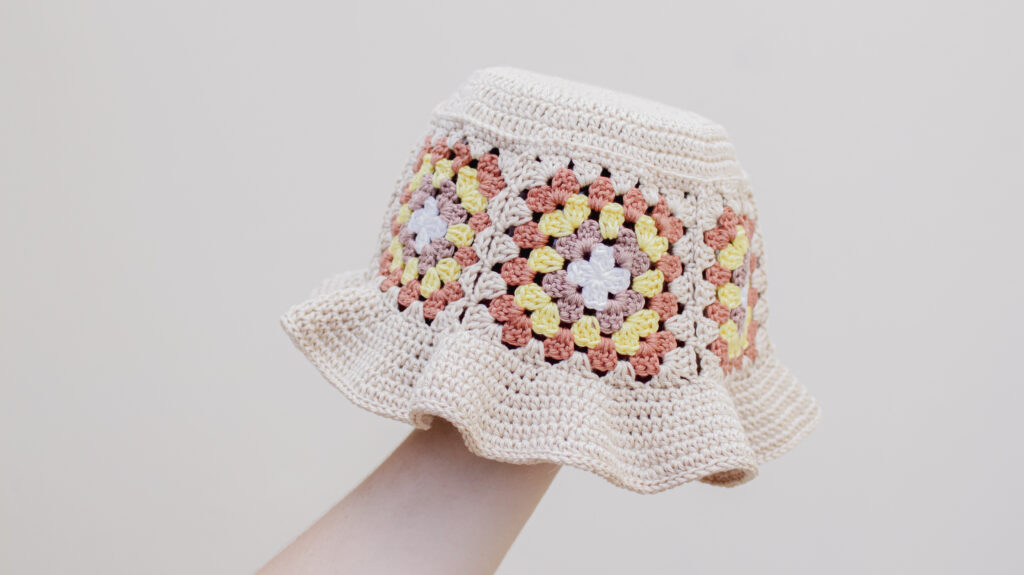
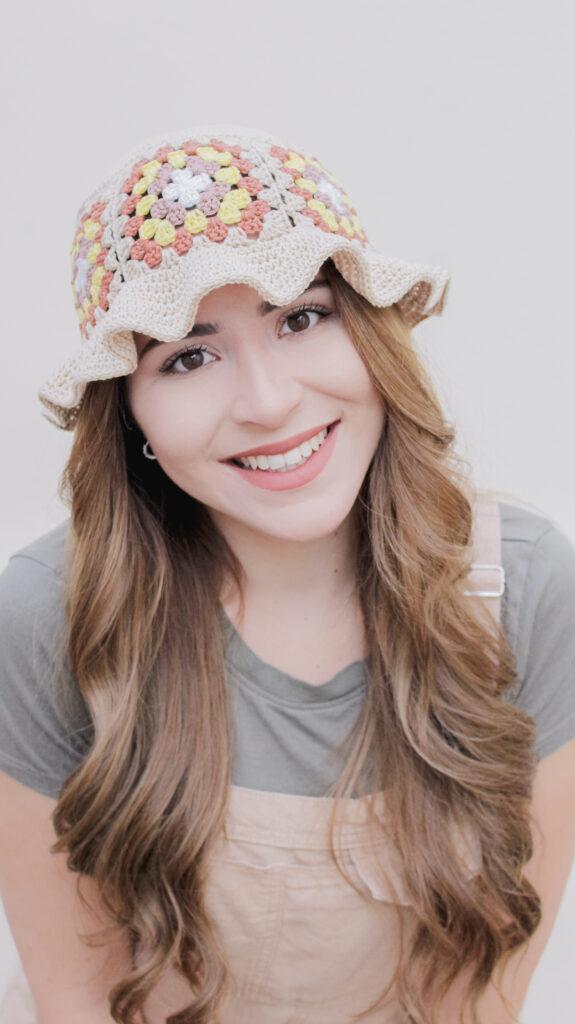
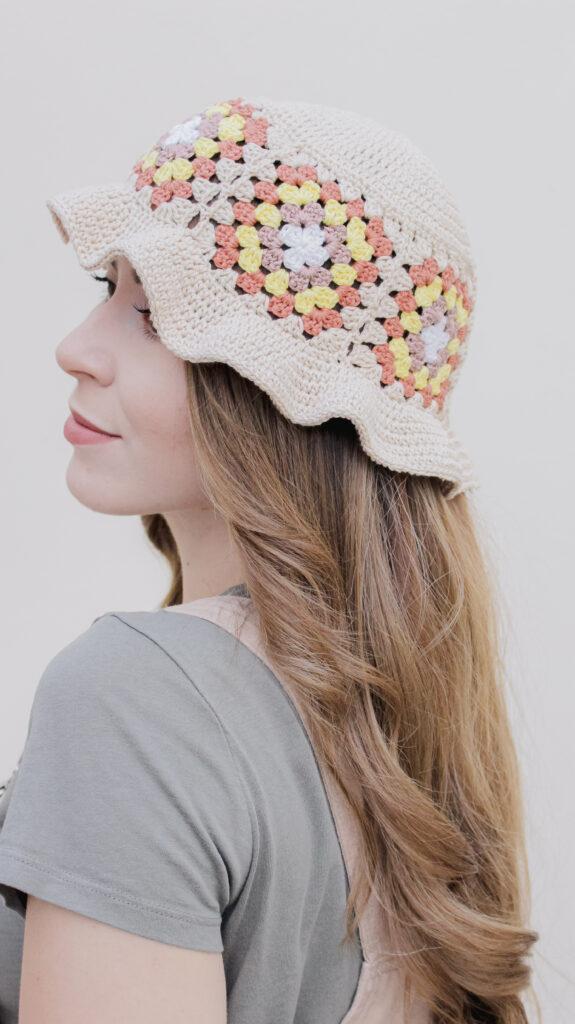
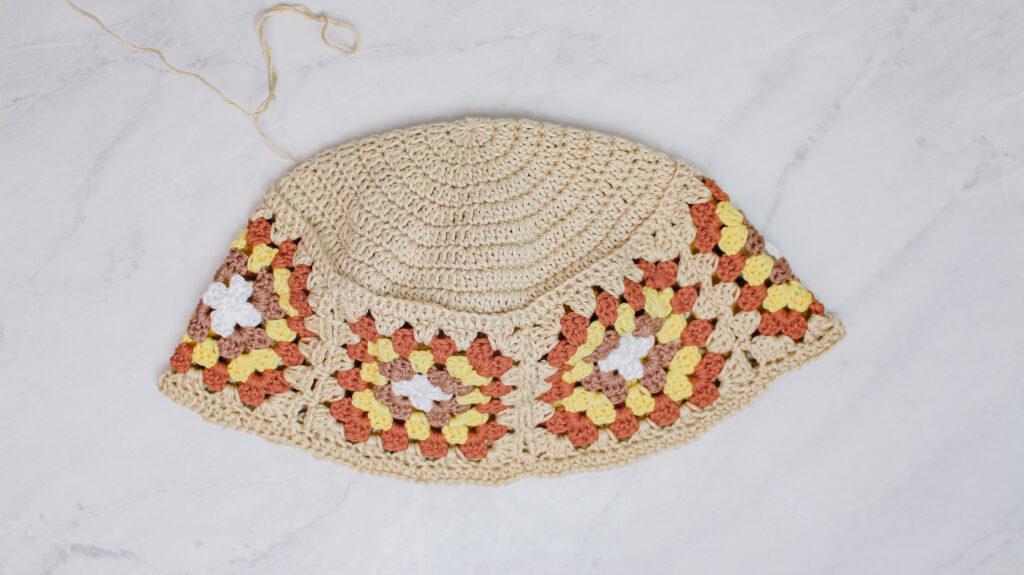
Introducing the Dune Crochet Bucket hat by guest designer Bruna of @brunaticality. Upgrade your accessory game with this modern take on the classic crochet granny square bucket hat. With a contemporary colour scheme and bold geometric patterns, this hat is a perfect blend of vintage and modern style and transitional to wear all year round.
I’m a huge fan of Bruna and her dreamy, retro aesthetic and like me, she shares her tutorials and patterns for free on her YouTube channel and website. Don’t forget to tag Bruna if you make the stunning Dune Crochet Bucket Hat.
As this is a guest post, Bella Coco Crochet is unable to answer any queries. If you have a question, please contact the designer directly and they will be happy to help you.

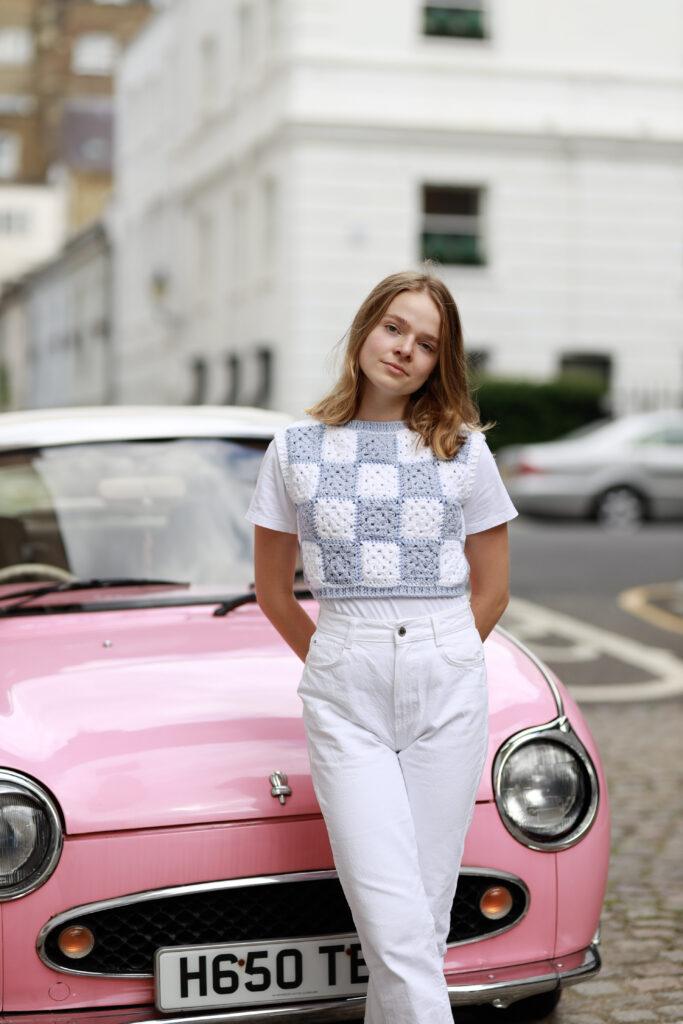
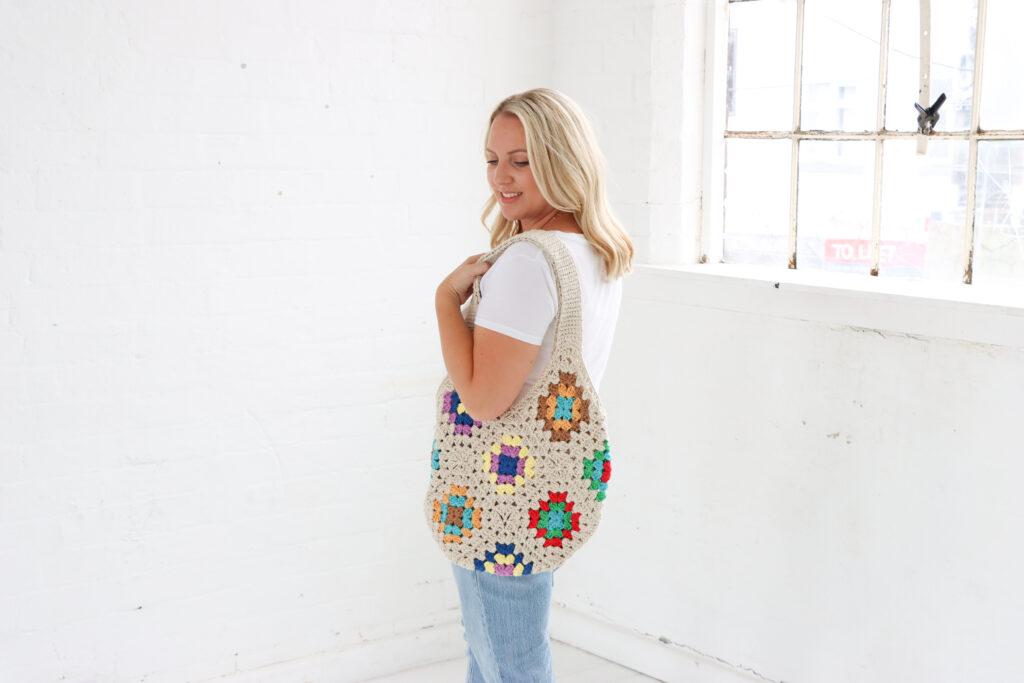
If you love granny square wearables you might like the Ostara Vest by guest designer Abby @calm.homemade and the Not The High Street Tote.
Materials & Tools
- Yarn: Tessiland IGGY, 100% Cotton, 50g, 125m in Yarn A: Beige, Yarn B: White, Yarn C: Hazel, Yarn D: Lemon, Yarn E: Brick Red.
- Yarn weight: Number 2/Sport/Fine
- Total amount of yarn used in this project: 82g, 205m
- If you can’t find Tessiland IGGY, then a good substitute is: Schachenmayr Catania, MillaMia Naturally Soft Cotton or Yarn and Colors Favourite
- Hook: 3mm
- Scissors
- Measuring tape
- Darning Needle
- 6 Stitch Markers

Convert Pattern Terms
Here you can quickly switch between UK and US crochet terms. This will make following the pattern easier as all terms will be converted to your preferred version.
Tension
4 rounds of treble crochet (48 stitches) makes a 7cm (2.75″) diameter circle using a 3mm hook.
Measurements
Squares: 8.5×8.5cm/3.25×3.25in
Crown diameter: 16cm/6.25in
Hat circumference: 56cm/20.5in
Band height: 8.5cm/3.25in
Brim length: 4cm/1.5in
Bucket hat Length: 20cm/8in
Pattern Notes
Pattern written in UK terms but switchable to US terms above.
Skill level: Beginner/Easy
Adapting the pattern for a medium weight yarn, such as DK:
- Squares: 4 rounds, also measuring 8.5×8.5cm
- Crown: Stop at ROUND 7
- Brim: Stop at ROUND 5

Terms & Abbreviations
Chain (ch):Yarn over, pull through
Slip Stitch (ss): Insert hook, yarn over, pull through all loops.
Double Crochet (dc): Insert hook into stitch, yarn over, pull up a loop, you will have two loops on the hook. Yarn over, pull through remaining two loops.
Half Treble Crochet (htr): Yarn over and insert your hook into the chain or stitch, yarn over and pull through (you will have three loops on the hook) yarn over and pull through all three loops on the hook.
Treble Crochet (tr): Yarn over, insert into stitch, yarn over, pull up a loop, you will have three loops on the hook. Yarn over, pull through two loops, yarn over, pull through remaining two loops.
Space (sp)
Repeat (rep)
Front Loops Only (FLO)
Unsure of the differences between UK and US terms? Need a refresher on how to do your crochet stitches? In my ‘How to crochet: A handy reference guide’ EBook I help you with all of these terms and you can always have them to hand! You will also get exclusive access to free video instructions. You can find my EBook HERE.
Top tips before you get started
How to make a magic ring:
Hold beginning of yarn in your hand, wrap the working yarn around your index and middle fingers once, insert hook under the first yarn hooking the one behind it and pull up a loop, keep hook into that loop, slip ring off fingers, ch1 (does not count as a st) to secure magic ring in place and work necessary sts for Round 1 and close ring by pulling the loose end.
When crocheting the squares:
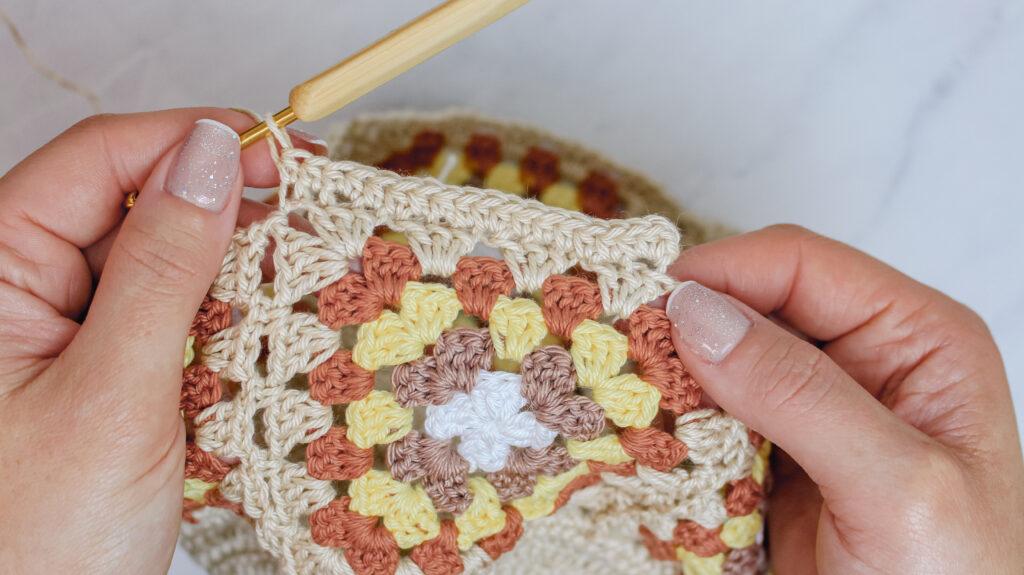
When making your squares turn the square over every time you work a new round, this twisting method will avoid your square to not be crocked at the end. If you are changing colours, break the yarn at the end of the round, flip the square over, attach new yarn shade and work the next round on the reverse of the square. If you want to keep the same colour, just end the round in the normal way, make the starting chain, then flip your work and you are ready to start working the round on the other side.
Sewing the squares together:
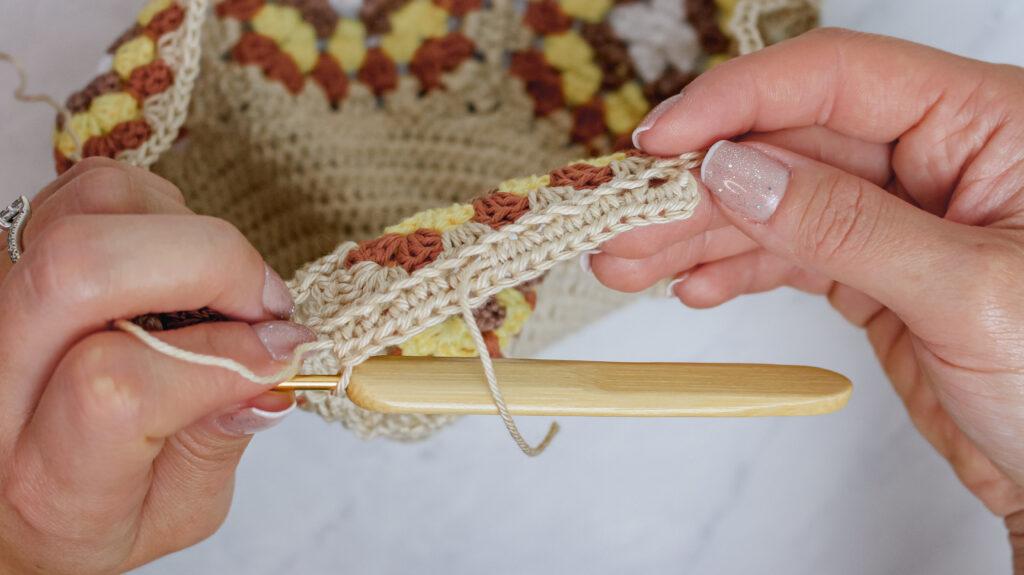
First create all 6 squares, leaving enough yarn in the last round to use that same yarn to sew the squares together, thread this yarn into a tapestry needle, hold the first two squares right sides together and sew them together by using one st of both squares, keep adding and sewing the squares together side by side creating a band, in the end, sew this band closed by sewing the beginning to end to create a closed round band. Remember to work all the sewing on the reverse.
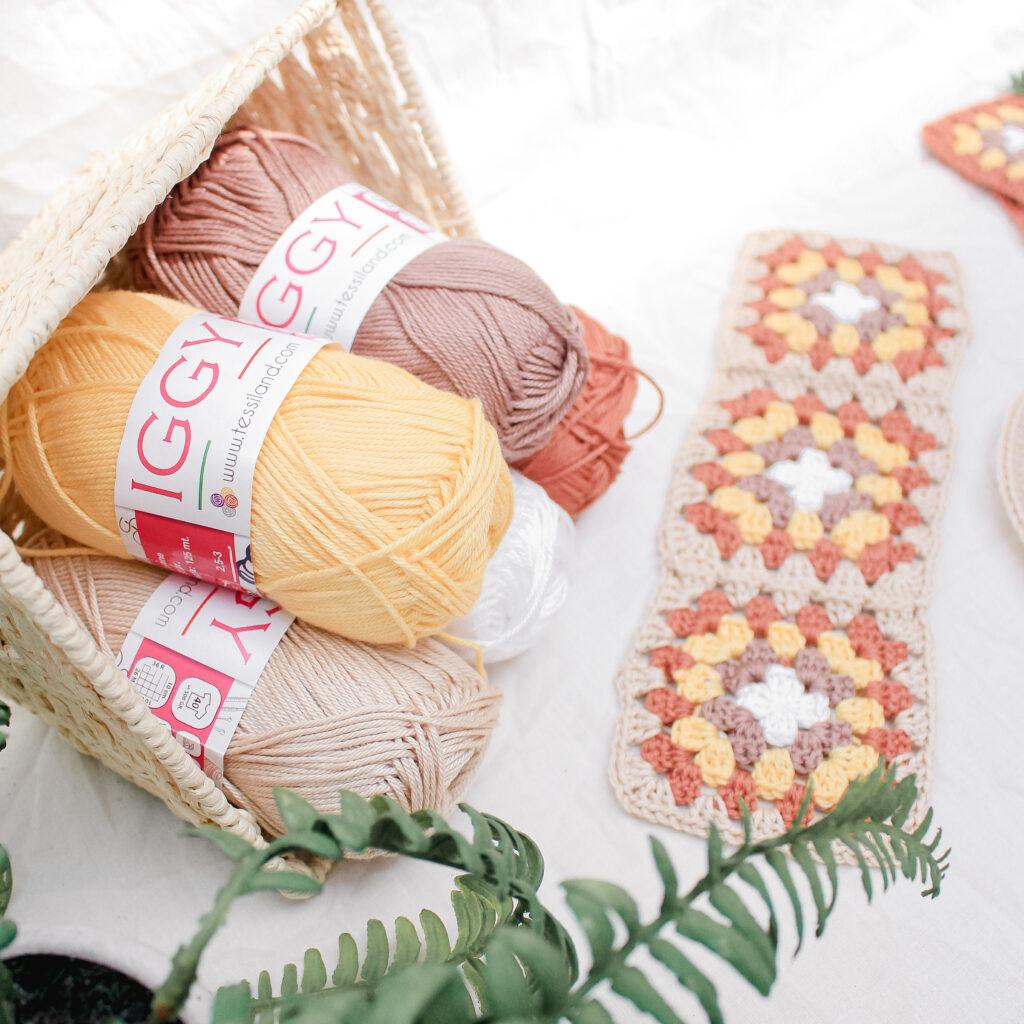
Dune Crochet Bucket Hat pattern
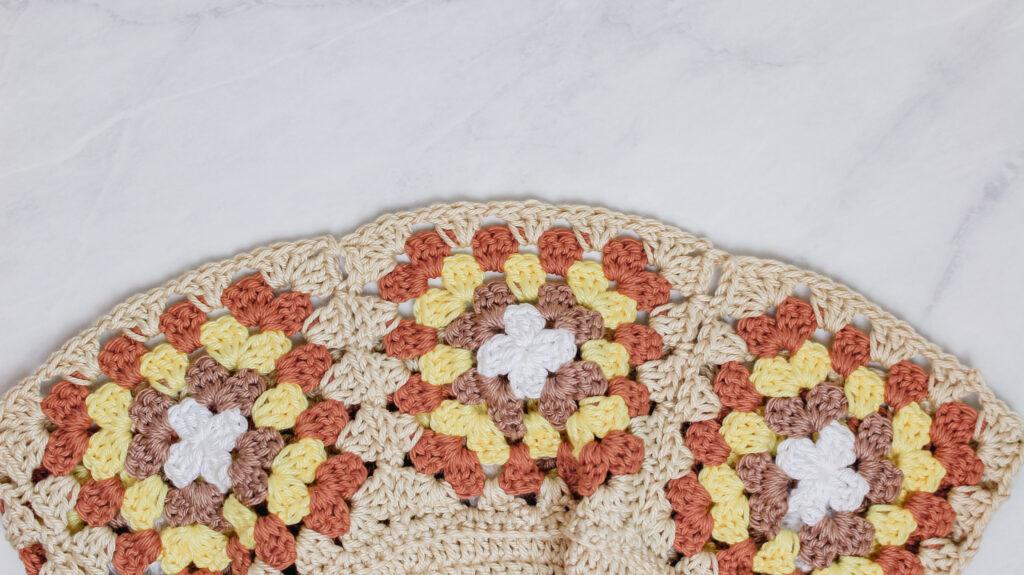
STEP 1: SQUARES – Make 6 joined squares to create the hat circumference
Round 1 – YARN B – WHITE
With yarn B, make a magic ring, ch3 (counts as 1tr), 2tr into the ring (this forms the first cluster), *ch3, 3tr, rep from * two times. Join with a ss to into ch3, break yarn and fasten off.
STEP 2: HAT CIRCUMFERENCE – Joining or Sewing the squares together

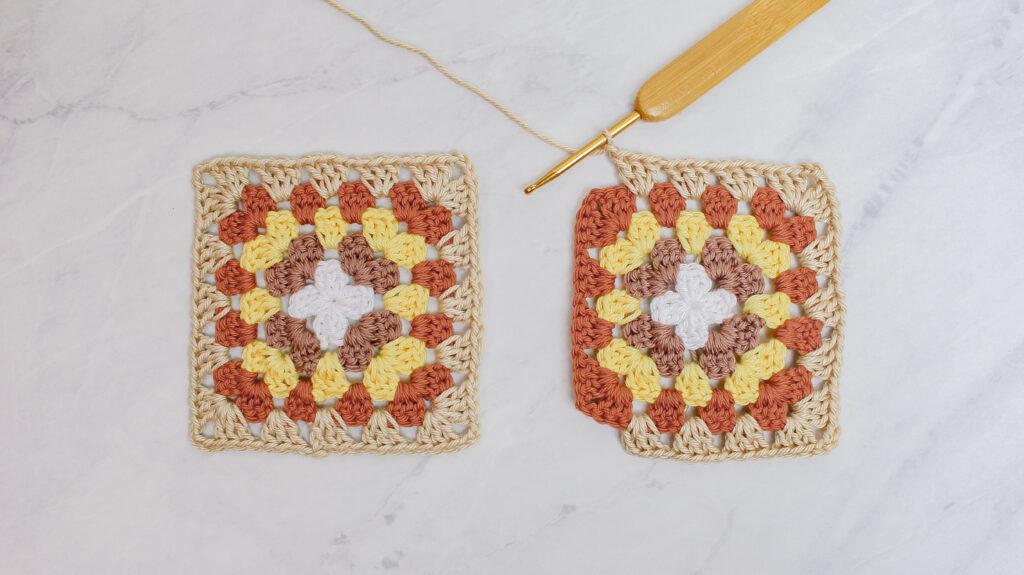
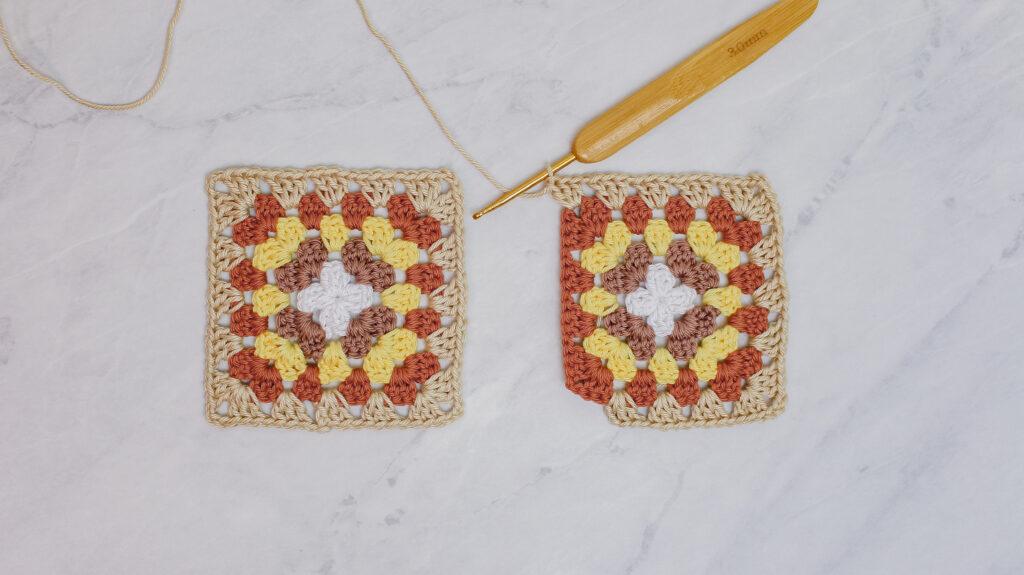
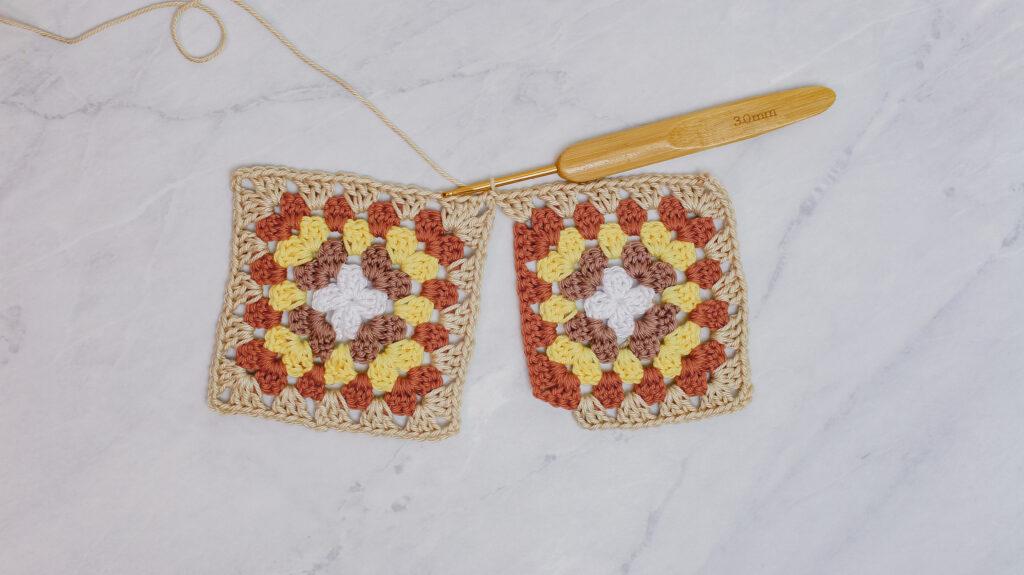
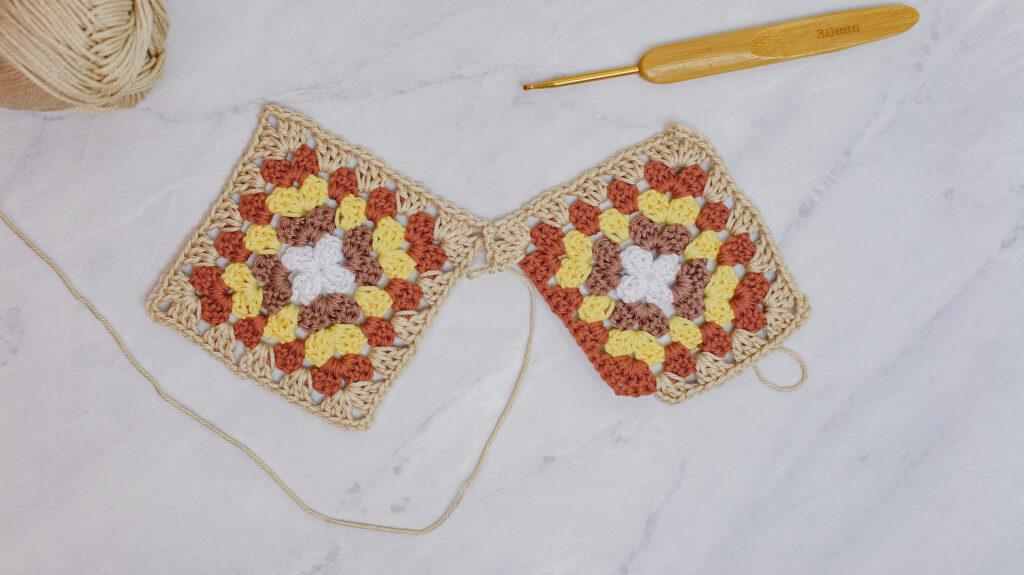
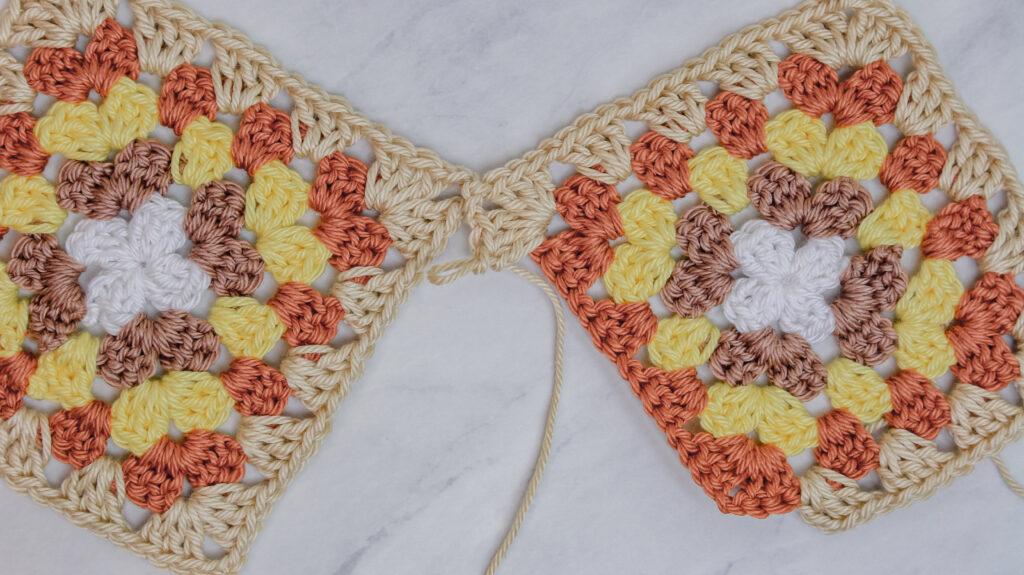
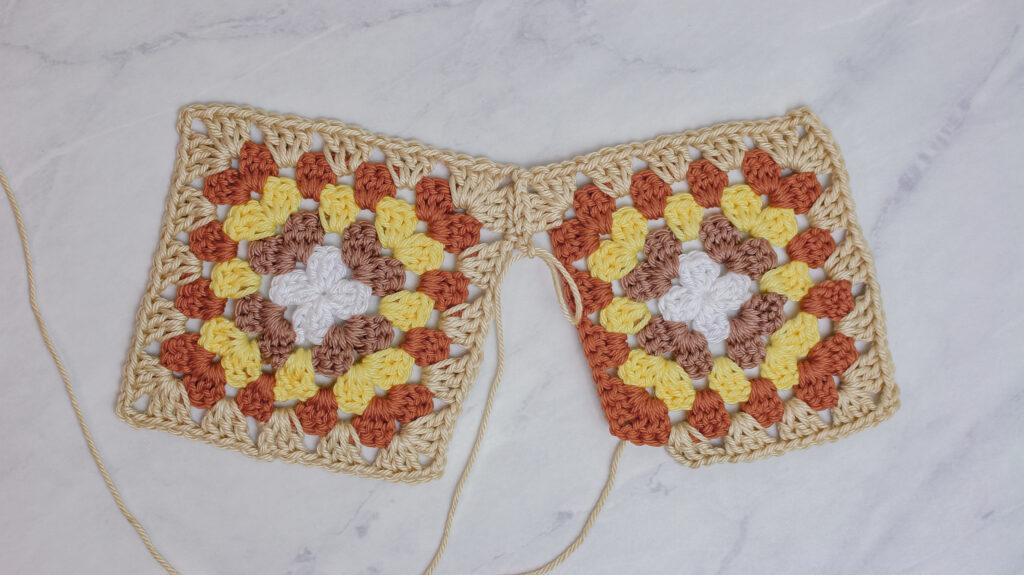
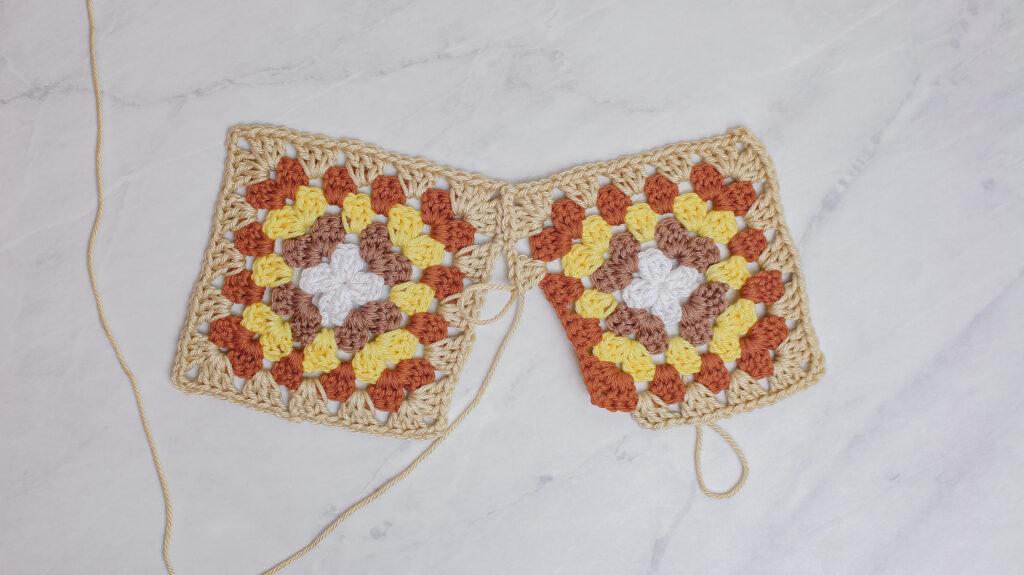
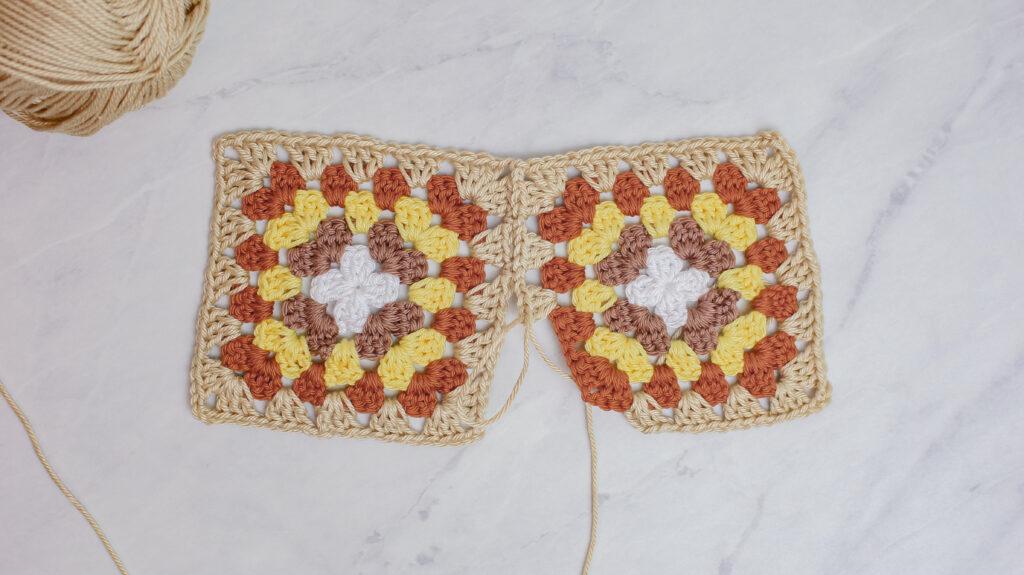
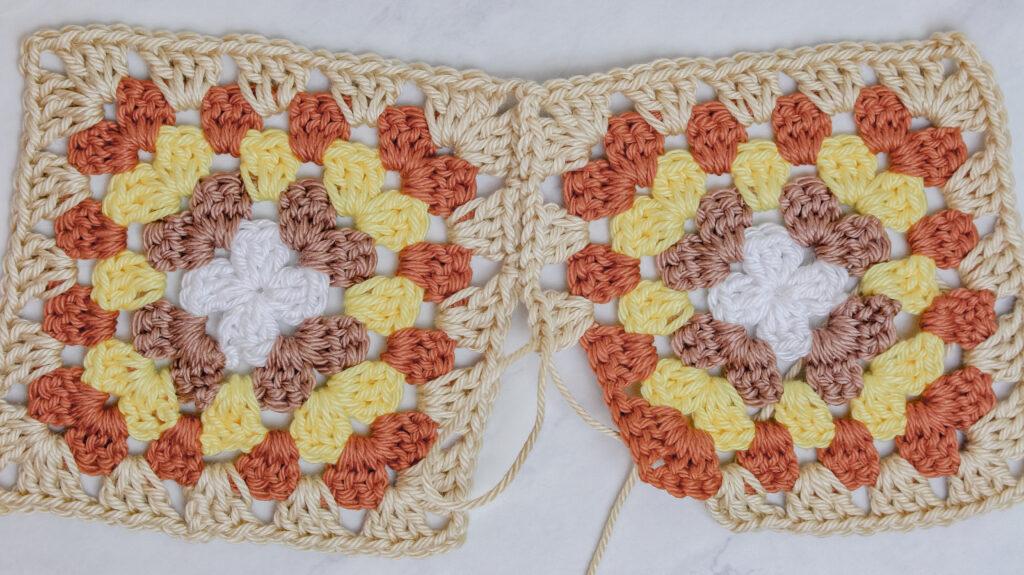
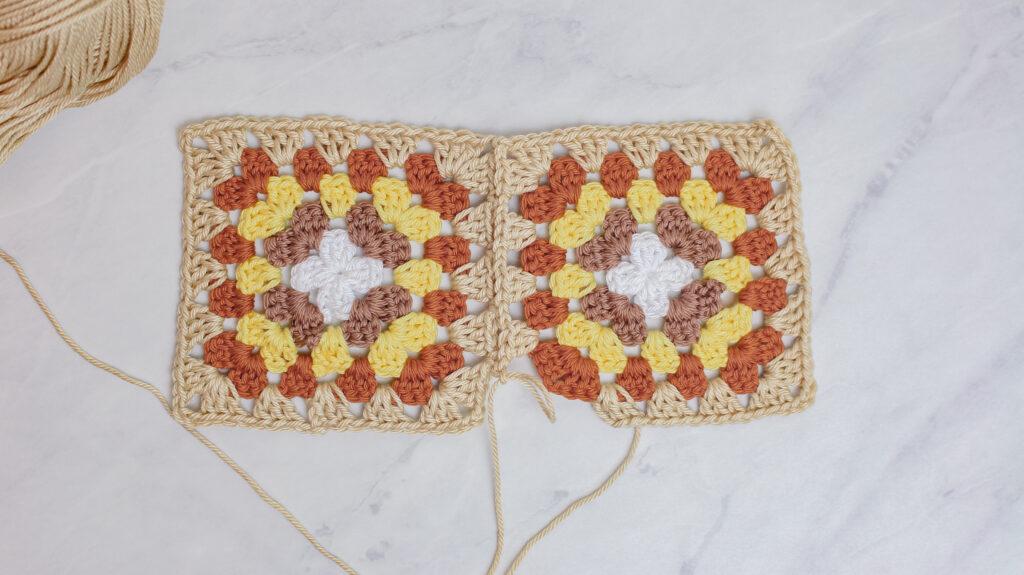
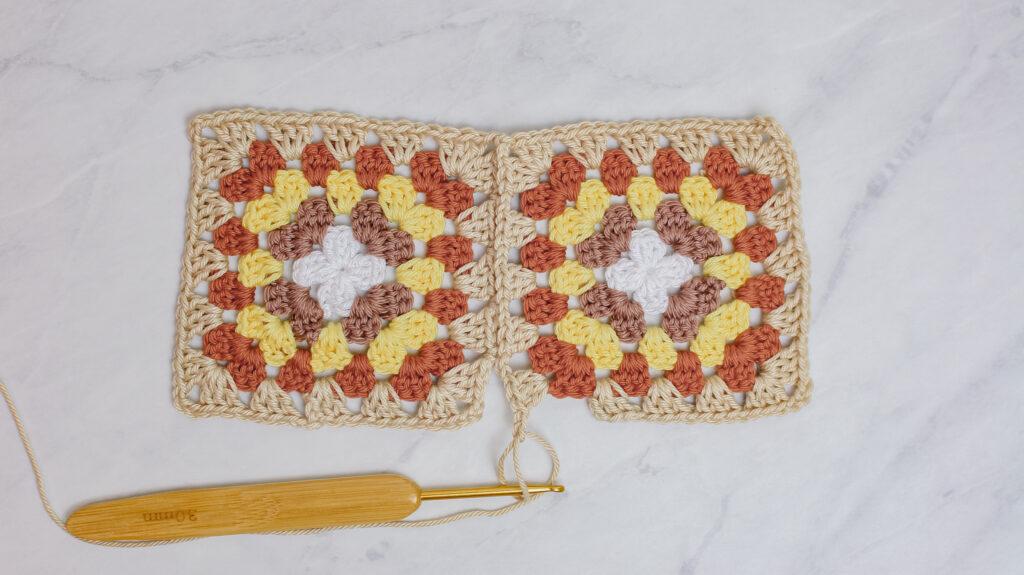
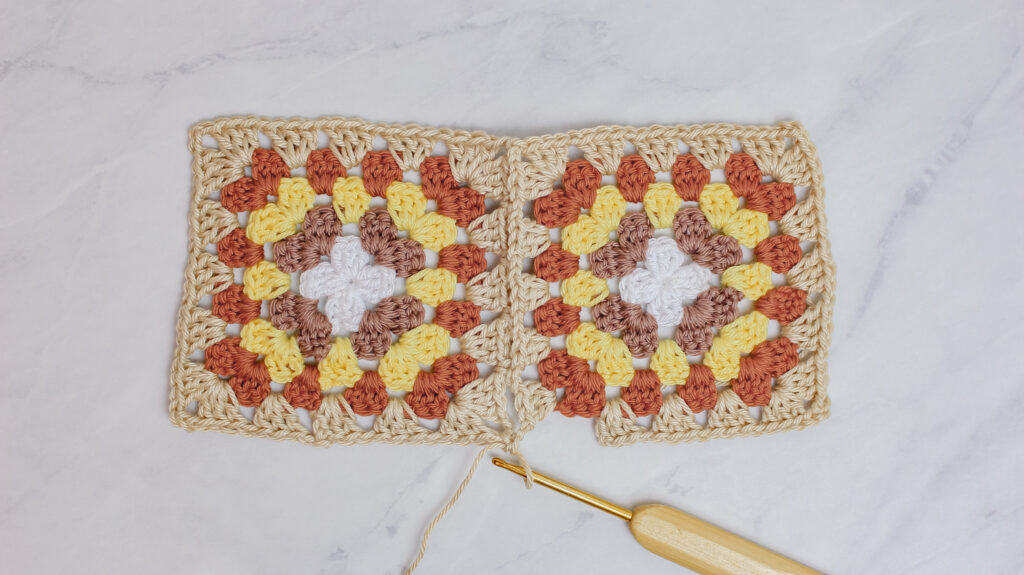

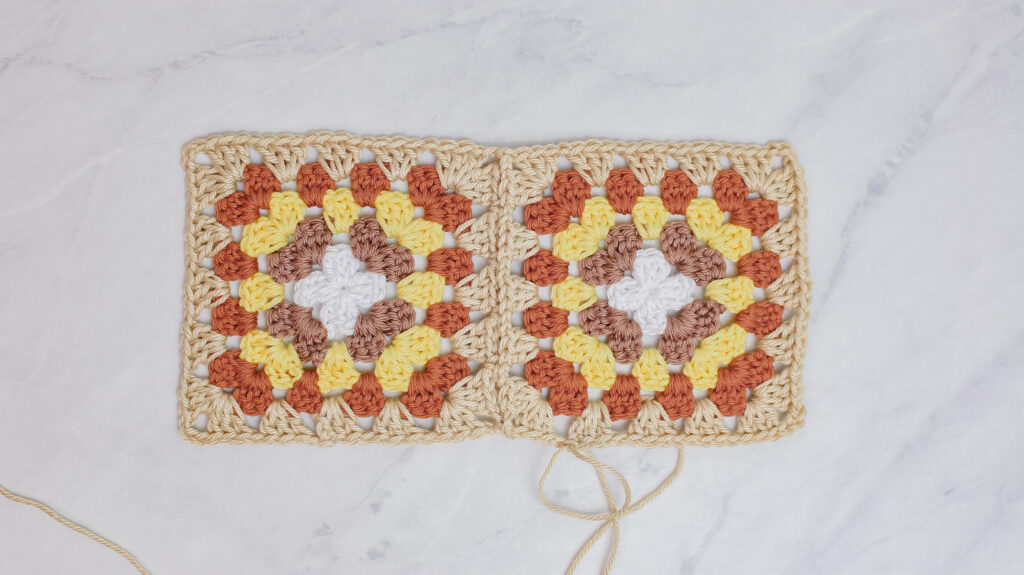
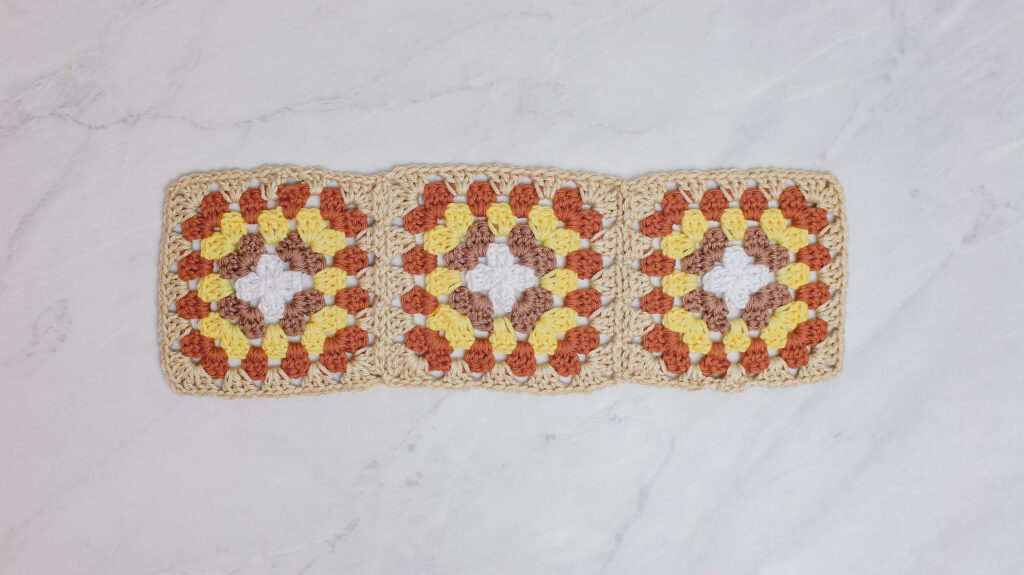
PART 1 – If you are joining the squares, join the first 5 side by side and go to PART 2. If you are sewing, sew all the 6 squares side by side and sew the first to last square to create the hat circumference then go to STEP 3 to continue.
PART 2 – Join the 6th square to 5th and 1st square to create the hat circumference.
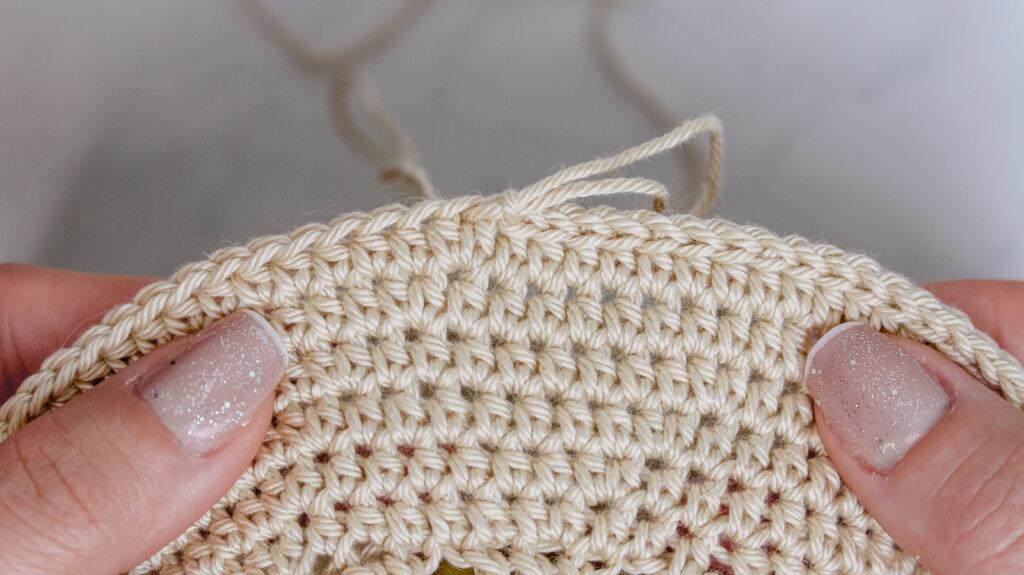
STEP 3: CROWN – MEASURING 16CM
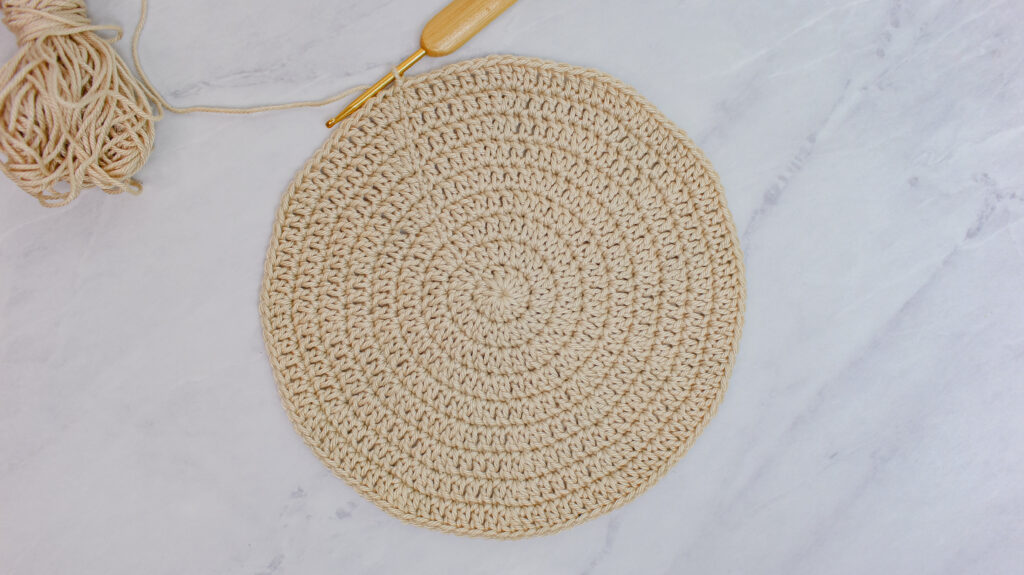
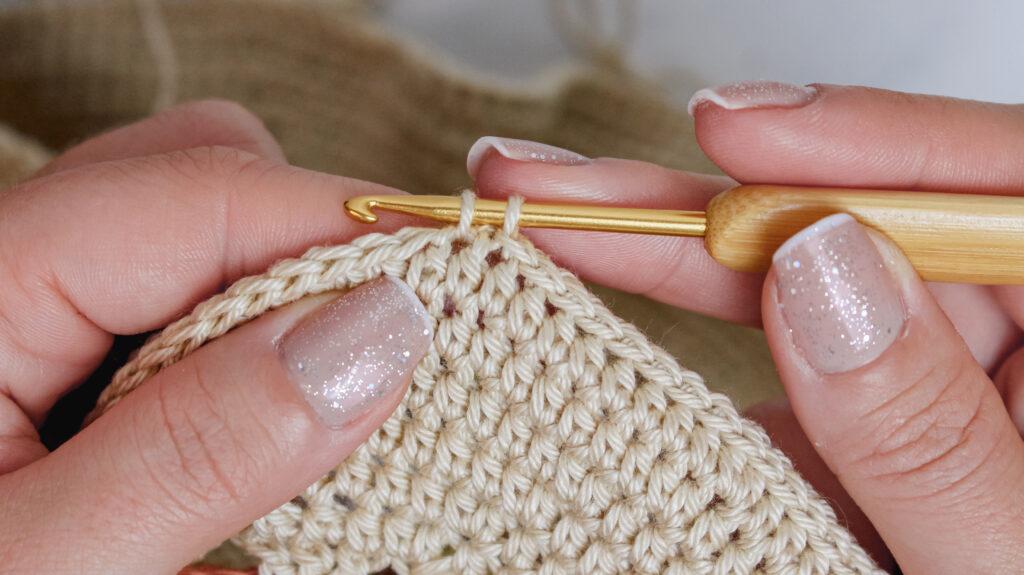
Ch2 does not count as a st
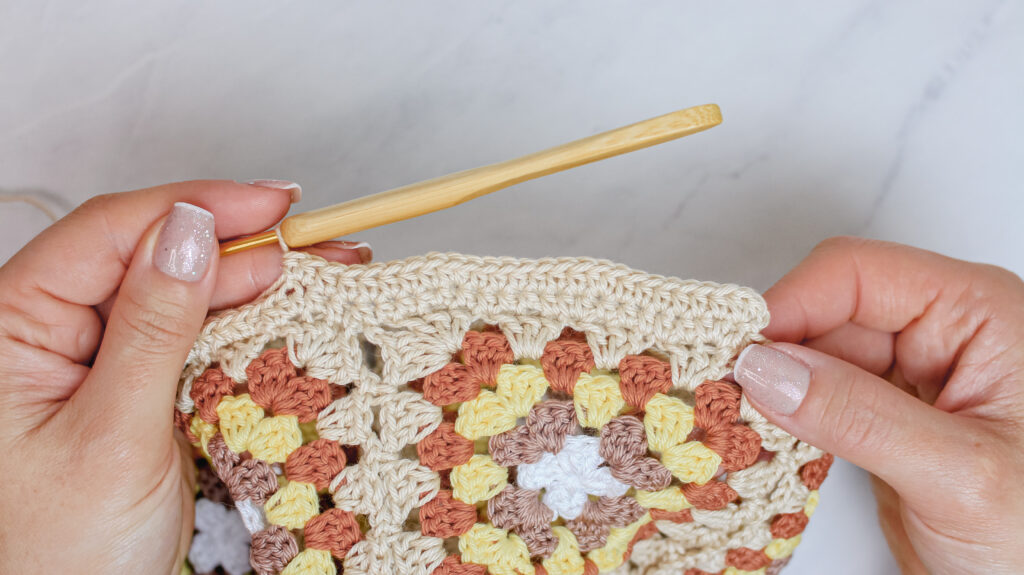
STEP 4: JOINING OR SEWING CROWN TO HAT CIRCUMFERENCE

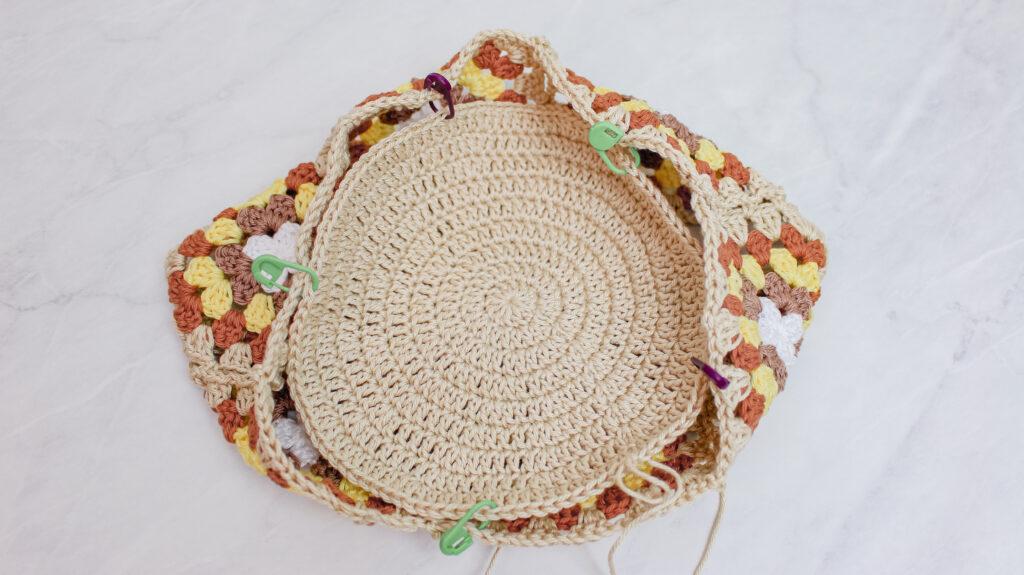
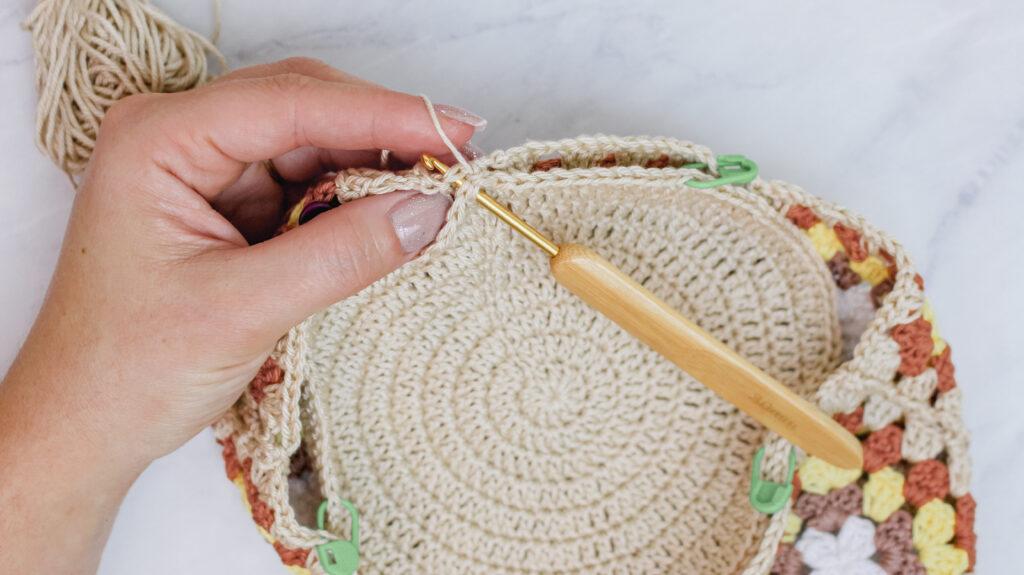
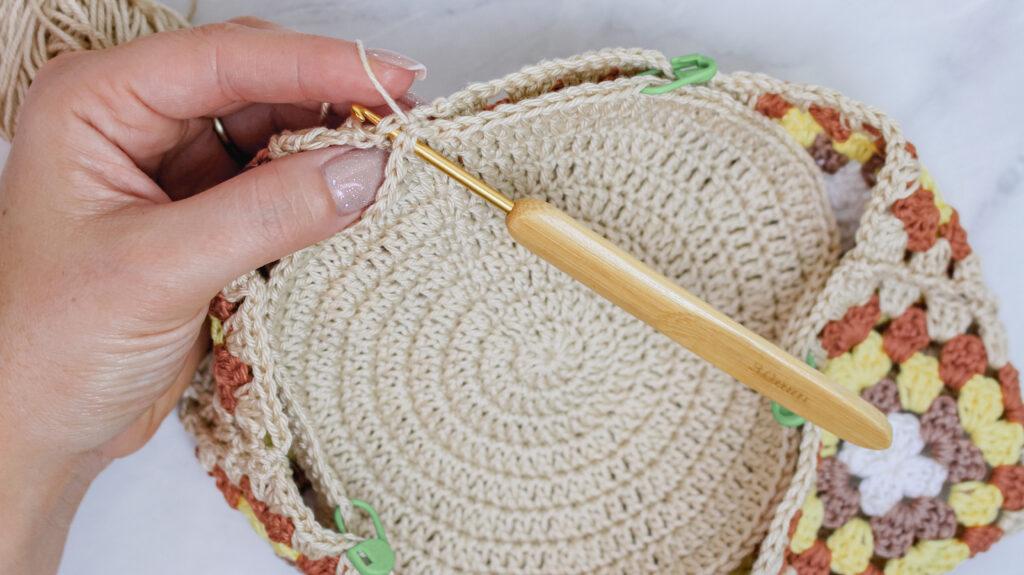
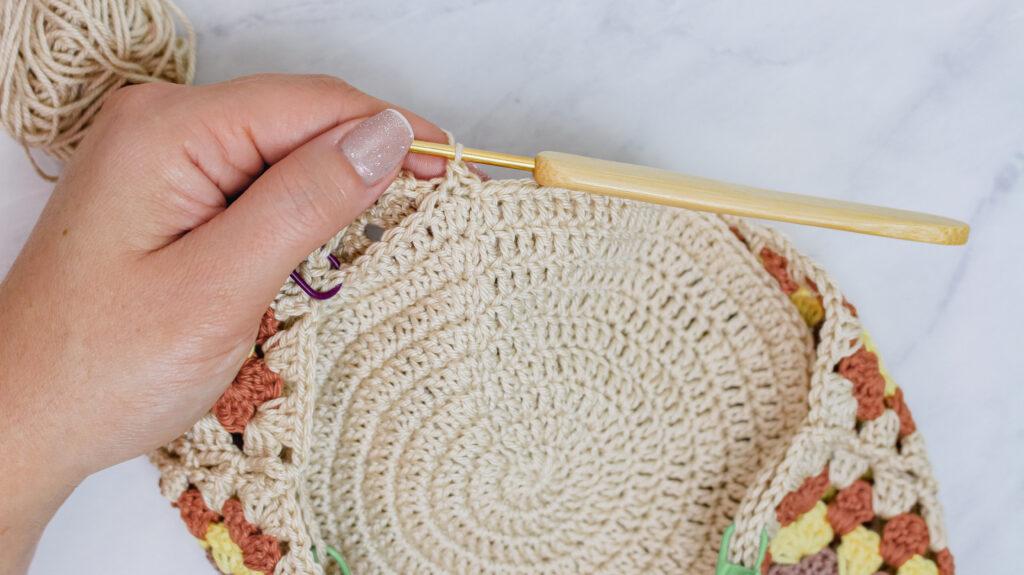
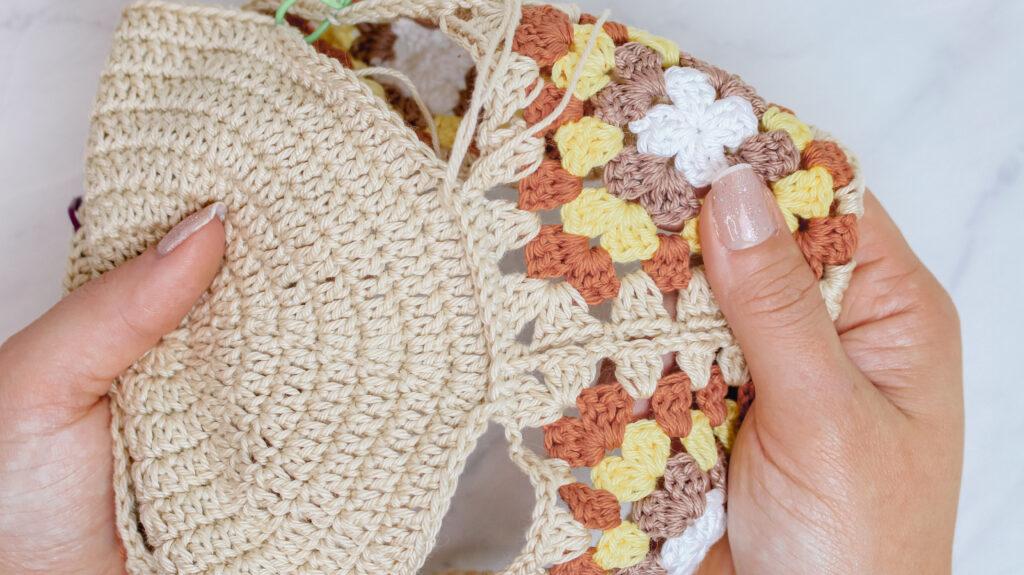
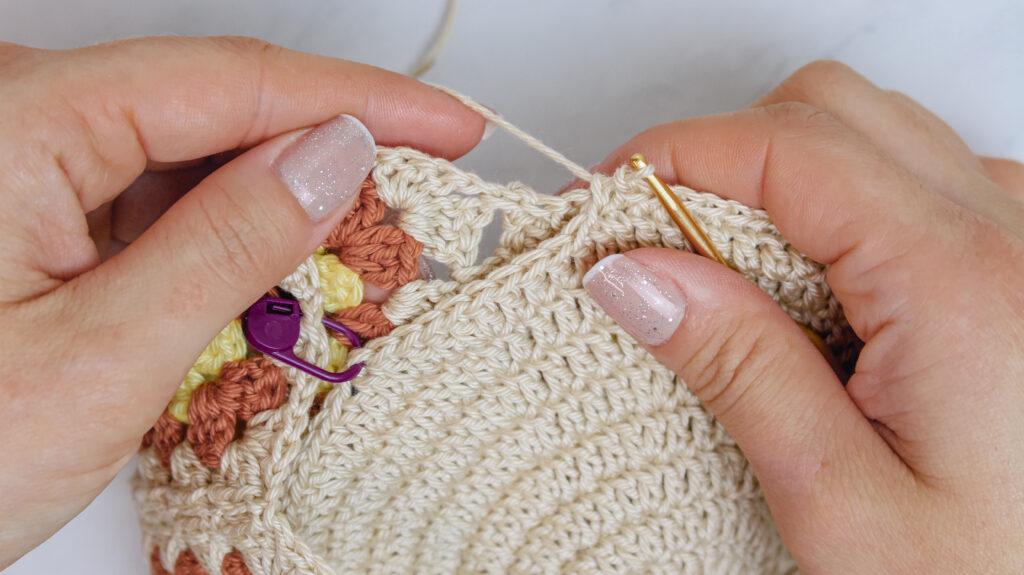

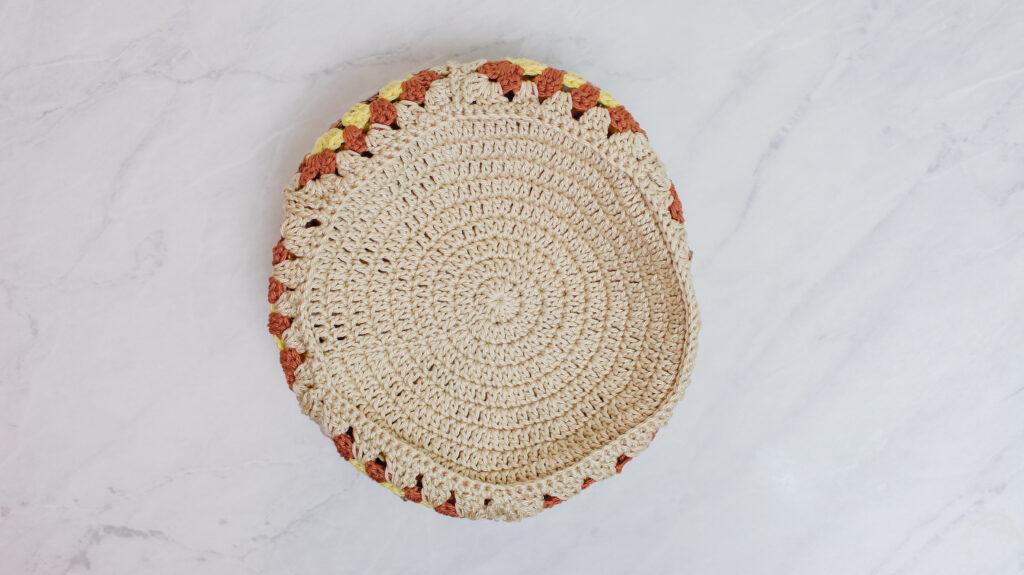
OPTION 1 – JOINING CROWN AND HAT CIRCUMFERENCE TOGETHER
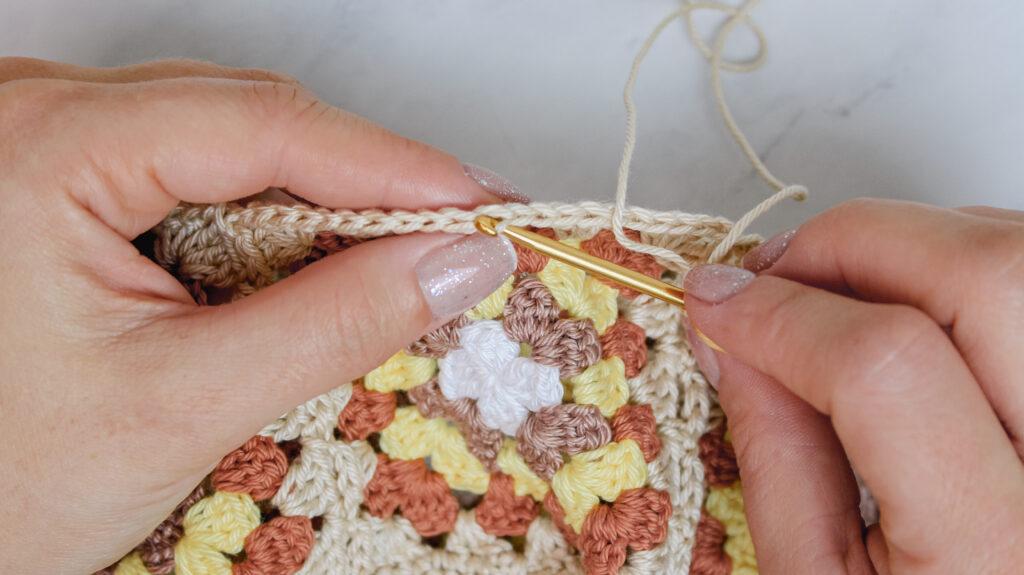
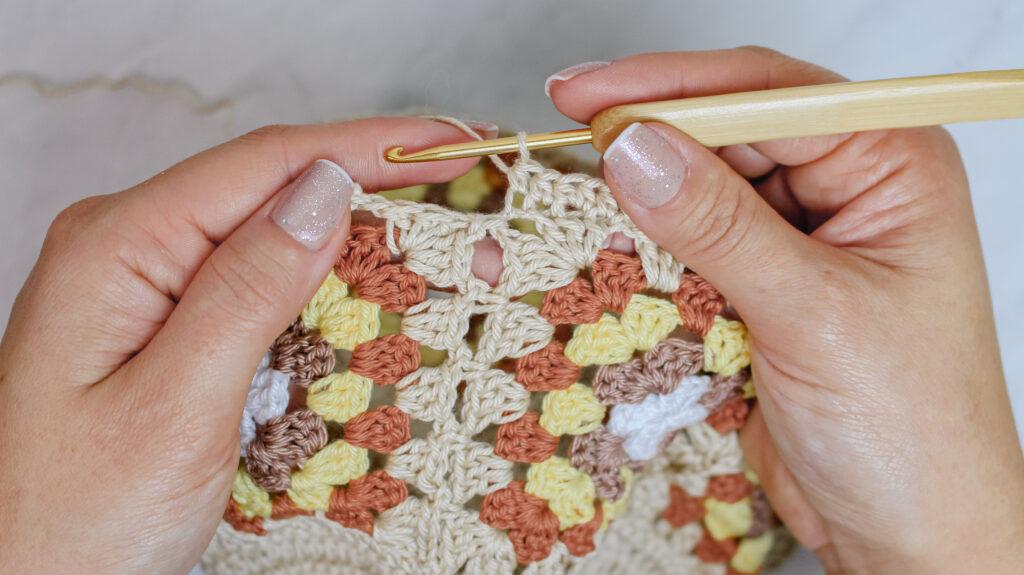
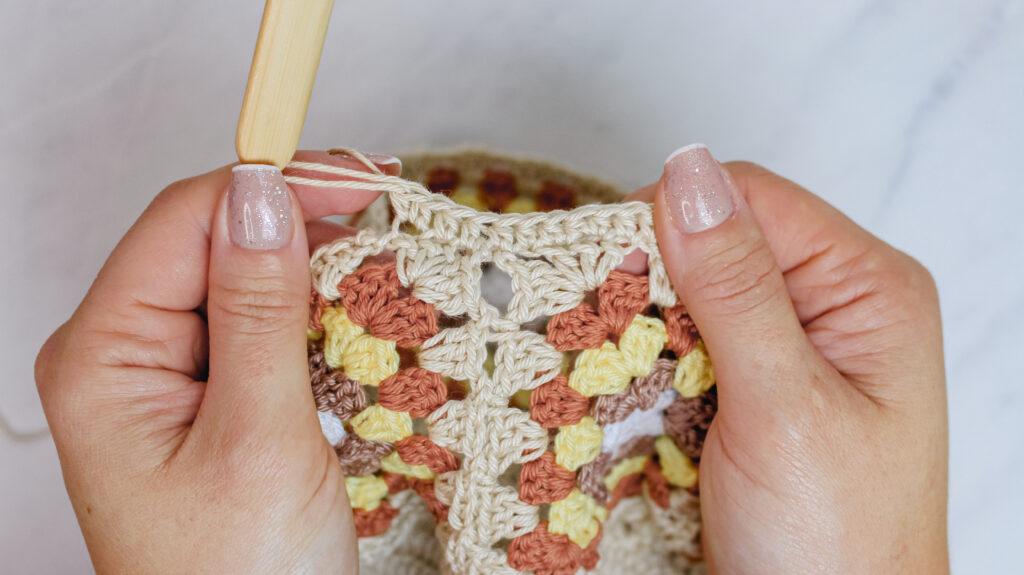
Using the stitch markers, secure the crown to hat circumference right sides on the outside. Using the same yarn of crown’s ROUND 9, hold the granny squares band behind the crown with wrong sides facing each other, choose one st of the any square and crown to start with, pull up a loop into both sts and work your first dc and work dc all the way around by going through one st of the crown and one of the square, in the end, break yarn and fasten off.
OPTION 2 – SEWING CROWN AND HAT CIRCUMFERENCE TOGETHER
To sew the crown and hat circumference, first, make sure to leave enough yarn to go all around the crown with that same yarn of ROUND 9 and fasten off. Secure both the crown and hat circumference right sides together with the stitch markers. Thread the yarn into a yarn needle, hold the crown and the granny squares hat circumference together with right sides facing each other and start sewing by going through one st of the crown and one of the square all the way around, in the end, break yarn and fasten off.
NOTE: You will have to sk a few sts to fit the crown around the squares hat circumference. Work your way around and check how many are needed to skip. In the sample was skipped 21 sts around.
ROUND 6
Ch2 (does not count as a st), *2htr in next st, 1htr in next 10 sts, rep from * to end of round. Join with ss to first htr st. [252 sts]
ROUND 7
Ch1 and ss around to create the finishing of the brim. Join with a ss to into first ss st, break yarn and fasten off. [252 sts]
Finishing your Dune Bucket Hat
Once you have finished, all you have to do now is weave in all your ends and there you have it, your Dune Bucket Hat! Don’t forget to tag Bruna @brunaticality if you make this gorgeous pattern.
Pin For Later
About Bruna
Bruna Biavati is the creator behind the YouTube channel Brunaticality. Her style is colourful, vintage and a little quirky, a mixture of the 60s, 70s and 80s fashion. Her crochet projects are always using fun and happy colours. In her channel you can find crochet and DIY video tutorials with very easy-to-follow instructions. Her goal has always been to inspire and teach crochet to those who want to lean a new hobby or start their own small business. While working on a project, she is always thinking of her next adventure!

This hat is adorable. I however have a big head, haha. What would be the best way to make it larger, to fit a 23″ head? I know to do another increase round on the crown section, I wonder if I should also make the squares one more round, larger, to give me more length in the body?
Ahi Stacey as this is a guest post I am unable to answer any queries. If you have a question, please contact the designer directly and they will be happy to help you 🙂