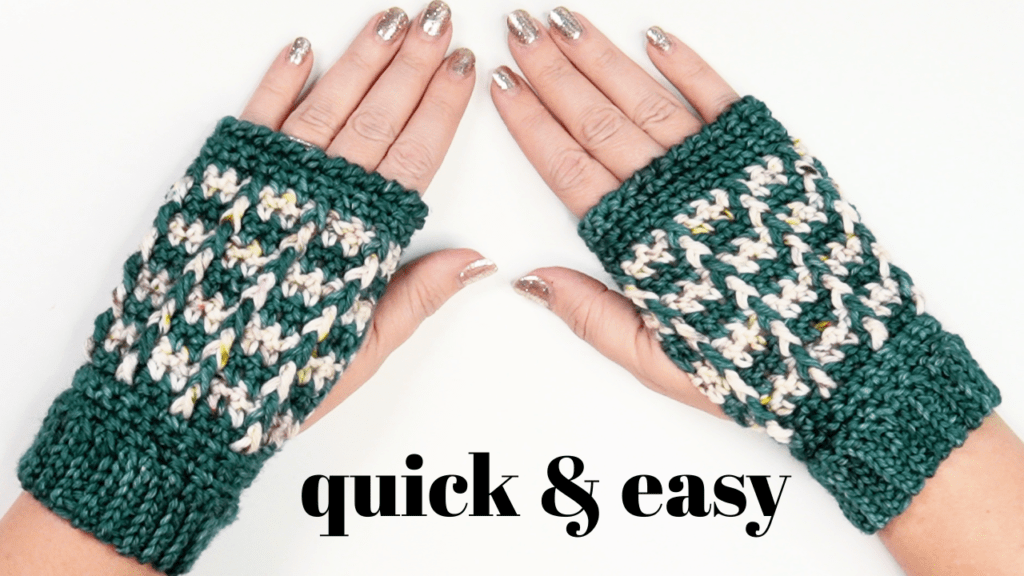
Learn how to crochet these quick and easy wrist warmers with my free step-by-step pattern and assisting video tutorial. This project is suitable for all skill levels but I always say whatever level you are at just give it a go! I always feel like fingerless mitts are a satisfying project because of their quickness and their handiness (no pun intended!)
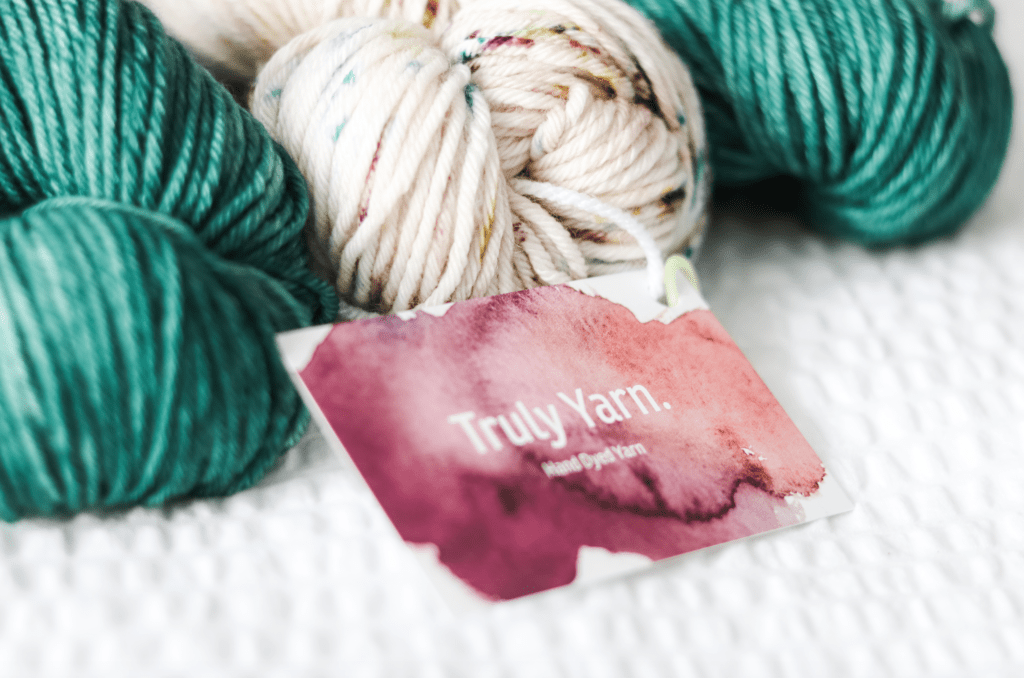
I’m thrilled to be collaborating with the very talented Nicky of Truly Yarn for this project. Nicky reached out to me after I had purchased some yarn and asked me if I wanted to try out his new colourway. My mind wondered as soon as I saw it. It’s certainly a colour which is outside of my usual colour palette that I lean towards but I could just see the beauty in these gorgeous jewelled tones.

Indie Dyed Skeins
Indie-dyed yarn can sometimes be intimidating, but they really don’t have to be. I made a little video showing how I prepare my skeins CLICK HERE to watch.
If you’d like to explore some more Indie Yarn Dyers, take a look at this Directory which was built on our reader’s recommendations.
Materials and tools
- Truly Yarn, 100% Superwash Merino in Aran Weight, 115g (4.06oz), 190m (208yds) or any equivalent yarn in mcForest Green (approx 40g) and cc Crisp Morning (approx 26g).
- Hook: 5mm (US H/8)
- Scissors
- Darning Needle
- Stitch Markers

Pattern Notes
- Skill Level: Beginner
- Completed Size: The size is for an adult small and these measure H 16cm (6.25 inches) W 8.5cm (3.5 inches) Approx
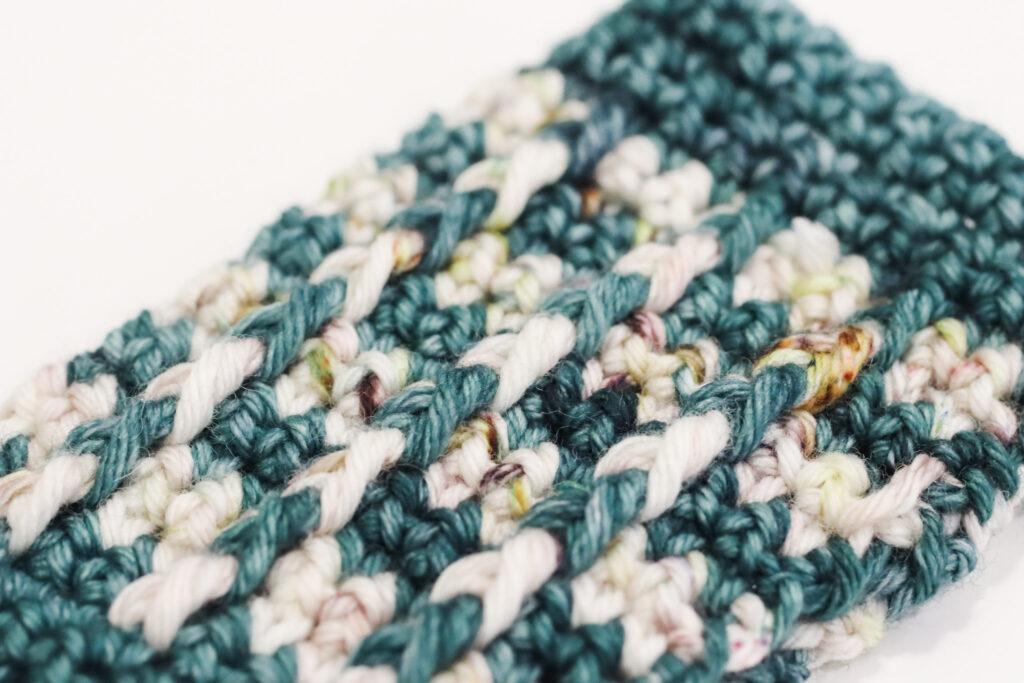
- Gauge: 14 sts x 18 rows over 10cm x 10cm (4inch x 4inch) measured over bar stitch.
- Chain 1 does NOT count as stitch unless otherwise stated.
- When working you slip stitches in the cuff, ensure your stitches aren’t too tight as this will make working into the following row difficult.
- The wrist warmer is made up by working rows forming a flat rectangle which will be folded and sewn.
- When changing colour, this will be done on the last draw through of the stitch before the colour change.
- The non-working yarn will carry up the work. Please do not fasten off your yarn unless stated.
pin for later
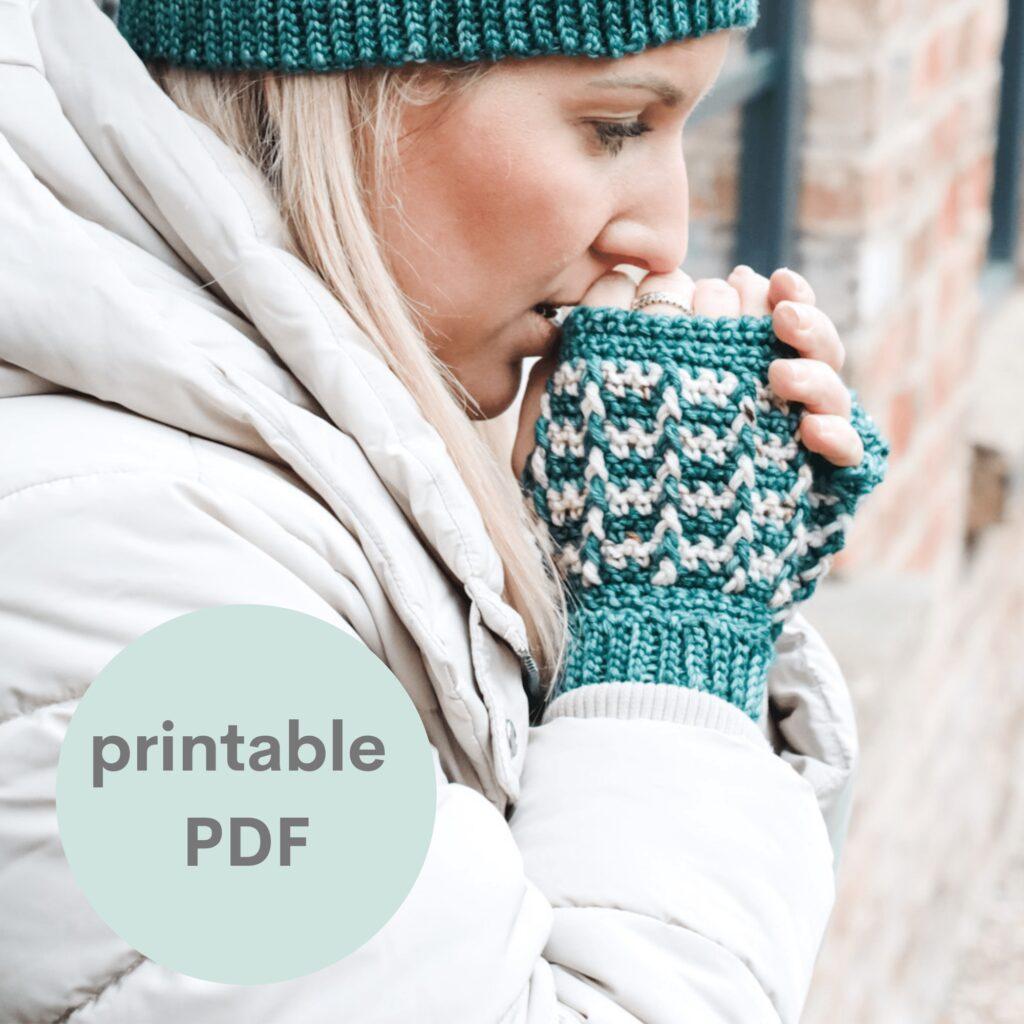
PDF Pattern: Wrist Warmers
You can purchase a low cost ad free, printable copy of this pattern HERE. Not only does it mean you get your own copy of the pattern to print, you also support a small business and help me to keep making free patterns!
Convert Pattern Terms
Here you can quickly switch between UK and US crochet terms. This will make following the pattern easier as all terms will be converted to your preferred version.
Terms and Abbreviations
This pattern is written in UK terms but switchable to US terms above.
Slip Stitch(s): ss(s): Insert hook, yarn over pull through stitch and loop on hook
Chain(s): ch(s): Yarn over, pull through
Double Crochet(s): dc(s): Insert hook into stitch, yarn over, pull up a loop, you will have two loops on the hook. Yarn over, pull through remaining two loops.
Front Post Treble Crochet(s): fptr(s): Yarn over, insert hook around post of stitch from front to back to front, yarn over, pull up a loop, you will have three loops on the hook. Yarn over, pull through two loops, yarn over, pull through remaining two loops.
Unsure of the differences between UK and US terms? Need a refresher on how to do your crochet stitches? In my ‘How to crochet: A handy reference guide’ EBook I help you with all of these terms and you can always have them to hand! You will also get exclusive access to free video instructions. You can find my EBook HERE.

To unlock this FREE crochet pattern all you need to do is enter your email and the grow app will appear, please enter your email and create a password. Now you’ve created a grow account you’ll be able to access all of the free patterns on the blog and bookmark your favourites so you can have them all in one place for easy access.
If you forget your password, click the “forgot password” link and follow the prompts. Please note that the team are unable to assist with resetting Grow passwords or accessing your Grow account, so please make sure you save your login information in a safe place.
Your grow account is separate from your Bella Coco account which you use to access your purchased patterns.
Crochet Wrist Warmer Pattern
You are viewing this pattern in UK terms.
Cuff
- chain 7
- Row 1: Ss in 2nd ch from hook and across. Turn. (6 sts)
- Row 2-44: Ch1 (does not count as st) ss in BLO of first st and across. Turn.
- Do not tie off yarn, rotate work to begin working along row ends.
- Your cuff should measure around 7 inches when slightly stretched.
Main Section
Rows 6-10

Making up
With right sides facing, fold raw edges together.Using tail end, sew down row ends working through both thicknesses. For the thumb hole, leave around 2.5 inches open. You can measure up against your hand for the positioning on the thumb hole.
If you do not wish to tie off your yarn for the thumb hole, you can simply continue to sew on one side only for the opening and revert back to working through both thicknesses.
Finishing up
Connect mc to seam. Crab stitch around the top of wrist warmers. Join with ss to first st. Fasten off and sew in ends.
This video might help you.


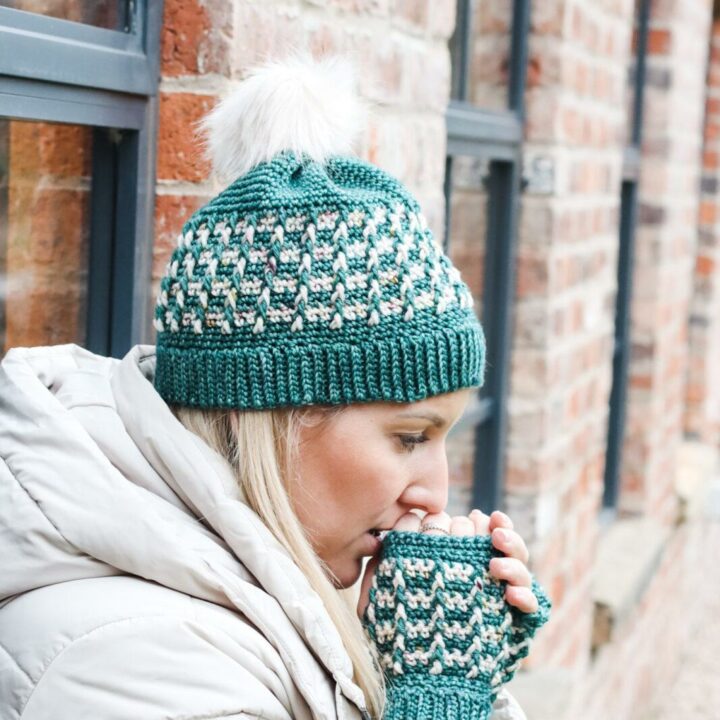
Truly Beanie
Do you want to make a matching hat? Check out the Truly Beanie HERE.
You can purchase a low-cost ad free, printable copy of this pattern HERE. Not only does it mean you get your own copy of the pattern to print, but you also support a small business and help me to keep making free patterns!
Video Tutorials
Right-Handed

Left-Handed

Crochet Wearable Patterns
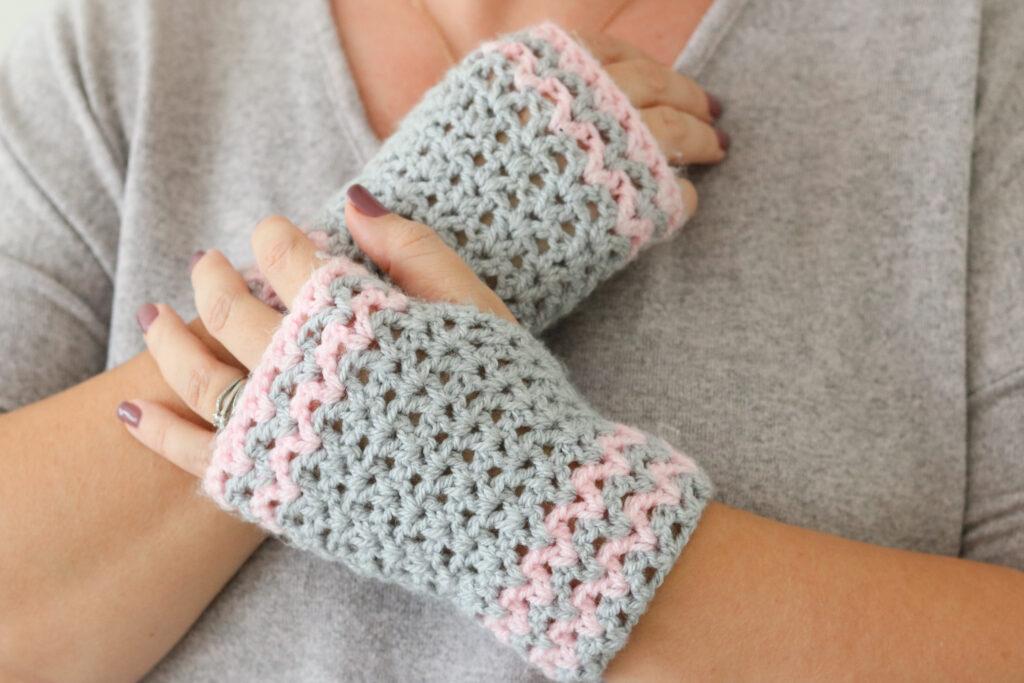
If you love crocheting wrist warmers check out these patterns below:
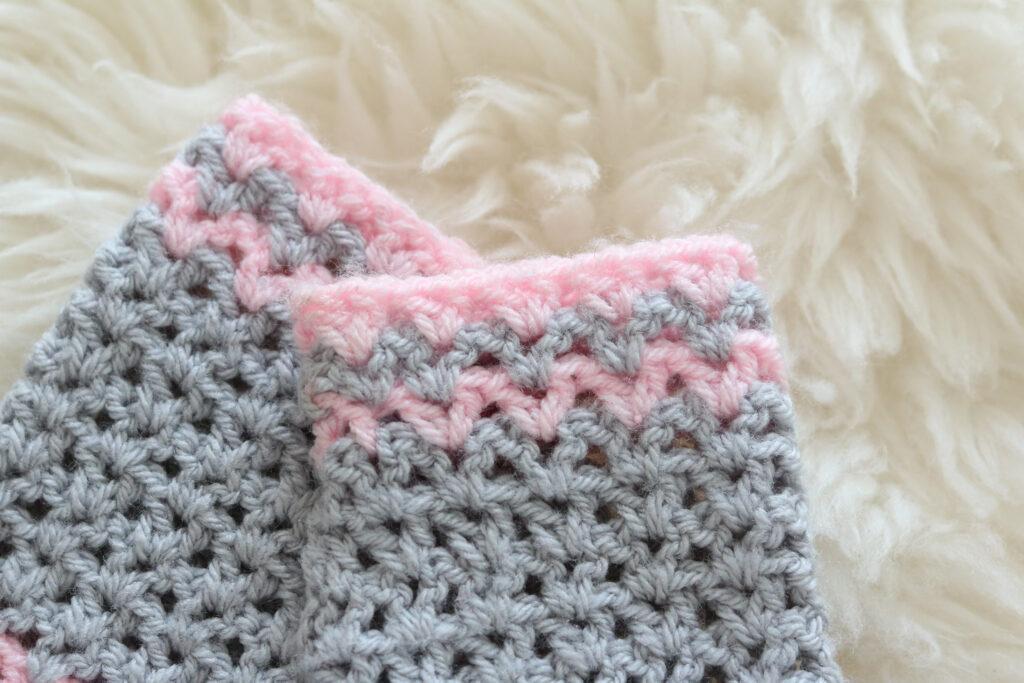
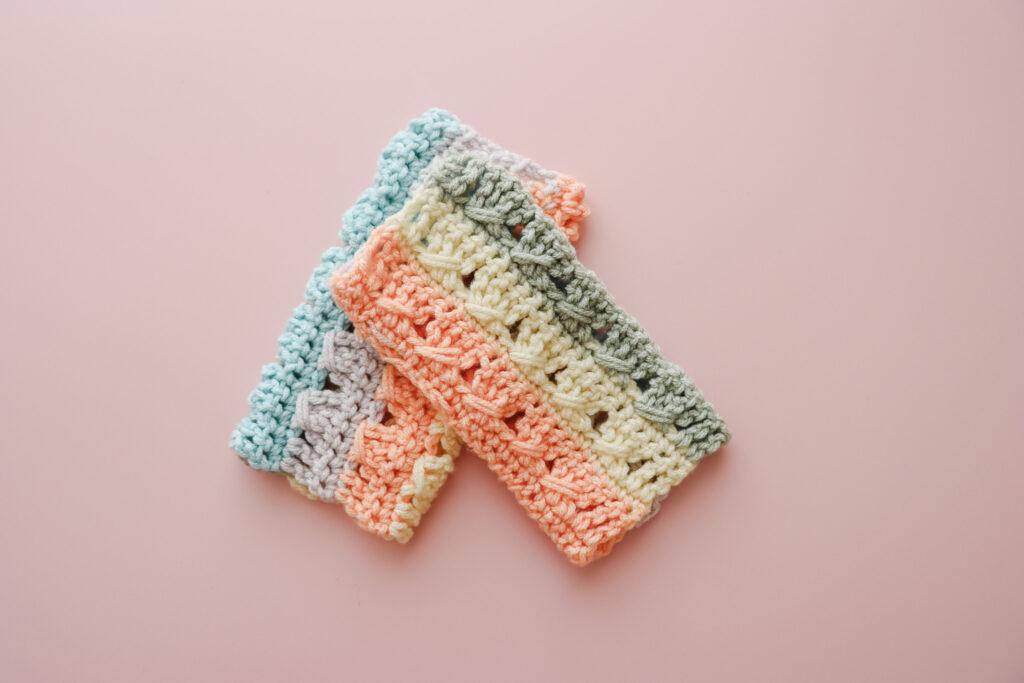
- Pink & Grey Wrist Warmers
- Convertible Crochet Mittens by guest designer Aly
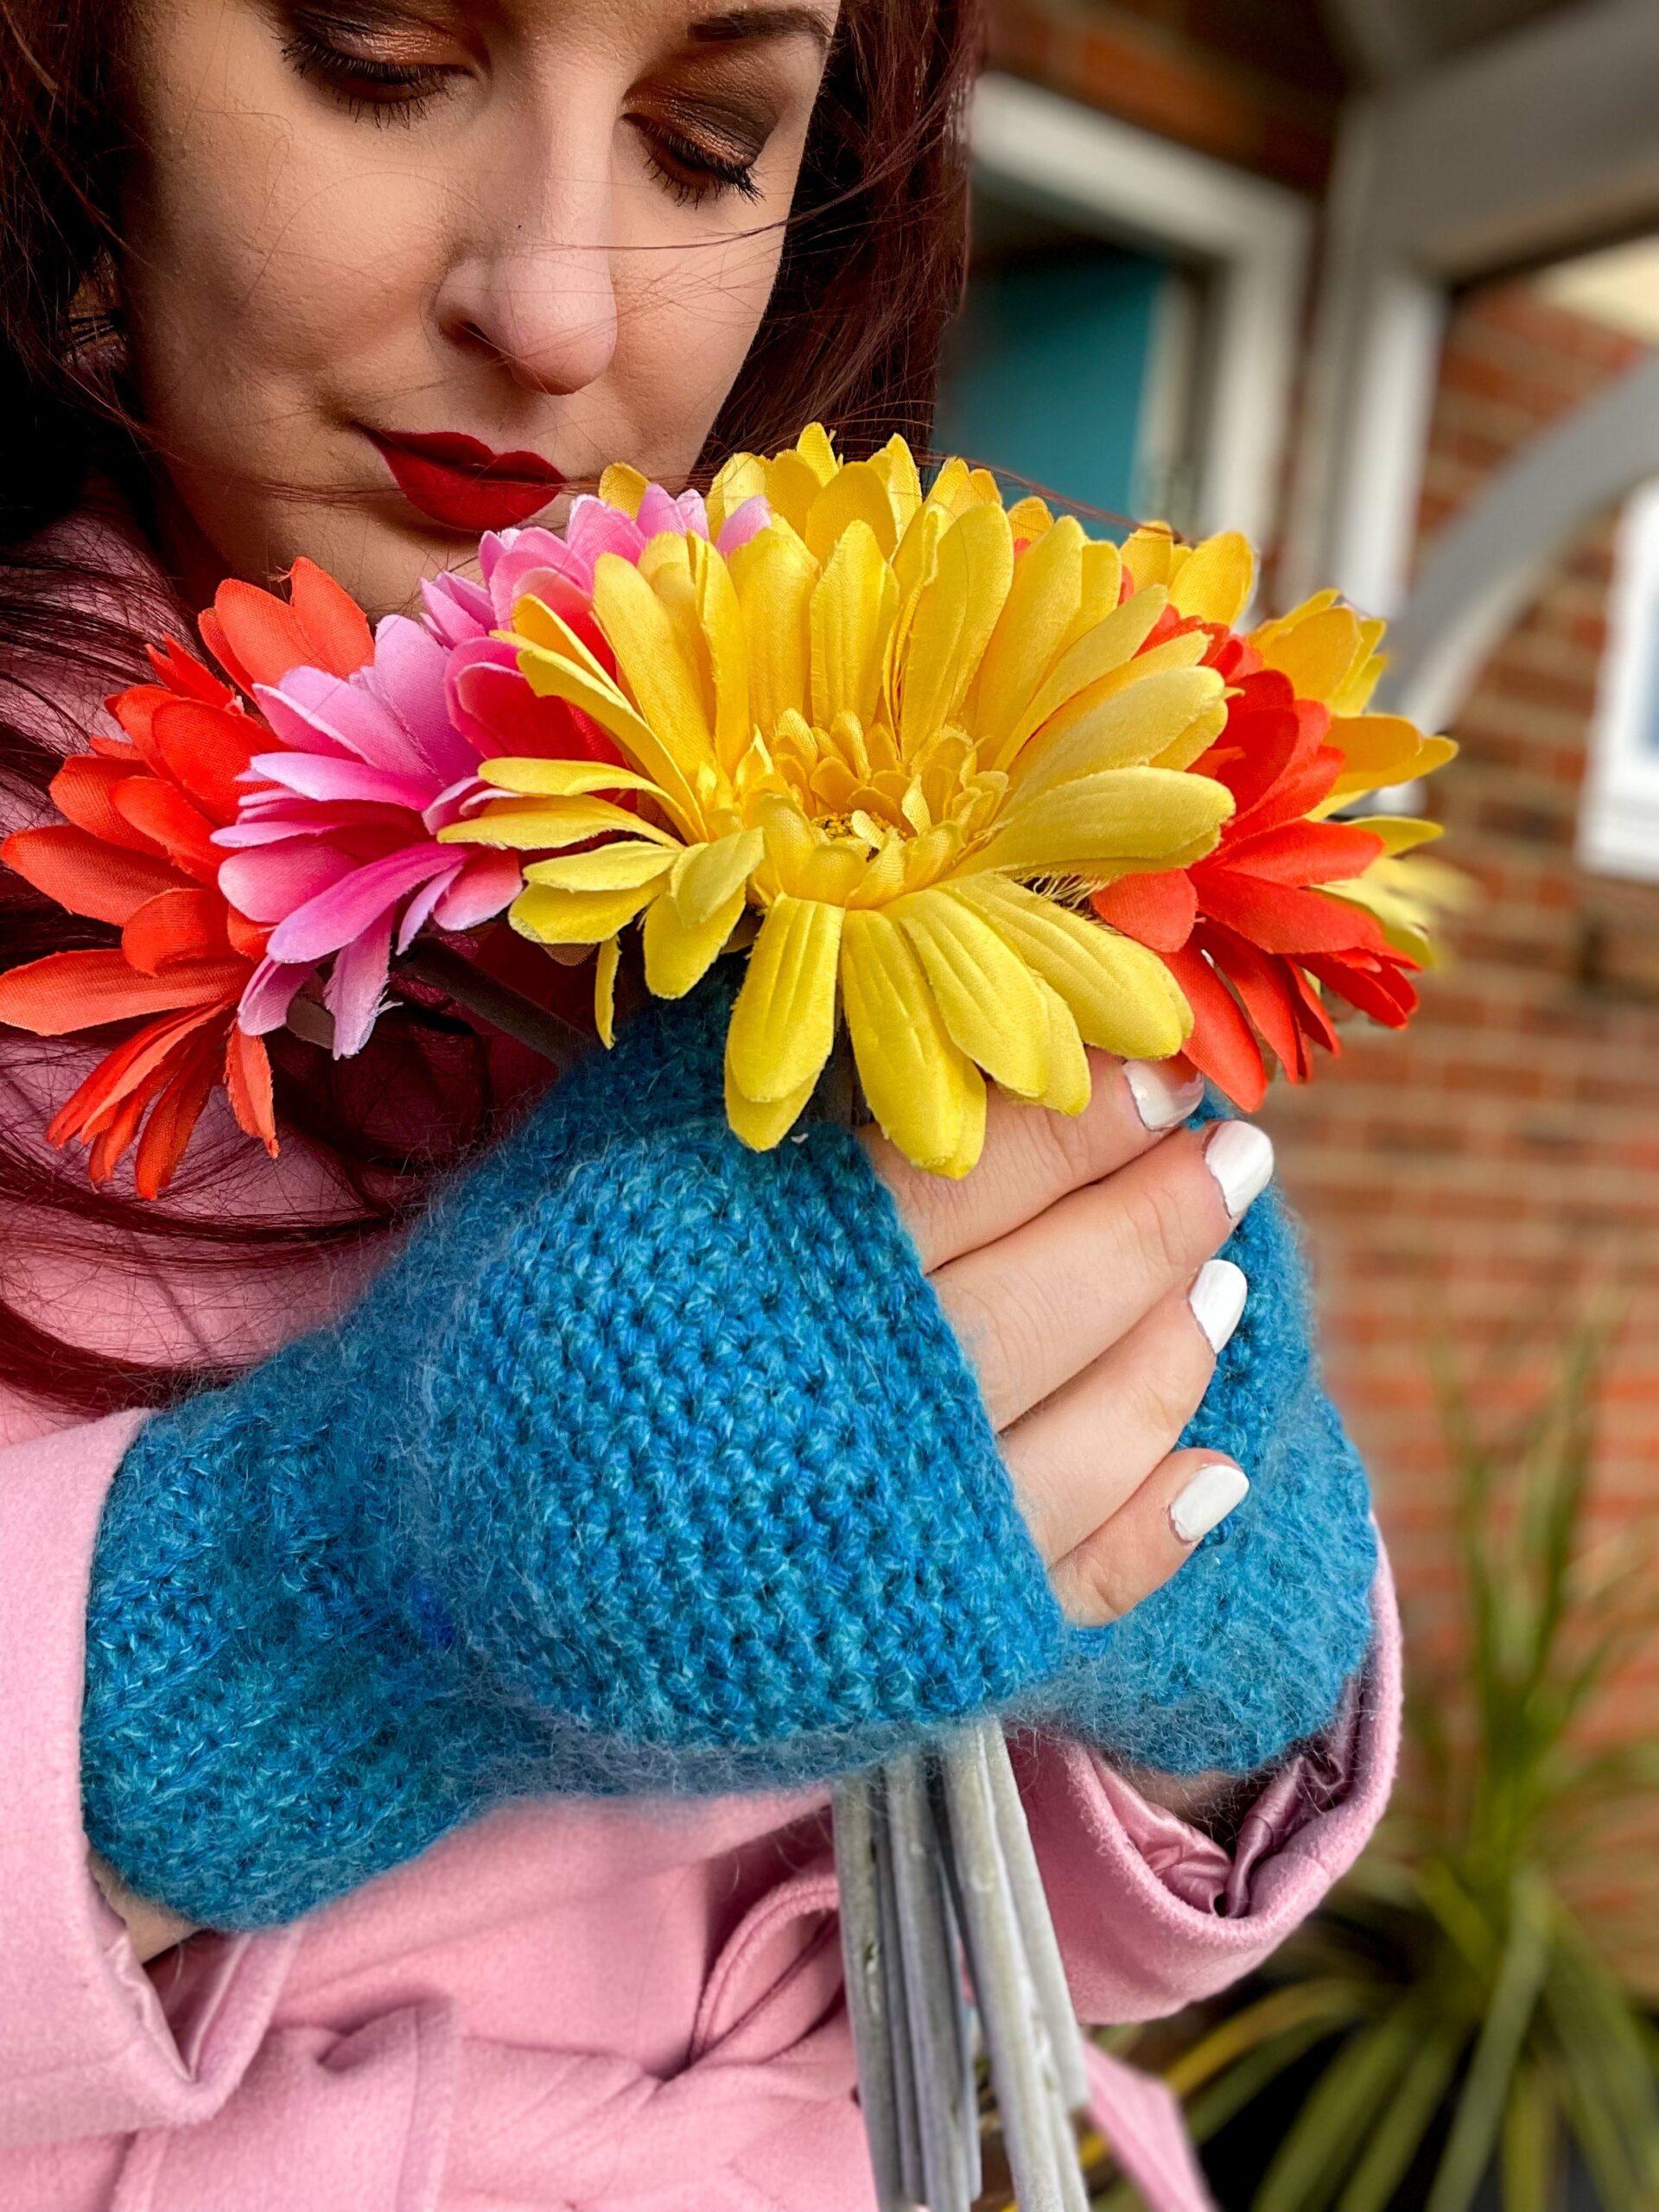
- Multicoloured Wrist Warmers

I always love to see your makes so if you try any of my patterns or follow my stitch tutorials please tag me @bellacococrochet or use the #bellacococrochet
sarah-jayne
Learn How to Crochet Wrist Warmers
Learn how to crochet these quick and easy wrist warmers with my free step-by-step pattern and assiting video tutorial. This project is suitable for all skill levels
Materials
- Truly Yarn, 100% Superwash Merino in Aran Weight, 115g (4.06oz), 190m (208yds) or any equivalent yarn in mcForest Green (approx 40g) and cc Crisp Morning (approx 26g).
Tools
- Hook: 5mm (US H/8)
- Scissors
- Darning Needle
- Stitch Markers
Instructions
- cuff: chain 7
- Row 1: Ss in 2nd ch from hook and across. Turn. (6 sts)
- Row 2-44: Ch1 (does not count as st) ss in BLO of first st and across. Turn.
- Do not tie off yarn, rotate work to begin working along row ends.
- Your cuff should measure around 7 inches when slightly stretched.
- main section: Chain 7
- Row 1: Ch1, dc in space next to ss. Dc in each ‘valley’ across cuff. Dc into foundation ch. Turn. (23 sts)
- Row 2-4: Ch1, dc in each st across. Turn.
- Row 5: Ch1, dc in each st across changing to cc in last st. Turn.
- Do NOT fasten off mc.
- row 6-10
- Row 6: Ch1, 2dc, fptr around next st two rows below. *miss unworked st, 2dc, fptr around next st 2 rows below; repeat from * until you have 2 sts remaining. Dc in last 2 sts. Turn.
- Row 7: Ch1, dc across changing to mc in last st. Turn.
- Row 8: Ch1, 2dc, fptr around next st two rows below. *miss unworked st, 2dc, fptr around next st 2 rows below; repeat from * until you have 2 sts remaining. Dc in last 2 sts. Turn.
- Row 9: Ch 1, dc across changing to cc in last st. Turn.
- Row 10: As row 8
- Row 11-23
- Row 11: As row 7. Fasten off cc.
- Row 12-19: Repeat rows 8-11 twice more.
- Row 20: As row 7.
- Row 21-23: Ch1, dc across. Fasten off leaving a long tail end for sewing.
- making up: With right sides facing, fold raw edges together. Using tail end, sew down row ends working through both thicknesses. For the thumb hole, leave around 2.5 inches open. You can measure up against your hand for the positioning on the thumb hole.
- If you do not wish to tie off your yarn for the thumb hole, you can simply continue to sew on one side only for the opening and revert back to working through both thicknesses.
- finishing up: Connect mc to seam. Crab stitch around the top of wrist warmers. Join with ss to first st. Fasten off and sew in ends.
Notes
Skill Level: Beginner
Completed Size: The size is for an adult small and these measure H 16cm (6.25 inches) W 8.5cm (3.5 inches) Approx
Gauge: 14 sts x 18 rows over 10cm x 10cm (4inch x 4inch) measured over bar stitch.
Chain 1 does NOT count as a stitch unless otherwise stated.
When working you slip stitches in the cuff, ensure your stitches aren’t too tight as this will make working into the following row difficult.
The wrist warmer is made up of working rows forming a flat rectangle which will be folded and sewn.
When changing colour, this will be done on the last draw-through of the stitch before the colour change.
The non-working yarn will carry up the work. Please do not fasten off your yarn unless stated.
Recommended Products
As an Amazon Associate and member of other affiliate programs, I earn from qualifying purchases.