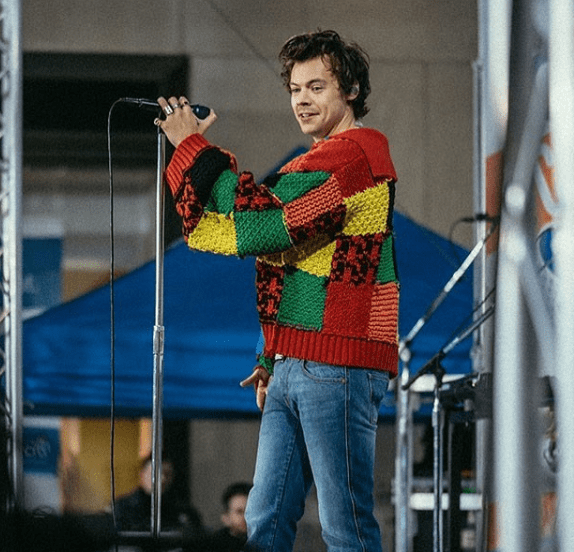
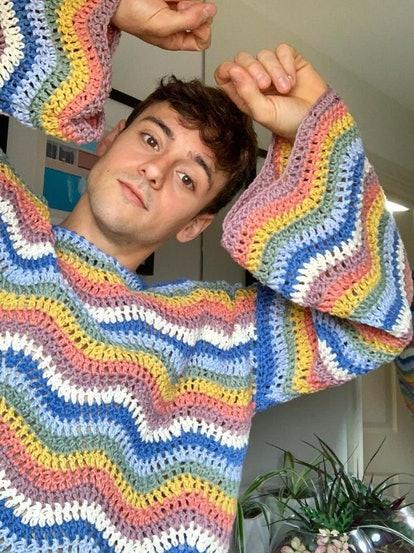
Learn how to crochet a granny square tote bag with my step-by-step pattern and assisting tutorial. I’ll also be sharing the process and breaking down the work and cost it takes to create a crochet bag, written pattern and video tutorial. The crochet trend seems to be ever growing and I can understand why! Like many trends, more and more brands buy into it as they don’t want to miss out. From Harry Styles and his now infamous cardigan, Tom Daley’s Olympic crafting fever and high fashion brands like Gucci and Prada showcasing crochet on the catwalk.
Crochet on The High street
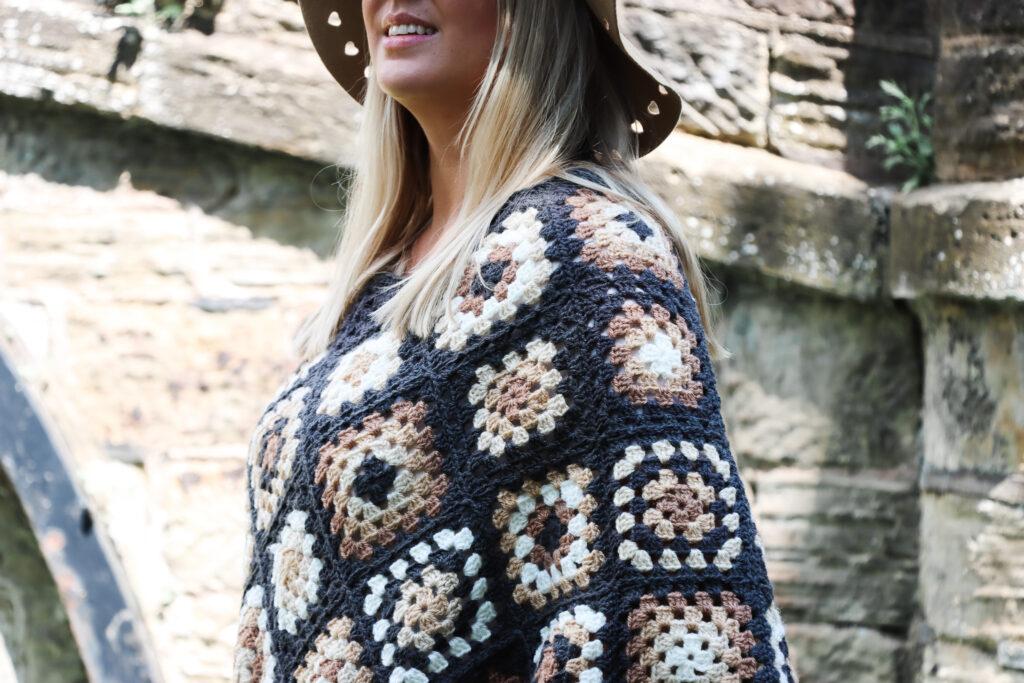
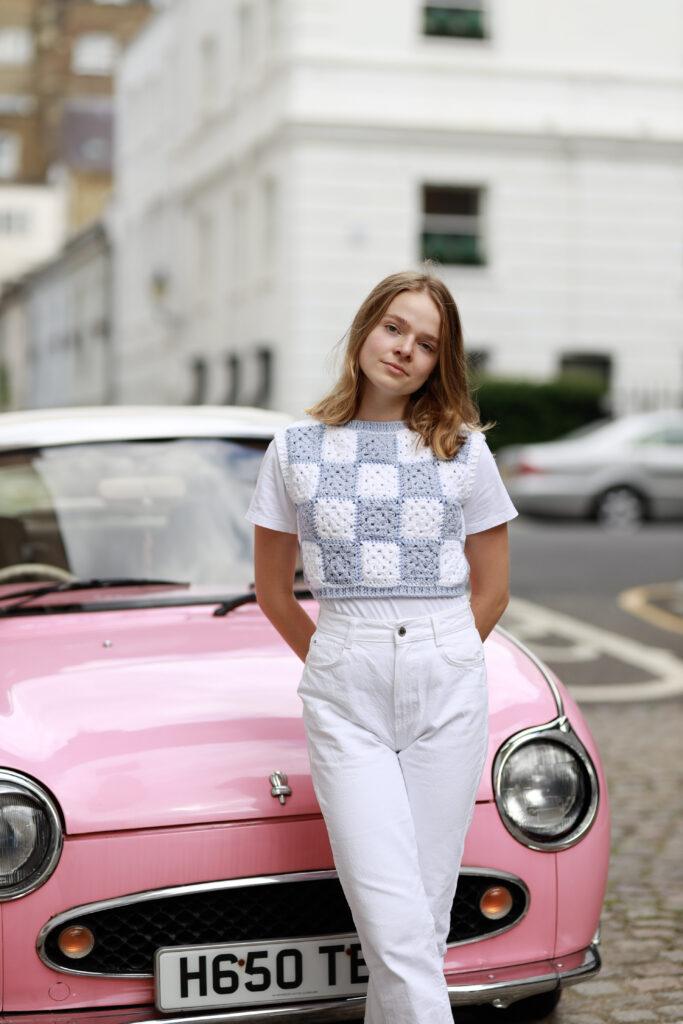
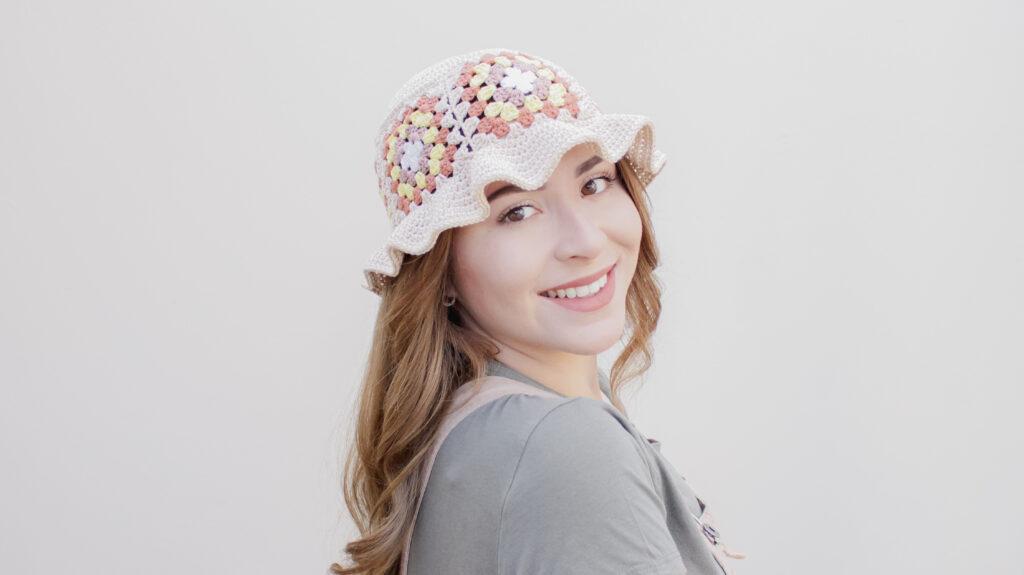
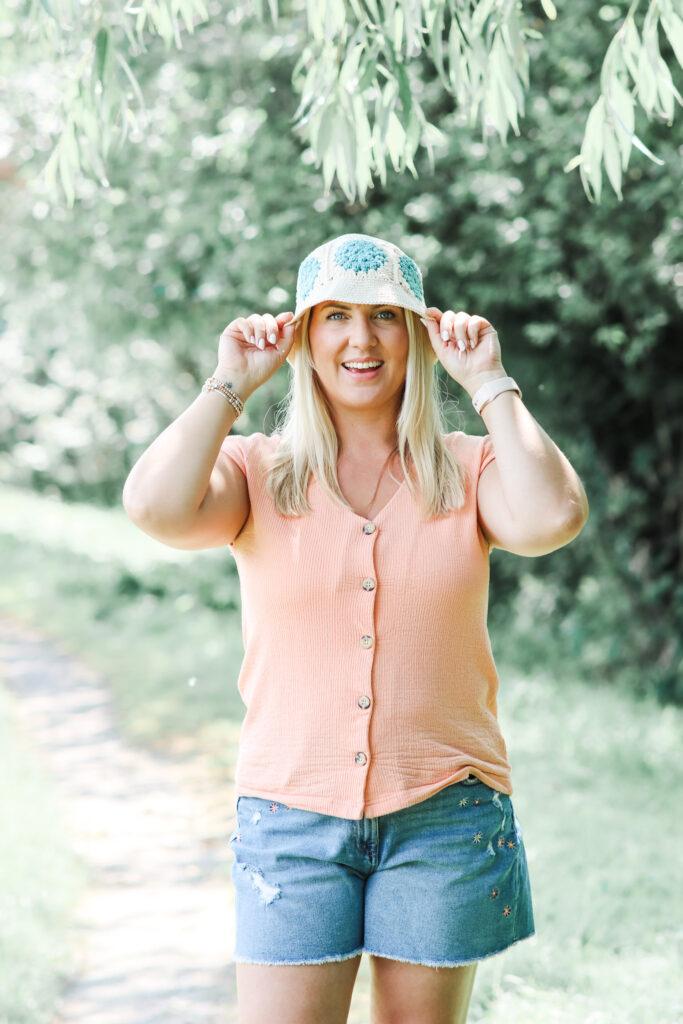
Trends such as crochet dresses, co-ords, bucket hat and balaclavas have been in demand. Whether the sun is shining or the winter is in full swing crochet clothing and accessories seem to be in demand!
As a crochet designer and teacher of stitches, it’s exciting to see crochet becoming fashionable and I adore seeing all the beautiful designs however there’s something you need to know before supporting crochet on the high street, keep reading.
Addressing the Issues
Unlike knitting or sewing crochet cannot be created on a machine! The stitches needed to create crochet are just too complicated for a machine to replicate. This means those low-cost, mass-produced crochet items on the high street have been handmade! We’re all crocheters here. We know how much work goes into creating crochet clothing. Ask yourself is it ethical to buy a crochet top for as little as £5?
Ethical Pricing
Let’s take that £5 crochet top on the high street and now lets think about the following:
- Labour
- Materials & Tools
- Packaging
- Transportation
Fast Fashion
Like all fast fashion, these items are not made to last. They’re mostly made to be worn for a season and then disposed of. Did you know 85% of textile waste ends up in a landfill!
What Can We Do?
Buying from indie designers on website such as etsy or depop can help reduce the demand for fast fashion plus you are supporting small buinesses/designers.
Learn how to crochet and start making your own clothing and accessories that can be passed down in your family. Not only is making your own clothing fun and enormously rewarding, you’ll be creating long-lasting clothing that’s packed full of meaning and memories.

Breaking Down The Process
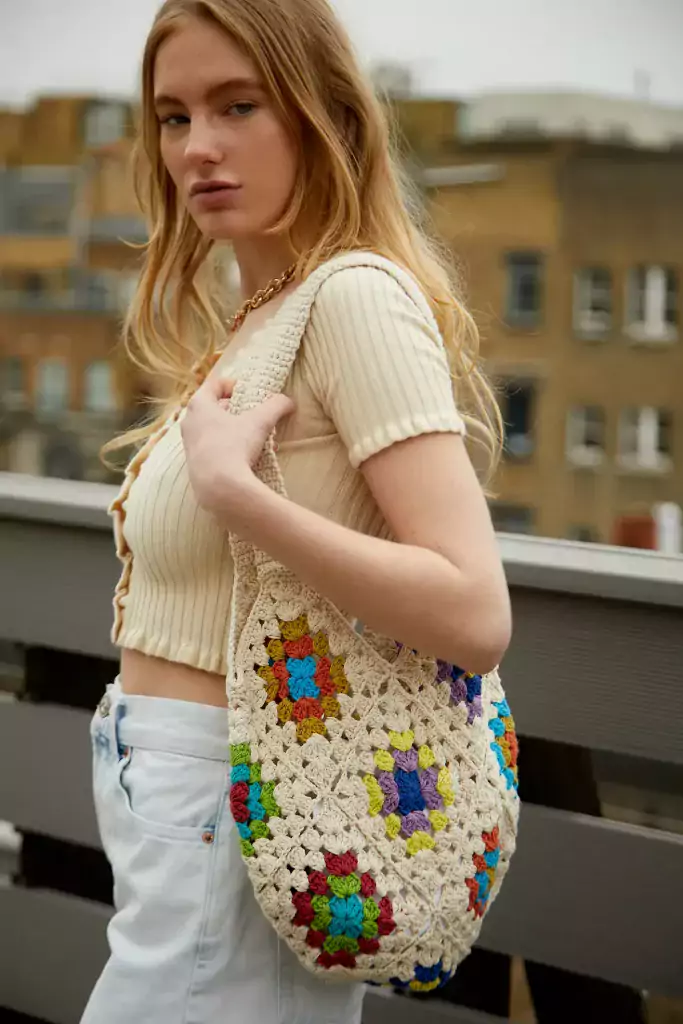
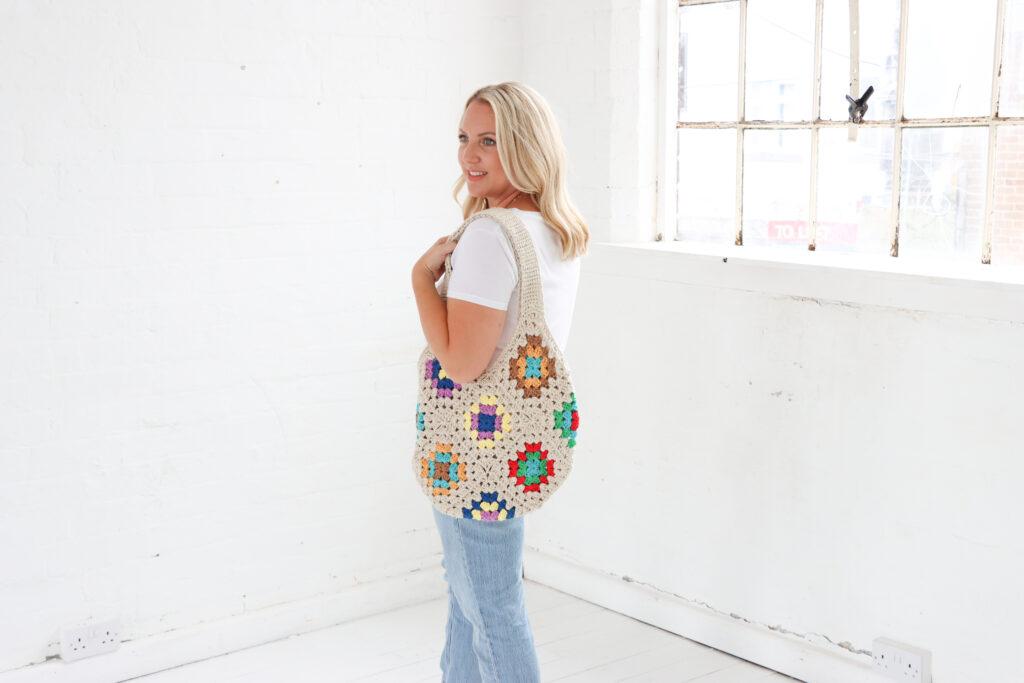
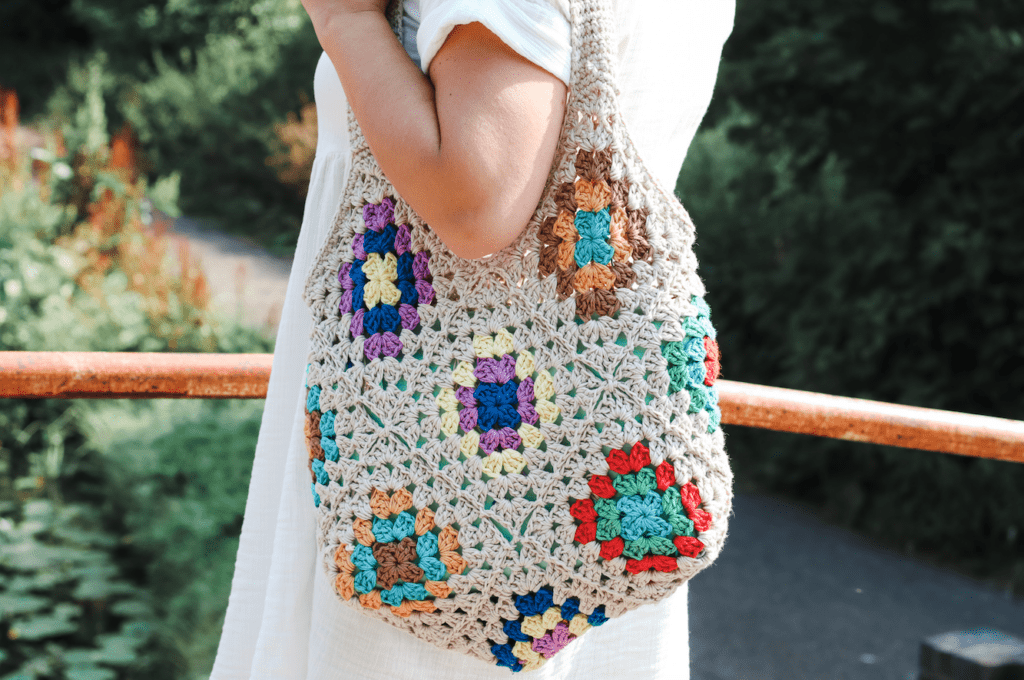
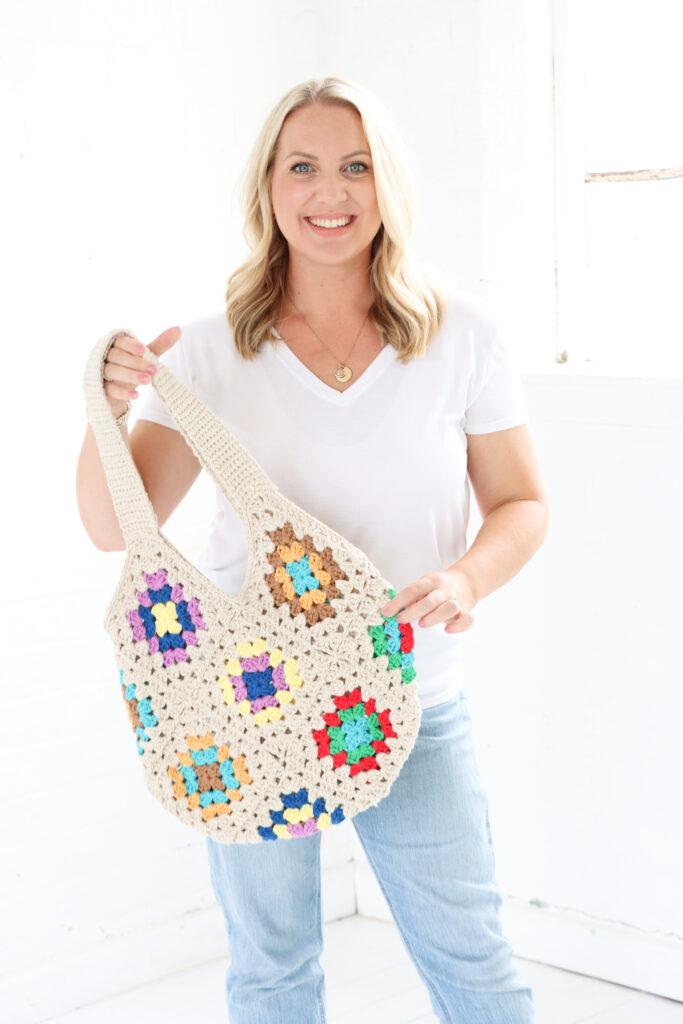
After seeing this bag (pictured below) in a well known High Street shop for just £29.99, I decided I wanted to replicate it and add up the cost and skills involved in making this bag. Not only to highlight again why we should NOT buy crochet from the high street, but also to show you YOUR WORTH. Far too many times I see makers undervalue their skills and I really want to see that change. So, let’s talk a look at the breakdown of the cost of this replica…
Time
- 13 inner squares. 20 minutes each = 4 hours 30 minutes
- 13 borders and joins. 15 minutes each = 3 hours 15 minutes
- Handles. 30 minutes each = 1 hour
- Total = 8 hours 45 minutes
I’d generally say that I have pretty average speed when it comes to crocheting. I guess many workers in factories will crochet MUCH faster than I do BUT based on UK minimum wage of £8.91, this would calculate to £73.51 for labour alone.
Materials Needed
Yarn
For this bag I have used 12 balls of Paintbox Simply Cotton DK prices at £2.50 each. This totals £30 for the cost of materials (assuming you already have a hook, scissors and a darning needle) although if you were making multiple bags, you would have enough yarn left to make another, you would just have to purchase more of the main colour.
Yes, we have to take into consideration that large retailers will buy their yarn in bulk at wholesale prices, so the cost of materials would be considerably lower (and there are alternative cheaper yarns to use). As a general rule, the recommended retail price is 2-3 times higher than the wholesale price. Let’s say that this retailer is getting their yarn for £1 a ball, this still equates to £12. Only leaving £17.99 to allocate to wages, shipping etc.
I hope you can see my point here. Based on these time and materials calculations, this bag has cost £103.51 to create. Anyone else have Laura’s song “It Costs That Much Cause It Takes Me F**king Hours” going round in their heads? Crochet on the high street isn’t looking so good now is it?
Written Pattern/PDF
On another note, these calculations don’t include the curation of the PDF pattern, the tech editing time/costs, the making of the assisting YouTube videos (filming and editing time), photography and blog post. These are all things that go on behind the scenes in my business and many makers do the same too.
- It took around 6 hours to film the video tutorial
- 2 hours 40 minutes to edit the video (not including creating thumbnails and optimising the video for YouTube)
- 1 hour 40 minutes for photography
- 3 hours to put together this blog post
- 4 hours on the PDF pattern
- My Tech editor Emily spent 30 minutes on the PDF pattern.
Tech Editing
Every crochet pattern that is checked by my Tech Editor, Emily. Emily goes though the patterns to make sure everything is correct. I asked Emily to tell me a little bit about tech editing and how it works…here’s what she said:
Message from Emily
"First time clients with me, the patterns tend to take a little bit longer. After the first few patterns, designers tend to refine their writing style and the times reduce a little. That said, my averages tend to be 20-30 minutes for accessory patterns, 30-60 minutes per garment pattern. Now, this is understanding that there are patterns that need a bit of back and forth to get through layers of editing. My personal fee is $40/hour, clients pre-pay to purchase their time, then I deduct the time spent editing at a minimum of 20 minutes per pattern. Many designers write well enough to get 3 patterns edited per hour. For some designers, I can edit garment patterns in 20 minutes, even with checking all the math." - Emily, Fiat Fibre Arts

Labour Behind the Label
50% of the sales made from the Not The High Street Bag PDF Pattern was donated to the charity Labour Behind The Label who support garment workers’ efforts to improve their working conditions and change the fashion industry for the better. They raise awareness, provide information and promote international solidarity between workers and consumers. (*from the time of publishing to 31st December 2021). £400 was donated to labour behind the label on 16th January 2022.
Materials & Tools
- Yarn: Paintbox Yarns, Cotton DK (100% Cotton) 125m (137yds), 50g (1.76oz). 1 ball of Daffodil Yellow, Sailor Blue, Tea Rose, Pillar Red, Grass Green, Marine Blue, Soft Fudge and Melon Sorbet. 4 balls of Vanilla Cream (Colour D)
- Hook: 5mm
- Stitch markers
- Scissors
- Darning needle

Gauge
- Rounds 1-3 measure 9.5 cm (3.75 inches)
- Rounds 1-5 measure 14.5 cm (5.75 inches)
Completed Size
- Width 39 cm (15.25 inches) approx
- Height (including handle) 60 cm (23.5 inches) approx
Pattern Notes
- Written in UK terms but switchable to US terms below.
- You will be working with two strands of yarn held together.
- To prepare your yarn, unravel half of one ball to create two balls of equal weight.
- First work all of your squares before joining.
- You will be using the join as you go (JAYGO) method.
- Assisting video tutorials are available.

Convert Pattern Terms
Here you can quickly switch between UK and US crochet terms. This will make following the pattern easier as all terms will be converted to your preferred version.
Terms & Abbreviations
- Chain(s): ch(s)
- Stitch(s): sts(s)
- Double Crochet(s): dc(s): Insert hook into stitch, yarn over, pull up a loop, you will have two loops on the hook. Yarn over, pull through remaining two loops.
- Treble Crochet(s): tr(s): Yarn over, insert into stitch, yarn over, pull up a loop, you will have three loops on the hook. Yarn over, pull through two loops, yarn over, pull through remaining two loops.
- JAYGO: Starting at a corner ch-2 sp, work one ch, remove hook from loop, insert hook into corresponding ch-2sp on joining square, ch 1, finish stitching corner on original square, before each side cluster of 3tr, remove hook from loop, insert hook into corresponding space between 3tr clusters on joining square, ch1, continue with 3tr on original square.

Unsure of the differences between UK and US terms? Need a refresher on how to do your stitches? In my ‘How to crochet: A handy reference guide’ EBook I help you with all of these terms and you can always have them to hand! You will also get exclusive access to free video instructions. Learn more about the eBook here.

Pin for Later
Free Pattern: Granny Square Tote Bag
You will be creating your squares in the following colour ways:
Colour Ways
- Square 1: Tea Rose (Colour A), Daffodil Yellow (Colour B), Sailor Blue (Colour C)
- Square 2 & 4: Soft Fudge (Colour A), Marine Blue (Colour B), Melon Sorbet (Colour C)
- Square 3 & 5: Marine Blue (Colour A), Grass Green (Colour B), Pillar Red (Colour C)
- Square 6 & 7: Sailor Blue (Colour A), Tea Rose (Colour B), Daffodil Yellow (Colour C)
- Square 8: Soft Fudge (Colour A), Melon Sorbet (Colour B), Marine Blue (Colour C)
- Square 9: Pillar Red (Colour A), Marine Blue (Colour B), Grass Green (Colour C)
- Square 10 & 12: Daffodil Yellow (Colour A), Sailor Blue (Colour B), Tea Rose (Colour C)
- Square 11 & 13: Marine Blue (Colour A), Soft Fudge (Colour B), Melon Sorbet (Colour C)
Granny Square (make 13)
You are viewing this pattern in UK terms.
- Using colour A (see previous information for the colour ways for each square)
- Chain 4, join in 4th ch from the hook to form a circle.
- Round 1: Ch 3 (counts as tr) Working into the centre circle, 2 tr, ch 2, *3 tr, ch 2; repeat from * twice more. Join to top of ch-3 with ss. Tie off. (12 tr, 4 ch-2)
- Join colour B with ss in any ch-2 sp.
- Round 2: Ch 3, 2 tr in same sp. *(3 tr, ch 2, 3 tr) in next ch-2 sp; repeat from * twice more. 3 tr in next ch-2 sp, ch 2. Join in top of ch-3 with ss. Tie off. (24 tr, 4 ch-2)
- Join colour C with ss in any ch-2 sp.
- Round 3: Ch 3, 2 tr in same sp. *3 tr in next sp. (3 tr, ch 2, 3 tr) in next ch-2 sp; repeat from * twice more. 3 tr in next sp. 3 tr, ch 2 in next ch-2 sp. Join with ss in top of first tr. Tie off. (36 tr, 4 ch-2)
- Complete round 1-3 of all 13 squares with the colours listed before moving on to joining.
Joining
For this project you will be using the join as you go (JAYGO) method which will require you to work round 4 as normal. You will then move on to round 5 which will require you to attaching to the other squares as you build.
Please see below for the joining sequence in diagram form or use the written instructions which follow. Need more help? I have photo assistance in the PDF pattern.
Diagram
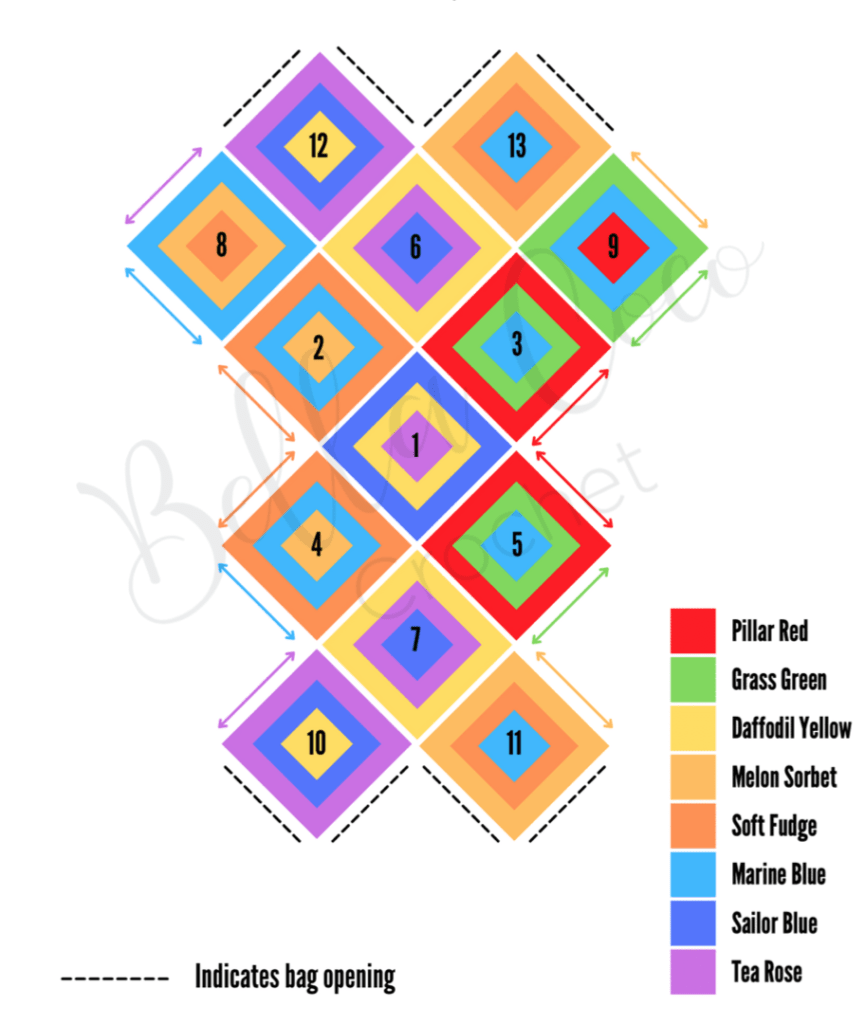
Block 1-13
- Block 1 is your initial square, so this will be worked without joining to any other squares.
- Block 2-3: Work 3 sides as round 5, JAYGO to block 1.
- Block 4: Work 2 sides as round 5, JAYGO to block 1 and 2.
- Block 5: Work 2 sides as round 5, JAYGO to block 1 and 3.
- Block 6: Work 2 sides as round 5, JAYGO two sides to block 2 and 3.
- Block 7: Work 2 sides as round 5, JAYGO two sides to block 4 and 5.
- Block 8: Work 2 sides as round 5, JAYGO two sides to block 2 and 4.
- Block 9: Work 2 sides as round 5, JAYGO two sides to block 3 and 5.
- Block 10: Work 2 sides as round 5, JAYGO two sides to block 7 and 8.
- Block 11: Work 2 sides as round 5, JAYGO two sides to block 7 and 9.
- Block 12: Work 2 sides as round 5, JAYGO two sides to block 6 and 8.
- Block 13: Work 2 sides as round 5, JAYGO two sides to block 6 and 9.
- Join colour D with ss in any ch-2 sp.
Round 4-5
You are viewing this pattern in UK terms.
- Round 4: Ch 3, 2 tr in same sp. *(3 tr in next sp) twice, (3 tr, ch 2, 3 tr) in next ch-2 sp; repeat from * twice more. (3 tr in next sp) twice. 3 tr, ch 2 in next ch-2 sp. Join with ss in top of first tr. (48 tr, 4 ch-2)
- Round 5: Ch 3, *(3 tr in next sp) three times. (3 tr, ch 2, 3 tr) in next ch-2 sp; repeat from * twice more. (3 tr in next sp) three times. (3 tr, ch 2) in next ch-2 sp. Join with ss in top of first tr. Tie off. (60 tr, 4 ch-2)
Opening Border
- Join colour D with a slip stitch in any stitch across the bag opening.
- Work a dc into each stitch and each space between the set of treble sts.
- Work 2 dc in each ch-2 ‘peak’
- In the troughs, work a dc in the first corner and a dc in corner of the adjoining square.
Handle 2
- Starting in the corner ch-2 space on bag opening of block 10. Locate the 2 dc in the ch-2 space. Count backwards a further 3 dc and join colour D with a ss.
- Row 1: dc in next 3 sts, 2dc in ch-2 sp, dc in next 3 sts. Turn. (8dc)
- Row 2: Ch 1, dc in each st across. Turn.
- Row 3: Repeat row 2 until the handle reaches 48cm (19 inches) or your desired length.
- Your final row should be right side facing.
- Final row: Ch 1, locate the corner ch-2 space on bag opening of block 11 and count backwards 3 dcs.
- ss into top of dc on block 11 and dc in next stitch of the handle.
- *ss into next dc on block 11 and dc in next stitch of the handle; repeat from * to end. Tie off.
Handle 2
You are viewing this pattern in UK terms.
- Starting in the corner ch-2 space on bag opening of block 13. Locate the 2 dc in the ch-2 space. Count backwards a further 3 dc and join colour D with a ss.
- Repeat instructions for Row 1-Row 3 for Handle 1.
- Your final row should be right side facing.
- Final row: Ch 1, locate the corner ch-2 space on bag opening of block 12 and count backwards 3 trs.
- ss into top of tr on block 12 and dc in next stitch of the handle.
- *ss into next tr on block 12 and dc in next stitch of the handle; repeat from * to end. Tie off.
- Sew in all remaining ends.
Video Tutorials
Right-handed

Left-handed

Crochet Patterns
Looking for another crochetprojects you can wear? Check out these patterns avalible on the blog
I always love to see your makes so if you try any of my patterns or follow my stitch tutorials please tag me @bellacococrochet or use the #bellacococrochet
sarah-jayne
unfortunately this is not a new problem my mum crocheted lace when I was younger around late 70s early 80s to earn money and it was absolutely pittance. I wish it would change as it seems no one will recognise the true worth. so thank you for highlighting this. she left the industry because of this too, one thing good is that we have a live of crochet and have made lots of lovely homemade items for my son and ourselves x
Hi Julia, yes it’s been a problem for a long time that’s why I wanted to highlight it 🙂
Hi Donna You’re very welcome; I bet the bag looks great when work crossbody! No, you shouldn’t be removing your hook from the yarn, you just need to slip stitch into the corresponding space on the square you are attaching to. And thank you for pointing out the error in the pattern, I will get this checked asap
Hi, I’ve been trying to buy the PDF pattern but doesn’t seem to work online, maybe it’s because I’m trying to buy from South Africa. I’m struggling to do the JAYGO from block 8 and thought it would be a good idea to have a downloaded pattern
Hi Washiela this is available worldwide so you should be able to purchase it. Maybe you could try again. Let me know if you require any further help 🙂
Pingback: When Is Crochet Not Crochet? – Woolly Thinking