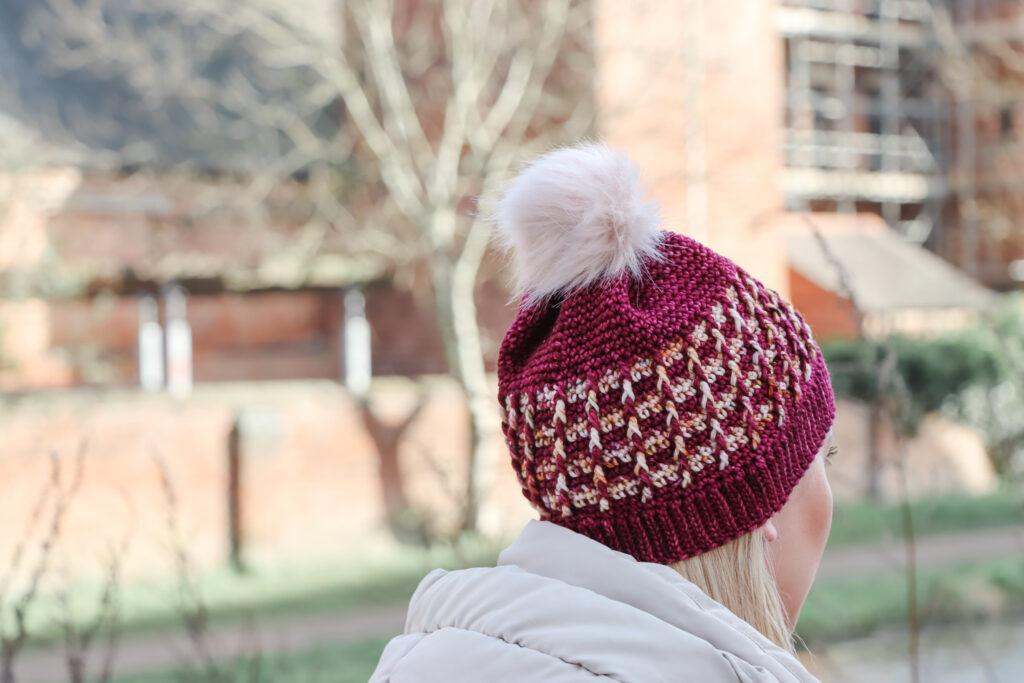
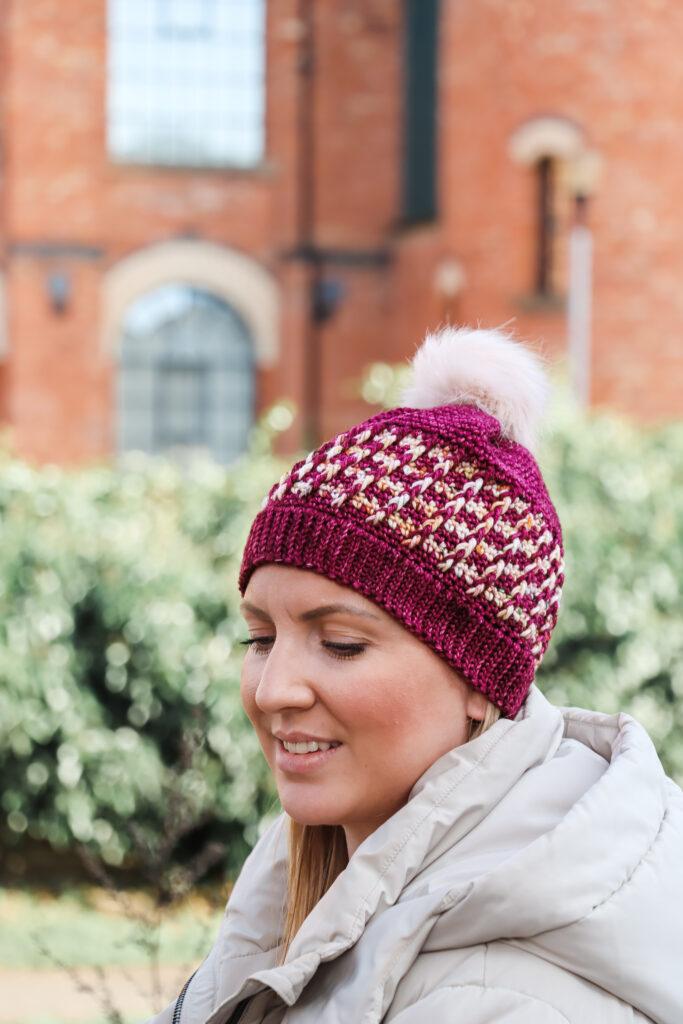
Learn how to crochet a beanie with my step-by-step pattern and video tutorial. Crochet beanies are among my favourite projects to make because they are so quick and easy…and quick and easy crochet is my favourite kind of crochet! The Truly Beanie Hat got its name from the lovely indie yarn by Nicky of Truly Yarn.
In this post, you’ll find everything you need to make the Truly Beanie plus matching wrist warmers, an indie yarn directory for you to feast your eyes on and more wearable inspiration.

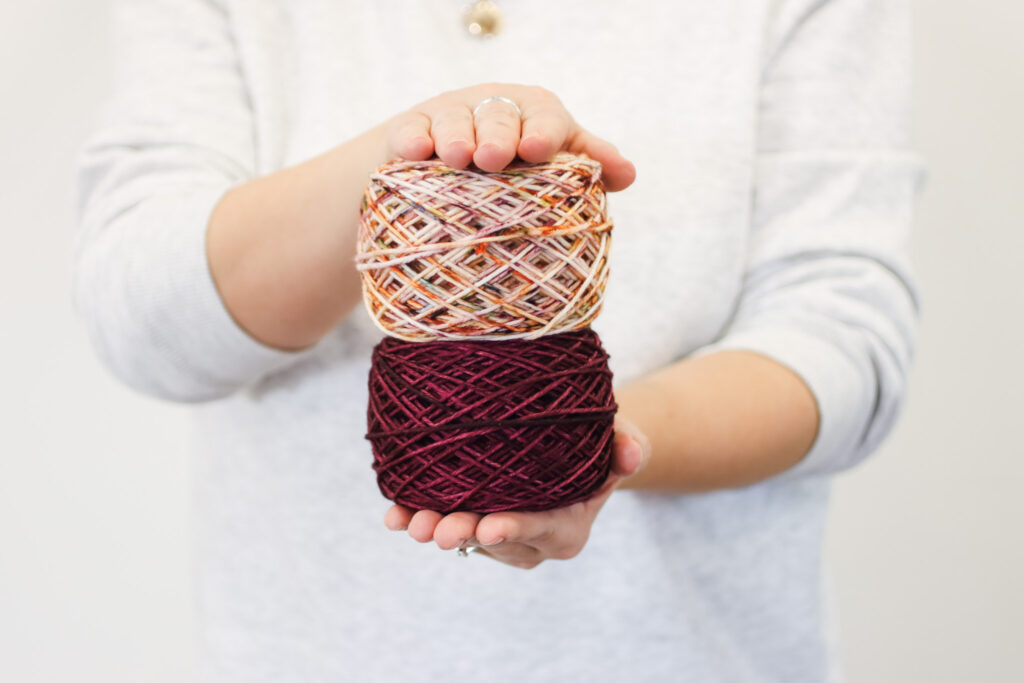
Indie Dyed Skeins

Indie-dyed yarn can sometimes be intimidating, but they really don’t have to be. I made a little video showing how I prepare my skeins click here to watch.
If you’d like to explore some more Indie Yarn Dyers, take a look at this Directory which was built on our reader’s recommendations.

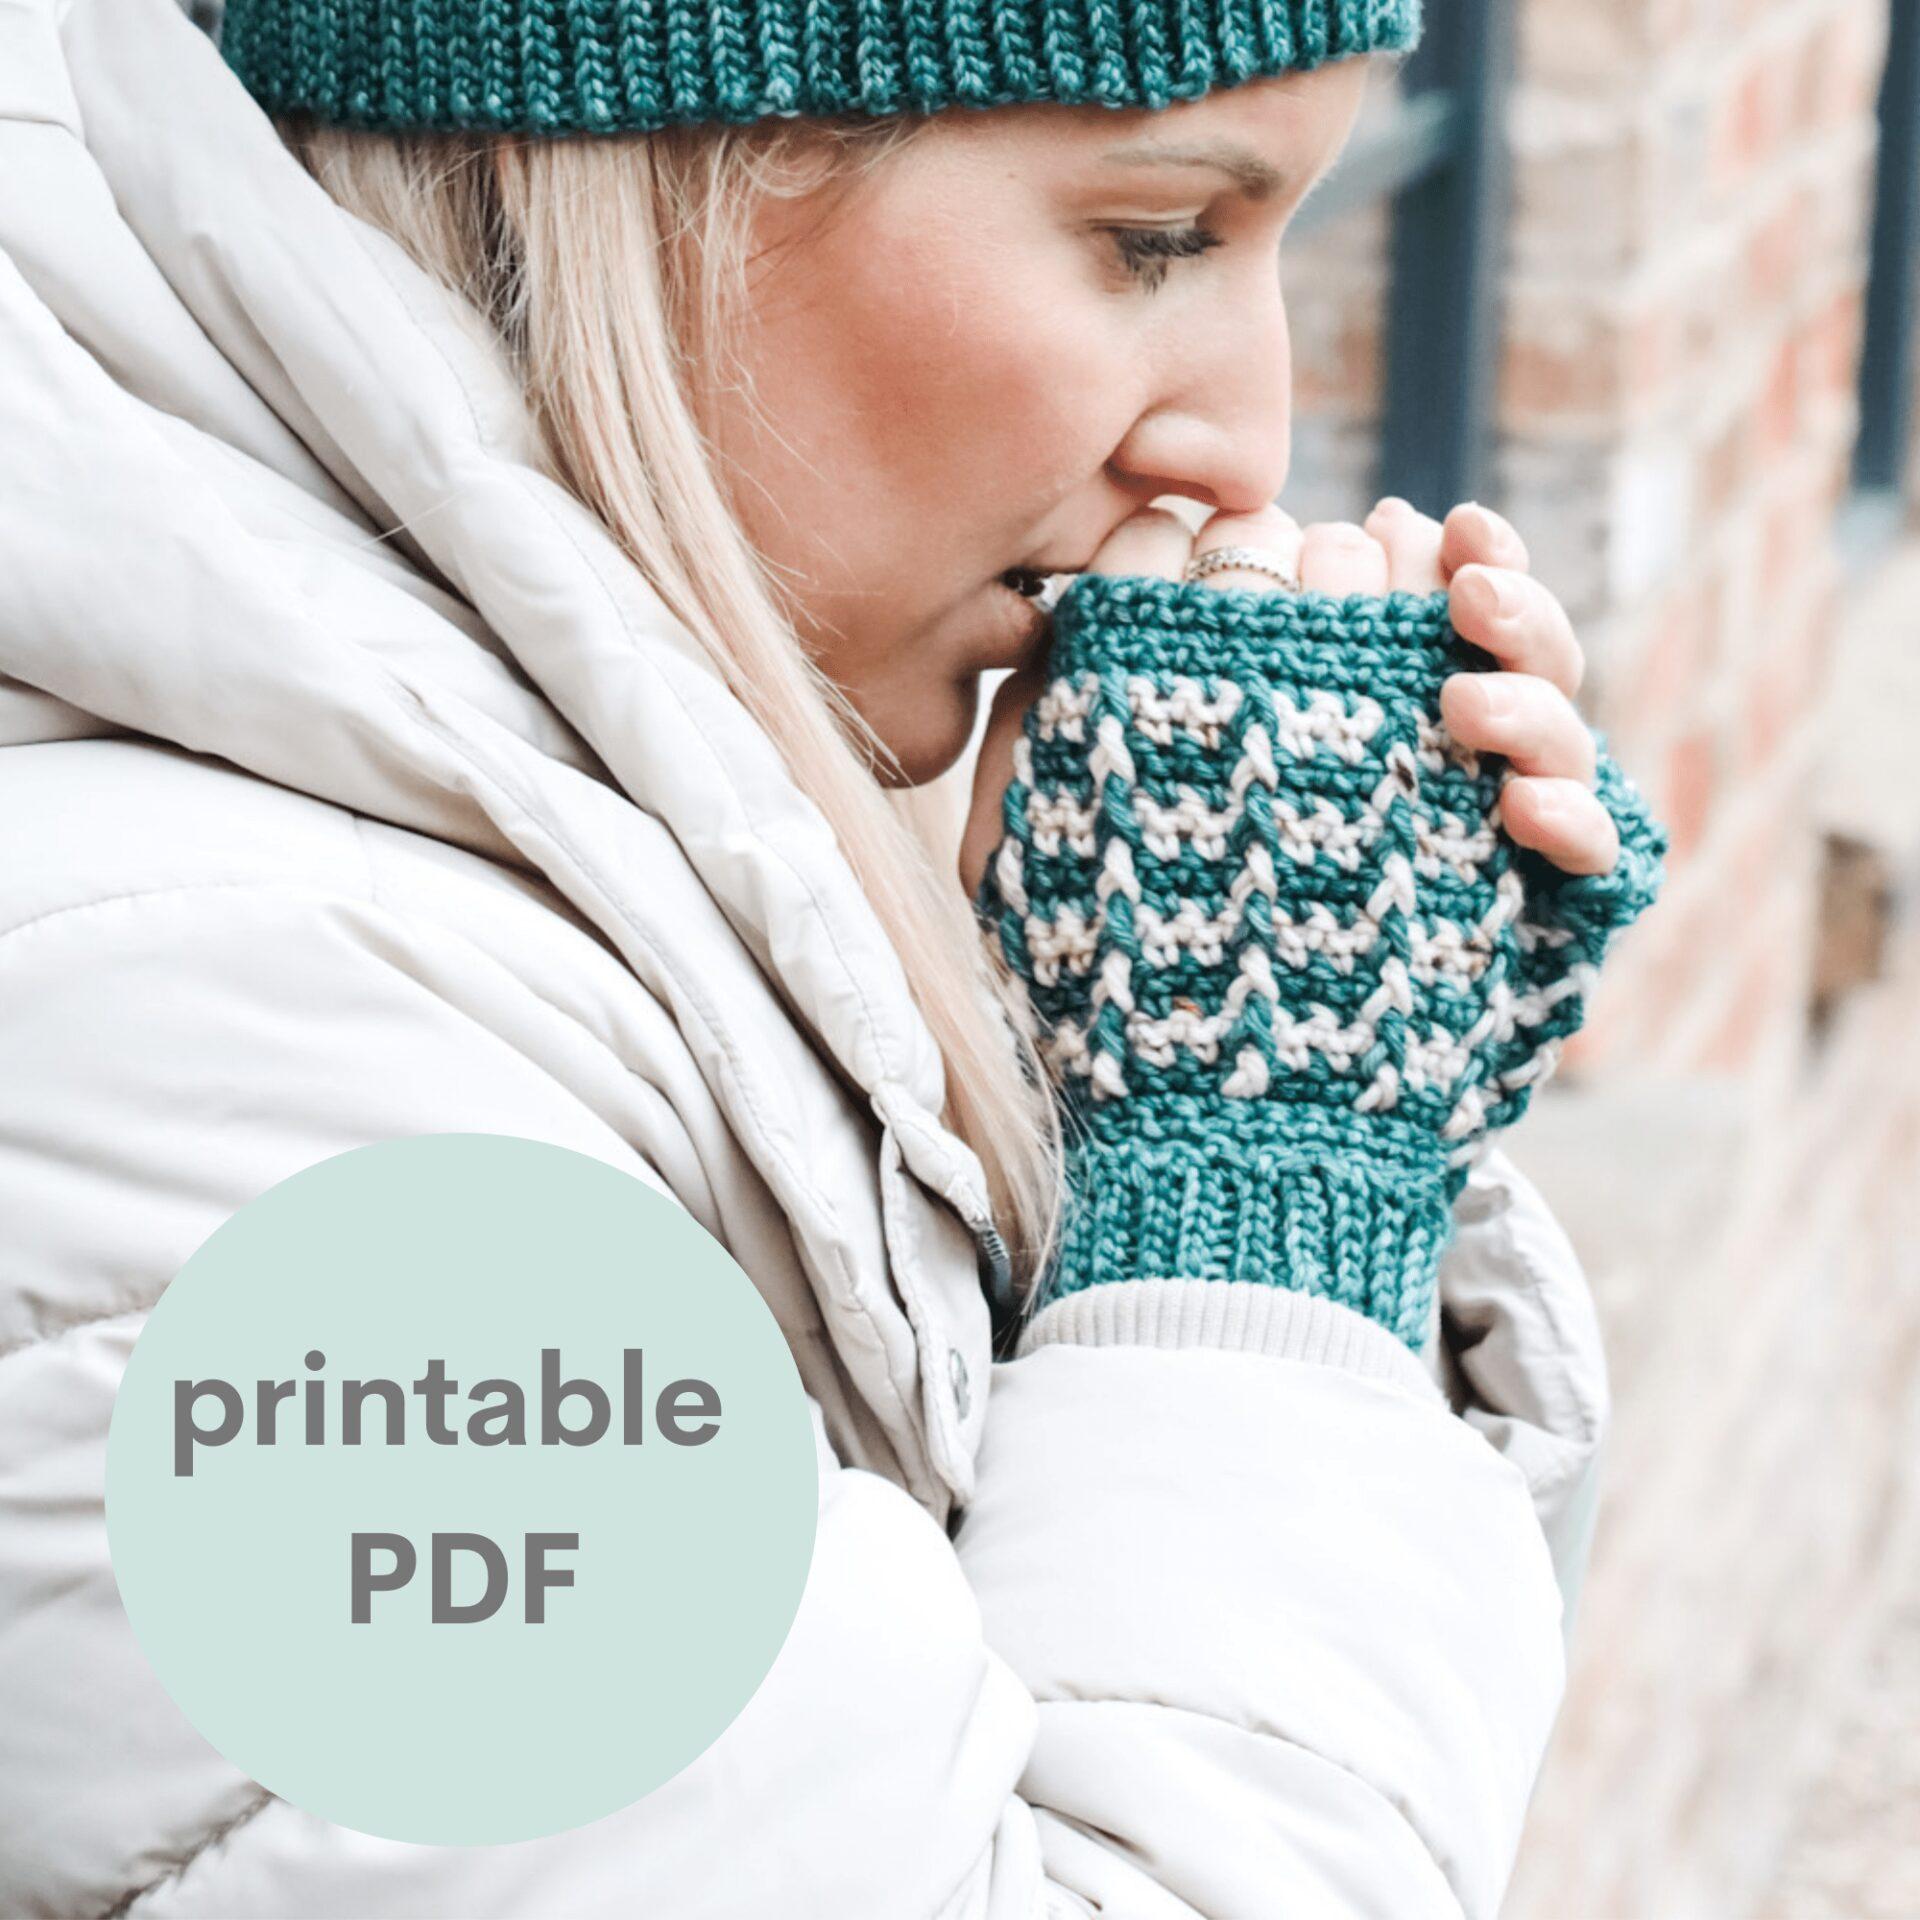
PDF Pattern: Truly Beanie
You can purchase a low-cost ad free, printable copy of this pattern HERE Not only does it mean you get your own copy of the pattern to print, but you also support a small business and help me to keep making free patterns!

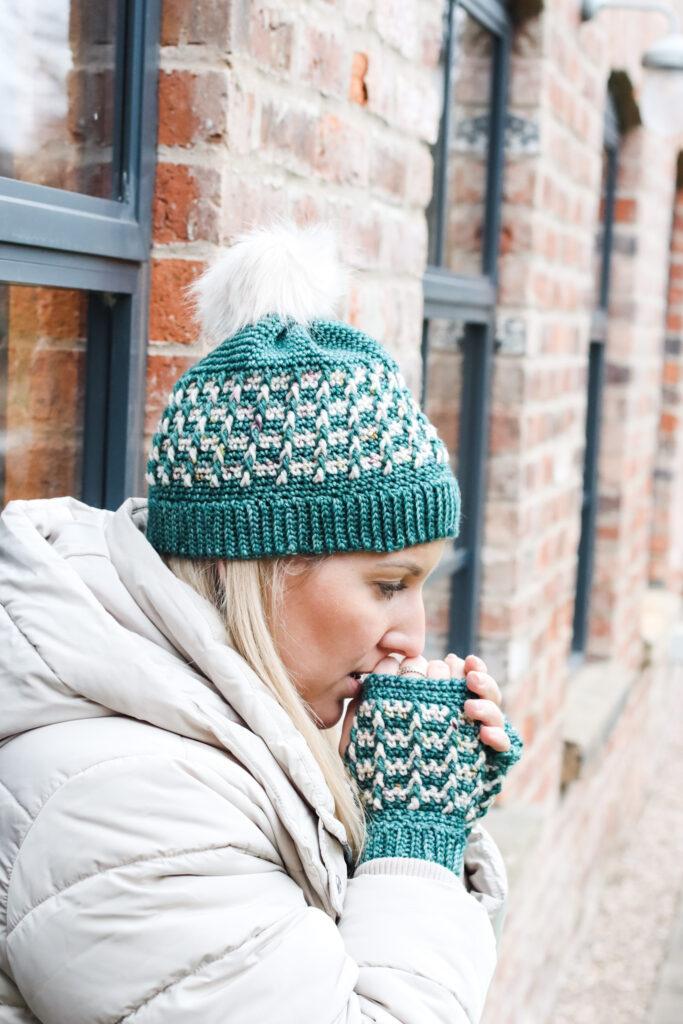
The Truly beanie is the perfect companion to the Truly Wrist Warmers. This pattern is suitable for beginners and you will be surprised at just how easy they are to make. I have chosen to use this gorgeous indie-dyed yarn, but you could substitute it with any Aran weight yarn and play around with colours for individuality.

Materials and tools
- Truly Yarn, 100% Superwash Merino in Aran Weight, 115g (4.06oz), 190m (208yds) or any equivalent yarn in mc Blackberry Crush (approx 80g) and cc Autumn Spice (approx 18g).
- Hook: 5mm (US H/8)
- Scissors
- Darning Needle
- Stitch Markers
- Faux Fur Pompom
Pattern Notes
- Skill level: Beginner
- Completed size: The size is for an adult small and these measure Heigh 23cm (9 inches) Circumference 45.5cm (18 inches) Approx
- Gauge: 14 sts x 18 rows over 10cm x 10cm (4inch x 4inch) measured over bar stitch.
- Chain 1 does NOT count as a stitch unless otherwise stated.
- When working you slip stitches in the brim, ensure your stitches aren’t too tight as this will make working into the following row difficult.
- The beanie is worked from the bottom up.
- When changing colour, this will be done when joining to the first stitch with a slip stitch. Insert hook to join and pull through new colour.
- The none working yarn will carry up the work. Please do not fasten off your yarn unless stated.
Terms and Abbreviations
This pattern is written in UK terms but switchable to US terms below.
Slip Stitch(s): ss(s): Insert hook, yarn over pull through stitch and loop on hook
Chain(s): ch(s): Yarn over, pull through
Double Crochet(s): dc(s): Insert hook into stitch, yarn over, pull up a loop, you will have two loops on the hook. Yarn over, pull through remaining two loops.
Double Crochet 2 together: dc2tog: Insert hook into stitch, yarn over, pull up a loop, you will have two loops on the hook. Insert hook into stitch, yarn over, pull up a loop, you will have three loops on the hook. Yarn over, pull through all three loops.
Front Post Treble Crochet(s): fptr(s): Yarn over, insert hook around post of stitch from front to back to front, yarn over, pull up a loop, you will have three loops on the hook. Yarn over, pull through two loops, yarn over, pull through remaining two loops.
Back loop only: BLO: Working into the back loop only of a stitch. This will be followed by the indicated stitch. Example: BLOss, BLOhtr.
Convert Pattern Terms
Here you can quickly switch between UK and US crochet terms. This will make following the pattern easier as all terms will be converted to your preferred version.

Unsure of the differences between UK and US terms? Need a refresher on how to do your stitches? In my ‘How to crochet: A handy reference guide EBook I help you with all of these terms and you can always have them to hand! You will also get exclusive access to free video instructions. You can find my EBook HERE.

Pin for Later
Truly Crochet Beanie Pattern
You are viewing this pattern in UK terms.
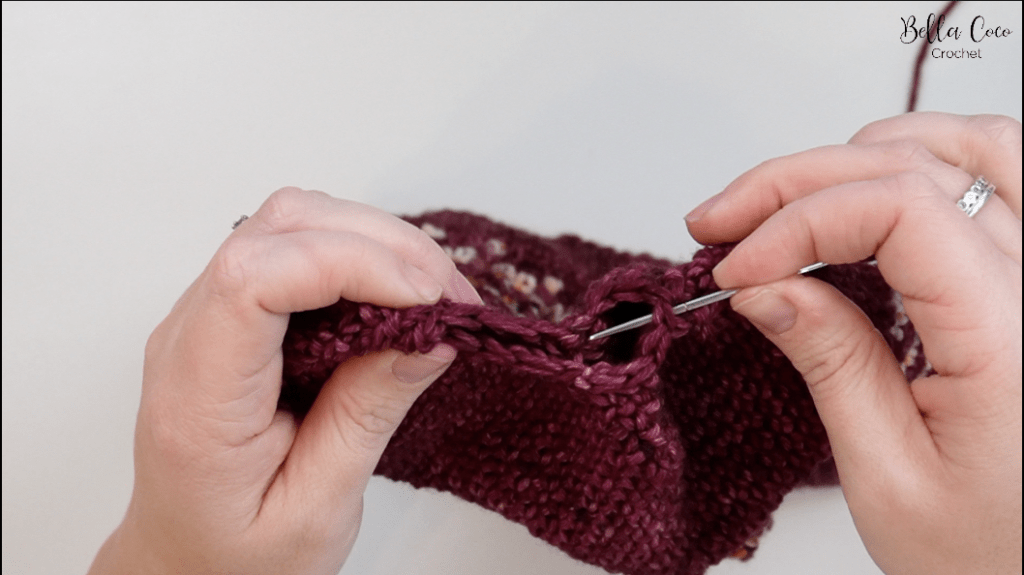
Brim
Chain 10
Row 1: Ss in 2nd ch from hook and across. Turn. (9 sts)
Row 2: Ch1 (does not count as st) ss in BLO of first st and across. Turn.
Repeat row 2 until your work measures 18 inches long (not stretched).
Fold work to have short ends together. Chain 1, ss through BLO of each stitch of final row and corresponding st on the underside of beg chain to join. Turn right side out.
Do not tie off yarn, rotate work to begin working along row ends.
Making Up
To close the opening, thread up a darning needle. Press the opening flat with the tail end central to the fold. Thread yarn through both thicknesses (Step 1). Press the opposite sides of the closing together and thread yarn through both thicknesses (Step 2).Repeat again to ensure a sturdy closing.
With tail end still on darning needle. Attach the fur pom pom to the hat. Sew in ends.

Video Tutorials
Right-Handed
[adthrive-in-post-video-player video-id=”kb7QdF0Z” upload-date=”2025-04-10T14:49:13+00:00″ name=”Crochet Beanie – Easy Crochet Hat Tutorial.mp4″ description=”null” player-type=”default” override-embed=”default”]Or you can watch on YouTube
Left-Handed
[adthrive-in-post-video-player video-id=”o2eOnFBO” upload-date=”2025-04-10T14:49:13+00:00″ name=”LEFT HANDED CROCHET_ Crochet Beanie.mp4″ description=”null” player-type=”default” override-embed=”default”]Or you can watch on YouTube
Crochet Accessories
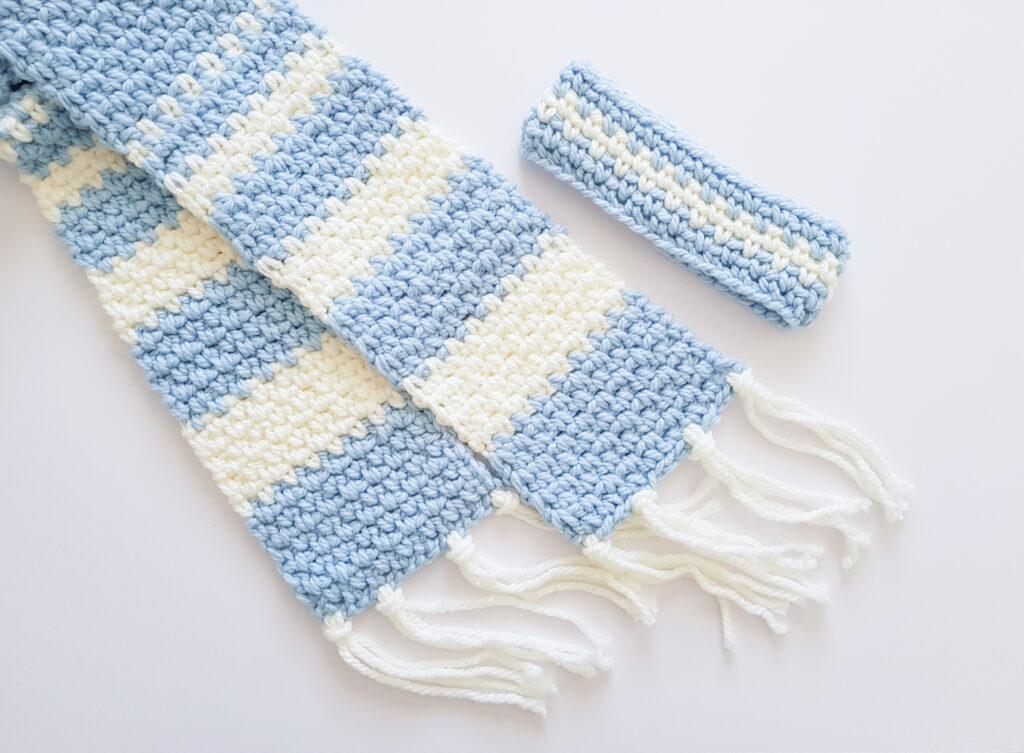
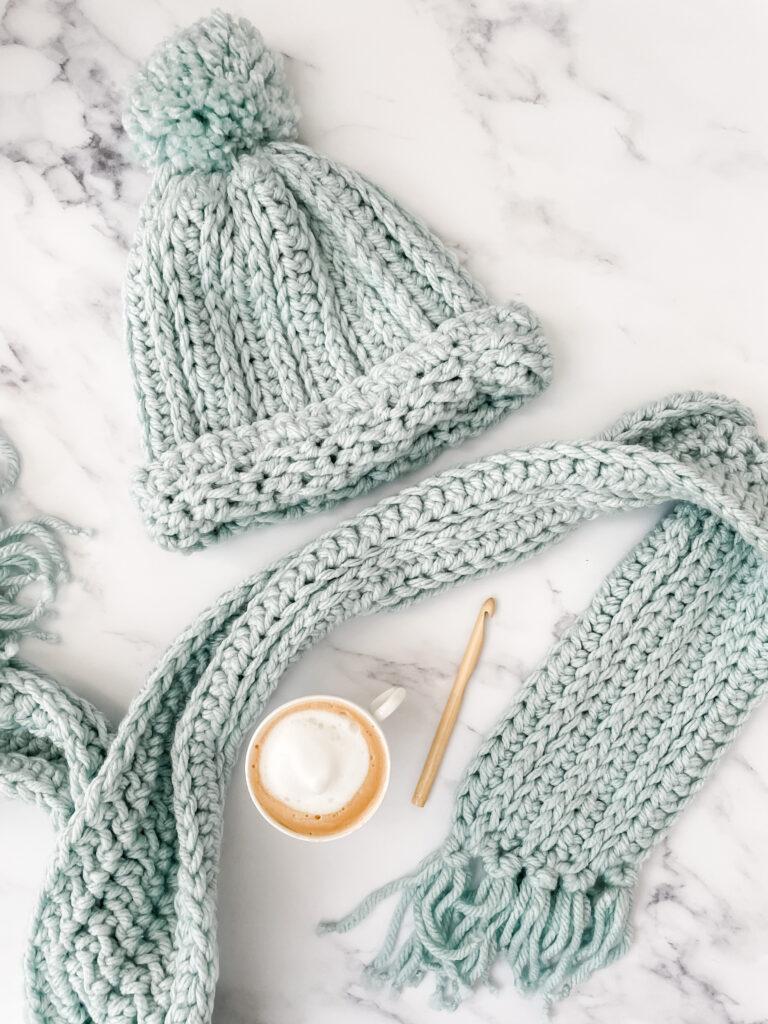
Do you love crocheting matching sets? If so I think you’ll love these patterns available on the blog: Chunky Hat and Scarf by Bella Coco Crochet and The Alpine Hat and Mittens by Louise of Mammamaker.


Wrist Warmers: PDF
You can purchase a low-cost ad free, printable copy of this pattern HERE. Not only does it mean you get your own copy of the pattern to print, but you also support a small business and help me to keep making free patterns!
I always love to see your makes so if you try any of my patterns or follow my stitch tutorials please tag me @bellacococrochet or use the #bellacococrochet
sarah-jayne
Learn How to Crochet a Beanie
Learn how to crochet a beanie with my step-by-step pattern and video tutorial.
Materials
- Truly Yarn, 100% Superwash Merino in Aran Weight, 115g (4.06oz), 190m (208yds) or any equivalent yarn in mc Blackberry Crush (approx 80g) and cc Autumn Spice (approx 18g).
- Faux Fur Pompom
Tools
- 5mm (US H/8) Crochet hook
- Scissors
- Darning needle
- Stitch Markers
Instructions
- brim: Chain 10
- Row 1: Ss in 2nd ch from hook and across. Turn. (9 sts)
- Row 2: Ch1 (does not count as st) ss in BLO of first st and across. Turn. Repeat row 2 until your work measures 18 inches long (not stretched). Do not tie off yarn, rotate work to begin working along row ends.
- main section: chain 1
- Round 1: Ch1, dc in space next to ss. Work 70 dc evenly across placing each stitch into the ‘valley’ across brim. Dc into foundation ch. Join in first st with ss. (72 sts)
- Round 2&3: Ch1, dc in each st across. Join in first st with ss.
- Round 4: Ch1, dc in each st across changing to cc in last st. Join in first st with ss.
- Do NOT fasten off mc.
- Round 5: Ch1, *2dc, fptr around next st two rows below, miss unworked st; repeat from * around. Join in first st with ss.
- Round 6: Ch1, dc around. Join in first st with ss changing to mc.
- Round 7: Ch1, *2dc, fptr around fptr two rows below, miss unworked st; repeat from * around. Join in first st with ss.
- Round 8: Ch1, dc around. Join in first st with ss changing to cc.
- Round 9: Ch1, *2dc, fptr around fptr two rows below, miss unworked st; repeat from * around. Join in first st with ss.
- Round 10: Ch1, dc around. Join in first st with ss changing to mc.
- Round 11-18: Repeat round 7-10 twice more.
- Round 19: Ch1, *2dc, fptr around fptr two rows below, miss unworked st; repeat from * around. Join in first st with ss.
- Round 20: Ch1, dc around. Join in first st with ss.
Fasten off cc. - decreasing: Round 21-29: Ch1, dc around. Join in first st with ss.
- Round 30: Ch1, 2 dc2tog, dc in each remaining st. Join in first st with ss. (70 sts)
- Round 31: Ch1, *dc in next 3 sts, dc2tog; repeat from * around. Join in first st with ss. (56 sts)
- Round 32: Ch1, *dc in next 2 sts, dc2tog; repeat from * around. Join in first st with ss. (42 sts)
- Round 33: Ch1, *dc in next st, dc2tog; repeat from * around. Join in first st with ss. (28 sts)
- Round 34: Ch1, dc2tog around. Join in first st with ss. (14 sts)
- Fasten off leaving a 30cm tail end.
- making up: To close the opening, thread up a darning needle. Press the opening flat with the tail end central to the fold. Thread yarn through both thicknesses (Step 1). Press the opposite sides of the closing together and thread yarn through both thicknesses (Step 2).Repeat again to ensure a sturdy closing.
- With tail end still on darning needle. Attach the fur pom pom to the hat. Sew in ends.
Notes
- Skill level: beginner
- Completed size: The size is for an adult small and these measure Heigh 23cm (9 inches) Circumference 45.5cm (18 inches) Approx
- Gauge: 14 sts x 18 rows over 10cm x 10cm (4inch x 4inch) measured over bar stitch.
- Chain 1 does NOT count as a stitch unless otherwise stated.
- When working you slip stitches in the brim, ensure your stitches aren’t too tight as this will make working into the following row difficult.
- The beanie is worked from the bottom up.
- When changing colour, this will be done when joining the first stitch with a slip stitch. Insert the hook to join and pull through the new colour.
- The non-working yarn will carry up the work. Please do not fasten off your yarn unless stated.

Recommended Products
As an Amazon Associate and member of other affiliate programs, I earn from qualifying purchases.