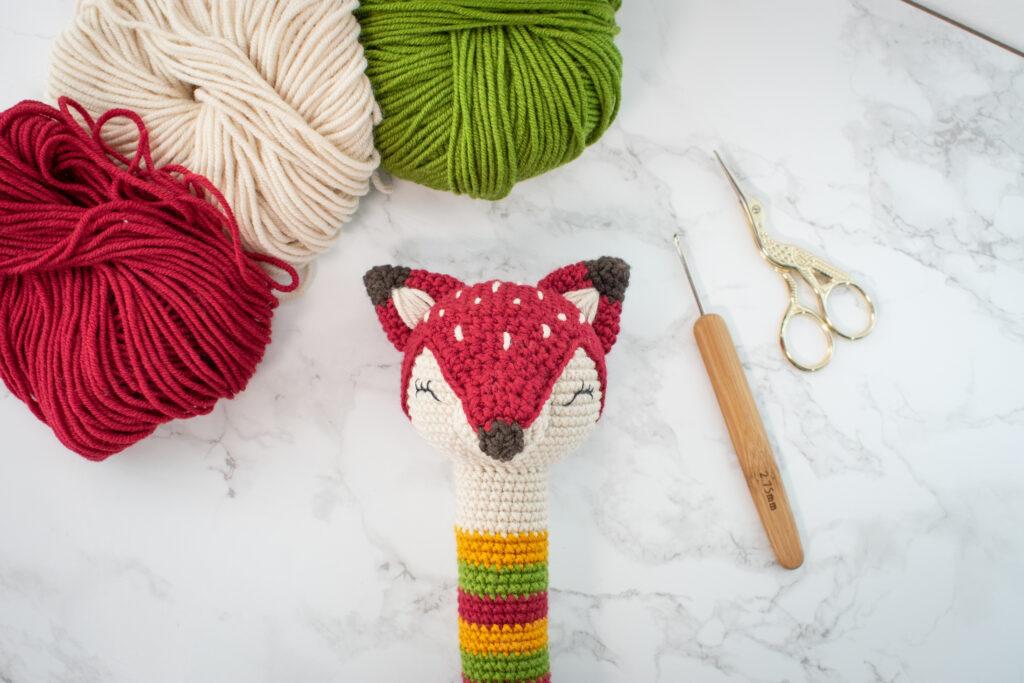
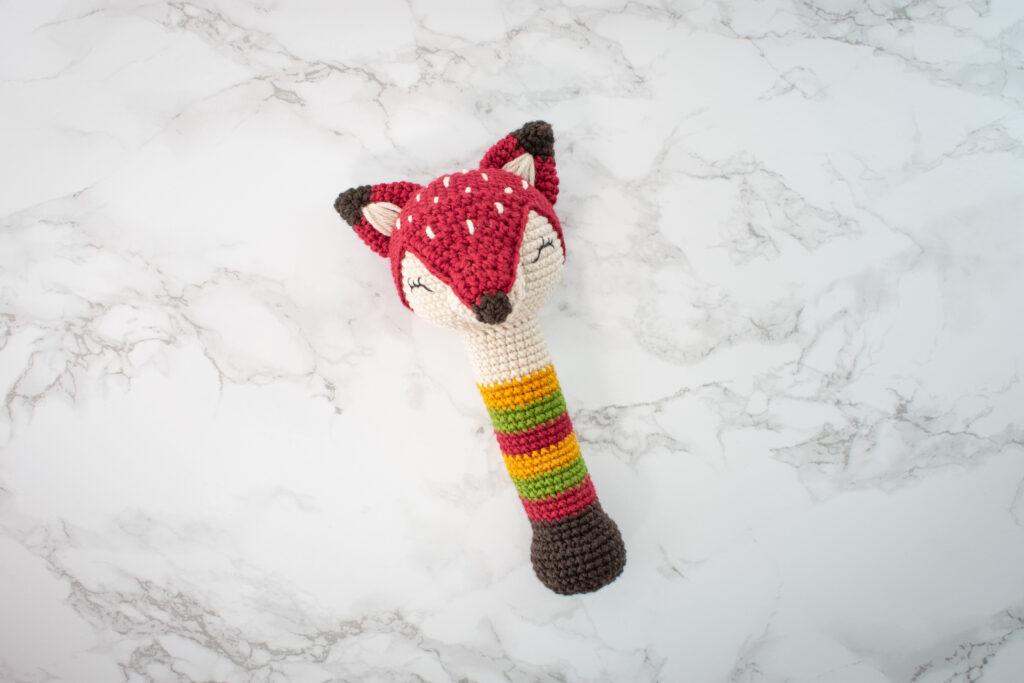
Crochet this adorable Amigurumi Fox Rattle with this free pattern designed by guest designer Ana Carolina @littlecrochetfarm is no exception. This pattern will make the perfect baby gift! I love the simplicity of the toy shape plus the little details make it unique and, the use of the Front Post single crochet between the head and the rattle toy handler make it firm and with a better shape.

Materials and Tools Needed
- Hook: 2.75mm (UK 12 or US C/2)
- Yarn: Light worsted (DK – double knitting / 8ply) in 5 different colours. 1 ball of each (the designer used beige, brown, and red as the main colours, plus yellow and green as secondary colours to be more interesting to the babies’ eyes!)
- Black embroidery thread
- Rattle sound of your preference
- Darning Needle
- Stuffing
- Scissors
pattern Notes
Final size: 17cm
Skill level: easy to intermediate.
Terms & abbreviations (US terms):
Yarn under Single crochet (sc): insert the hook into the stitch, pull up a loop yarn under the needle, you will have two loops on the hook, yarn under the needle and pull it through the two loops.
Increase (inc): make two single crochet inside the same stitch.
Decrease (dec): Insert hook into front loop only of next two stitches, yarn under, pull through, you will have two loops on the hook. Yarn under and pull through both loops on the hook.
Back loop Slip stitch (blsl): Insert hook into back loop only of the stitch, yarn under, pull through both stitch and loop on hook.
Front post single crochet (FPsc): insert your hook from front to back on the first side of the stitch, and then bring it back out from back to front on the other side of the stitch. Yarn under, pull through, you will have two loops on the hook. Yarn under, and pull through both loops on the hook.

Unsure of the differences between UK and US terms? Need a refresher on how to do your stitches? In my ‘How to crochet: A handy reference guide’ EBook I help you with all of these terms and you can always have them to hand! You will also get exclusive access to free video instructions. Learn more about the eBook here.
To unlock this FREE crochet pattern all you need to do is enter your email and the grow app will appear, please enter your email and create a password. Now you’ve created a grow account you’ll be able to access all of the free patterns on the blog and bookmark your favourites so you can have them all in one place for easy access.
If you forget your password, click the “forgot password” link and follow the prompts. Please note that the team are unable to assist with resetting Grow passwords or accessing your Grow account, so please make sure you save your login information in a safe place.
Your grow account is separate from your Bella Coco account which you use to access your purchased patterns.
Pin For Later
Amigurumi fox Rattle Pattern
RATTLE
Start with beige colour yarn
Add stuffing material before continuing to row 24
*here, together with the stuffing, add the rattle noise.
24 to 29 rnd 24sc
*add stuffing material as you go. I suggest every 5 rounds.
- Change to orange yarn
30 to 32 rnd 24sc
- Change to green yarn
33 to 35 rnd 24sc
- Change to red yarn
36 to 38 rnd 24sc
- Repeat rnds 30 to 38 one more time.
- Change to brown yarn,
48 to 50 rnd 24sc
51 rnd 24BLsl
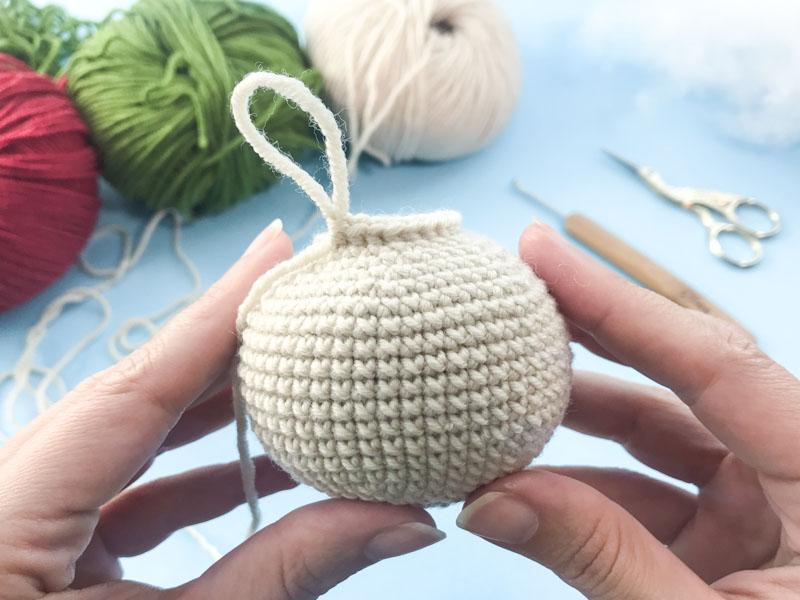
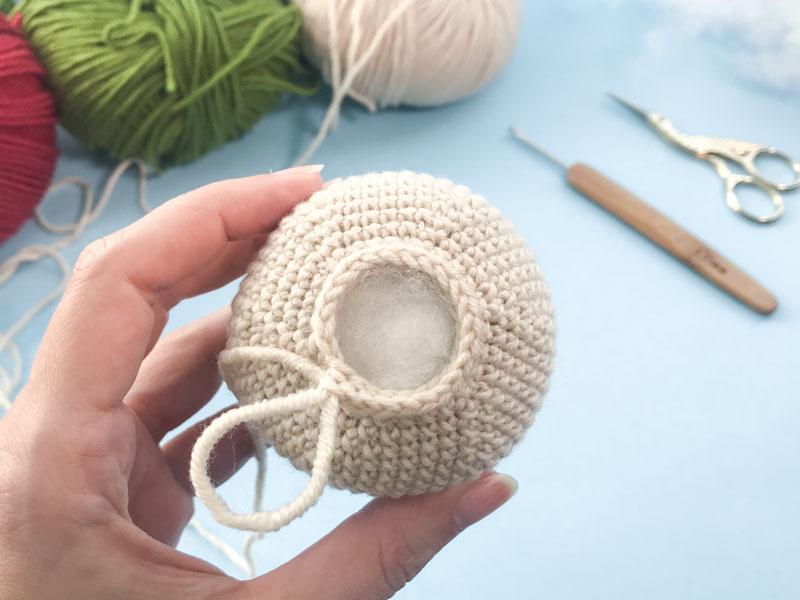
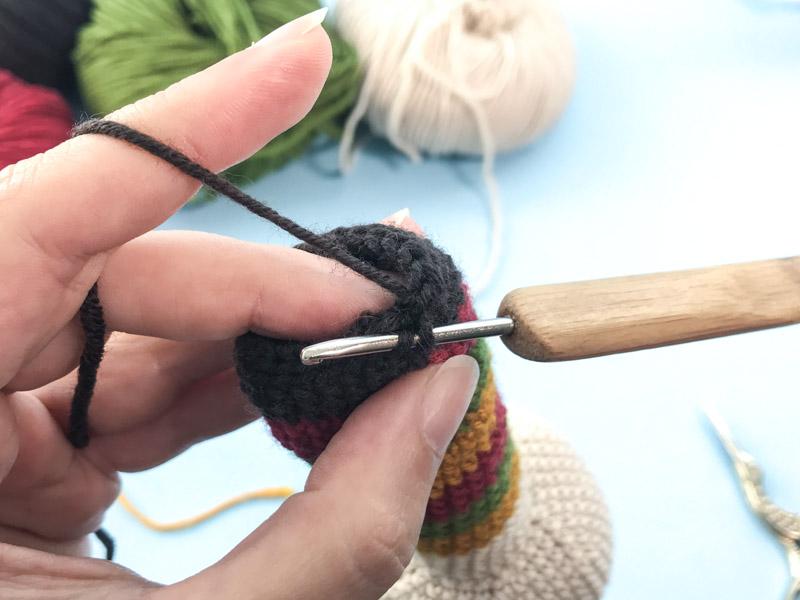
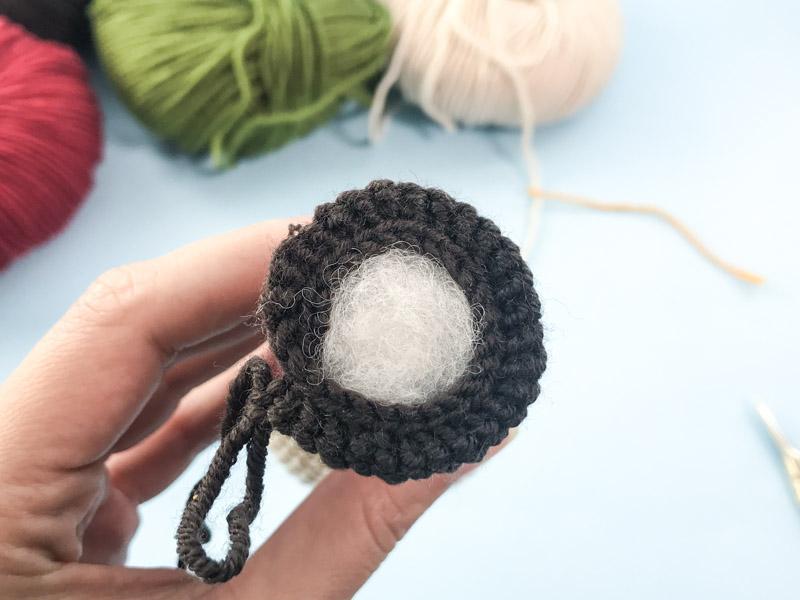
For round 52, you will work in the remaining front loop of the round 50 (image 03). This will make the slip stitches from round 51 to be inside of the toy (image 04).
52 rnd FL(3sc, 1inc) repeat 6 times Total 30sts
53 to 57 rnd 30sc
58 rnd (3sc, 1dec) repeat 6 times Total 24sts
59 rnd (2sc, 1dec) repeat 6 times Total 18sts
- Stop here to finish stuffing the fox rattle,
60 rnd (1sc, 1dec) repeat 6 times Total 12sts
- Cut the yarn, fasten off and hide the remaining tail inside the toy.
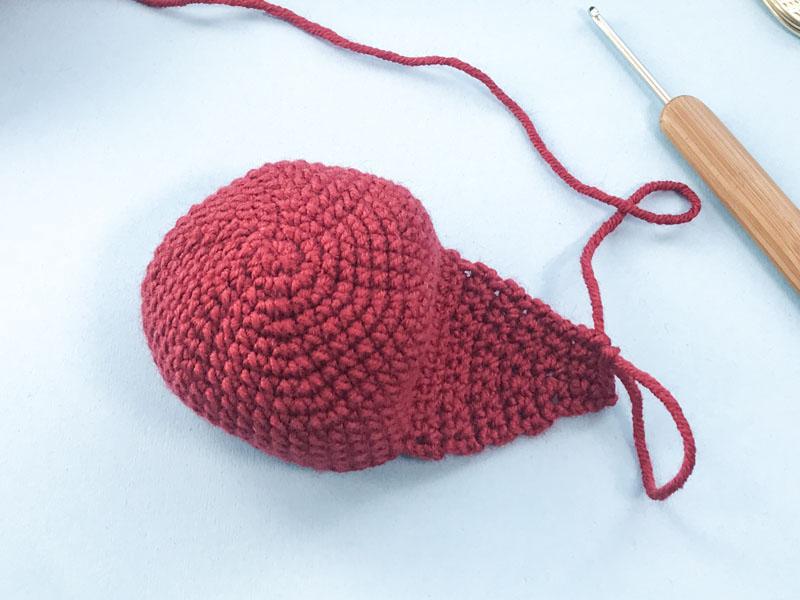
TOP HEAD
Start with red color yarn
1 rnd 6sc in a magic ring
2 rnd 6inc Total 12sts
3 rnd (1sc, 1inc) repeat 6 times Total 18sts
4 rnd (2sc, 1inc) repeat 6 times Total 24sts
5 rnd (3sc, 1inc) repeat 6 times Total 30sts
6 rnd (4sc, 1inc) repeat 6 times Total 36sts
7 rnd (5sc, 1inc) repeat 6 times Total 42sts
8 rnd (6sc, 1inc) repeat 6 times Total 48sts
9 rnd (15sc, 1inc) repeat 3 times Total 51sts
10 to 17 rnd 51sc
- Cut the yarn and fasten off.
- Find the 12 central stitches in the detail and attach the red yarn to continue working the top of the head detail. Start working single crochet in rows.
1 rnd 12sc, chain one, turn
2 rnd 12sc, chain one, turn
3 rnd 2sc, 1dec, 4sc, 1dec, 2sc, chain one , turn Total 10sts
4 rnd 10sc, chain one, turn
5 rnd 2sc, 1dec, 2sc, 1dec, 2sc, chain one, turn Total 8sts
6 rnd 8sc, chain one, turn
7 rnd 2sc, 1dec, 1dec, 2sc, chain one, turn Total 6sts
8 rnd 6sc, chain one, turn
9 rnd 1sc, 1dec, 1dec, 1sc, chain one, turn Total 4sts
10 rnd 4sc, chain one, turn
11 to 13 rnd 4sc, chain one
For rnd 14, you are going to work single crochet shaping an outline in the edges. Make 11sc on one side, 39sc going around the detail, 11sc on the other side and finish by joining with a slip stitch. See images 05 and 06.
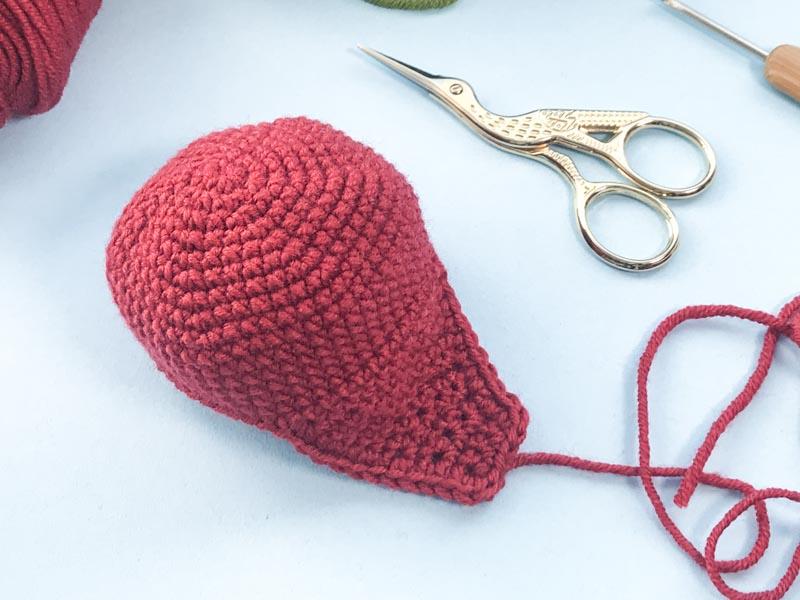
Cut the yarn, fasten off and leave a long tail for sewing it.
EARS
Start with brown color
1 rnd 4sc in a magic ring
2 rnd (1inc, 1sc) repeat 2 times Total 6sts
3 rnd (1inc, 2sc) repeat 2 times Total 8sts
4 rnd (1inc, 3sc) repeat 2 times Total 10sts
- Change to red yarn,
5 rnd (1inc, 4sc) repeat 2 times Total 12sts
6 rnd (1inc, 5sc) repeat 2 times Total 14sts
7 rnd (1inc, 6sc) repeat 2 times Total 16sts
8 rnd (1inc, 7sc) repeat 2 times Total 18sts
9 rnd 18sc
- Cut the yarn, fasten off and make another one. Leave a tail for sewing.
SNOUT
With beige color yarn start,
1 rnd 6sc in a magic ring
2 rnd 6inc Total 12sts
3 rnd
SNOUT BROWN DETAIL
With brown color yarn start
1 rnd 6sc in a magic ring
Join with a slip stitch.
Cut the yarn, fasten off and leave a tail for sewing it.
ASSEMBLING YOUR AMIGURUMI RATTLE
- With the help of pins, fasten the snout between rounds 12 and 20 of the head. Sew the snout.
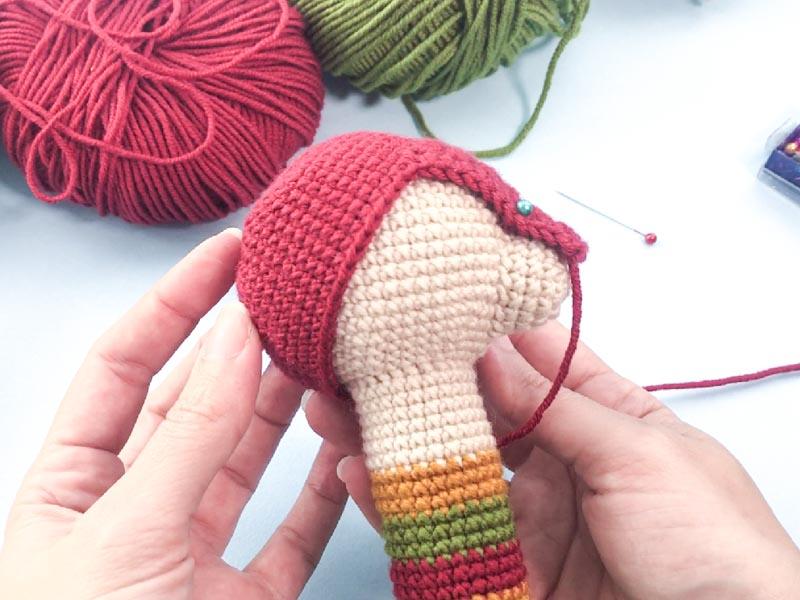
- Place the top head in the finished rattle. Make sure that the central backside of the head top is touching the edge border between the head and the handler (round 22 of the head). As shown in image 07. Sew it around the head.
- With the help of pins, fasten the ears on the top of the head where it looks symmetrical to you. I sewed the ears starting in round 6 and finishing in round 11. Leaving 8 stitches between them.
- Sew the snout detail in the tip of the nose.
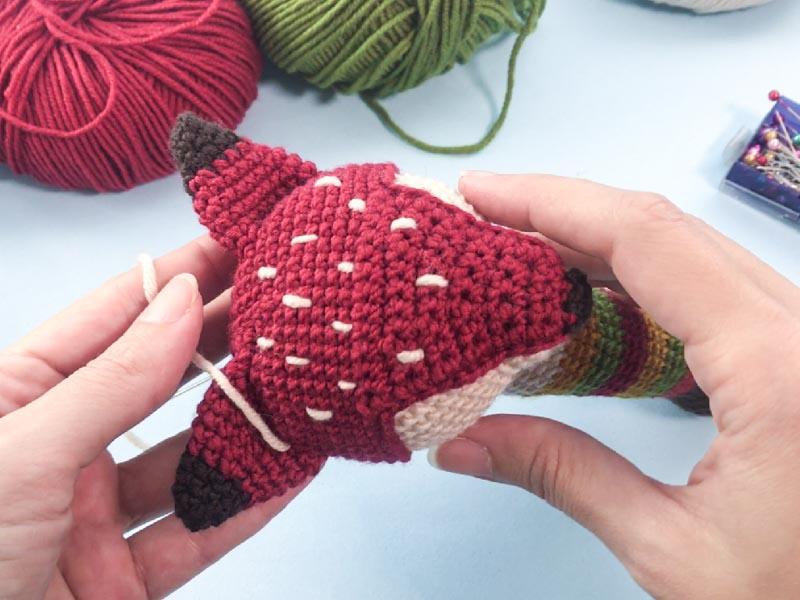
- Now, take a piece of beige yarn and make a couple of uneven lines on the red part of the head. With the leftover yarn, make a couple of lines in the central part of the ear. Like in images 08 and 9.
- Embroider a sleeping eye in round 14 and 15 taking the length of 4 stitches.

Congratulations! Your rattle toy is ready! Did you enjoy making your Amigurumi Rattle? Please make sure you show us your gorgeous Fox Amigurumi Rattle on social media!
- BLOG: https://littlecrochetfarm.com/
- INSTAGRAM: https://www.instagram.com/littlecrochetfarm/
- PINTEREST: https://www.pinterest.com/littlecrochetfarm/
- YOUTUBE: https://www.youtube.com/c/LittleCrochetFarm
- FACEBOOK: https://www.facebook.com/littlecrochetfarm/
I always love to see your makes so if you try any of my patterns or follow my stitch tutorials please tag me @bellacococrochet or use the #bellacococrochet
sarah-jayne